Grátis • Sem cadastro Fix Grain · Grátis

Fix Grainy Photo

Just type 'fix the grain' and watch your noisy photos become clean and sharp.

Concert photo with heavy digital grain
Before
Same concert photo with grain removed, clean and clear
After

Fix Grainy Photo

Drop your photo here

or click to browse

Release to upload

Grátis • Sem cadastro

Advertisement
Popular use cases:
  • high ISO photos
  • low-light photography
  • concert photos
  • night photography
  • scanned old photos
  • film grain removal
  • noisy phone photos

Cost
Free No signup required
Time
Instant results in 15-30 seconds
Works on
Any device - browser, phone, tablet, desktop
Powered by
AI-powered photo editing
Scenario Prompt Time
Light grain fix the grain while keeping natural details 15s
Heavy noise aggressively remove all grain and noise 25s
Old scan clean up grain and speckles, preserve character 20s
Portrait remove noise while keeping skin texture natural 20s

How it works

  1. Upload your grainy photo

    Drop your noisy image into EditThisPic. JPG, PNG e WebP ate 7MB. Higher resolution files give the AI more detail to work with when distinguishing grain from actual texture.

    Expect: Light grain: 15-20 seconds. Heavy noise or large files: 30-45 seconds.
  2. Descreva o que voce quer

    Type your instruction: 'fix the grain' or 'remove noise from this photo.' That's it. The AI identifies and reduces grain while preserving important details. No marking, no sliders to adjust.

    Tip: Add 'while keeping sharp details' if you have important textures like skin or fabric you want to preserve.

    Copy one of these to get started:

    General grain removal fix the grain in this photo while keeping natural details
    High ISO nighttime shot remove the digital noise and grain from this low-light photo, preserve sharpness
    Old scanned photo clean up the grain and speckles from this scanned photo while preserving the original character
    Portrait with skin detail remove noise from this photo while keeping skin texture and pores natural
    2 more prompts
    Heavily grainy image aggressively remove all grain and noise, prioritize smoothness over fine detail
    Color noise in shadows fix the color noise and grain in the dark areas of this photo
  3. Review and download

    Examine the result at full zoom. Check that grain is reduced without making the image look overly smooth or plastic. Skin texture and fine details should still look natural.

Try it free

Fix Grainy Photo

Drop your photo here

or click to browse

Release to upload

Grátis • Sem cadastro

"Shot my friend's wedding at ISO 6400. These looked unusable until I typed 'remove the grain' and got them back." @NightPhotoNick

See it in action

Concert photo with heavy digital grain
Before
->
Same concert photo with grain removed, clean and clear
After

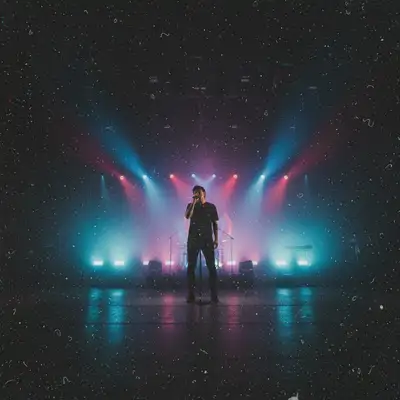
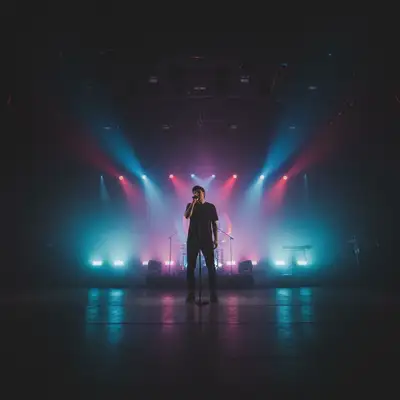
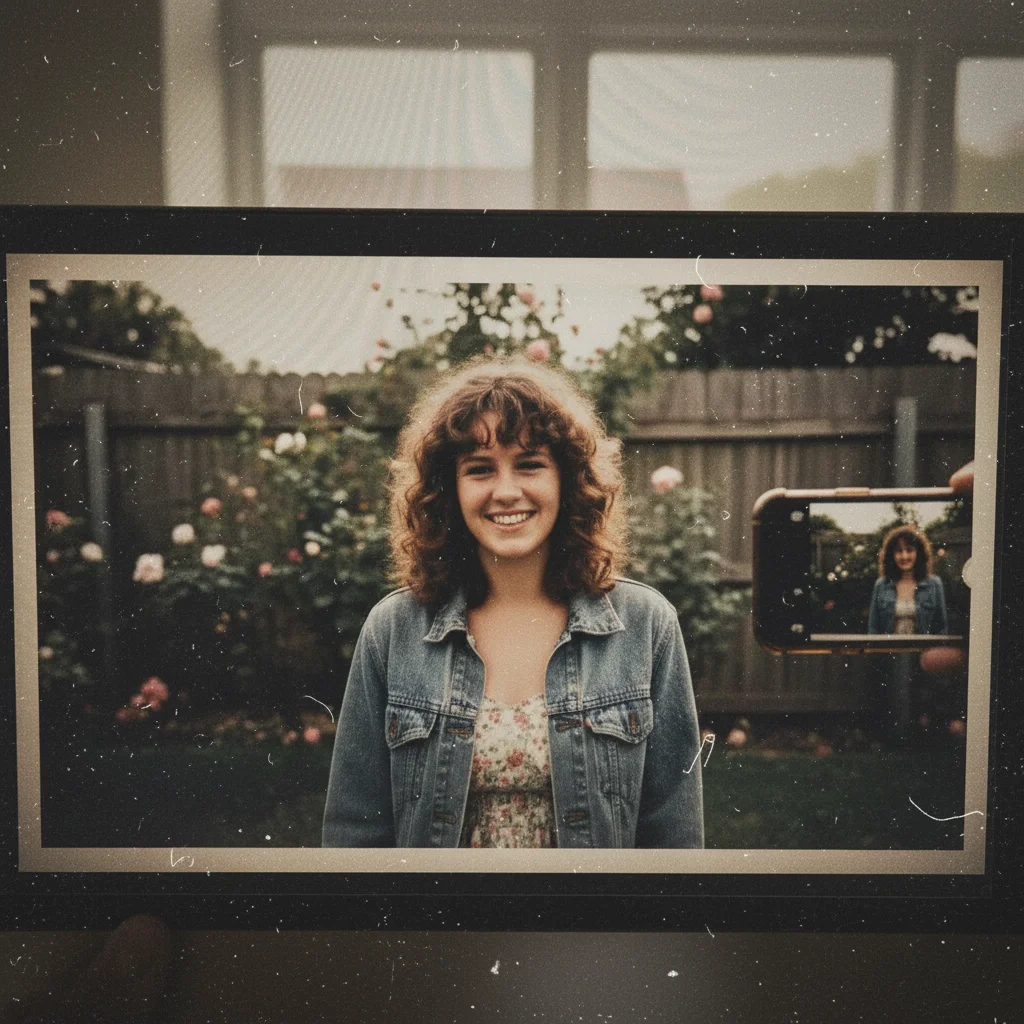
Concert photo rescue

Shot at ISO 6400 in a dark venue. Heavy grain made the image look unusable until AI noise reduction saved it.

Prompt: fix the grain in this photo while keeping sharp details
Scanned 1990s family photo with film grain and artifacts
Before
->
Same family photo with grain cleaned up, clearer details
After

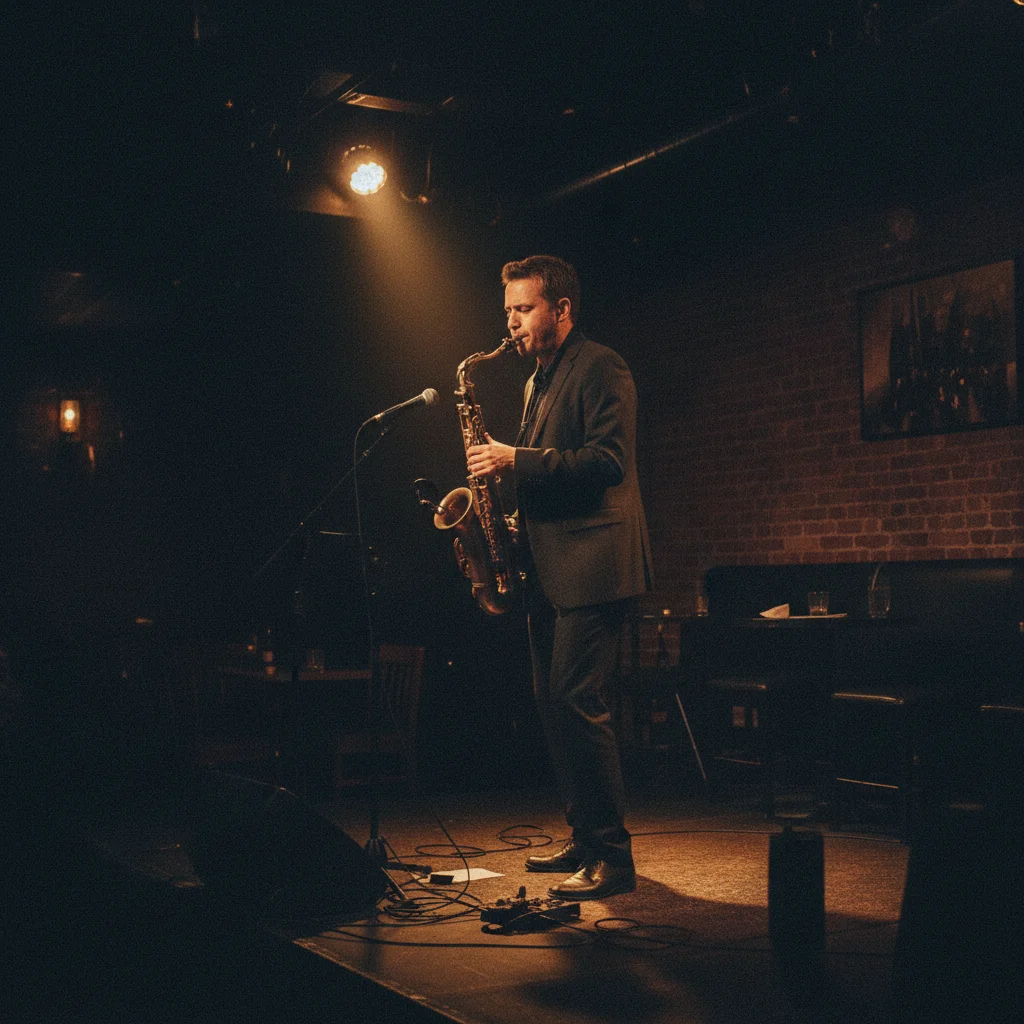
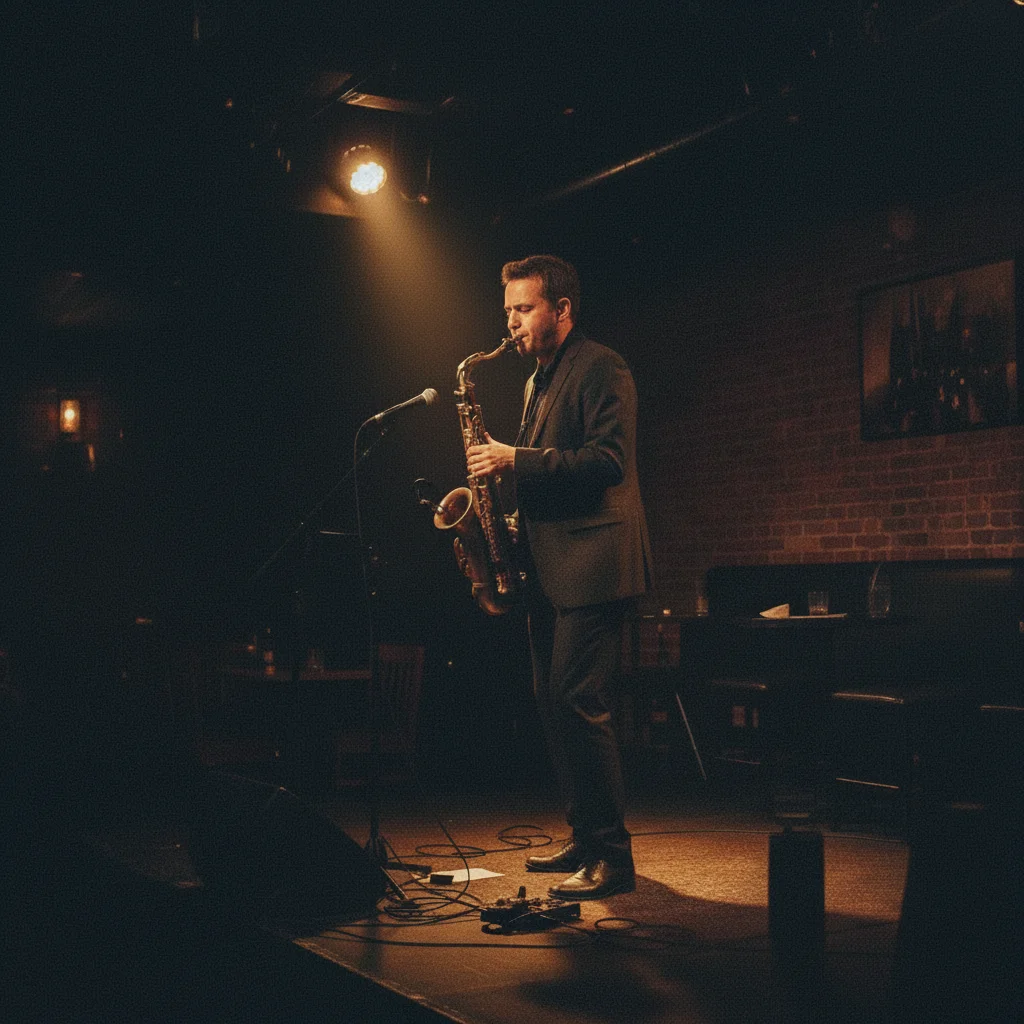
Old family scan cleaned up

1990s photo scanned with visible film grain and scanner artifacts. One prompt brought back the clarity.

Prompt: clean up the grain and speckles from this scanned photo while preserving the original character
Advertisement

If something looks off

Photo looks plastic or over-smoothed

Why: The AI removed too much texture along with the grain. This happens when important details aren't distinguished from noise.

Try: reduce grain while preserving natural skin texture and fine details, avoid plastic look

Tip: For portraits, always mention 'skin texture' or 'natural details' to prevent over-smoothing.

Grain still visible in dark areas

Why: Shadow areas have more noise than highlights. The AI may need explicit guidance to target these regions.

Try: remove all grain especially in the shadow and dark areas of this photo

Tip: Color noise in shadows (red/green speckles) needs separate attention from luminance grain.

Image looks blurry after grain removal

Why: Aggressive noise reduction can soften edges and reduce sharpness. The AI traded detail for smoothness.

Try: fix the grain while maintaining sharp edges and crisp details

Tip: If blur persists, try 'remove grain then sharpen the result slightly' as a two-part instruction.

AI changed the wrong area or something I didn't want changed

Why: The AI couldn't determine exactly which area you meant from description alone. This happens with ambiguous requests.

Try: Tap a marker on the specific area you want to fix, then regenerate with the same prompt

Tip: Markers tell the AI 'I mean THIS area specifically.' Use them when description alone is ambiguous.

Quick answers

Do I need to mark anything before fixing grain?

No! Just type 'fix the grain' or 'remove noise' and the AI handles the entire image. Markers are only useful if you want to target a specific area while leaving others untouched—but most people just process the whole photo at once.

Will this fix photos shot at high ISO?

Yes. High ISO digital noise is exactly what this tool handles best. Type 'remove the digital noise from this high ISO photo' and the AI will target that characteristic grain pattern while preserving actual image detail.

Can I fix grain in old scanned photos?

Absolutely. Film grain and scanner artifacts respond well to AI noise reduction. Use 'clean up the grain from this scanned photo while preserving original character' to reduce noise without making it look artificially modern.

How do I avoid the plastic skin look?

Add 'while keeping natural skin texture' to your prompt. This tells the AI to preserve pores and fine details instead of smoothing everything uniformly. For portraits, try 'remove grain but keep skin texture and pores visible and natural.'

Ready to fix your grainy photos?

Gratis to try. Sem cadastro required.

Try it free