Remove Double Chin from Photo
Last updated
Slim and contour your chin naturally with one simple instruction.


Remove Double Chin from Photo
Upload photo to remove double chin
Free • Results in 30 seconds • No signup
Release to upload
- LinkedIn headshots
- dating profile photos
- selfie improvement
- wedding guest photos
- professional portraits
- social media photos
- video call thumbnails
- resume photos
- Cost
- Free No signup required
- Time
- Instant results in 15-30 seconds
- Works on
- Any device - browser, phone, tablet, desktop
- Powered by
- AI-powered photo editing
| Scenario | Prompt | Time |
|---|---|---|
| Professional headshot | slim and contour chin for defined jawline |
15s |
| Selfie from bad angle | fix unflattering chin angle naturally |
20s |
| Group photo (just you) | reduce my double chin without changing others |
25s |
How it works
Remove Double Chin from Photo
Upload photo to remove double chin
Free • Results in 30 seconds • No signup
Release to upload
Grátis • Sem cadastro
See it in action
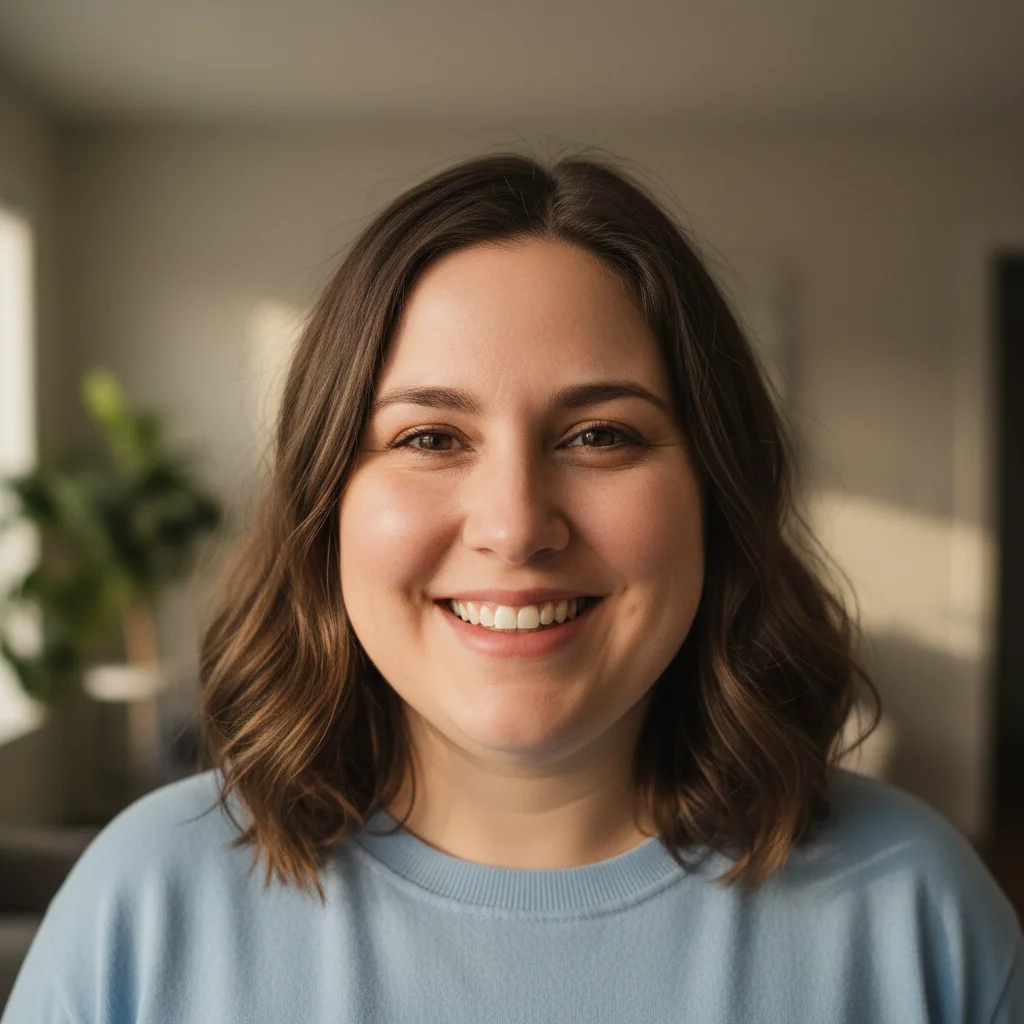
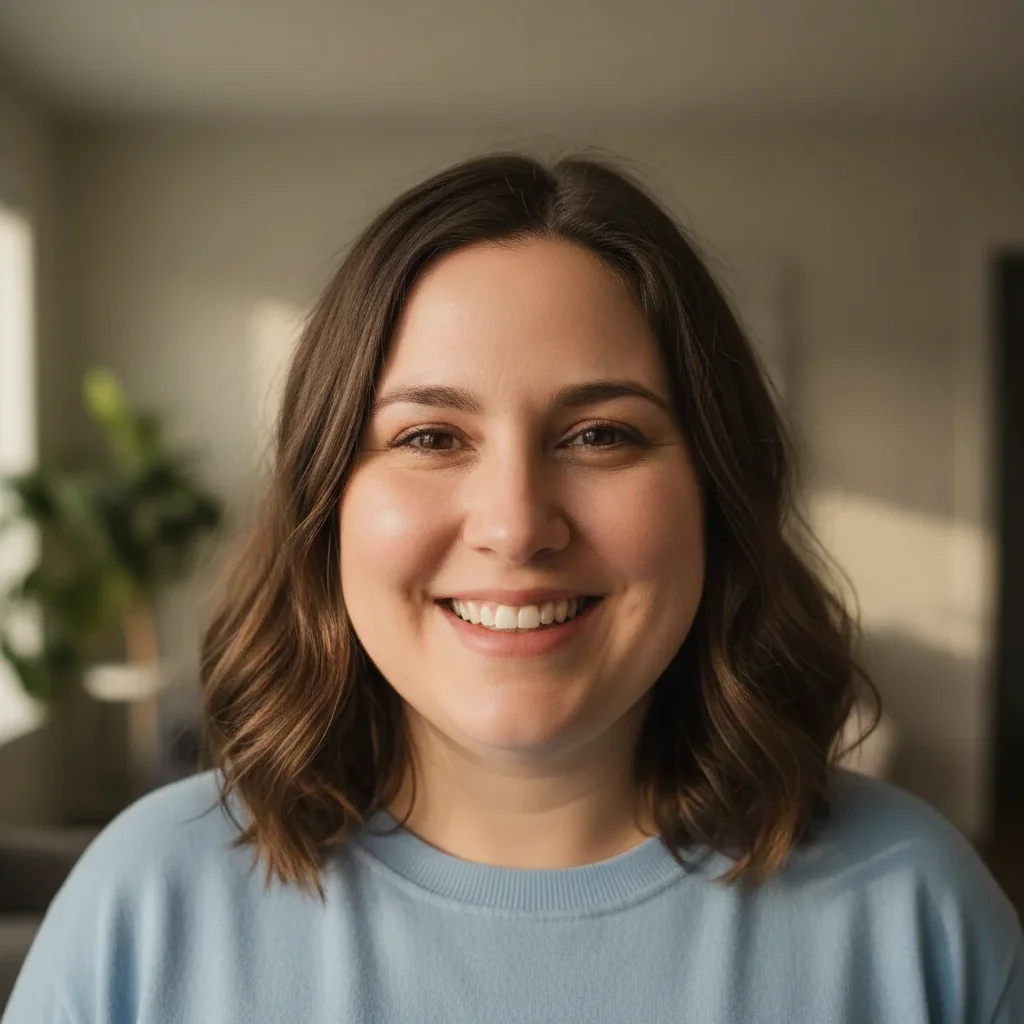
Professional headshot refinement
LinkedIn headshot needed a cleaner jawline. One prompt created a subtle but noticeable improvement while keeping the professional look.
slim and contour the chin area for a more defined jawline while keeping the face natural
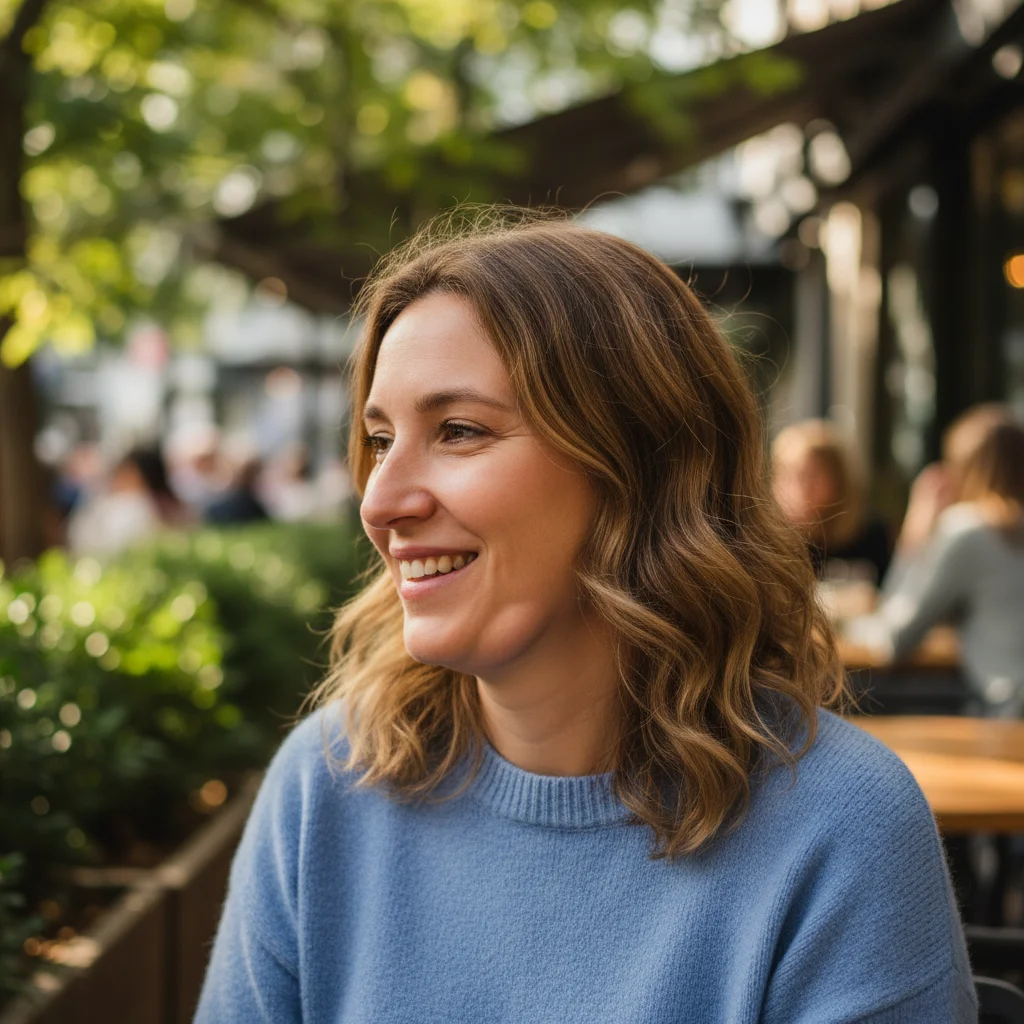
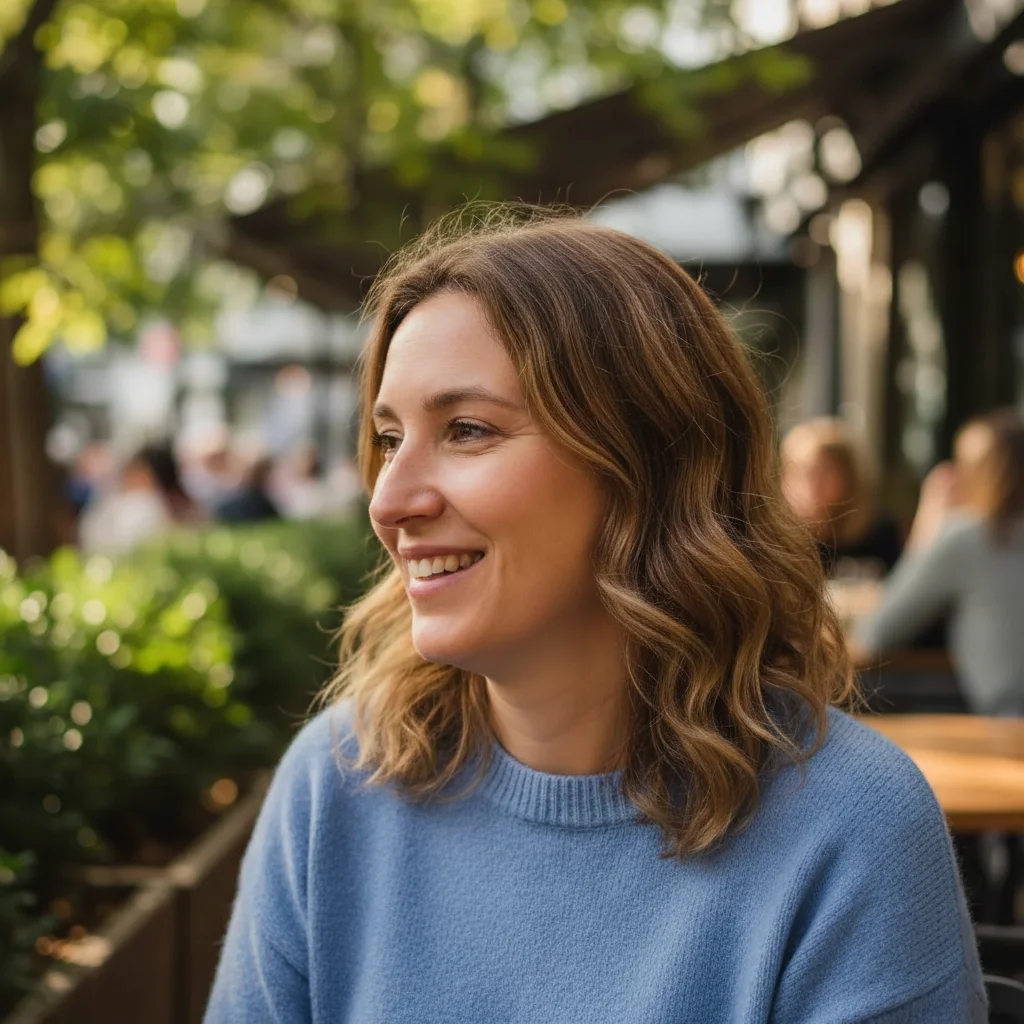
Selfie with challenging downward angle
Selfie taken from below created an unflattering chin angle. The AI corrected it while preserving the natural shadows and expression.
slim the chin area and improve the jawline definition while maintaining natural shadows


Wedding guest photo
Candid photo at a wedding caught an unflattering moment. Subtle contouring preserved the genuine smile while creating a more flattering profile.
subtly contour the chin and neck area for a more flattering look while preserving the formal portrait quality
If something looks off
Quick answers
How EditThisPic compares
| Tool | Free tier | Per-edit cost | AI-powered | Signup required |
|---|---|---|---|---|
| EditThisPic | 1 free edit/week | From 27¢ | Yes (Gemini) | No |
| Adobe Photoshop | 7-day trial | ~$22.99/mo subscription | Yes (Firefly) | Yes |
| Remove.bg | Low-res preview only | ~20¢/HD edit | Background only | Yes (for HD) |
| Canva | Basic tools only | $15/mo Pro for AI | Partial (Pro tier) | Yes |
Popular use cases
Ready to look your best in every photo?
Gratis to try. Sem cadastro required.