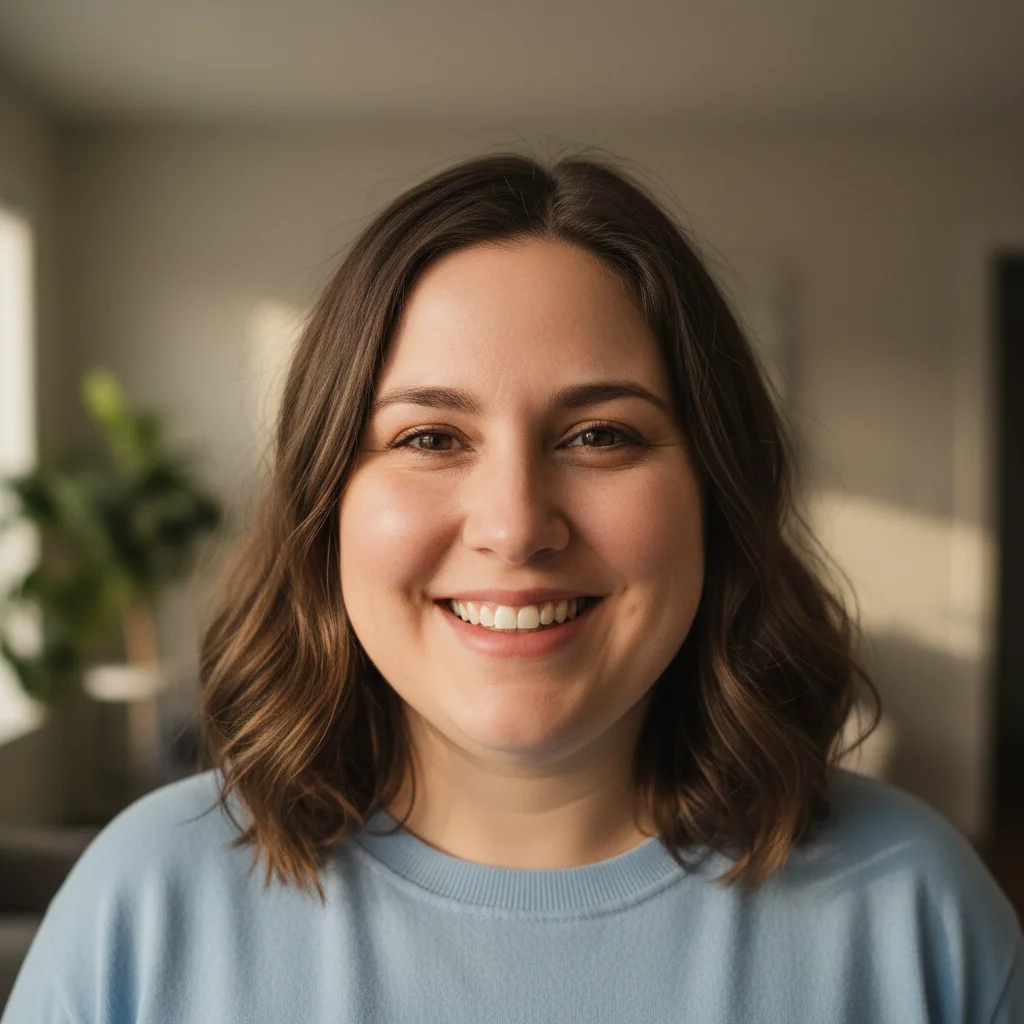
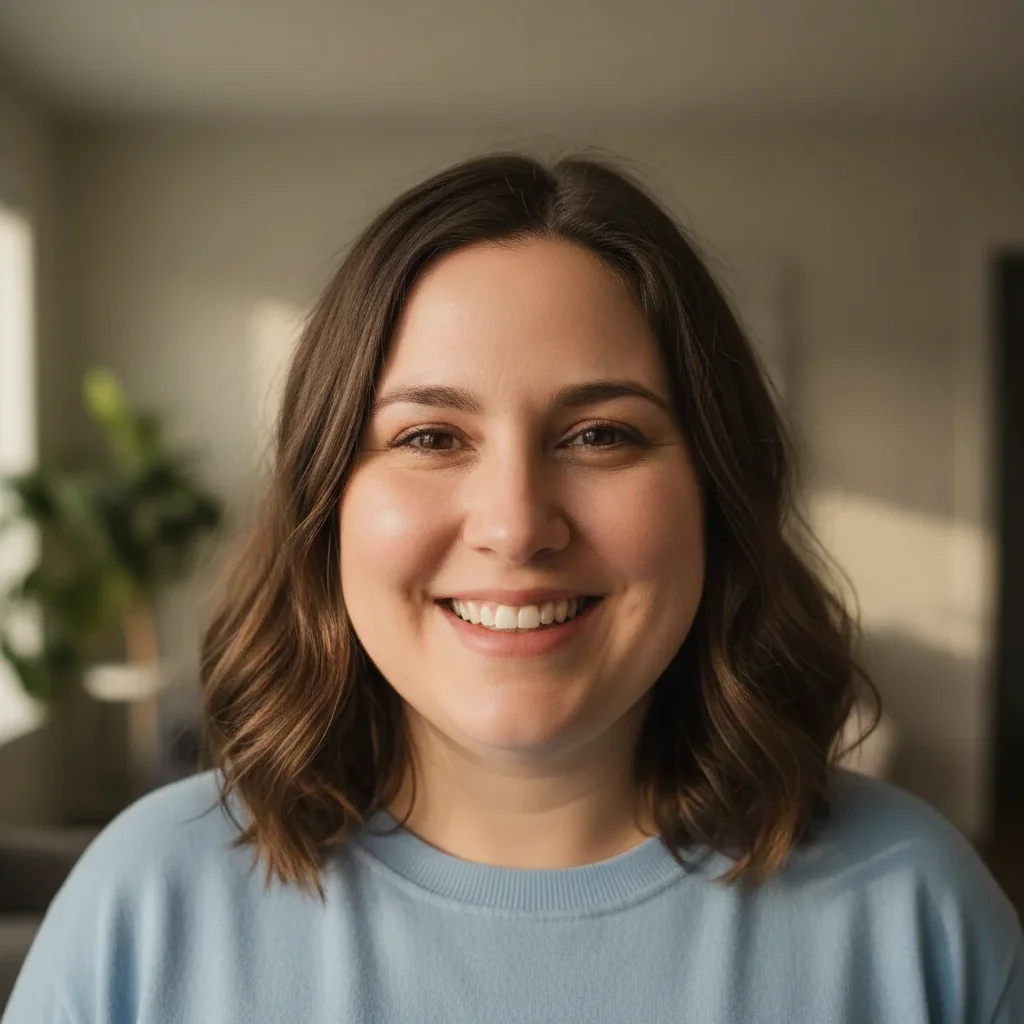
Can AI remove a double chin without looking weird?
Yes, when you keep the prompt subtle. EditThisPic's AI is designed to refine, not transform — it preserves your skin texture, shadows, and the proportions of the rest of your face. The trick is to include 'subtle' or 'recognizable' in the prompt. The result reads as a flattering camera angle rather than an obvious edit, and most people just think it's a nice photo.
What's the best angle to avoid a double chin in a photo?
Hold the camera at eye level or slightly above and tilt your chin a tiny bit forward and down — the opposite of what most selfies do. Low-angle phone selfies are the single biggest cause of double-chin photos. If you're stuck with a low-angle shot you already love, the AI fix is the next best thing: tell it 'fix the chin angle as if shot from eye level' and it will correct what the camera position broke.
Will AI chin slimming make my face look too thin?
Not if you constrain the prompt. The default failure mode is over-slimming, so explicitly say 'reduce only the double chin area, keep my cheeks and full face shape the same.' The AI will then focus only on the area under the jawline and leave the rest alone. If the first attempt is still too thin, regenerate with 'less aggressive, just refine the chin.'
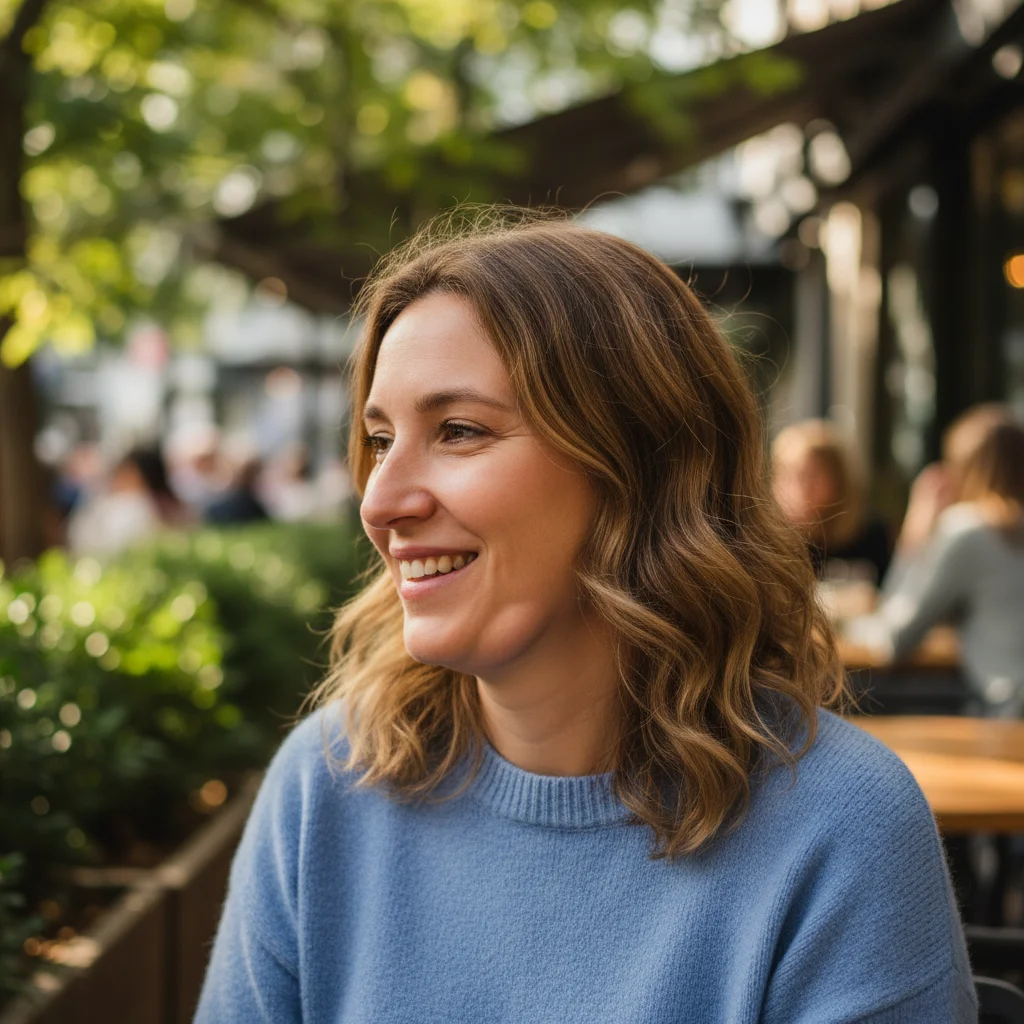
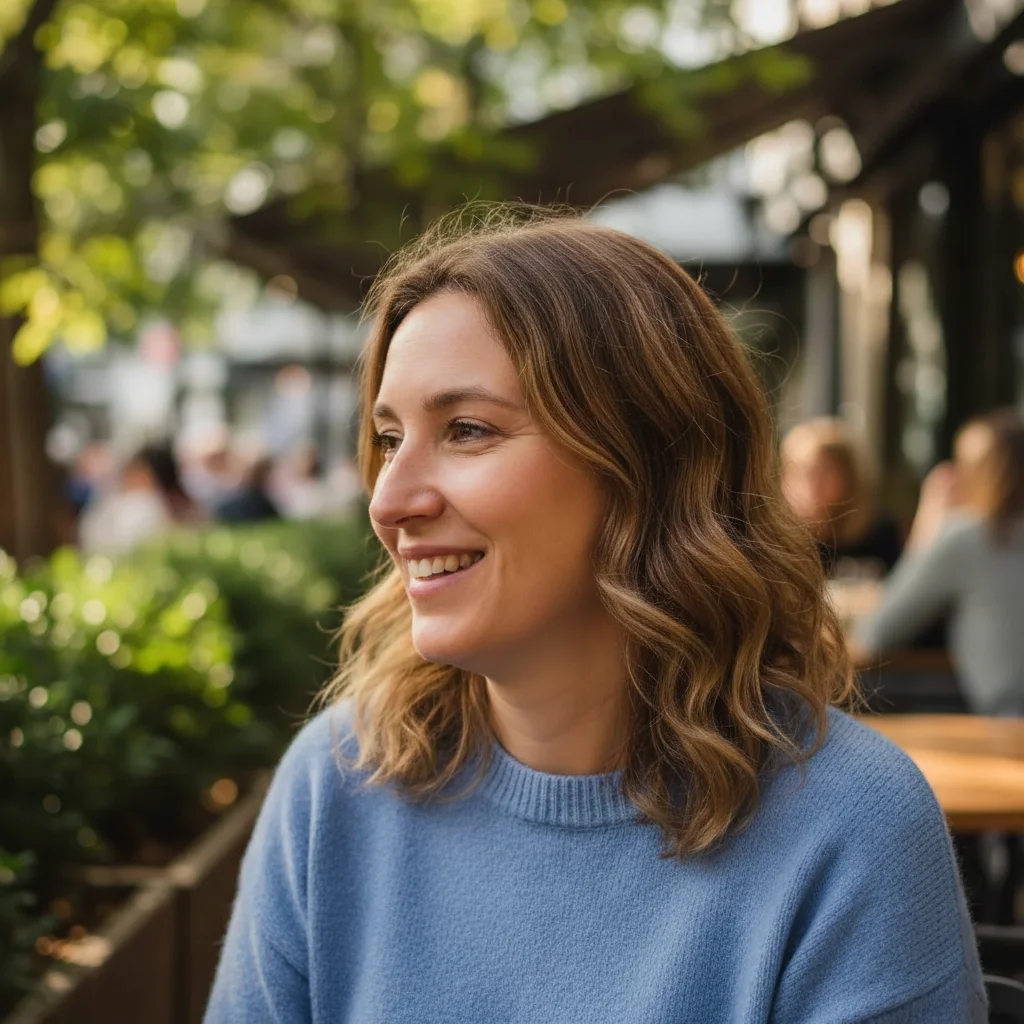
Does it work on profile photos and three-quarter angles?
Yes. EditThisPic's AI handles front-facing, three-quarter, and profile shots. Front-facing and three-quarter angles produce the most natural results because the AI can clearly see the jawline transition. Pure side profiles work but may need one refinement pass — tap a marker on the visible jawline and regenerate to clean up the edge.
Can I remove just my double chin in a group photo?
Yes. Use 'reduce only my double chin and define my jawline, do not change anything or anyone else in the photo.' The AI will focus on your face and leave the rest of the group untouched. If it accidentally affects someone next to you, tap a marker on your chin specifically and regenerate — that locks the edit to your face.
How is this different from face-slimming filters in Snapchat or Facetune?
Filters apply the same shape transformation to every face, which is why filtered photos all start to look the same. EditThisPic's AI reads your specific photo — your facial structure, the lighting, the shadows under your jaw — and makes targeted adjustments that match. The result looks like a well-lit photo, not a filter. You also control how much change happens by adjusting your prompt.
Is there a free AI double chin remover that doesn't require signup?
Yes. EditThisPic gives you one free Fast edit per week with no account, no card, and no watermark — enough to clean up a single LinkedIn headshot or dating photo. If you want to refine a whole headshot session, the Lite plan is $4.99/month for 15 credits, or you can grab a 3-edit pack for $1.99 with no subscription.
Will this make me look unrecognizable to people who know me?
No, not when you use a subtle prompt. The AI makes proportional adjustments — think of it like the difference between a bad camera angle and your best photo. Your bone structure, eyes, nose, mouth, and skin all stay exactly the same. The only thing that changes is the contour under the jaw. Friends won't notice the edit, they'll just think you look great in this one.
Can I use the AI double chin remover on my phone?
Yes. EditThisPic runs in any modern mobile browser — Safari on iPhone, Chrome on Android, tablets — so you can fix a chin straight from your camera roll without installing anything. The result saves back to Photos at the same resolution. There's also a native iOS app on the App Store if you'd rather have a one-tap shortcut.
What photo formats does the AI double chin remover support?
JPG, PNG, WebP, and HEIC up to 7MB — every format that modern phones and DSLRs export by default. iPhones in HEIC mode upload directly with no conversion, and the edited photo comes back in the same format you uploaded so it stays compatible with your camera roll, dating app, or print service.
How much does EditThisPic cost?
You get 1 free edit per week — no account needed. After that, credit packs start at $1.99 for 3 edits. Monthly plans start at $4.99/mo for 15 edits with unused credits rolling over. All edits are full resolution with no watermark.