How specific should my prompt be to get a good AI Photo Unblurer result on the first try?
One sentence is usually enough: 'Unblur this photo to look professional.' If the first result is off, refine with details — color, position, lighting, or what to keep. Each pass takes 20-45 seconds and runs separately, so you can compare. Free first edit per week, no signup.
How do I unblur a photo for free?
Upload your photo to EditThisPic and type 'sharpen and enhance clarity of this photo.' The AI restores sharpness in 15-30 seconds. Free to use with no account or signup required. No watermark on the result.
Is there a free photo unblurring tool that doesn't require signup?
Yes. EditThisPic unblurs photos with no account needed. Upload your image, describe the fix, and download the sharpened result. No watermarks, no login walls. Works on motion blur, out-of-focus shots, and low-resolution images.
What is the best AI tool for unblurring photos?
EditThisPic lets you describe exactly what kind of blur to fix — motion blur, soft focus, low resolution — using natural language. Unlike preset-only sharpening tools, the AI reconstructs actual missing detail. Free, no login, results in 15-30 seconds.
Can AI really fix any blurry photo?
AI can significantly improve most blurry photos, but results depend on how much information remains. Slight blur from camera shake or soft focus recovers well. Severely blurred photos where subjects are unrecognizable may not fully restore. The AI reconstructs likely details based on patterns, so some detail is always inferred rather than recovered.
What types of blur can be fixed?
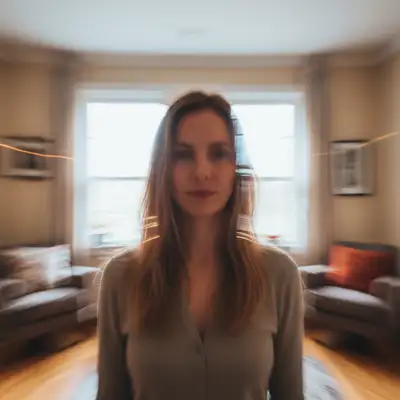
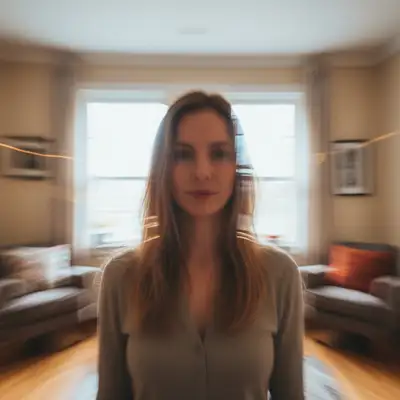
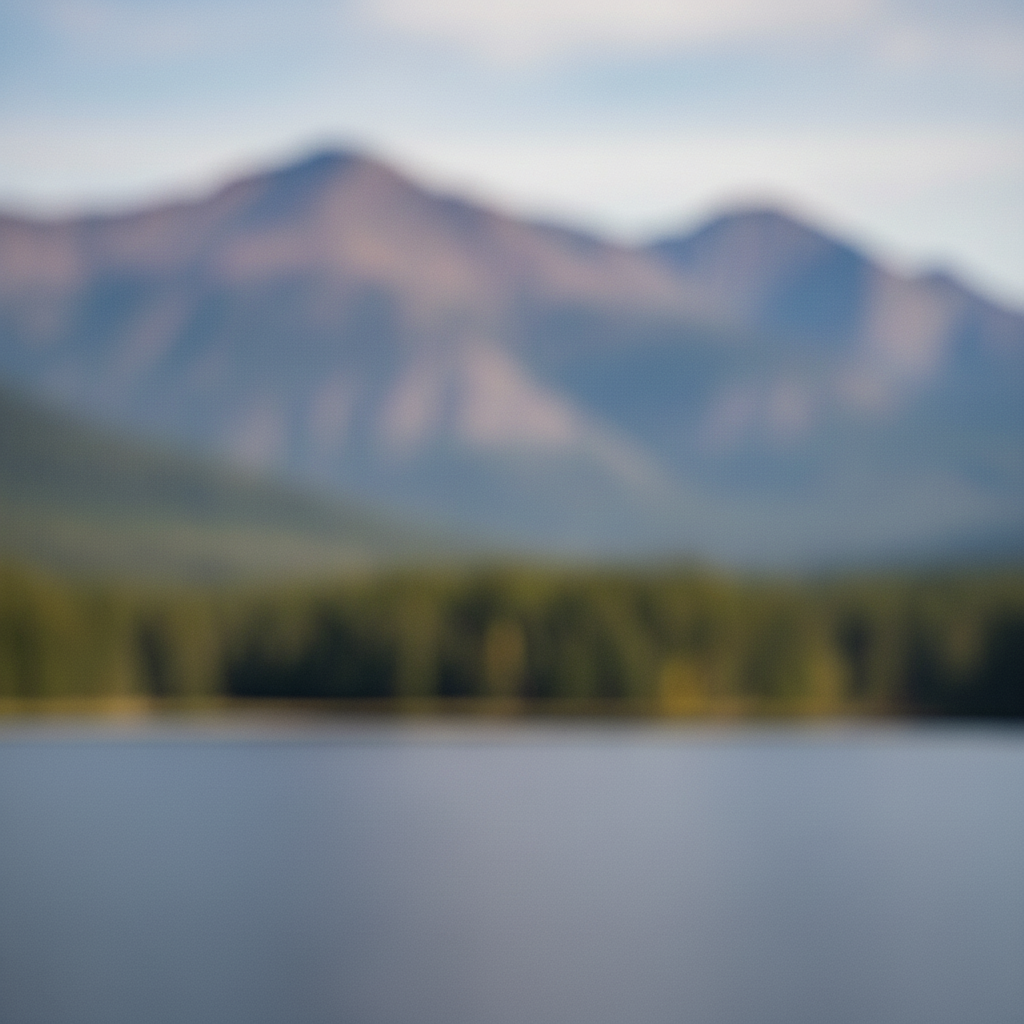
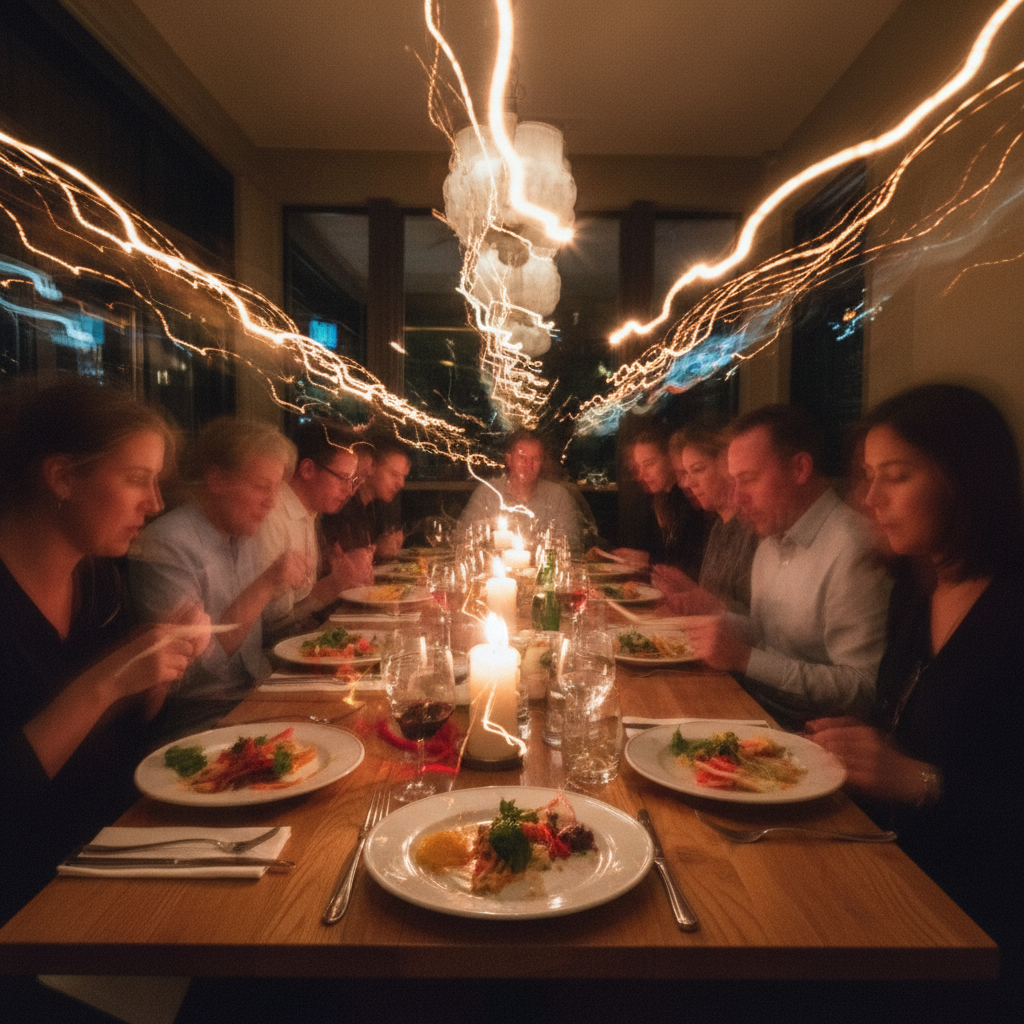
EditThisPic handles motion blur from camera shake, out-of-focus blur, slight defocus, and general softness. It also helps with low resolution images by adding realistic detail. Heavy bokeh (intentional background blur) and extreme motion trails are harder to fix completely.
Will sharpening make the photo look unnatural?
When using natural prompts like 'sharpen while keeping realistic look,' the AI avoids over-processing. If results look harsh, add 'naturally' or 'softly' to your prompt. You can always regenerate with adjusted wording until the balance looks right.
How is this different from Photoshop's unsharp mask?
Traditional sharpening tools enhance existing edges. AI sharpening actually reconstructs missing detail by understanding what should be there. This means faces, text, and objects can recover detail that edge-sharpening alone cannot restore.
Is EditThisPic's AI photo unblurer really free?
Yes — you get 1 free edit per week, no account needed. For more edits, plans start at $4.99/month.
Can I unblur a photo on my phone?
Yes. EditThisPic works in any mobile browser — iPhone, Android, tablet. No app download needed.
Is it safe to upload personal photos for unblurring?
Yes. EditThisPic processes your photo in real time and does not store or save your images on any server. Your photo is sent to the AI model for processing and the result is returned directly to your browser. No images are used for training or shared with third parties.
How much does EditThisPic cost?
You get 1 free edit per week — no account needed. After that, credit packs start at $1.99 for 3 edits. Monthly plans start at $4.99/mo for 20 edits with unused credits rolling over. All edits are full resolution with no watermark.