Free β€’ No signup Sharpen Blurry photo Β· Free

Sharpen Blurry Photo

Type 'sharpen this blurry photo and restore detail' and watch motion blur, camera shake, and out-of-focus shots come back in seconds.

Family photo with severe directional motion blur making faces unrecognizable
Before
β†’
Same family photo with restored sharp faces and clear detail
After

Sharpen Blurry Photo

Upload photo to sharpen blurry photo

Free β€’ Results in 30 seconds β€’ No signup

Release to upload

FreeNo signupNo watermark

1 free edit·then from $1.99

Popular use cases:
  • family memories
  • wedding photography
  • concert and event photos
  • pet photography
  • phone camera shake
  • old film scans
  • out-of-focus baby photos
  • sports action shots

Cost
Free No signup required
Time
Instant results in 15-30 seconds
Works on
Any device - browser, phone, tablet, desktop
Powered by
AI-powered photo editing
Scenario Prompt Time
Out-of-focus shot sharpen this blurry photo and restore lost detail, no artifacts 20s
Motion blur from camera shake fix the motion blur from camera shake, deblur in the direction of the streaks 25s
Blurry face in portrait sharpen the blurry face, preserve the likeness 20s
Blurry pet photo sharpen this blurry pet photo, restore fur texture and features 20s

How it works

  1. Upload your blurry photo

    Drop the blurry image into EditThisPic. JPG, PNG, WebP, and HEIC up to 7MB. Photos with even slight residual detail recover much better than completely smeared images β€” the AI uses what's there as a starting point for reconstruction.

    Expect: Slight softness or out-of-focus: 15-20 seconds. Heavy motion blur or camera shake: 25-30 seconds and may need a second pass focused on faces.
  2. Describe the blur and what to fix

    Type your fix in plain English: 'sharpen this blurry photo and restore lost detail' or 'fix the motion blur from camera shake.' Naming the blur type helps β€” Gaussian, motion, and out-of-focus are handled differently. The AI processes the entire image automatically; no marking needed.

    Tip: Tell the AI what to prioritize: 'sharpen the face especially' or 'recover the text on the sign.' Targeted prompts produce dramatically sharper key areas than 'just sharpen everything.'

    Copy one of these to get started:

    General blurry photo (out-of-focus or soft) sharpen this blurry photo and restore lost detail, make edges crisp and natural without artifacts
    Motion blur from camera shake fix the motion blur from camera shake, restore sharp edges and detail naturally, deblur in the direction of the streaks
    Blurry face in a portrait sharpen the blurry face, restore eyes, eyebrows, and skin detail clearly while preserving the person's likeness
    Out-of-focus shot (wrong focal distance) fix the out-of-focus blur, sharpen the subject and bring it into clear focus without affecting background bokeh
    2 more prompts
    Blurry pet photo (animal moved) sharpen this blurry pet photo, restore fur texture and facial features clearly, the animal moved during the shot
    Blurry text or document in a photo sharpen the blurry text in this photo and make it readable, reconstruct letters clearly without changing what they say
  3. Generate and check at 100%

    Tap generate and zoom into the most important areas (faces, eyes, text). Look for restored edges, recovered facial features, and natural texture. Good sharpening looks like a clean photo, not an over-sharpened one with halos around every edge.

    Tip: If you see halos or crunchy edges, re-prompt with 'sharpen naturally without artifacts or over-processing.'
  4. Refine with markers if needed

    If only one part needs more work β€” like a face that's still soft while the rest looks sharp β€” tap markers on those spots and regenerate. Markers are also useful when you want to keep intentional background bokeh while sharpening the subject.

    Tip: Markers protect intentional blur. Drop them on background bokeh to stop the AI from sharpening areas that were artistically blurred.
Try it free ↓

Sharpen Blurry Photo

Upload photo to sharpen blurry photo

Free β€’ Results in 30 seconds β€’ No signup

Release to upload

Free β€’ No signup

See it in action

Family photo with severe directional motion blur making faces unrecognizable
Before
->
Same family photo with restored sharp faces and clear detail
After

Family photo rescued from camera shake

Outdoor family group shot ruined by camera shake β€” directional motion blur smeared every face. The AI restored everyone clearly in a single pass.

Prompt: fix the motion blur from camera shake, restore sharp edges and detail naturally, deblur in the direction of the streaks
Out-of-focus baby photo with soft blurred face
Before
->
Same baby photo with sharp eyes, clear features, and natural skin texture
After

Out-of-focus baby photo brought into focus

An adorable baby photo shot at the wrong focal distance β€” soft Gaussian blur made the eyes and features unclear. The AI sharpened the face while keeping skin texture natural.

Prompt: fix the out-of-focus blur, sharpen the subject and bring it into clear focus without affecting background bokeh
Blurry golden retriever photo with smeared fur and features from motion blur
Before
->
Sharp golden retriever photo with clear fur texture and visible facial features
After

Blurry pet photo where the dog moved

A golden retriever lunged at the moment of capture, smearing the face into a blur. The AI rebuilt fur texture and facial features in one pass.

Prompt: sharpen this blurry pet photo, restore fur texture and facial features clearly, the animal moved during the shot

Detailed Guides by Scenario

πŸ“·

Motion Blur & Camera Shake

The hardest blur to fix β€” directional streaks caused by the camera or subject moving during exposure. AI deblurring can recover camera shake well when it can identify the streak direction. Subject motion (a running dog, a moving toddler) is the toughest case but still recoverable for mild-to-moderate blur.

Common Scenarios

  • Family group photos where the photographer's hand shook
  • Indoor low-light photos where the slow shutter caused streaking
  • Action shots of pets, kids, or sports where the subject moved
  • Concert photos where both the performer and the photographer were moving

Best Practices

  • Always name 'motion blur' or 'camera shake' explicitly β€” different algorithms handle each
  • If you can see the streak direction, mention it: 'horizontal motion blur' or 'diagonal streaks'
  • For severe motion blur, expect generative reconstruction rather than literal recovery
  • Use markers on the face if the subject is the main thing β€” let the AI focus its work there
πŸ“·

Out-of-Focus & Soft Shots

The easiest blur for AI to fix β€” Gaussian blur from focusing on the wrong distance or shooting through soft optics. Out-of-focus baby photos, mistakenly soft portraits, and slightly fuzzy product shots all recover dramatically with a single prompt.

Common Scenarios

  • Baby and toddler portraits where the camera focused on the background
  • Phone macro shots where the focal distance was wrong
  • Group photos where the camera focused on someone else
  • Slightly soft photos from an old or low-quality lens

Best Practices

  • Use 'fix the out-of-focus blur' explicitly β€” it triggers Gaussian deblurring
  • Specify what to bring into focus: 'sharpen the baby's face' or 'bring the product into clear focus'
  • Add 'without affecting background bokeh' if you want to preserve shallow depth-of-field
  • Out-of-focus blur is forgiving β€” even severely soft photos usually recover well
πŸ“·

Old Photos, Scans & Low-Quality Sources

Old film scans, photos shot on old phones, screenshots, and low-resolution sources all suffer from a mix of softness, compression artifacts, and limited detail. AI sharpening rescues them in a way that traditional sharpen filters cannot β€” by generating plausible texture instead of just enhancing edges.

Common Scenarios

  • Scanned childhood photos from film negatives or prints
  • Photos from an old phone with a low-quality lens
  • Screenshots from videos or low-resolution sources
  • Vintage family photos with mild softness from age or storage

Best Practices

  • Tell the AI 'this is an old film photo' so it preserves grain instead of treating it as noise
  • For scans, mention 'scanned from print' to help the AI handle scanner softness
  • Pair sharpening with 'enhance overall quality' for screenshots and low-res sources
  • Avoid aggressive prompts on already-grainy old photos β€” they'll exaggerate texture

If something looks off

Photo still looks blurry after sharpening

Why: The original blur was too severe for one pass, or you used a generic 'sharpen' prompt that did not match the actual blur type.

Try: significantly sharpen this very blurry photo, fix the motion blur and restore as much detail as possible

Tip: Match the prompt to the blur type. 'Motion blur' triggers a different algorithm than 'out of focus' β€” using the right term makes a measurable difference.

Result has visible halos or crunchy edges

Why: The AI applied aggressive deblurring that created over-sharpened artifacts. Common when the original blur was very mild and 'significantly' was overkill.

Try: sharpen this photo naturally and subtly, restore clarity without halos, artifacts, or over-processing

Tip: For mild blur, less is more. Drop 'significantly' and add 'subtle' to dial the AI back.

Face looks like a different person after sharpening

Why: Heavy face deblurring is partly generative β€” the AI fills in plausible features when the original was unrecognizable. Likeness can drift.

Try: sharpen the blurry face conservatively and preserve the person's exact likeness, do not invent new features

Tip: 'Preserve the likeness' is the magic phrase for face deblurring. If it still drifts, drop a marker on the face and re-prompt.

Background got sharper but I wanted it blurry

Why: The AI sharpened the entire image uniformly instead of just the subject, killing your intentional bokeh.

Try: sharpen only the main subject in focus, keep the background bokeh and blur exactly as it is

Tip: Markers are even better for this β€” drop them on the background you want to keep blurred, then sharpen normally.

Reconstructed text says the wrong thing

Why: AI deblurring on text is partly generative. When letters are too smeared to read, the AI invents plausible but wrong words.

Try: sharpen the blurry text in this photo and make it readable, reconstruct letters carefully without changing what they say

Tip: If the text still hallucinates, the original is too blurred to recover reliably. AI cannot read what was never recoverable β€” even though it tries.

Sharpened photo has unnatural color shifts

Why: Aggressive deblurring can introduce chromatic artifacts where edges meet, especially on phone JPEGs with compression artifacts.

Try: sharpen this photo and remove any color fringing or chromatic artifacts on the edges, keep colors natural

Tip: Color fringing is most visible on high-contrast edges (dark hair against bright sky). Calling it out by name lets the AI clean it up.

Quick answers

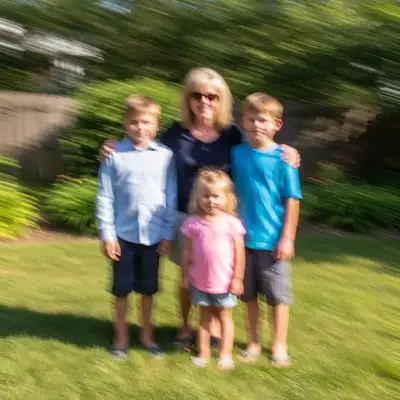
Can you really fix a blurry photo?

Yes β€” for mild and moderate blur, AI deblurring genuinely restores detail by reversing the blur kernel and filling in gaps. The AI is best at Gaussian (out-of-focus) blur, which is mathematically simpler than motion blur. Severely motion-blurred photos where the subject is unrecognizable are partly generative recovery β€” the AI rebuilds plausible detail, not literal original detail. Most family snapshots, phone photos, and slightly soft shots recover cleanly in 15-30 seconds.

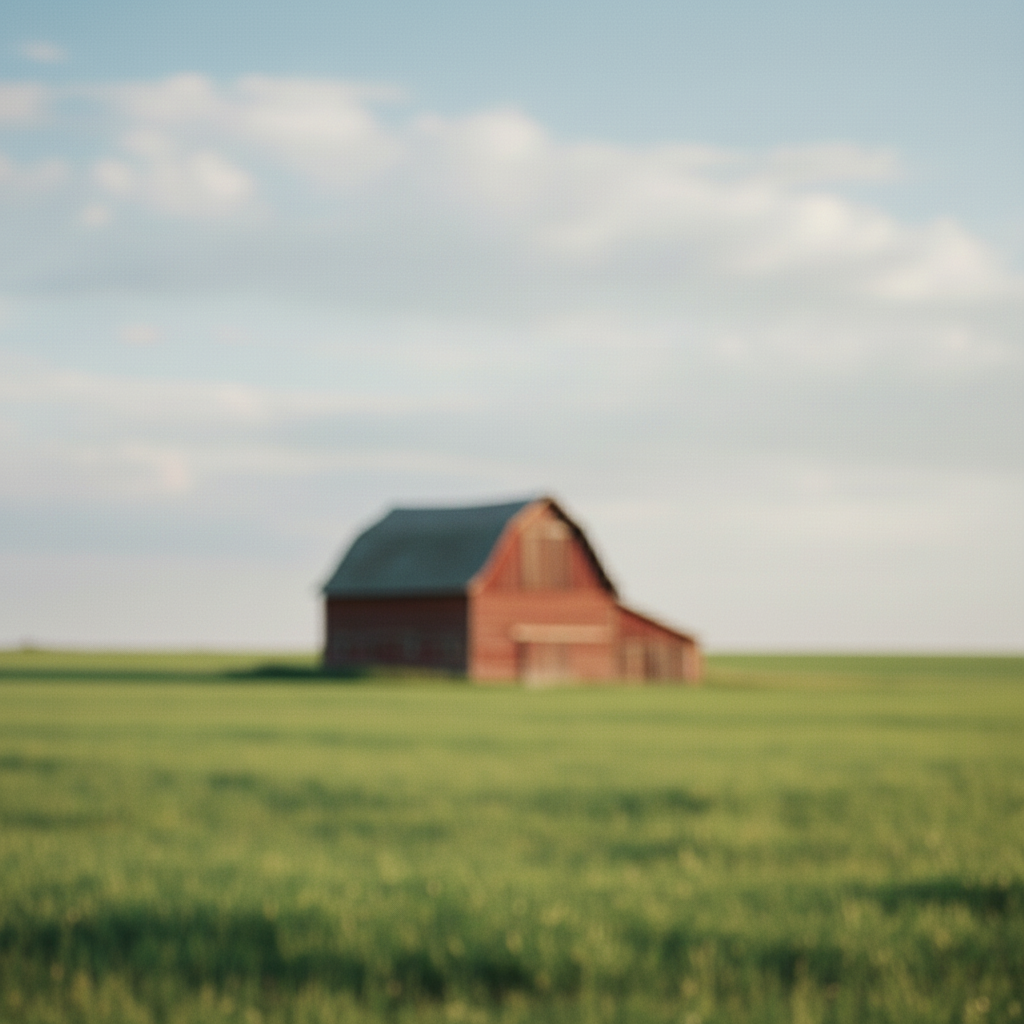
What kinds of blur can AI fix?

Three main types, in order from easiest to hardest. (1) Gaussian / out-of-focus blur is the easiest β€” the AI handles wrong focal distance, soft shots, and mild defocus very well. (2) Camera shake is medium difficulty β€” directional blur from a slow shutter speed recovers if the AI can identify the streak direction. (3) Motion blur from a moving subject is the hardest, especially when the rest of the scene is sharp. Severe motion blur on faces is the failure case to expect.

Can AI fix a photo that's too blurry to recognize?

Sometimes, but the result is intelligent reconstruction rather than recovery. When the original detail is completely gone, the AI generates plausible features based on context β€” a face becomes a face that fits the head shape and lighting, but it may not match the original person exactly. Use the prompt 'preserve the exact likeness' to keep the AI conservative, and accept that severely blurred faces may drift. For moderate blur, results are far more faithful.

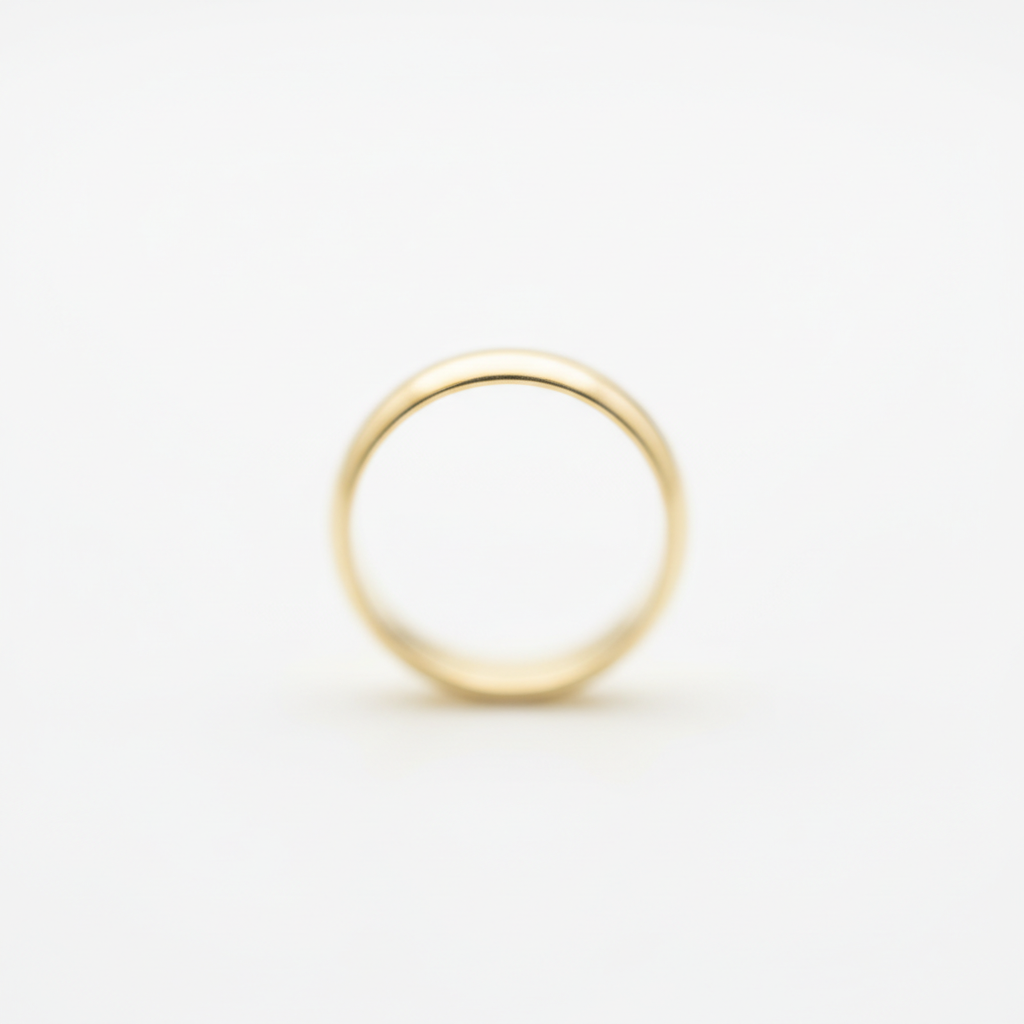
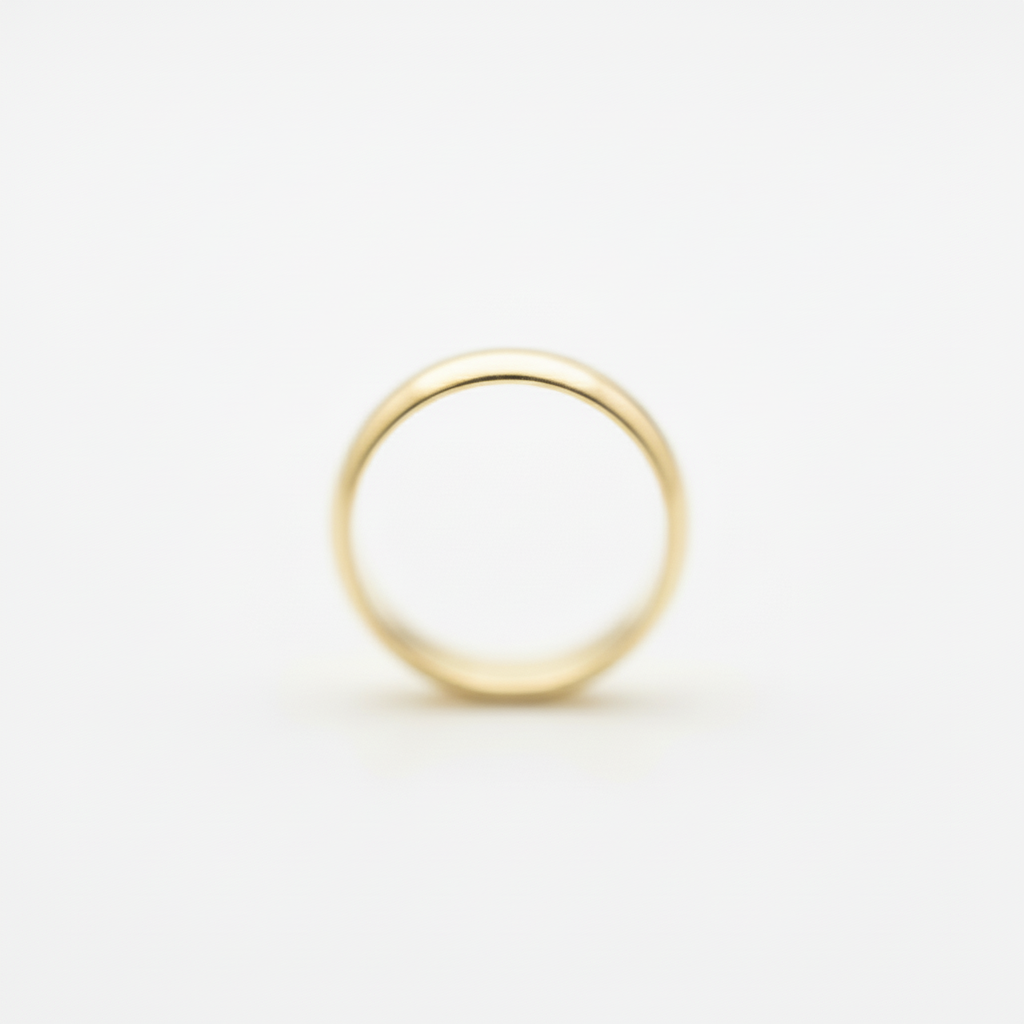
What's the difference between motion blur and out-of-focus blur?

Motion blur is directional β€” caused by movement of the camera or subject during exposure, with streaks running in the direction of motion. Out-of-focus blur is symmetric (Gaussian) β€” caused by the camera focusing on the wrong distance, with soft edges spreading equally in all directions. They look similar to the eye but require different deblurring approaches, which is why naming the blur type in your prompt matters.

How do I sharpen a blurry photo for free with no signup?

Upload your blurry photo to EditThisPic and type 'sharpen this blurry photo and restore lost detail.' Results come back in 15-30 seconds. There's no account required, no watermark on the result, and no app to install. EditThisPic works in any browser on desktop, iPhone, and Android. One free edit per week, then $4.99/month for 15 edits if you need more.

Can I sharpen a blurry photo on my iPhone?

Yes. EditThisPic accepts HEIC files directly and works in Safari and Chrome on iPhone β€” no app download required. The full editing experience including markers and re-prompting works on mobile. iPhone photos with mild camera shake or slight out-of-focus blur recover especially well because phone cameras tend to leave usable residual detail.

Will AI sharpening make my photo look fake or over-processed?

Only if the prompt is too aggressive. The classic 'over-sharpened' look (white halos around every edge, crunchy textures) comes from forcing strong sharpening on photos that didn't need it. Type 'sharpen naturally without artifacts' or 'subtle sharpening, no halos' to dial it back. EditThisPic's AI defaults to natural-looking results when the prompt is reasonable.

Is this better than Photoshop's Smart Sharpen filter?

For mild blur, Photoshop's Smart Sharpen and Shake Reduction are good. For moderate-to-severe blur, AI deblurring wins because it can generate detail rather than just enhance existing edges. Smart Sharpen cannot recover a face that's been smeared into an unrecognizable blur β€” AI can attempt it. AI is also dramatically faster (15-30 seconds vs setting up a Photoshop workflow) and works on phone HEICs without conversion.

Can AI sharpen blurry text or license plates?

Cautiously, yes β€” but with a major caveat. AI text deblurring is partly generative, and when letters are too smeared to read, the AI will invent plausible but wrong characters. Always include 'reconstruct letters without changing what they say.' Even then, treat any reconstructed text as a guess, not evidence. License plates and document text recover better than handwriting because the letterforms are more predictable.

Will sharpening work on old or scanned film photos?

Yes, and old film scans are one of the strongest use cases. Mild softness from age, scanning, or original lens limitations recovers cleanly. Telling the AI 'this is an old film photo' helps it preserve film grain texture instead of treating it as digital noise. Severe damage (creases, chemical stains, missing emulsion) needs the photo restoration tool, not just sharpening.

How much does EditThisPic cost?

You get 1 free edit per week β€” no account needed. After that, credit packs start at $1.99 for 3 edits. Monthly plans start at $4.99/mo for 15 edits with unused credits rolling over. All edits are full resolution with no watermark.

Ready to sharpen your blurry photos?

Free to try. No signup required.

1 free edit included·Credit packs from $1.99