Free โ€ข No signup Upscale Photo resolution ยท Free

Upscale Photo Resolution

Type 'upscale this photo 4x' and watch small images become print-ready in seconds.

Pixelated low-resolution family photo
Before
โ†’
Same photo upscaled with clear faces and sharp details
After

Upscale Photo Resolution

Drop your photo here

or click to browse

Release to upload

Free โ€ข No signup

Advertisement
Popular use cases:
  • Print enlargement
  • Photo printing
  • Canvas prints
  • Social media recovery
  • Old photo restoration
  • Screenshot enhancement
  • E-commerce product photos

Cost
Free No signup required
Time
Instant results in 15-30 seconds
Works on
Any device - browser, phone, tablet, desktop
Powered by
AI-powered photo editing
Scenario Prompt Time
Standard 4x upscale upscale this photo 4x with AI enhancement 25s
Print preparation enlarge this photo for large format print at 300 DPI 30s
Artifact removal upscale this photo 2x and remove compression artifacts 25s
Face preservation upscale this photo 4x preserving natural facial features 35s

How it works

  1. Upload your photo

    Drop your image into EditThisPic. JPG, PNG, WebP up to 7MB all work. Even tiny images like 200x300 pixels can be upscaled effectively with AI enhancement.

    Expect: Small images (under 1000px): 20-30 seconds. Larger images with 4x upscaling: 30-45 seconds.
  2. Describe the upscaling you need

    Type your instruction: 'upscale this photo 4x with sharp details' or 'enlarge for large format printing at 300 DPI.' Specify the scale factor (2x, 4x) or intended use. The AI adds genuine detail, not just stretched pixels.

    Tip: For photos with faces, add 'preserve natural facial features' to prevent the plastic look common with AI upscaling.

    Copy one of these to get started:

    General photo enlargement upscale this photo 4x with AI enhancement, add sharp details and clean edges
    Preparing for large format printing enlarge this photo for large format print, enhance textures and maintain sharp edges at 300 DPI quality
    Recovering a compressed social media download upscale this photo 2x and remove compression artifacts, restore smooth gradients and sharp text
    Old family photo restoration upscale this photo 4x with AI, enhance facial details, restore texture in clothing and background
    4 more prompts
    Small product image for e-commerce upscale this product photo 4x for e-commerce listing, enhance product texture and material details, maintain accurate colors
    Screenshot for presentation upscale this screenshot 2x, keep text perfectly sharp, maintain clean lines on UI elements
    Artwork or illustration enlargement upscale this artwork 4x, preserve artistic style and brushstrokes, sharpen edges without adding artificial details
    Portrait for canvas print upscale this portrait 4x for canvas print, preserve natural skin texture and pores, enhance eye and hair detail
  3. Generate and review

    Tap generate and examine the result at 100% zoom. Check faces, text, and fine textures like fabric or hair. These reveal whether the AI successfully added detail or just smoothed everything.

    Tip: Download and open in another app to see true quality. Browser previews can hide artifacts that appear at full resolution.
  4. Refine specific areas if needed

    If some areas look soft while others are sharp, tap markers on the problem spots and regenerate with 'enhance detail in marked areas.' This focuses extra AI attention where needed.

    Tip: Faces often need extra attention. Mark faces specifically if they're the main subject and appear slightly soft.
Try it free โ†“

Upscale Photo Resolution

Drop your photo here

or click to browse

Release to upload

Free โ€ข No signup

"Found my grandmother's wedding photo at 300x400 pixels. Upscaled it to 2400x3200 and printed a 16x20 for her 60th anniversary." @FamilyMemories_Sarah

See it in action

Pixelated low-resolution family photo
Before
->
Same photo upscaled with clear faces and sharp details
After

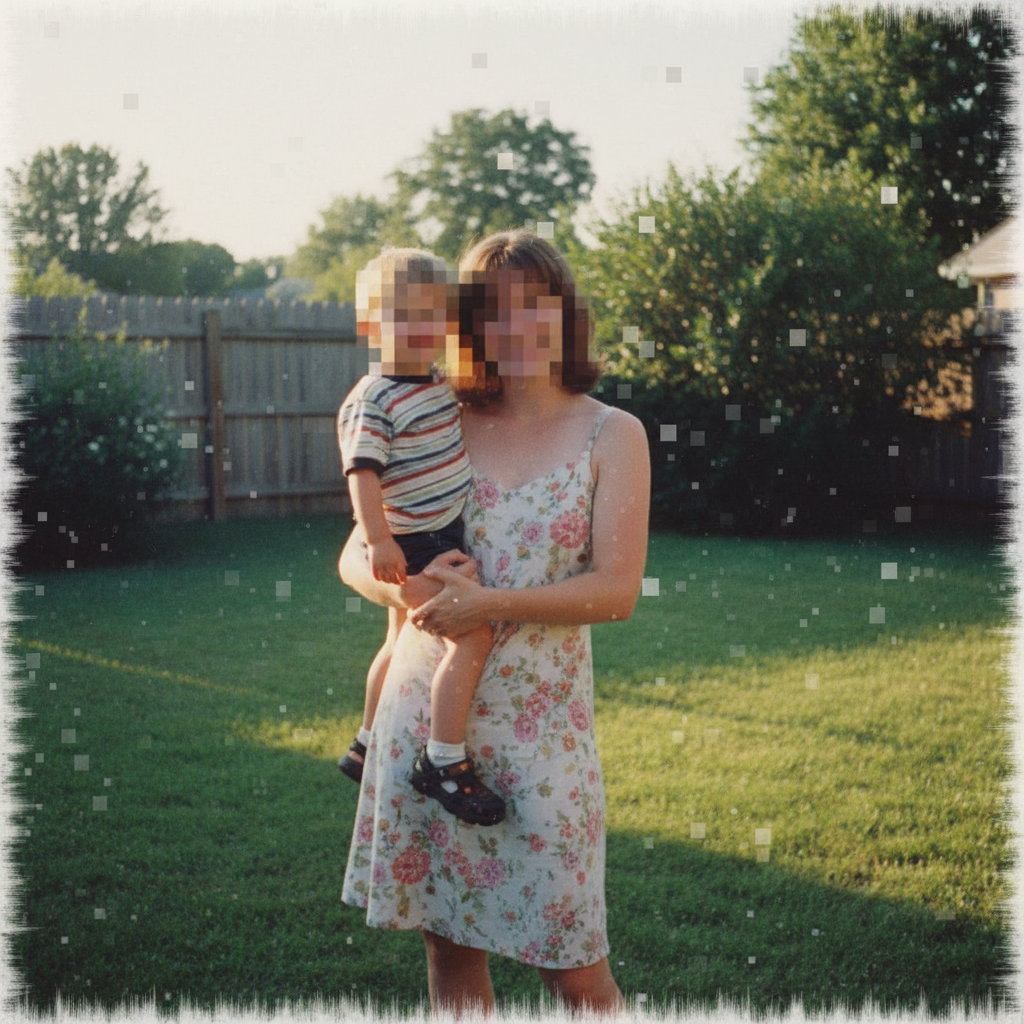
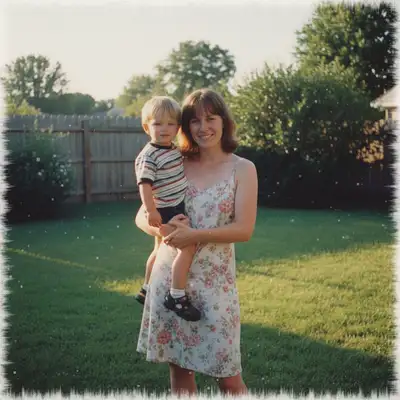
Low-res photo recovered for printing

A 400x600 photo from 2005 upscaled to 1600x2400 for a framed gift. The AI added authentic detail to faces and textures.

Prompt: upscale this photo 4x with AI enhancement, sharpen facial details and restore natural skin texture
Compressed landscape photo with visible artifacts
Before
->
Same landscape upscaled with smooth gradients and sharp mountains
After

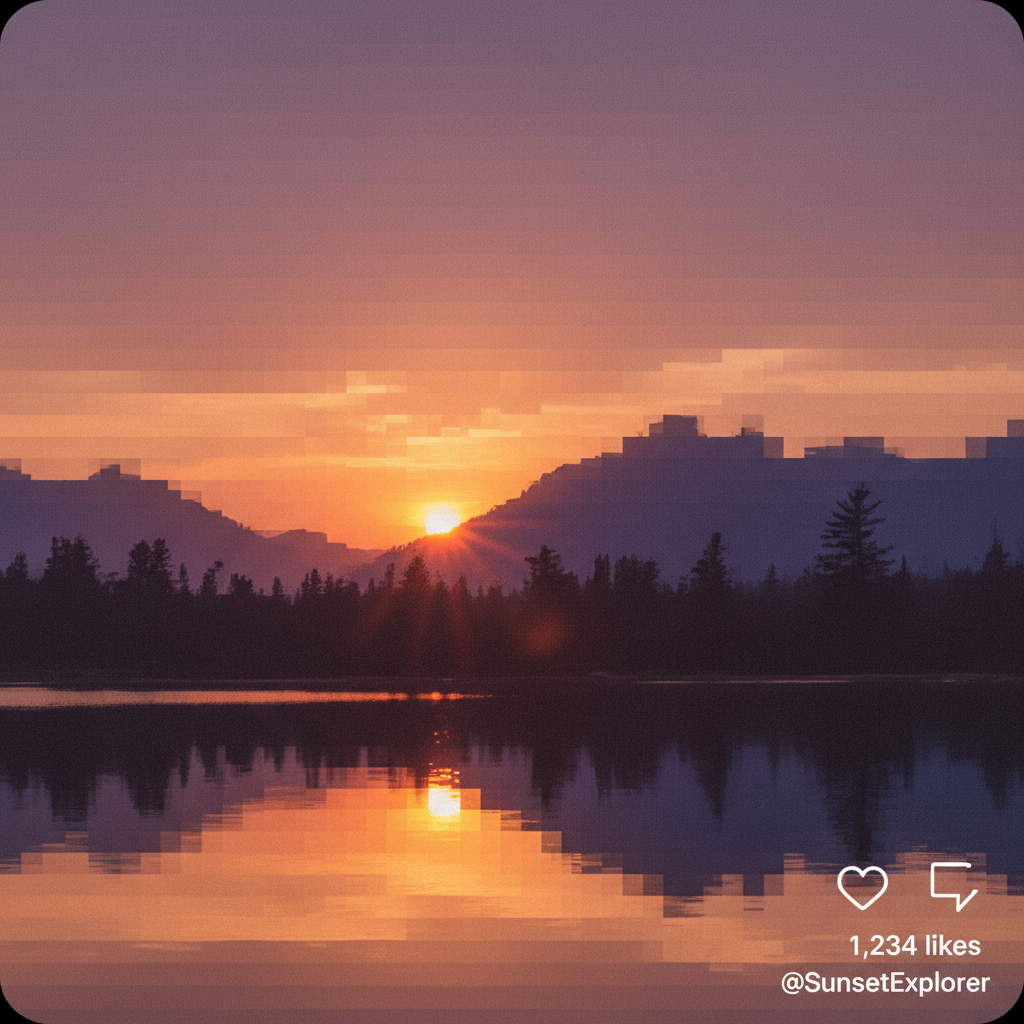
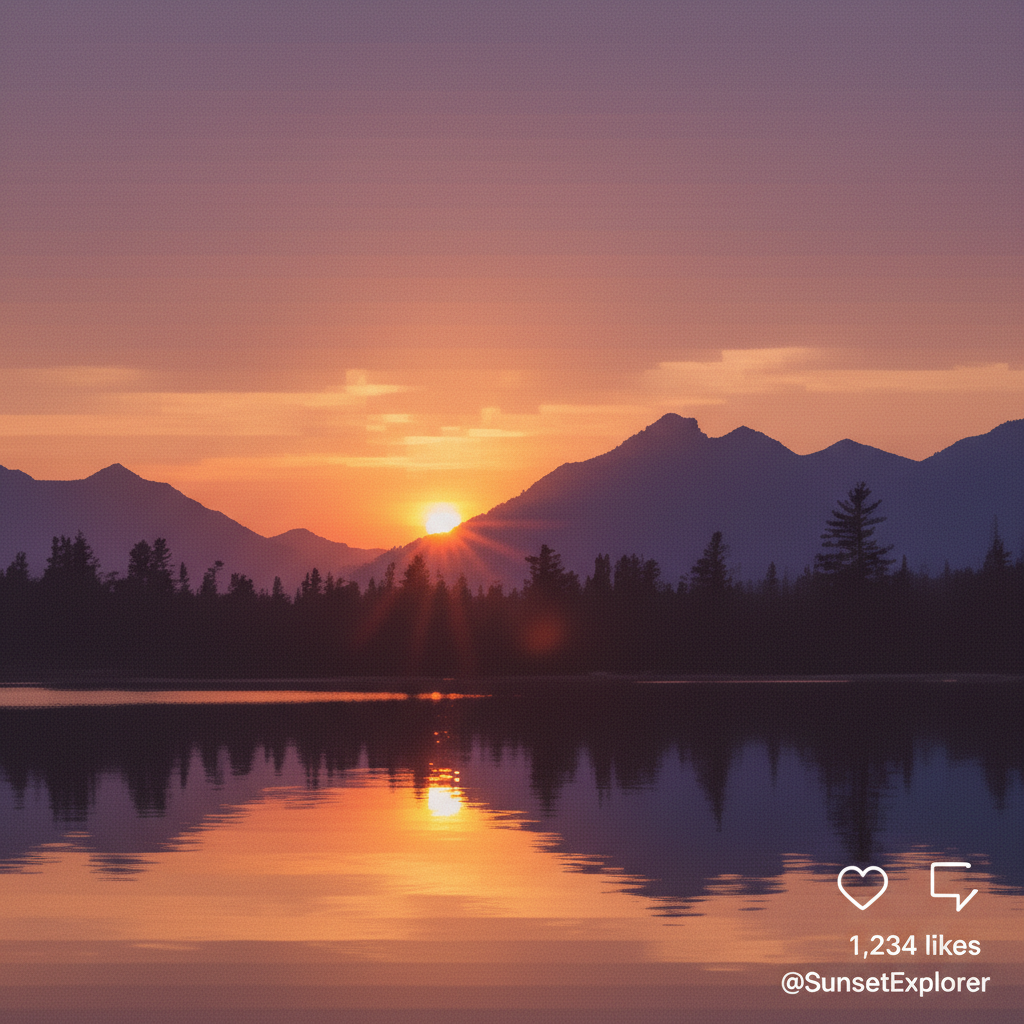
Social media image made print-ready

Instagram download at 1080px upscaled to 4320px for a canvas print. Compression artifacts removed in the process.

Prompt: upscale this photo 4x for large format print, remove compression artifacts, restore smooth color gradients
Tiny pixelated profile picture
Before
->
Same profile picture upscaled with clear facial details
After

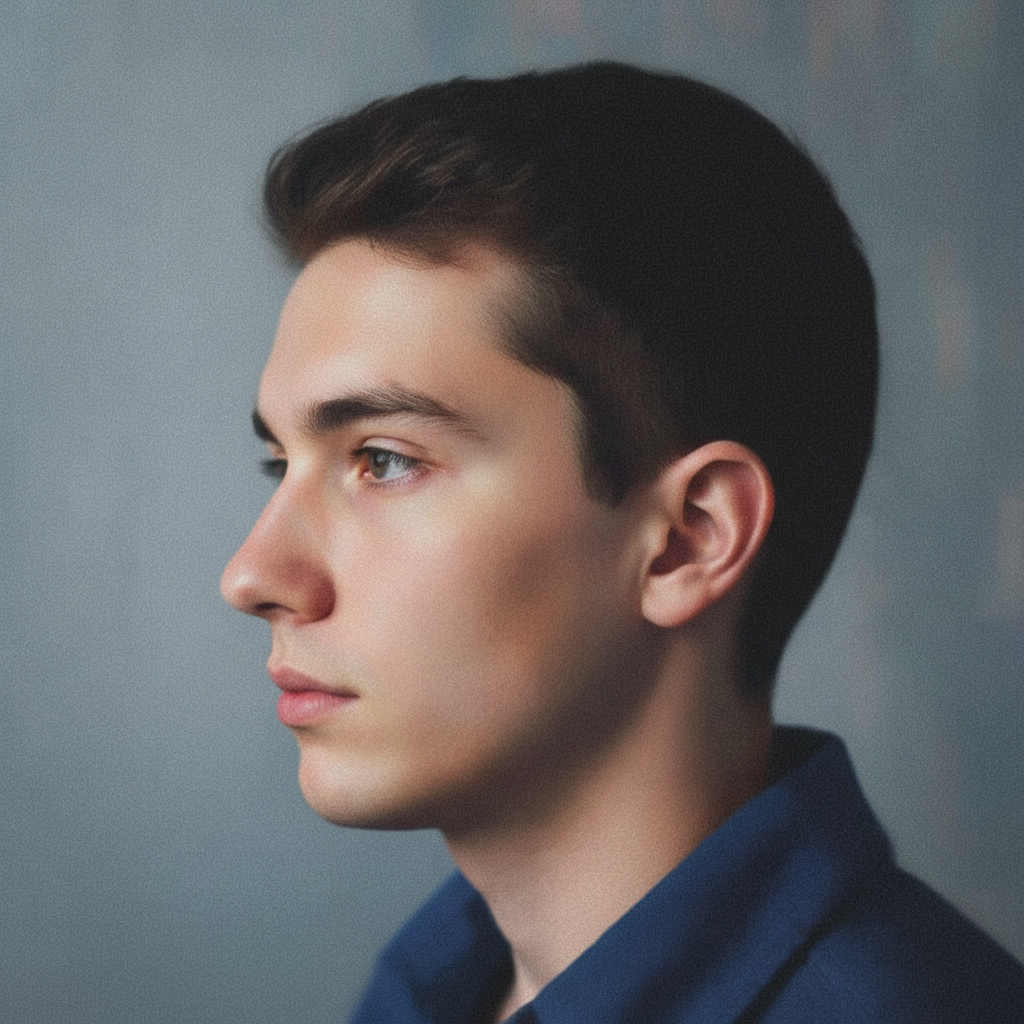
Tiny thumbnail restored to full size

A 150x150 profile picture from an old account. Upscaled to 600x600 while preserving facial identity.

Prompt: upscale this photo 4x preserving facial features with natural skin texture, sharp but not artificial
Advertisement

If something looks off

AI changed the wrong area or added unwanted details

Why: The AI interpreted your request too broadly and enhanced or modified areas you wanted left alone.

Try: Tap a marker on the specific area you want to enhance, then regenerate with 'upscale and enhance only the marked area'

Tip: Markers tell the AI 'focus here specifically.' Use them when the AI gets overly creative with other areas.

Faces look plastic or overly smoothed

Why: The AI prioritized noise removal over detail preservation, common when faces are small in the original image.

Try: upscale this photo 4x, preserve natural skin texture and pores, avoid over-smoothing faces

Tip: If faces are the main subject, try marking them and adding 'enhance facial detail while maintaining natural appearance.'

Result looks sharp but has strange artifacts or hallucinated details

Why: The AI invented details that weren't in the original when trying to fill in missing information at high scale factors.

Try: upscale this photo only 2x, enhance existing details without adding new elements, conservative enhancement

Tip: Try 2x instead of 4x for images with complex details. You can always run a second 2x pass if needed.

Text became blurry or unreadable after upscaling

Why: The AI treated text as a texture rather than sharp edges. Text requires different enhancement than photos.

Try: upscale this photo 2x, keep all text perfectly sharp with hard edges, don't smooth text characters

Tip: For screenshots with text, 2x usually works better than 4x since text edges don't benefit from aggressive enhancement.

Colors shifted or became oversaturated

Why: Enhancement algorithms sometimes boost saturation as a side effect of sharpening and contrast adjustments.

Try: upscale this photo 4x with AI enhancement, maintain exact original colors and saturation levels

Tip: Adding 'maintain exact colors' constrains the AI from creative color adjustments.

Edges have halos or ringing artifacts

Why: Over-sharpening during upscaling creates halos around high-contrast edges. Most visible around dark objects on light backgrounds.

Try: upscale this photo 4x with natural edge treatment, no sharpening halos or ringing artifacts

Tip: If halos persist, mark the affected edges and specify 'soft, natural transitions.'

Quick answers

Do I need to mark anything before upscaling?

No! Just type 'upscale this photo 4x' and the AI handles the entire image. Enhancement works globally on your photo. Only use markers if you want to focus extra attention on specific areas like faces, or if the AI enhanced something you wanted left alone.

How much can I upscale a photo?

EditThisPic supports up to 4x upscaling in a single pass. For most uses, this is plenty - a 1000x1000 image becomes 4000x4000 (16 megapixels). If you need more, you can run the upscaled result through again, though quality diminishes with each pass. For extreme enlargements, start with the highest quality source you can find.

Is there a free photo upscaler that doesn't require login?

Yes, EditThisPic lets you upscale photos free without creating an account. Just drop your image, type your upscaling instruction like 'upscale 4x with sharp details,' and download the result. No login, no watermark on results.

Will upscaling fix a blurry photo?

Partially. AI upscaling adds detail and sharpness that makes images appear clearer at larger sizes. However, if your original photo has motion blur or is severely out of focus, upscaling can only do so much. It works best on images that are simply too small or compressed, not ones with fundamental focus problems.

What resolution do I need for printing?

For quality prints, aim for 300 DPI at your desired size. An 8x10 inch print needs 2400x3000 pixels. A 16x20 inch print needs 4800x6000 pixels. Type 'upscale this photo for [size] print at 300 DPI' and the AI will optimize accordingly. For canvas or viewing from distance, you can get away with 150 DPI.

Is AI upscaling better than Photoshop resizing?

For most photos, yes. Traditional resizing algorithms like bicubic just interpolate existing pixels, creating smooth but blurry results. AI upscaling actually generates new detail based on patterns learned from millions of images. The difference is most visible on faces, text, and fine textures where the AI can reconstruct what 'should' be there.

Ready to upscale your photo?

Free to try. No signup required.

Try it free โ†’