Kostenlos • Keine Anmeldung Remove Birthmark · Kostenlos

birthmark aus Foto entfernen

Remove birthmarks naturally while keeping your real skin texture.

Professional headshot with dark birthmark visible on right cheek
Before
Professional headshot with birthmark removed, natural skin
After

birthmark aus Foto entfernen

Drop your photo here

or click to browse

Release to upload

Kostenlos • Keine Anmeldung

Advertisement
Popular use cases:
  • LinkedIn headshots
  • professional portraits
  • resume photos
  • dating profile photos
  • family portraits
  • passport photos
  • social media selfies

Cost
Free No signup required
Time
Instant results in 15-30 seconds
Works on
Any device - browser, phone, tablet, desktop
Powered by
AI-powered photo editing
Scenario Prompt Time
Single birthmark remove the birthmark on my cheek 15s
Multiple birthmarks remove the birthmarks but keep natural features 30s
Large birthmark remove the birthmark and blend naturally 30s

How it works

  1. Upload your photo

    Drop your image into EditThisPic. JPG, PNG, WebP up to 7MB. Portraits and headshots with clear lighting work best for skin retouching.

    Expect: Simple birthmarks: 15-30 seconds. Larger or multiple birthmarks: may need 2-3 refinements.
  2. Describe what you want

    Type your instruction: 'remove the birthmark on my cheek' or 'remove the dark spot on my forehead.' Be specific about location for best results. The AI understands common facial areas without needing markers.

    Tip: Mention the location (cheek, neck, forehead) for more accurate targeting.

    Copy one of these to get started:

    General birthmark removal remove the birthmark and blend with surrounding skin naturally
    Facial birthmark on cheek remove the birthmark on my cheek, keep natural skin texture
    Birthmark on neck or shoulder remove the birthmark on my neck area
    Darker birthmark with distinct edges remove the dark birthmark and match the surrounding skin tone
    2 more prompts
    Multiple small birthmarks remove the birthmarks on my face but keep freckles and natural features
    Birthmark near eye or hairline carefully remove the birthmark near my eye, preserve the surrounding area exactly
  3. Generate and review

    Check that the birthmark is gone and the surrounding skin looks natural. Zoom in to verify skin texture matches the rest of your face. Look for any color mismatches at the edges.

  4. Refine with markers if needed

    If the AI removed the wrong area or left some discoloration, tap a marker directly on the spot and regenerate. This is optional for most simple birthmark removals.

    Tip: Markers are for precision refinement, not a required step. Try without them first.
Advertisement
Try it free

birthmark aus Foto entfernen

Drop your photo here

or click to browse

Release to upload

Kostenlos • Keine Anmeldung

"Needed a clean headshot for my resume. Removed the birthmark on my cheek perfectly!" @career_ready

See it in action

Professional headshot with dark birthmark visible on right cheek
Before
->
Professional headshot with birthmark removed, natural skin
After

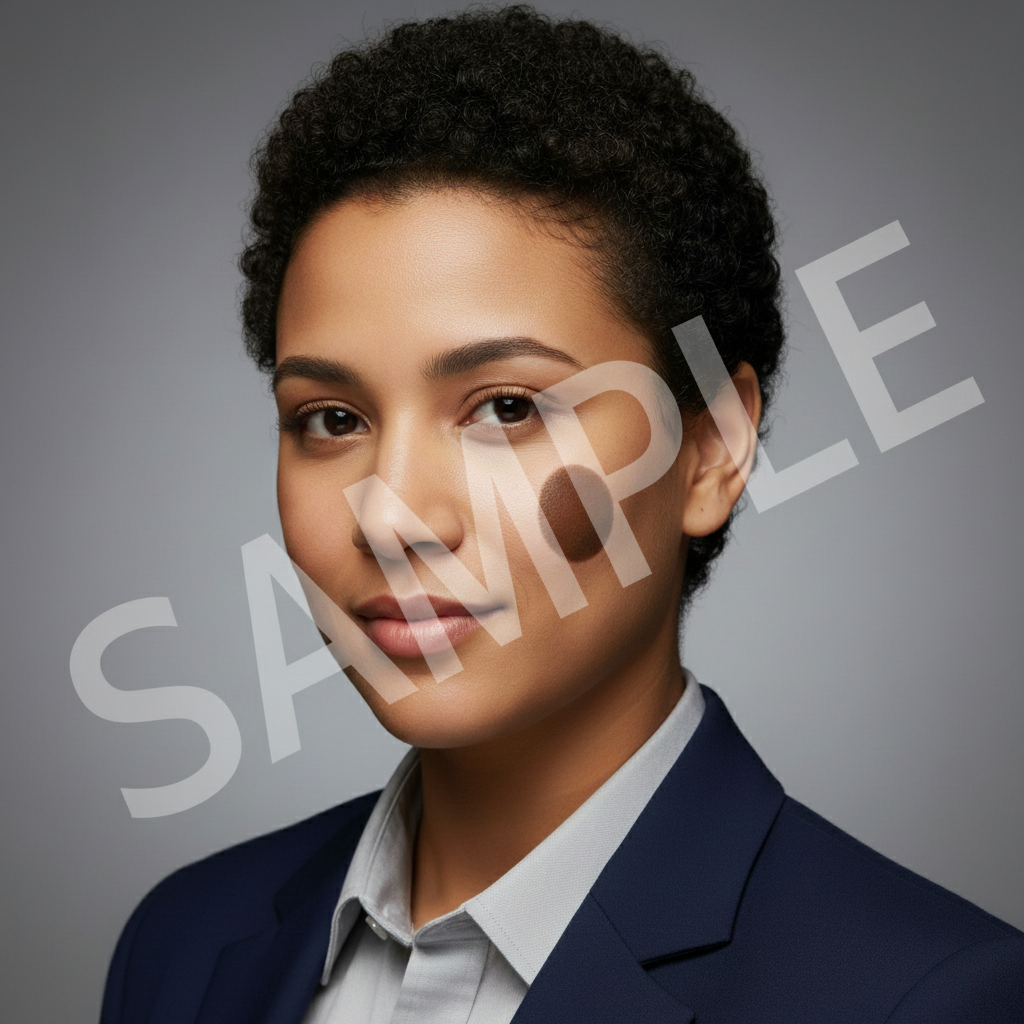
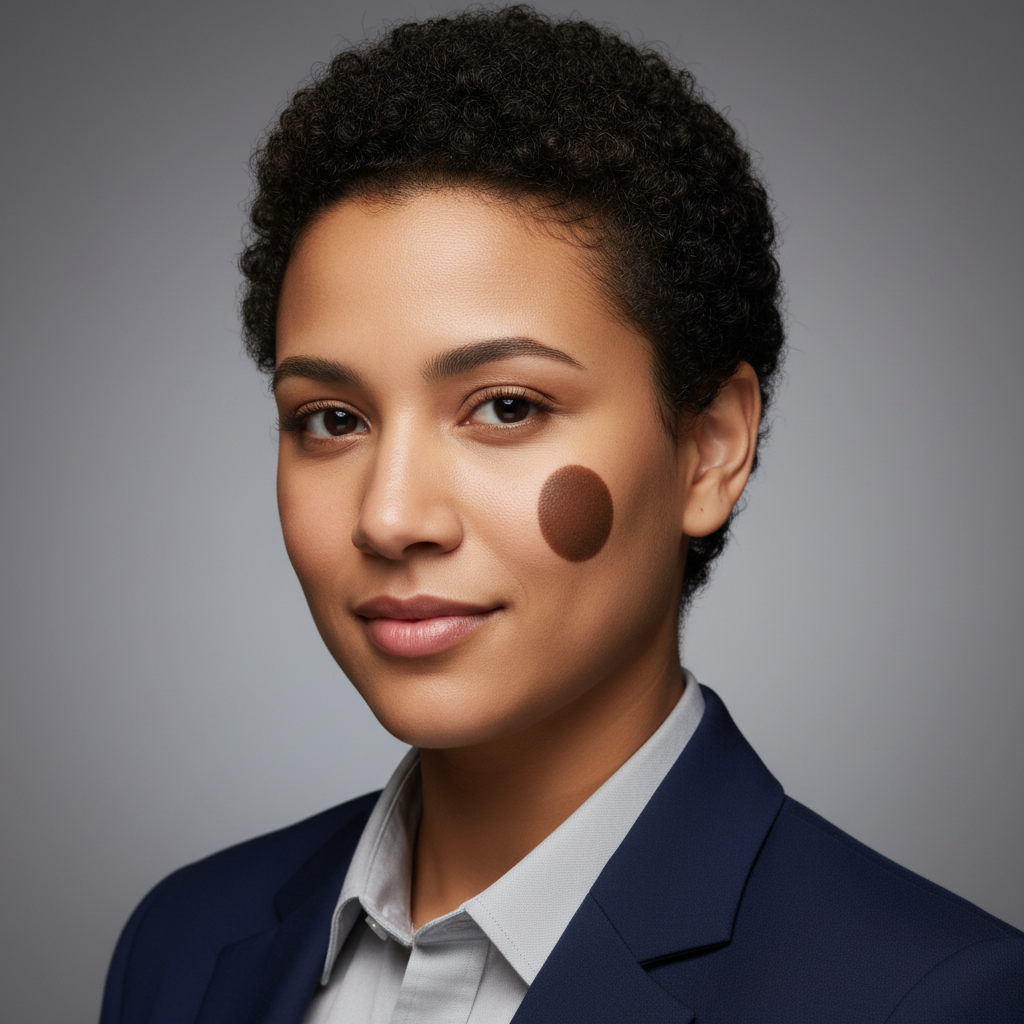
Cheek birthmark removed for headshot

Visible dark birthmark on cheek removed cleanly for professional headshot. Skin texture preserved.

Prompt: remove the birthmark on my cheek, keep natural skin texture
Selfie with reddish-brown birthmark visible on forehead
Before
->
Selfie with forehead birthmark removed naturally
After

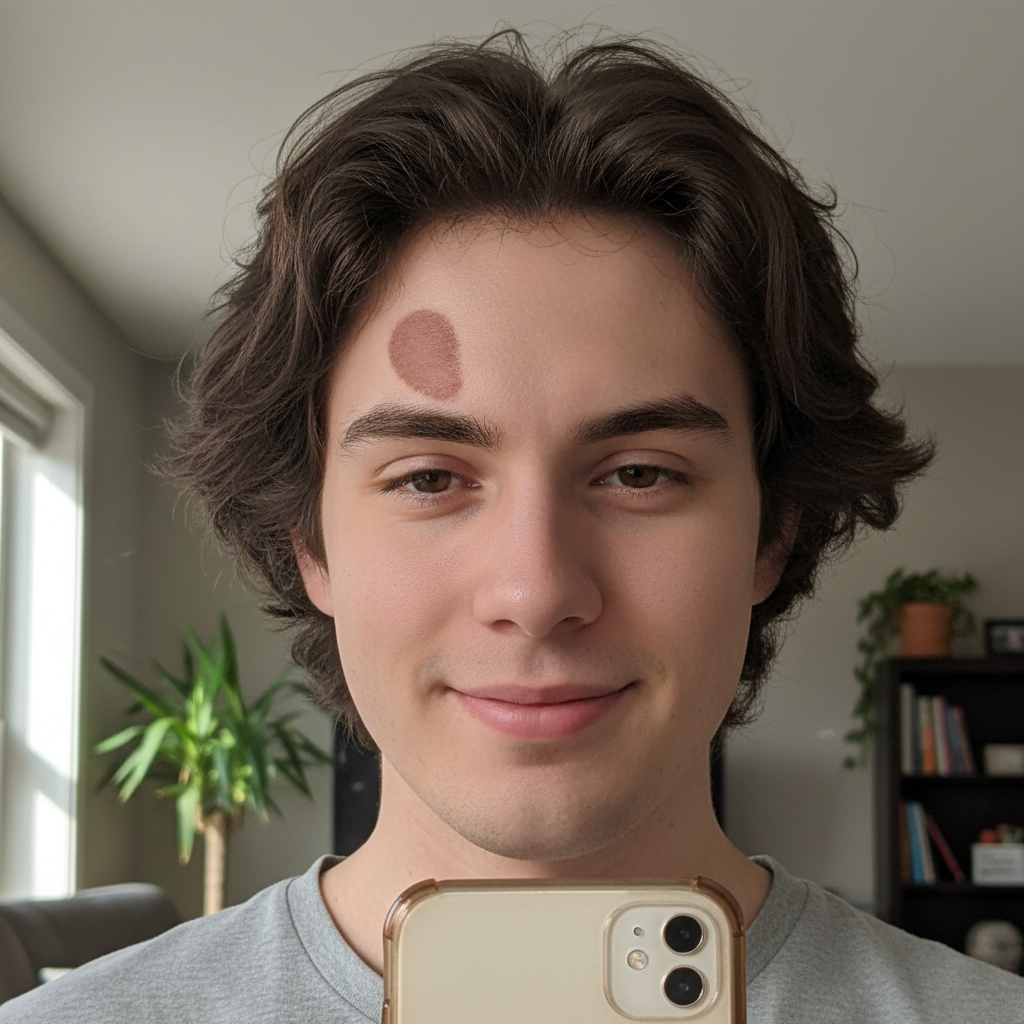
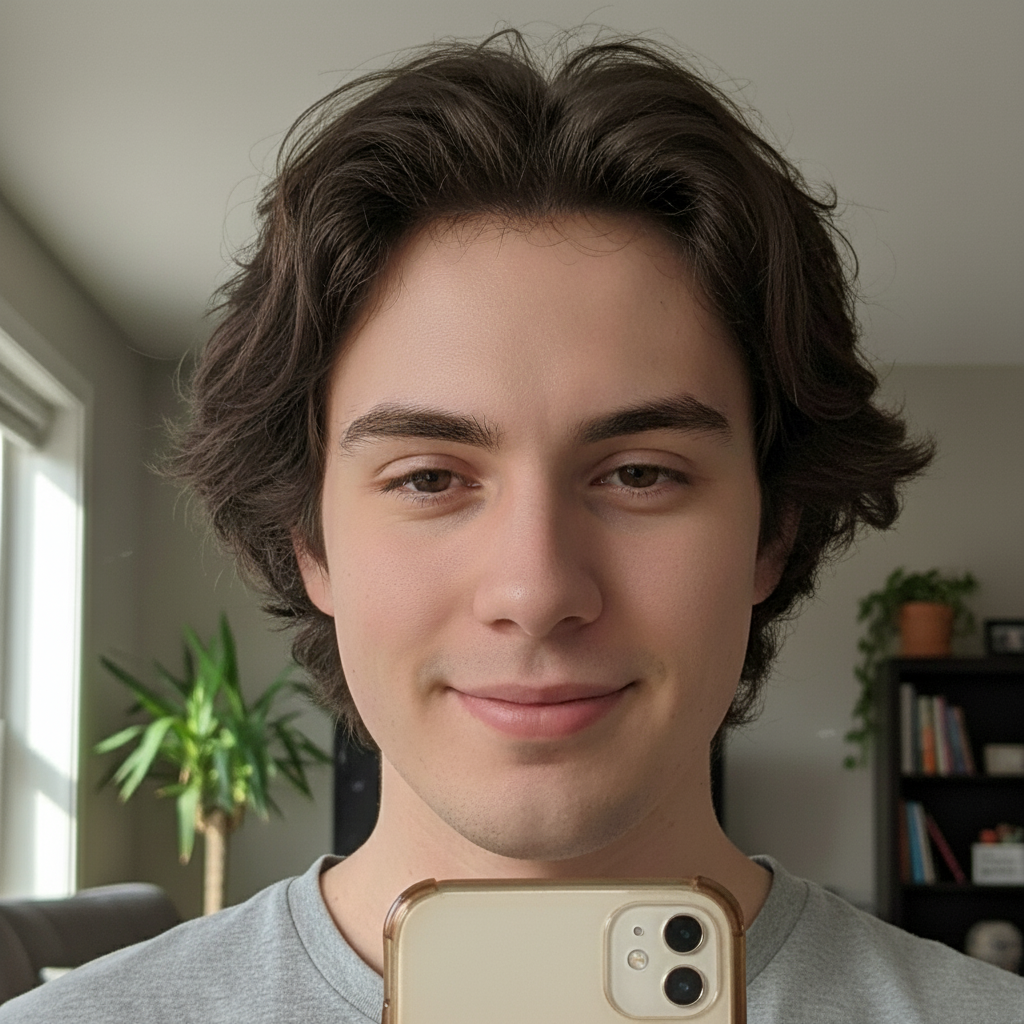
Forehead birthmark cleared for selfie

Prominent birthmark on forehead removed while maintaining natural skin appearance.

Prompt: remove the birthmark on my forehead and blend naturally
Portrait with large dark birthmark visible on neck
Before
->
Portrait with neck birthmark removed cleanly
After

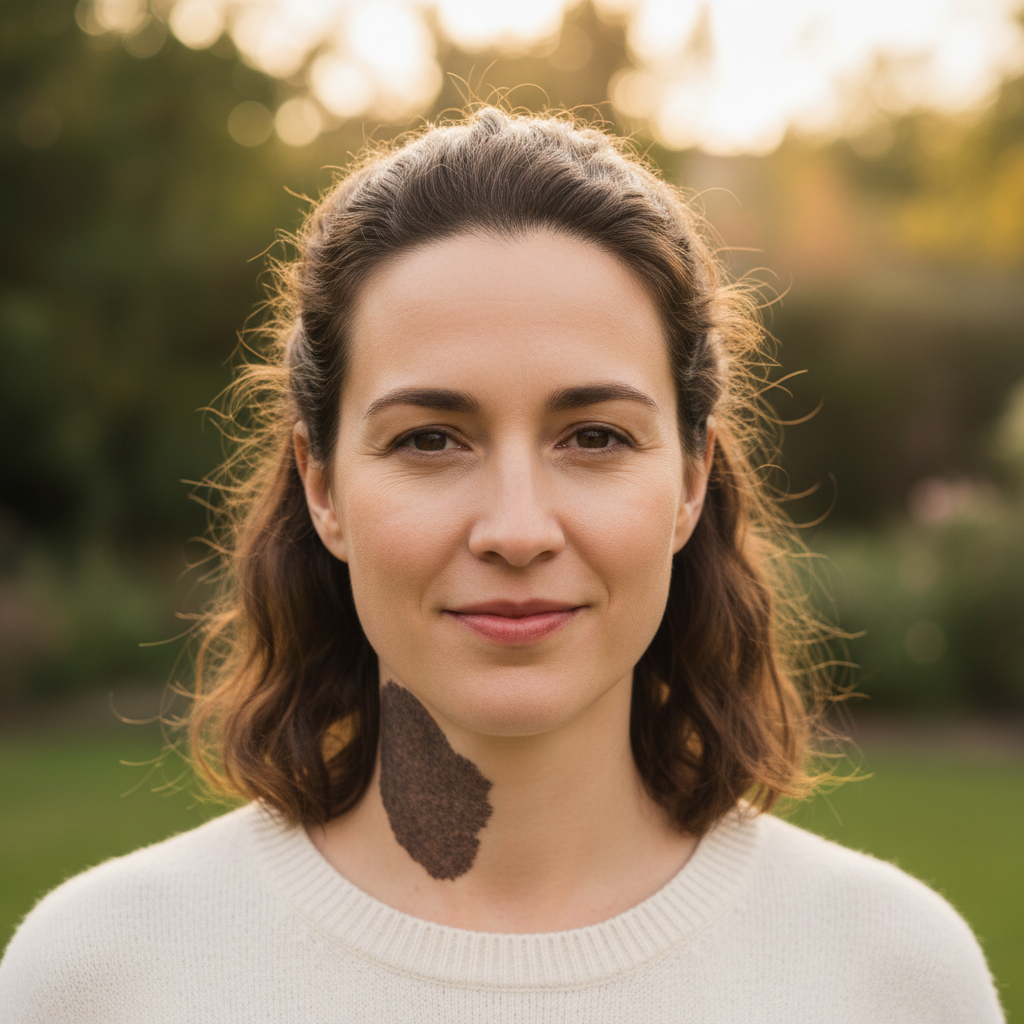
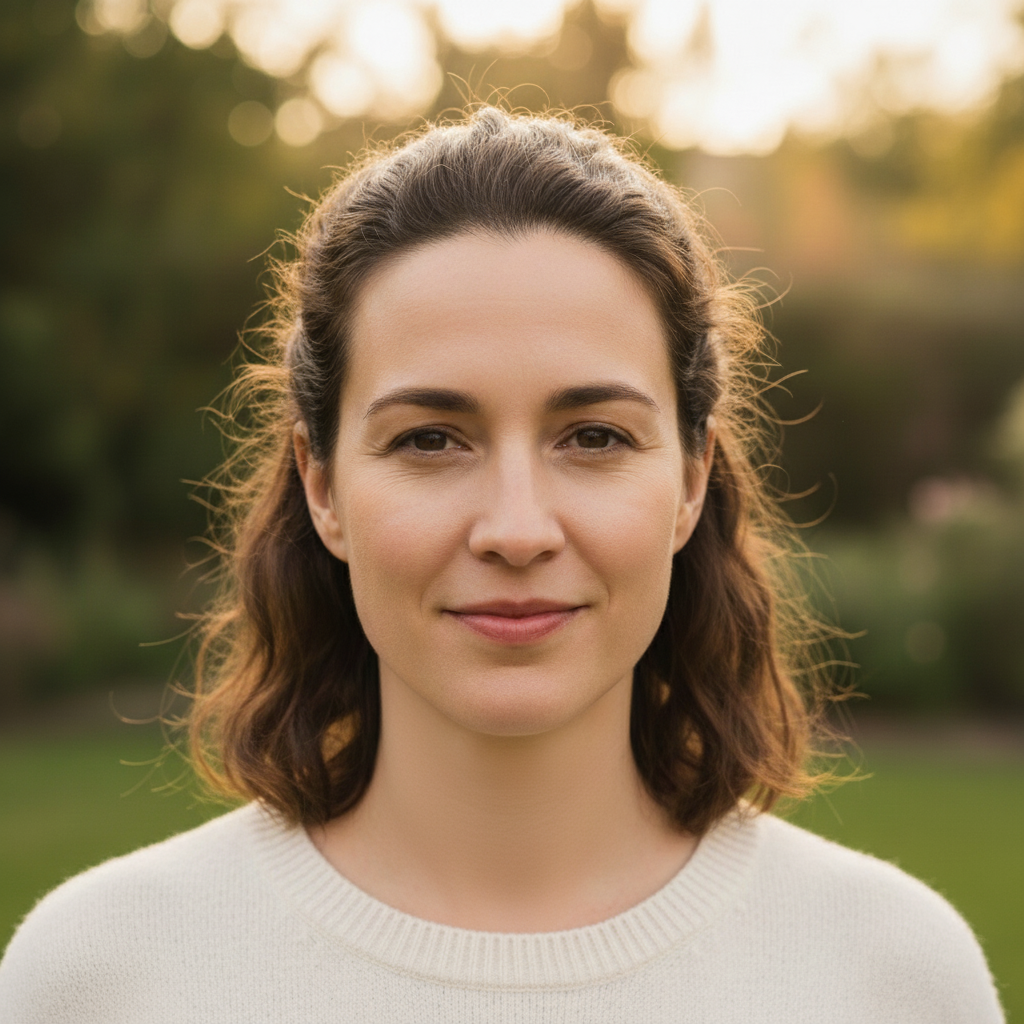
Neck birthmark removed for portrait

Large birthmark on neck removed for family portrait. Clean blending with surrounding skin.

Prompt: remove the birthmark on my neck area

If something looks off

AI removed a mole or freckle I wanted to keep

Why: The AI detected it as similar to the birthmark and removed it too.

Try: Use a marker on just the birthmark and say 'remove only this marked spot'

Tip: Markers give you precise control when multiple skin features are present.

Skin texture looks too smooth after removal

Why: The AI over-smoothed the area while blending.

Try: redo with more natural skin texture preserved

Tip: Add 'keep natural skin texture' to your original prompt.

Color doesn't match surrounding skin

Why: The corrected area has a slightly different tone than nearby skin.

Try: blend the skin tone to match the surrounding area exactly

Tip: A second pass usually fixes color matching issues.

AI changed the wrong area or something I didn't want changed

Why: The AI couldn't determine exactly which area you meant from description alone. This happens with ambiguous requests.

Try: Tap a marker on the specific area you want to change, then regenerate with the same prompt

Tip: Markers tell the AI 'I mean THIS one specifically.' Use them when description alone is ambiguous.

Quick answers

Do I need to mark the birthmark before describing?

No! For most birthmark removals, just describe what you want: 'remove the birthmark on my cheek.' The AI understands common facial areas. Only use markers when you need precision, like when you have multiple birthmarks and want to remove just one.

Will the result look natural or over-edited?

The AI preserves natural skin texture by default. Add 'keep natural skin texture' to your prompt for best results. No plastic airbrushed look.

Will my freckles or moles be removed too?

Not unless you specifically ask. The AI targets what you describe. If worried, use a marker on the specific birthmark and say 'remove only this.' Your natural features stay intact.

Does it work on larger birthmarks or port wine stains?

Yes, it works on larger birthmarks. For very large areas, you may need 2-3 passes to get perfect blending. Start with the main area and refine edges with markers if needed.

Ready to remove your birthmark from photos?

Free to try. No signup required.

Try it free