Fix Underexposed Photo
Just type 'brighten this dark photo' and watch the details come back.
Type 'fix the underexposure and bring out shadow details' and EditThisPic's AI brightens your photo naturally in 15-20 seconds. No exposure sliders, no histogram guessing. The AI understands dark photos and recovers hidden detail without washing out highlights. Free, no signup needed.

How it works
Upload your photo
Drop your dark photo into EditThisPic. JPG, PNG, and WebP up to 7MB. Even severely underexposed images often have recoverable detail hiding in the shadows.
Describe what you want
Type exactly what you need: 'fix the underexposure and brighten the shadows' or 'brighten this dark photo naturally.' The AI understands exposure problems and knows how to recover detail without making the image look overprocessed.
Copy one of these to get started:
fix the underexposure and bring out all the shadow details naturally
brighten the face and subject while keeping the background window light natural
brighten this dark indoor photo, recover face details, natural warm lighting
brighten the foreground subjects while preserving the evening sky colors
2 more prompts
brighten this dark photo and reduce grain, keep the moody atmosphere
recover this extremely dark photo, bring out all hidden details, fix the exposure completely
Generate and review
Tap generate and check that shadow areas show detail without looking artificial. Verify skin tones look natural and bright areas aren't washed out.
Refine with markers if needed
If certain areas need more or less brightening, tap markers on those spots and add specifics like 'brighten this area more' or 'keep this area darker.' Most underexposure fixes work without markers.
"My indoor party photos were so dark I thought they were ruined. Typed 'brighten this' and everyone's faces appeared perfectly." @EventPhotographer_Mike
See it in action
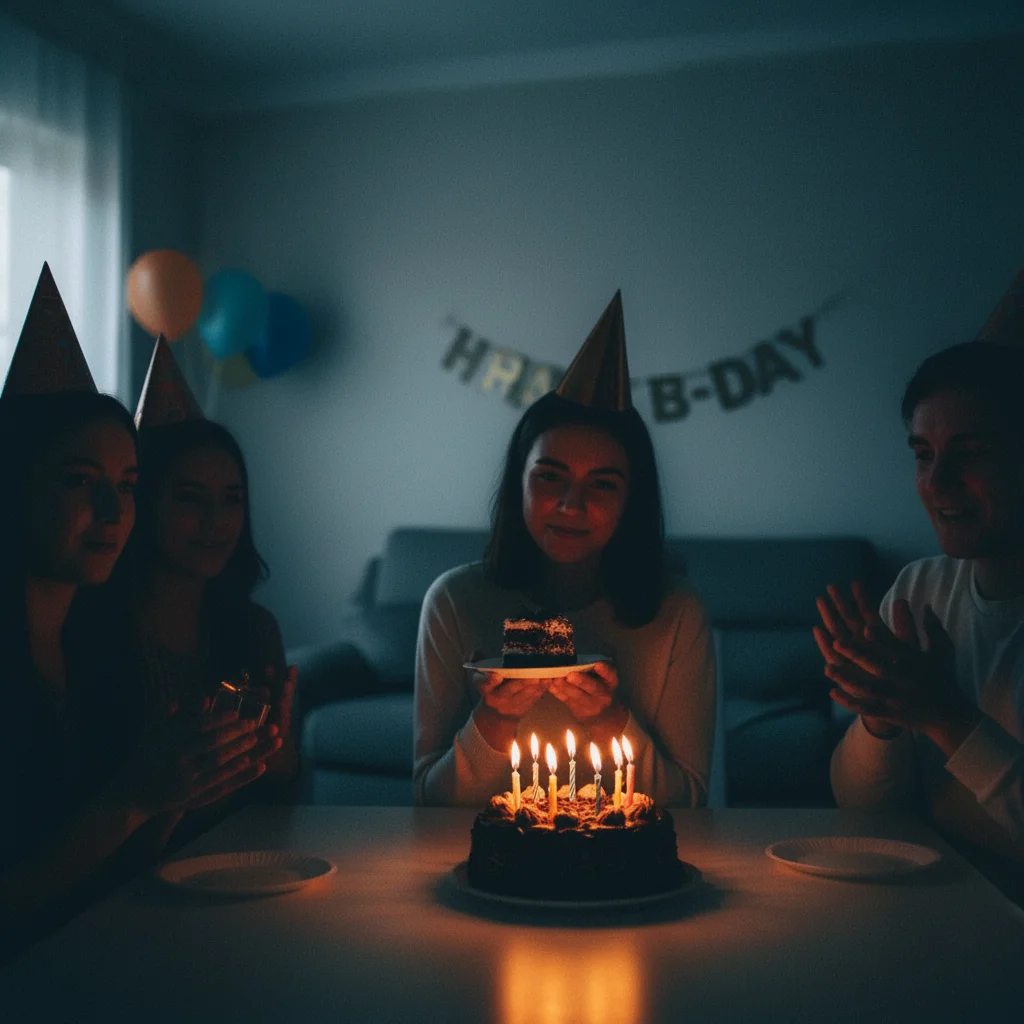
Indoor party photo rescue
Birthday party shot without flash in dim room. Faces were barely visible until one prompt recovered all the detail.
fix the underexposure and brighten all the faces naturally, warm indoor lighting feel
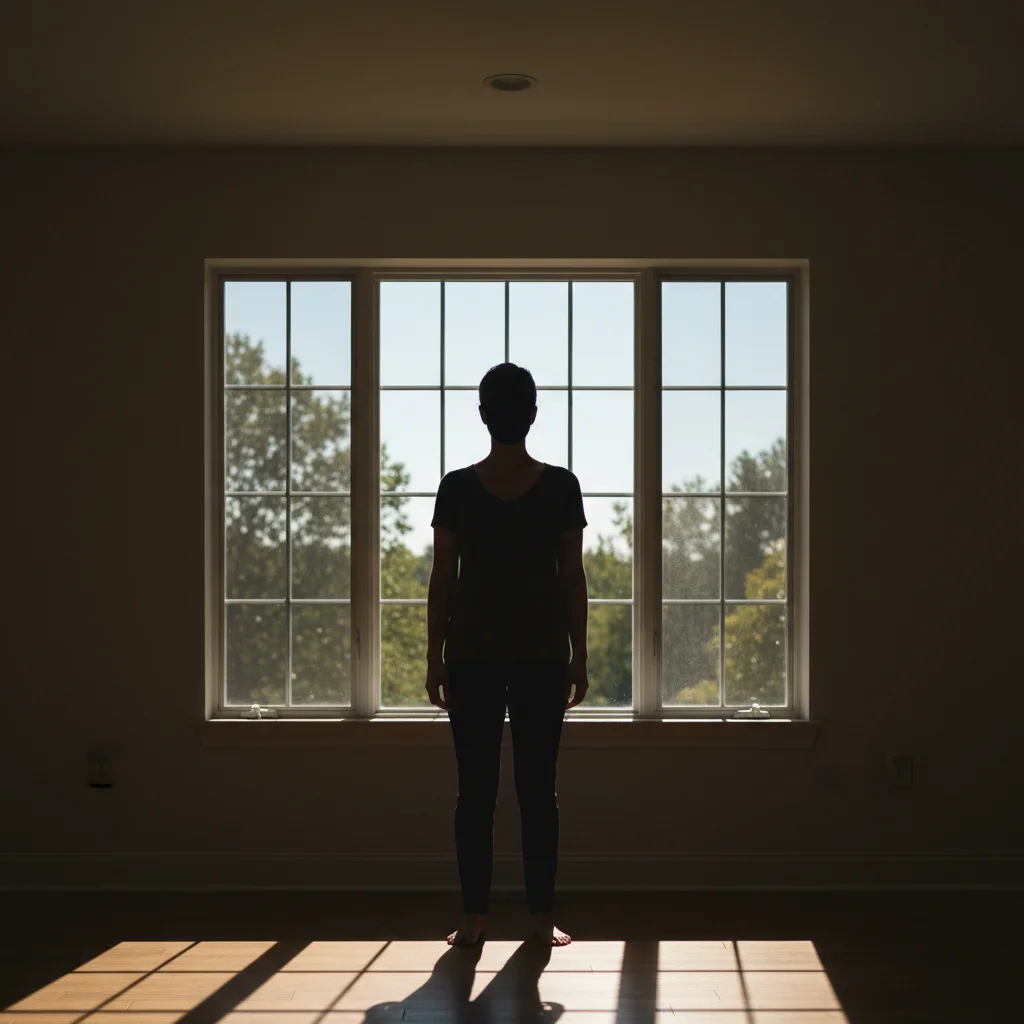
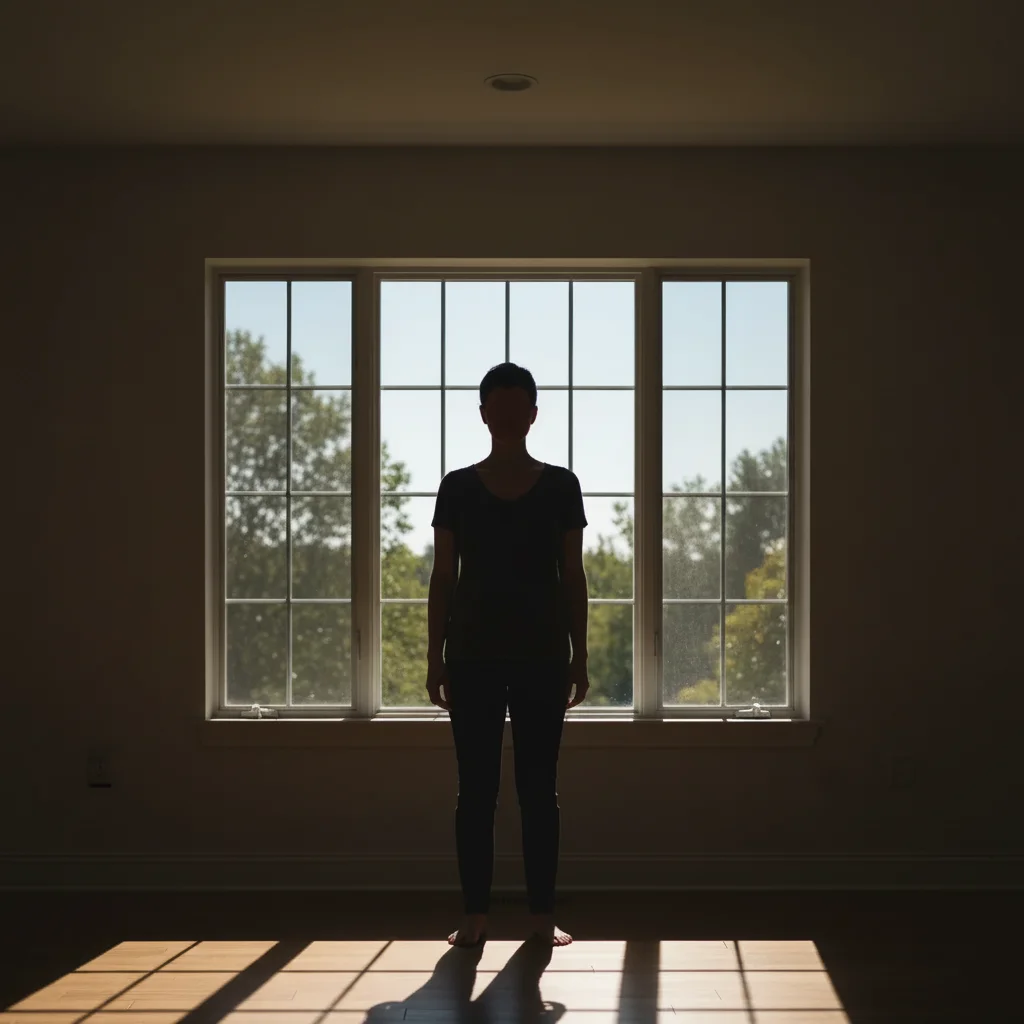
Backlit portrait fixed
Subject standing in front of bright window, face completely dark. AI balanced the exposure perfectly.
brighten the person's face and body while keeping the window light behind them natural
If something looks off
AI changed the wrong area or something I didn't want changed
Why: The AI couldn't determine exactly which area you meant from description alone. This happens with ambiguous requests.
Tap a marker on the specific area you want to brighten, then regenerate with the same prompt
💡 Markers tell the AI 'I mean THIS area specifically.' Use them when description alone is ambiguous.
Brightened photo looks washed out or hazy
Why: The AI lifted all tones equally, reducing contrast. Underexposed photos need shadow lifting without affecting highlights.
fix the underexposure while maintaining contrast, keep the blacks black and just lift the shadows
💡 Adding 'maintain contrast' or 'keep blacks black' prevents that faded look.
Skin tones look unnatural after brightening
Why: Aggressive brightening can shift color balance, making skin look orange or gray. The AI needs guidance on preserving natural tones.
brighten this photo while keeping skin tones natural and true to life, no color shift
💡 Mentioning 'natural skin tones' explicitly helps the AI prioritize realistic color.
Background got too bright while fixing subject
Why: The AI applied uniform brightening when you needed selective adjustment. Backlit and mixed-lighting scenes need specific guidance.
brighten only the dark foreground subject, keep the bright background at current exposure
💡 For backlit shots, always specify what should and shouldn't change.
Quick answers
Do I need to mark the dark areas before describing?
No! Just describe what you want: 'fix the underexposure' or 'brighten this dark photo.' The AI understands exposure problems and knows what needs brightening. Only use markers when you need selective brightening—like brightening just faces in a group shot.
Can the AI recover detail from a completely black photo?
It depends on your original file. JPG files lose shadow detail permanently when very dark, but the AI can often reveal surprising detail. RAW files or high-quality JPGs from newer phones typically have more recoverable information. Try it—you might be surprised what's hiding in there.
Will brightening increase the noise and grain in my photo?
Some grain increase is normal when recovering shadow detail—that's physics, not a limitation. However, you can add 'reduce noise' or 'clean up grain' to your prompt and the AI will apply noise reduction while brightening. For severely dark photos, try: 'brighten and reduce grain while keeping detail.'
How do I fix a backlit photo without blowing out the background?
Be specific about what to preserve. Instead of just 'brighten this photo,' try 'brighten the person's face while keeping the bright window/sky natural.' This tells the AI to selectively lift shadows without touching already-bright areas.
Ready to rescue your dark photos?
Free to try. No signup required.