Enhance Photo Quality
Just describe the quality you need. AI fixes sharpness, noise, and compression automatically.
Type 'enhance the quality and sharpen details' and EditThisPic's AI improves your photo in 20-40 seconds. It fixes blurriness, reduces noise, recovers lost detail from compression, and sharpens edges. No manual adjustments or sliders required. Works on low-res images, compressed photos, and screenshots. Free to try, no account needed.
How it works
Upload your photo
Drop your image into EditThisPic. JPG, PNG, and WebP up to 7MB. The AI can work with low-resolution images, heavily compressed photos, and even screenshots to recover and enhance quality.
Describe the quality improvement you want
Type what you need: 'enhance the quality and sharpen all details' or 'improve clarity and reduce grain.' Be specific about what bothers you most. No sliders, no technical knowledge needed—just describe the problem and the AI figures out the solution.
Copy one of these to get started:
enhance the quality, sharpen details, and improve overall clarity while maintaining natural appearance
enhance quality and remove compression artifacts, restore smooth gradients and clean edges
enhance quality and reduce noise while preserving fine details, keep texture natural
enhance quality and sharpen edges and fine details, increase clarity without adding halos
3 more prompts
enhance quality of this low-resolution image, improve sharpness and recover lost detail
enhance quality and sharpen details while keeping skin texture natural and smooth, avoid plastic look
enhance quality of this old photo, reduce grain, improve contrast, and sharpen important details
Generate and review
Tap generate and compare with your original at full zoom. Check that sharpness looks natural without halos, noise reduction preserved texture, and compression artifacts are reduced. Look especially at edges and fine details like text or hair.
Refine specific areas if needed
If some areas need more work—like over-sharpening on skin or remaining noise in shadows—tap markers on those spots and regenerate with adjusted instructions. Most quality enhancements work globally without markers.
"I had old compressed photos from 2010 that looked terrible. Just typed 'enhance quality and reduce noise' and they actually look presentable now." @DigitalMemoriesKate
See it in action
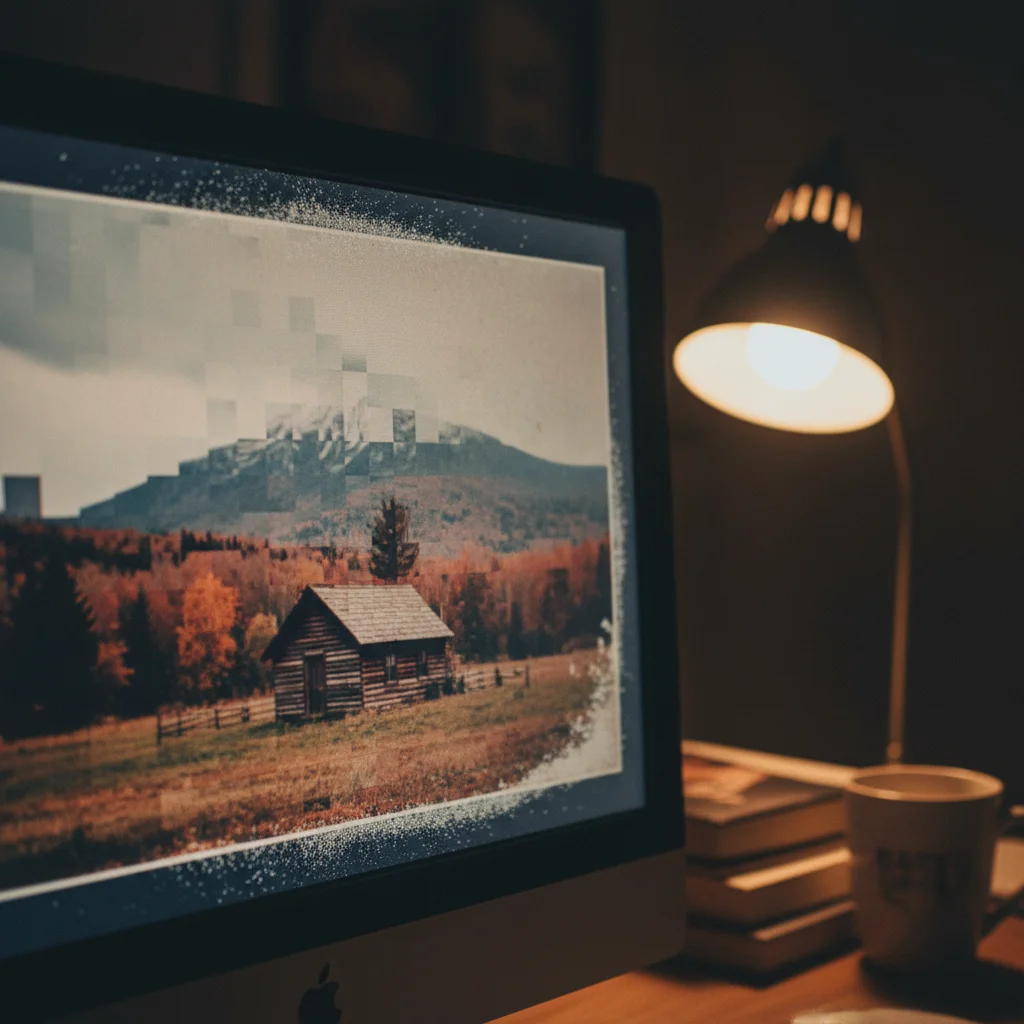
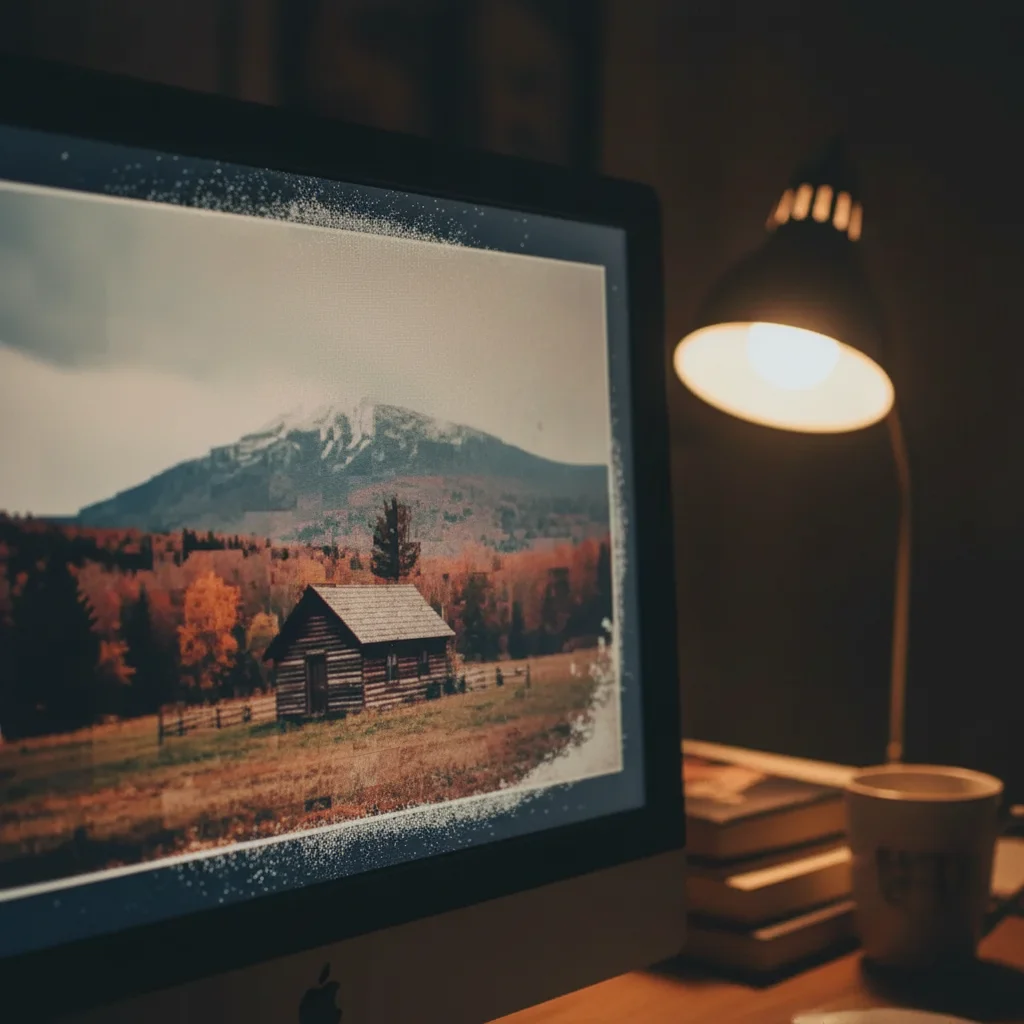
Compressed JPEG recovery
An old photo saved at low quality for email showing heavy compression blocks. One prompt restored smooth gradients and clean edges.
enhance quality and remove compression artifacts, restore smooth gradients and sharp details

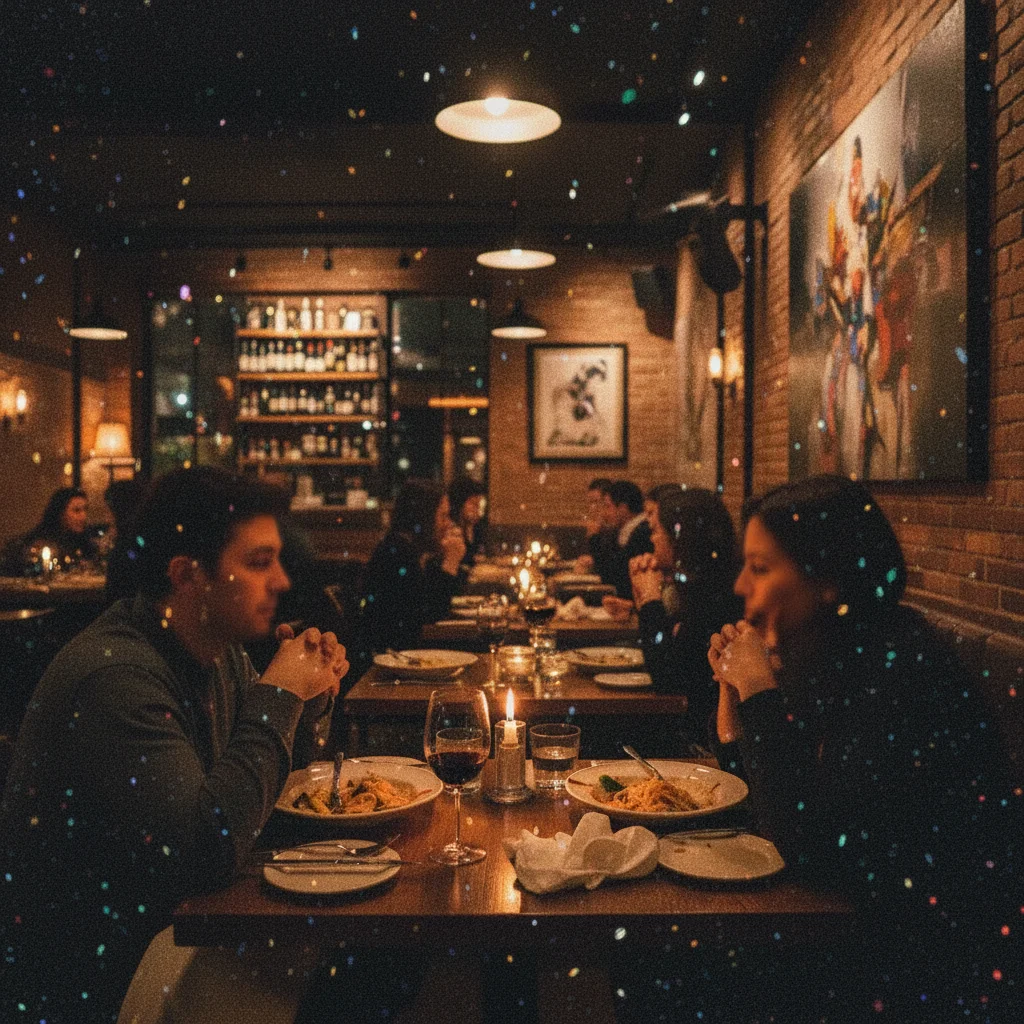
Noisy low-light photo cleaned up
A restaurant photo taken without flash, full of color noise and grain. AI reduced noise while keeping the food looking appetizing.
enhance quality and reduce noise while preserving texture and color accuracy, keep details sharp


Screenshot made printable
A low-resolution screenshot needed for a presentation. AI enhanced clarity and sharpened text to look professional.
enhance quality of this screenshot, sharpen text and graphics, improve overall clarity for printing
If something looks off
AI changed the wrong area or something I didn't want changed
Why: The AI applied enhancement globally when you wanted it localized, or it interpreted your request differently than intended.
Tap a marker on the specific area you want enhanced, then regenerate with the same prompt
💡 Markers tell the AI 'I mean THIS area specifically.' Use them when you only want part of the image enhanced.
Image looks over-sharpened with bright halos around edges
Why: The AI applied too aggressive sharpening. This is common when the source image was already reasonably sharp.
enhance quality with subtle sharpening, no halos, keep edges natural
💡 For already-decent images, use 'subtle' or 'gentle' in your prompt to avoid over-processing.
Noise reduction made skin look plastic or waxy
Why: Aggressive noise reduction smooths away natural skin texture. The AI needs to know to preserve it.
enhance quality and reduce noise while preserving natural skin texture and pores, avoid plastic look
💡 For portraits, always mention skin texture. The AI defaults to strong smoothing without guidance.
Fine details like text or patterns are still blurry
Why: The AI balanced sharpening globally and didn't prioritize text or pattern areas enough.
enhance quality and sharpen text and fine patterns specifically, make edges crisp and readable
💡 If text is critical, call it out specifically. 'Sharpen text to be easily readable' focuses the AI on what matters.
Colors look different or washed out after enhancement
Why: Some quality enhancements affect color balance. The AI may have adjusted contrast or saturation along with clarity.
enhance quality and sharpen details while preserving original colors exactly, no color changes
💡 Adding 'preserve original colors' prevents unwanted color shifts during quality enhancement.
Enhancement added strange patterns or textures
Why: The AI hallucinated details when trying to recover information that wasn't there. This happens with extremely low-quality sources.
enhance quality conservatively, only sharpen existing details, do not invent new texture
💡 For very degraded images, use 'conservative' enhancement. Some damage can't be fully recovered without artifacts.
Quick answers
What quality improvements can AI make?
AI can sharpen blurry images, reduce noise and grain, remove compression artifacts (the blocky patterns in over-compressed JPEGs), enhance fine details, improve clarity, and even intelligently upscale low-resolution images. It works by analyzing patterns in your image and reconstructing what the original high-quality version likely looked like. Results are best when the source has some usable detail—extremely degraded images may not fully recover.
Do I need to use sliders or technical settings?
No—just describe what you want in plain English. 'Enhance the quality and reduce noise' or 'sharpen details and remove compression artifacts.' The AI figures out the right technical adjustments automatically. You don't need to know about unsharp masks, noise reduction algorithms, or upscaling methods.
Can this fix a very blurry or out-of-focus photo?
It can improve mild blur and softness significantly. For moderate blur, you'll see noticeable improvement in edge definition and detail. However, severely out-of-focus images where the subject is unrecognizable may not fully recover—AI can sharpen existing detail but can't perfectly reconstruct information that was never captured. Try 'enhance quality and sharpen as much as possible while keeping natural appearance' for best results on blurry photos.
Will this make my low-resolution image suitable for printing?
It can significantly improve low-resolution images for printing. The AI can upscale and add believable detail, making small web images usable at larger sizes. For best results, specify your goal: 'enhance quality for large print, maximum sharpness and detail.' Results depend on your source—a 200px thumbnail won't become a billboard, but most web-sized images can print respectably at 8x10 or similar sizes.
How is this different from general photo enhancement?
This focuses specifically on technical quality: sharpness, noise, compression artifacts, and clarity. General photo enhancement might include color correction, exposure adjustment, or creative filters. Use this when your photo is technically degraded—blurry, noisy, or over-compressed—rather than when you want to change its look or style. For color and exposure improvements, try the general enhance photo tool instead.
Ready to enhance your photo quality?
Free to try. No signup required.