Enhance Details from Photo
Just describe what you want sharper. No sliders, no manual adjustments required.
Type 'sharpen and enhance the fine details' or 'bring out the texture and clarity' and EditThisPic's AI sharpens your photo in 15-25 seconds. No manual masking, no complicated sharpening sliders. Just describe what needs more detail. Works on product shots, architecture, and texture photography. Free, no signup needed.
How it works
Upload your photo
Drop your image into EditThisPic. JPG, PNG, and WebP up to 7MB work best. Higher resolution photos give the AI more detail to recover and enhance.
Describe what you want enhanced
Type exactly what needs sharpening: 'enhance the fine details and texture' or 'sharpen the architectural lines and edges.' That's it. The AI understands—no marking, no selecting. Most photos sharpen perfectly on the first try.
Copy one of these to get started:
sharpen and enhance all fine details, bring out textures and surface patterns with natural clarity
enhance the architectural details, sharpen edges and lines while preserving natural tones
enhance the fabric texture, bring out the weave pattern and stitching details with crisp clarity
sharpen the food textures, enhance the surface details and make ingredients look crisp and appetizing
2 more prompts
enhance the fine metalwork details, bring out engravings and surface texture with sharp precision
enhance natural textures, sharpen leaf veins, bark patterns, and organic surface details
Generate and review
Tap generate and examine the result at full zoom. Check textures, edges, and fine patterns. Look for natural sharpening without halos or over-processing artifacts.
Refine specific areas if needed
If certain areas need more or less sharpening, tap markers on those spots and describe what you want. This is optional—most detail enhancements work without markers.
"My product photos looked soft on my phone but after typing 'enhance the stitching details' they're crisp enough for my website zoom feature." @LeatherCraftMike
See it in action
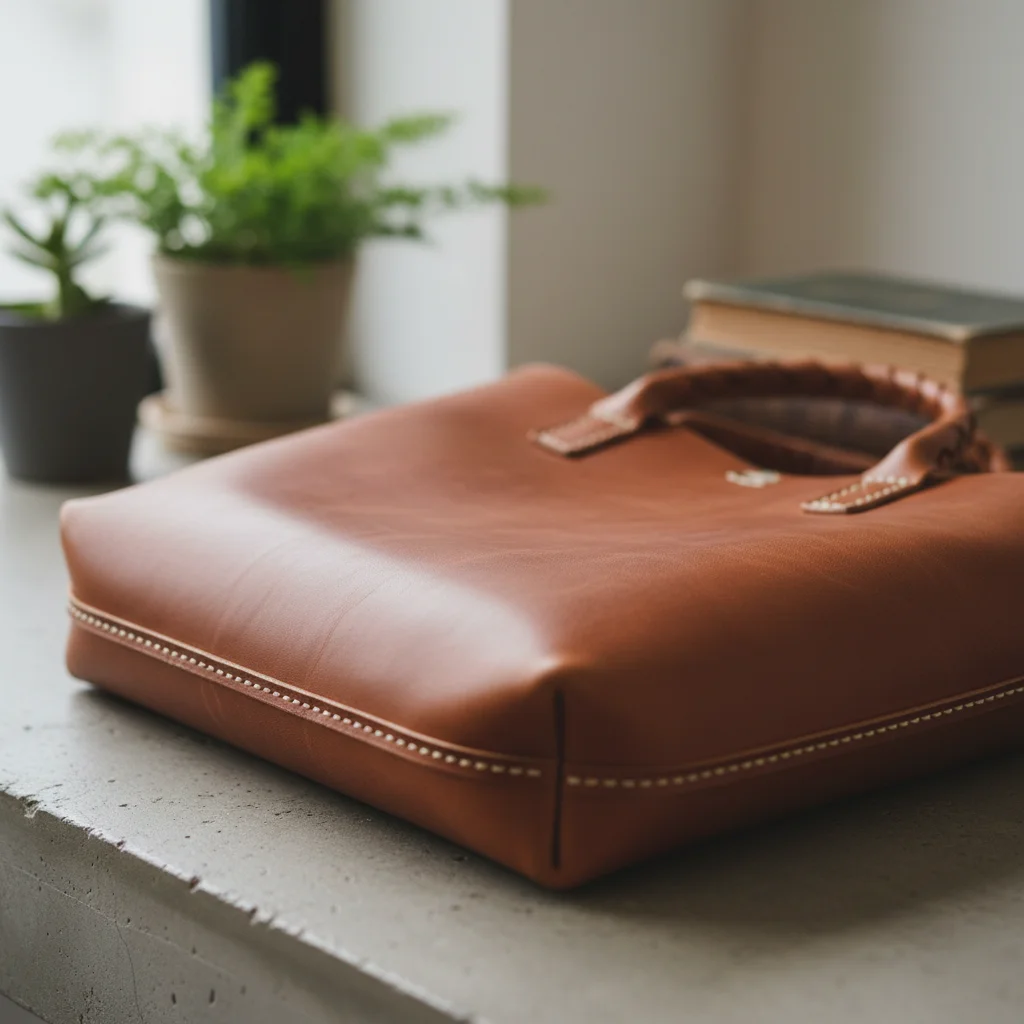
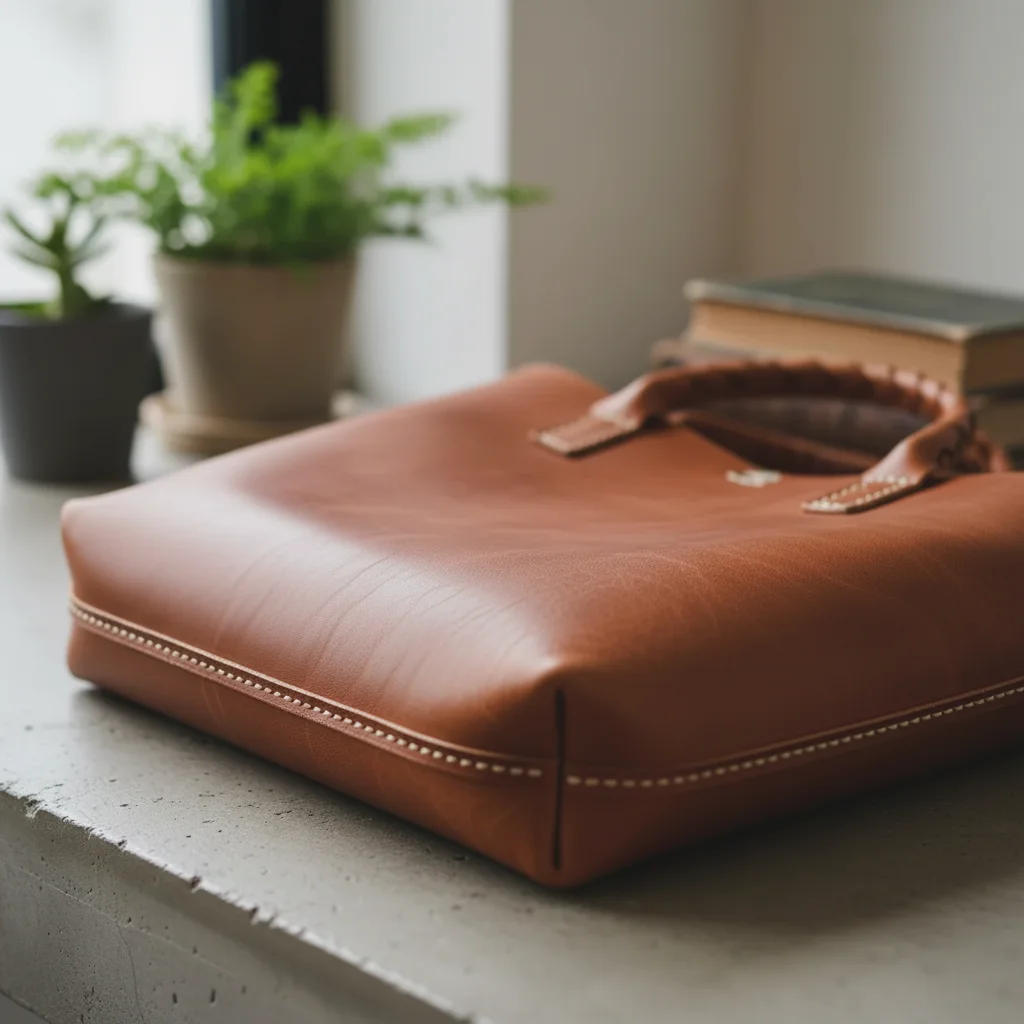
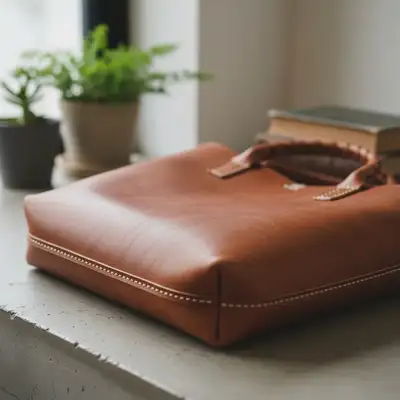
Leather bag product shot
Handmade leather bag photographed with phone camera looked soft. One prompt brought out the grain and stitching for the online store.
sharpen and enhance the leather texture, bring out the grain pattern and stitching details with natural clarity
Architectural exterior detail
Historic building facade shot from street level appeared soft. Enhanced the brick texture and ornamental stonework for portfolio use.
enhance the architectural details, sharpen the brick texture and decorative stonework with crisp edges
If something looks off
AI changed the wrong area or sharpened something I didn't want
Why: The AI enhanced all details when you only wanted specific areas sharpened. This happens with general requests on complex images.
Tap a marker on the specific area you want enhanced, then regenerate with the same prompt
💡 Markers tell the AI 'I mean THIS area specifically.' Use them when description alone is too broad.
Image looks over-sharpened with halos around edges
Why: The AI applied too aggressive sharpening. This often happens with high-contrast edges or when the original had compression artifacts.
enhance details with subtle natural sharpening, avoid halos and over-processing artifacts
💡 Adding 'subtle' and 'natural' prevents the AI from pushing sharpening too far.
Details enhanced but image now looks noisy
Why: The AI amplified existing noise along with the details. Low-light or high-ISO photos are prone to this.
sharpen fine details while reducing noise, maintain clean smooth areas between textures
💡 For noisy originals, specify 'reduce noise' alongside 'enhance details' for balanced results.
Some textures sharpened but others still look soft
Why: The AI prioritized certain areas over others based on the prompt wording or image content.
Tap markers on the soft areas that need more sharpening, then type 'enhance these specific areas'
💡 Multi-texture images may need two passes—one for the main subject, another for secondary areas.
Quick answers
Do I need to mark specific areas before describing?
No! Just type what you want enhanced: 'sharpen the texture and fine details' usually works on the first try. The AI understands these concepts without marking. Only use markers if you need to target specific spots that didn't enhance properly, or if you want different sharpening levels in different areas.
Will this fix blurry or out-of-focus photos?
Detail enhancement works best on photos that are in focus but lack crispness—like phone camera shots or compressed images. Severely blurry or motion-blurred photos have lost too much information to fully recover. For slight softness, try 'enhance sharpness and recover fine details' and you may get usable improvement.
How is this different from the sharpen tool in other apps?
Traditional sharpening applies the same algorithm everywhere, often creating halos around edges. EditThisPic's AI understands what it's looking at—fabric, metal, wood—and enhances the actual texture detail rather than just boosting contrast at edges. You describe what matters, and it sharpens intelligently.
What types of photos benefit most from detail enhancement?
Product photography, architectural shots, and texture-focused images see the biggest improvement. Leather goods, jewelry, fabrics, building details, food textures—anything where surface quality matters. Portrait retouching is a different use case; detail enhancement can make skin look harsh if applied to faces.
Ready to enhance your photo details?
Free to try. No signup required.