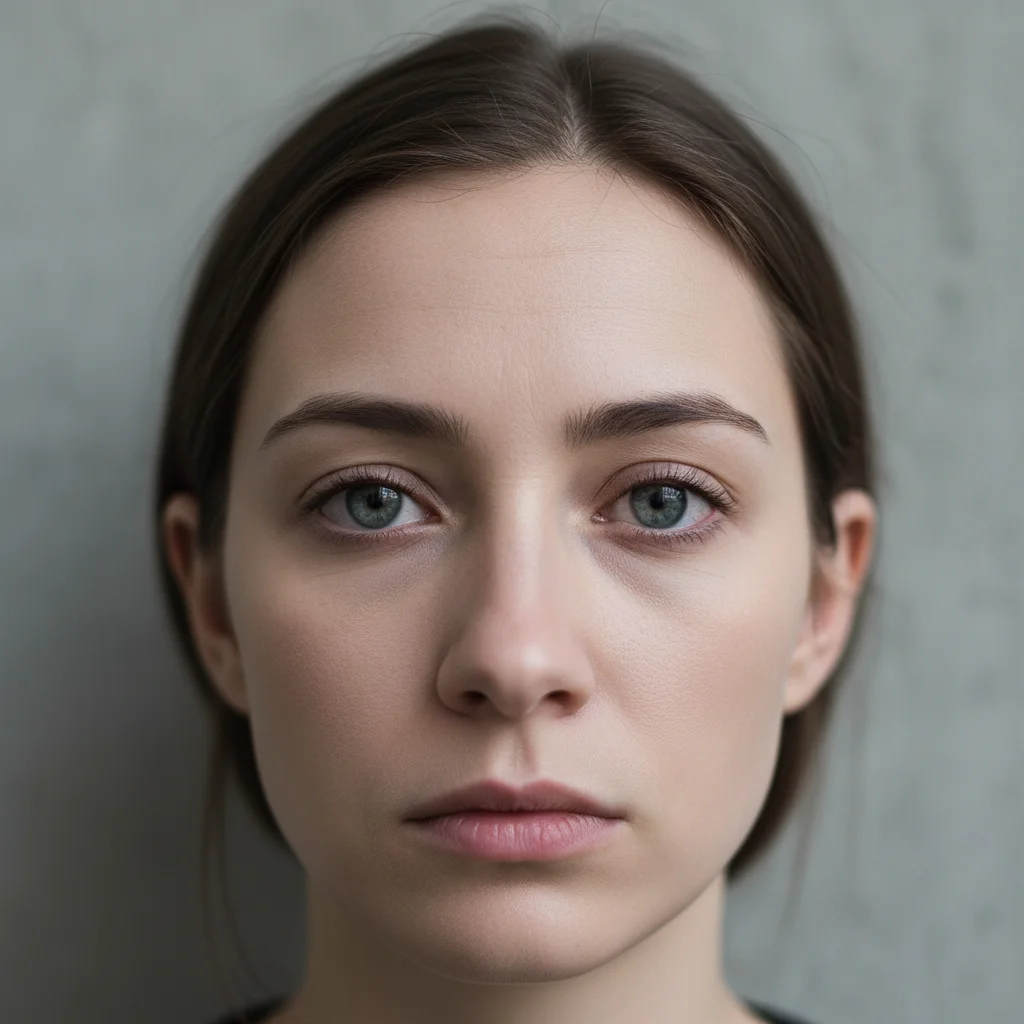
Free • No signup Enhance Eye brightness · Free

AI Eye Brightness Enhancer

Just say what you want. AI brightens eyes without marking or manual adjustments.

Indoor portrait with dull, lifeless eyes
Before
Same portrait with naturally brightened vibrant eyes
After

Enhance Eye Brightness in Photo

Upload photo to enhance eye brightness

Free • Results in 30 seconds • No signup

Release to upload

FreeNo signupNo watermark
Popular use cases:
  • portrait retouching
  • professional headshots
  • dating app photos
  • social media profiles
  • LinkedIn photos
  • modeling portfolios
  • wedding photography
  • passport photos

Cost
Free No signup required
Time
Instant results in 15-30 seconds
Works on
Any device - browser, phone, tablet, desktop
Powered by
AI-powered photo editing
Scenario Prompt Time
Basic brightness make eyes brighter and more vibrant while keeping natural iris detail 15s
Enhance dull eyes brighten dull eyes and make them more eye-catching with enhanced iris color 15s
Add catchlights enhance eye brightness and add natural catchlights for more sparkle 20s
Subtle boost brighten eyes subtly without making them look edited, keep natural appearance 15s

How it works

  1. Upload your photo

    Upload a clear, front-facing portrait. Good lighting on the face and visible facial features give the AI the best foundation for eye brightness editing. JPG, PNG, WebP up to 7MB.

    Expect: Simple brightness boost: 15-20 seconds. Complex enhancements with multiple adjustments: may need 2-3 refinements.
  2. Describe the enhancement you want

    Type your instruction: 'make eyes brighter and more vibrant' or 'enhance eye brightness and add catchlights naturally.' Be specific about the effect you want. No marking needed—the AI locates eyes automatically and enhances iris color, brightness, and reflections while preserving natural eye anatomy.

    Tip: Include 'naturally' or 'keep realistic' to avoid over-enhancement. The AI will boost brightness while maintaining natural iris patterns and depth.

    Copy one of these to get started:

    Basic brightness boost make eyes brighter and more vibrant while keeping natural iris detail
    Enhance dull eyes brighten dull eyes and make them more eye-catching with enhanced iris color
    Add catchlights enhance eye brightness and add natural catchlights for more sparkle
    Portrait enhancement make eyes brighter with enhanced iris color and increased contrast naturally
    3 more prompts
    Subtle natural boost brighten eyes subtly without making them look edited, keep natural appearance
    Professional headshot enhance eye brightness to professional headshot quality with vibrant iris and clear catchlights
    Dramatic enhancement make eyes dramatically brighter with intense iris color while keeping realistic texture
  3. Generate and review

    Click Generate and watch the AI analyze the eyes. It identifies irises, brightens eye color, enhances catchlights and reflections, adjusts contrast for more vivid eyes, and maintains natural texture. Zoom in to verify the enhancement looks natural and not overly processed.

  4. Refine with markers if needed

    If the brightness is too strong or if you want to enhance only specific eyes in a group photo, tap markers on those eyes and regenerate. This is optional—most eye enhancements work without markers on individual portraits.

    Tip: Markers help when you have different lighting on each eye or want varying enhancement levels for different people in the photo.
Try it free

Enhance Eye Brightness in Photo

Upload photo to enhance eye brightness

Free • Results in 30 seconds • No signup

Release to upload

Free • No signup

"My eyes looked dull in every photo. One prompt made them pop without looking fake. The catchlights are perfect now." @portraitpro

See it in action

Indoor portrait with dull, lifeless eyes
Before
->
Same portrait with naturally brightened vibrant eyes
After

Brightened dull indoor photo

Enhanced eyes in a photo taken under poor indoor lighting. The AI boosted brightness, enriched iris color, and added natural catchlights.

Prompt: make eyes brighter and more vibrant while keeping natural iris detail
Professional headshot with flat dull eyes
Before
->
Headshot with enhanced bright eyes and catchlights
After

Professional headshot enhancement

Transformed average headshot eyes into professional-quality with enhanced brightness, iris definition, and catchlights. One prompt delivered magazine-quality eyes.

Prompt: enhance eye brightness and add natural catchlights for more sparkle

Detailed Guides by Scenario

📷

Photo Rescue & Restoration

Revive old, damaged, or poorly-shot photos with AI eye brightness — bring new life to images you thought were unsalvageable.

Common Scenarios

  • Applying eye brightness to old family photos that have degraded over time
  • Fixing a once-in-a-lifetime shot (wedding, graduation) that suffers from poor quality
  • Using eye brightness on scanned prints to get crisp digital versions

Best Practices

  • Scan old photos at the highest DPI your scanner supports before uploading for best results
  • Describe the specific issue — 'this photo is too dark and blurry' gives better eye brightness than a generic prompt
  • For severely damaged photos, work in stages: fix the biggest issue first, then refine
📷

Professional & Business Use

Ensure photos for websites, presentations, and marketing meet professional standards with eye brightness.

Common Scenarios

  • Using eye brightness on employee photos for a company website that need to look polished
  • Applying eye brightness to event photos before sharing in a client presentation
  • Improving product images with eye brightness for an online store or catalog

Best Practices

  • Process all images in a batch with the same enhancement settings for visual consistency
  • For web use, balance enhancement quality with file size — overly large images slow page loads
  • Always compare before and after to make sure eye brightness looks natural, not over-processed
📷

Social Media & Personal Sharing

Make your personal photos look their best before sharing with friends, family, or followers using eye brightness.

Common Scenarios

  • Quickly applying eye brightness to vacation photos before posting on social media
  • Using eye brightness on a selfie that has great composition but poor lighting
  • Batch-fixing a phone gallery of photos with eye brightness before creating an album to share

Best Practices

  • Start with the photo you'd most like to share — fix that one first and use the same approach on the rest
  • For selfies, subtle enhancement always beats heavy processing — keep it natural
  • If the photo was shot in low light, mention it in the prompt so the AI tailors eye brightness accordingly

If something looks off

AI changed the wrong area or something I didn't want changed

Why: The AI couldn't determine exactly which area you meant from description alone.

Try: Tap a marker on the specific area you want to change, then regenerate with the same prompt

Tip: Markers tell the AI 'I mean THIS one specifically.' Use them when description alone is ambiguous.

Eyes look too bright or unrealistic

Why: The AI applied maximum brightness without maintaining natural variation and depth. Real eyes have subtle shadows and tonal variation, not uniform brightness.

Try: Regenerate with: 'enhance eye brightness subtly while preserving natural shadows, depth, and iris texture'

Tip: Always include 'naturally' or 'subtly' to prevent over-enhancement that makes eyes look fake.

Enhancement made eyes look flat or cartoonish

Why: The AI increased brightness without preserving the depth, shadows, and 3D structure that make eyes look realistic.

Try: Try: 'brighten eyes while maintaining all natural depth, shadows, and three-dimensional eye structure'

Tip: Mentioning 'depth' and 'structure' ensures the AI keeps eyes looking realistic rather than flat.

Catchlights look artificial or placed wrong

Why: The AI added new light reflections that don't match the actual lighting direction in the photo.

Try: Use: 'enhance existing catchlights naturally without adding new ones, match the photo lighting direction'

Tip: It's better to enhance existing catchlights than add new ones that contradict the light source.

Only the iris brightened, whites stayed dull

Why: The prompt mentioned only 'eyes' which the AI interpreted as just the colored iris, not the full eye including whites.

Try: Be specific: 'brighten both iris and eye whites, make entire eyes more vibrant and bright'

Tip: Specifying 'entire eyes' or 'iris and whites' ensures complete enhancement.

Enhancement looks different between the two eyes

Why: Different lighting, angles, or shadows on each eye created uneven results. This is common when one eye is partially obscured or in shadow.

Try: Mark both eyes and use: 'enhance brightness of both marked eyes evenly to the same level'

Tip: Photos with both eyes equally lit and visible produce the most consistent enhancements.

Lost natural iris color or pattern after enhancement

Why: The AI applied brightness as an overlay that covered the natural iris texture and radial patterns.

Try: Regenerate with: 'enhance eye brightness while preserving all original iris patterns, texture, and natural color variation'

Tip: Explicitly mentioning 'preserve iris patterns' ensures natural detail remains visible after brightening.

Quick answers

Do I need to mark the eyes before describing?

No! Just describe what you want: 'make eyes brighter and more vibrant' or 'enhance eye brightness naturally.' The AI locates eyes automatically in front-facing portraits. Only use markers when you need precision—like enhancing specific eyes in a group photo or applying different enhancement levels to each person.

How do I enhance eye brightness in a photo for free?

Upload your photo to EditThisPic and type 'make eyes brighter and more vibrant while keeping natural iris detail.' The AI finds the eyes, enhances brightness, enriches iris color, and adds catchlights in 15-20 seconds. Free to try with no signup, no watermark, and no credit card required.

Is there a free eye brightness enhancer that doesn't require login?

Yes. EditThisPic enhances eye brightness without requiring an account. Just upload your portrait, describe the enhancement you want, and download the result. No email, no signup, completely free for your first edit.

Will enhanced eyes look natural or over-edited?

When you include 'naturally' or 'keep realistic' in your prompt, the enhancement looks completely natural. The AI maintains iris patterns, depth, natural shadows, and realistic catchlights. Results appear professional on well-lit portraits. Avoid prompts with 'dramatic' or 'intense' unless you want a bold artistic effect.

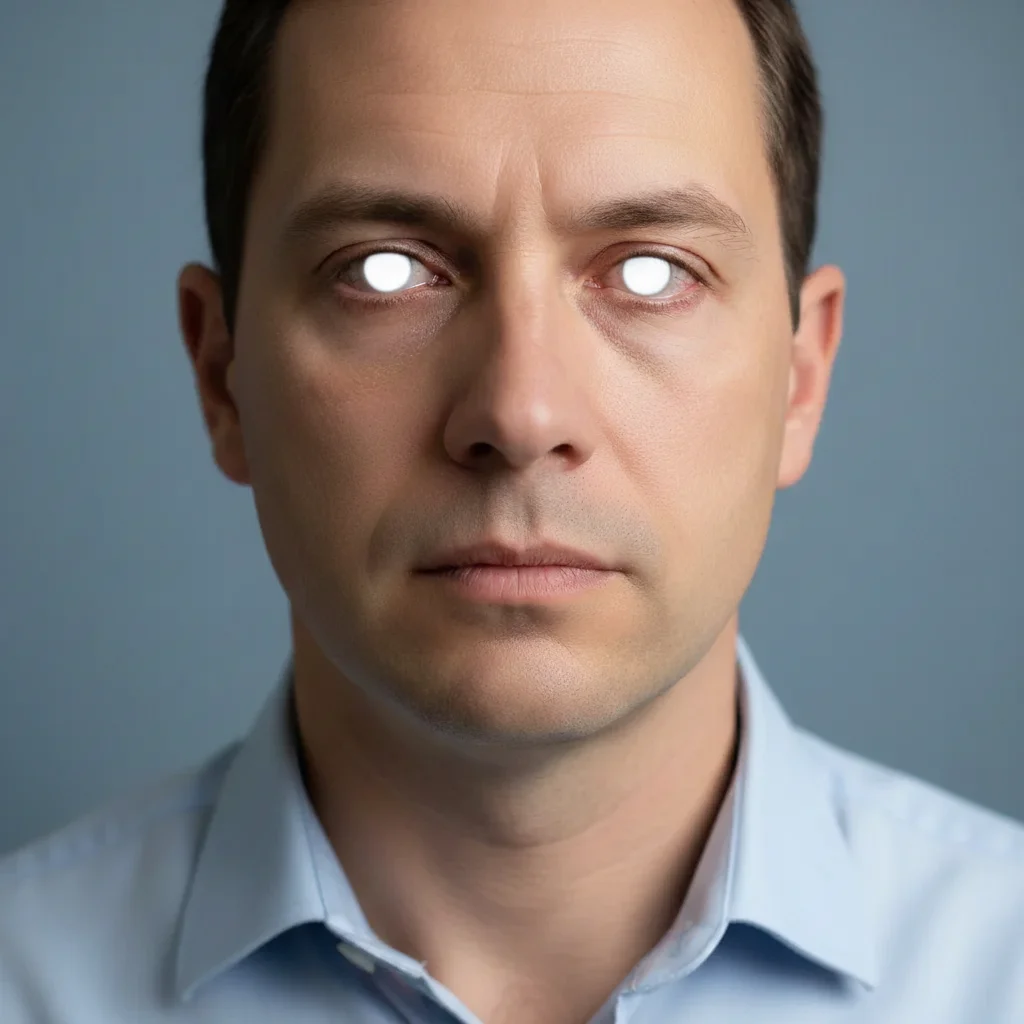
What's the difference between whitening eyes and brightening eyes?

Whitening targets only the eye whites (sclera) to remove yellowing. Brightening enhances the entire eye—making iris color more vibrant, adding catchlights, increasing contrast, and making eyes more engaging overall. Brightening creates more dramatic improvement for dull or lifeless eyes.

Can I enhance eye brightness on my phone?

Yes. EditThisPic works in any mobile browser — iPhone, Android, tablet. No app download needed.

What photo formats does the AI eye brightness enhancer support?

JPG, PNG, WebP, and HEIC. Upload any common photo format and EditThisPic handles the rest.

How long does it take to enhance eye brightness?

Usually 15-30 seconds. Upload your photo, describe what you want, and the AI delivers the result.

Ready to brighten your eyes?

Free to try. No signup required.