Increase Photo Resolution
Type 'increase resolution' and watch pixelated photos become sharp.
Type 'increase resolution to 4x' or 'make this photo larger and sharper' and EditThisPic's AI intelligently adds detail in 20-40 seconds. No sliders, no technical settings to configure. Works on old photos, screenshots, thumbnails, and social media crops. Free to try, no signup needed.

How it works
Upload your photo
Drop your low-resolution image into EditThisPic. JPG, PNG, and WebP up to 7MB work. The AI can work with surprisingly small source images—even 200x200 thumbnails can become usable prints.
Describe what you want
Type your instruction: 'increase resolution to 4x' or 'make this photo 2000 pixels wide with sharp details.' That's it. No marking, no selecting areas. The AI understands what 'increase resolution' means and processes the entire image intelligently.
Copy one of these to get started:
increase resolution to 4x while keeping all details sharp and natural
increase resolution of this old photo to 4x preserving the vintage character, reduce pixelation artifacts
increase resolution to 4x with natural skin texture and sharp facial features, avoid over-smoothing
increase resolution keeping text crisp and edges sharp, make all lettering clearly readable
3 more prompts
increase resolution to 3000 pixels on longest side, optimized for high quality photo printing
increase resolution to 2000x2000 pixels with sharp product edges and accurate colors preserved
increase resolution to 4x with enhanced texture detail in foliage, terrain, and natural elements
Generate and review
Tap generate and examine the result at 100% zoom. Check fine details like text, facial features, and texture areas. Compare against the original to verify the AI added realistic detail rather than blurry interpolation.
Refine with markers if needed
If certain areas look over-processed or artifacts appeared, tap markers on those spots and regenerate with more specific instructions. This is optional—most resolution increases work well without additional refinement.
"Had a pixelated photo from 2008 that was 320px wide. Typed 'increase resolution to 4x' and it came out sharp enough to frame." @PhotoArchiveJen
See it in action
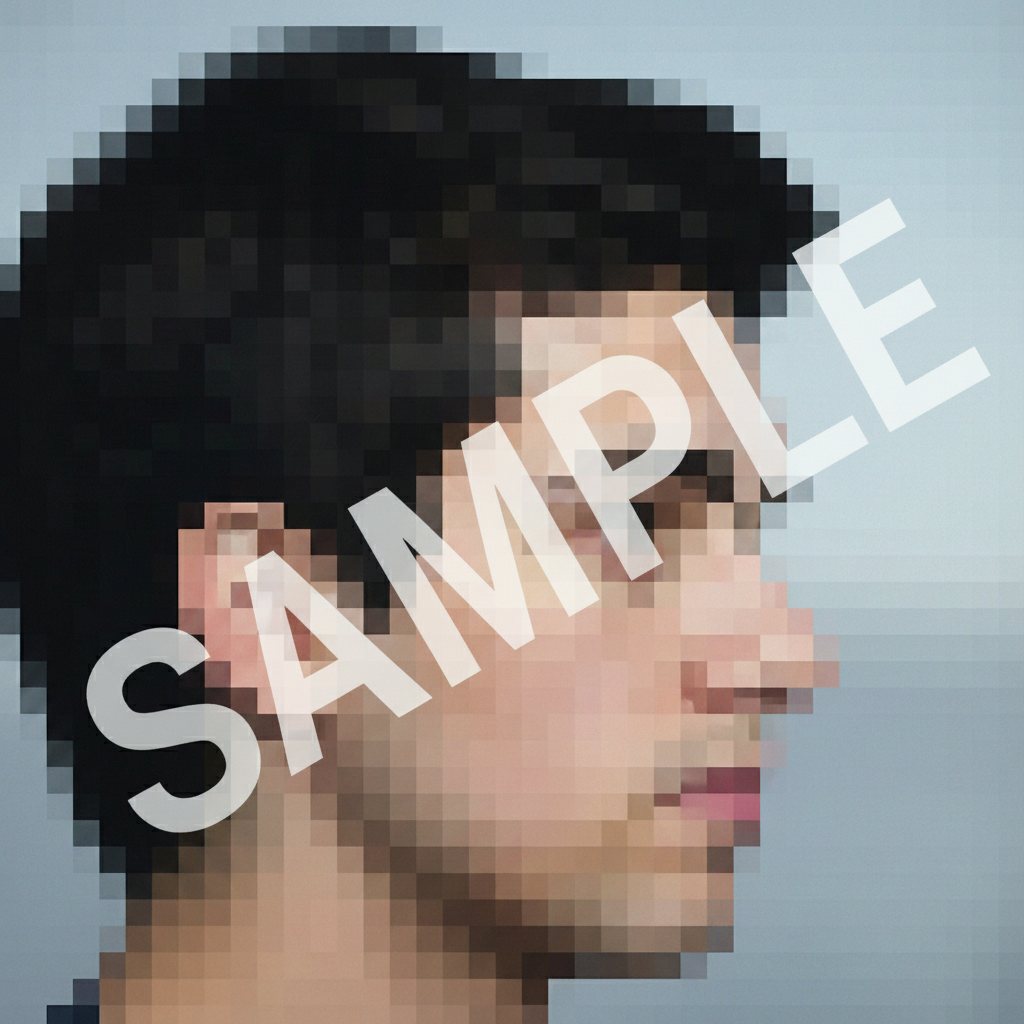
Pixelated profile photo restored
Old social media profile picture from 2010 was only 150x150 pixels. AI upscaling brought it to printable quality while preserving the person's likeness.
increase resolution to 4x with natural skin texture and sharp facial features, preserve original likeness


Low-res vacation photo enlarged for framing
Photo from an old flip phone was too small to print. One prompt increased it to frame-worthy resolution.
increase resolution to 4x while keeping all details sharp and natural, suitable for large print
Blurry screenshot made presentation-ready
Low-resolution screenshot from an old video tutorial was illegible. AI increased resolution while making text crisp and readable.
increase resolution keeping text crisp and edges sharp, make all lettering clearly readable without blur
If something looks off
AI changed the wrong area or something I didn't want changed
Why: The AI interpreted ambiguous areas differently than expected, possibly adding details that weren't in the original image.
Tap a marker on the specific area that looks wrong, then regenerate with 'increase resolution preserving original details exactly'
💡 Markers tell the AI 'pay special attention here.' Use them when AI-generated details don't match your expectations.
Faces look plastic or unnaturally smooth
Why: AI upscalers often over-smooth skin to hide pixelation artifacts, resulting in an artificial appearance.
increase resolution to 4x preserving natural skin texture and pores, realistic appearance not airbrushed
💡 Adding 'pores' and 'realistic' forces the AI to maintain natural skin characteristics.
Text is still blurry or unreadable after increasing resolution
Why: The AI treated text as image content rather than prioritizing sharp edges. Text requires different handling than photographs.
increase resolution with priority on text sharpness, make all lettering crisp and perfectly readable
💡 For documents or screenshots, try specifying 'treat as document with text' for better text handling.
Strange artifacts or halos appeared around edges
Why: Over-sharpening during upscaling creates halos at high-contrast edges. This is more visible around dark objects on light backgrounds.
increase resolution with natural edge treatment, no sharpening halos or ringing artifacts
💡 If halos persist, tap markers on the affected edges and specify 'soft natural transitions.'
Colors look different after resolution increase
Why: Some AI upscaling can shift colors slightly, especially in shadows and highlights. This is more common with heavily compressed sources.
increase resolution preserving exact original colors, no color shifts or saturation changes
💡 Mentioning 'exact original colors' keeps the AI from adjusting your color palette.
Quick answers
Do I need to mark anything before increasing resolution?
No! Just type what you want: 'increase resolution to 4x' and try it. The AI processes the entire image automatically. Markers are only needed if you want to refine specific areas after seeing the initial result—but most resolution increases work perfectly on the first try.
How much can I increase photo resolution?
You can effectively increase resolution up to 4x in a single pass, meaning a 500x500 image becomes 2000x2000. For larger increases, upscale once, download, then upscale again. Beyond 8x total, the AI starts inventing details that weren't in the original, so quality may vary.
Will increasing resolution fix a blurry photo?
Increasing resolution adds pixels and realistic detail to small images, but it works best on sharp source images that are simply too small. If your photo is blurry from camera shake or focus issues, try our 'fix blurry photo' tool first, then increase resolution afterward.
What resolution do I need for printing?
For quality prints, you typically need 300 DPI. A web image at 72 DPI needs roughly 4x resolution increase to reach print quality. Type 'increase resolution to 3000 pixels on longest side for print' to get specific dimensions suitable for most standard print sizes.
Can I increase resolution of old scanned photos?
Yes—old scanned photos are ideal for this tool. Type 'increase resolution to 4x while preserving the vintage character and reducing noise.' The AI adds detail while respecting the original aesthetic. For best results, scan at your scanner's highest resolution before uploading.
Ready to increase your photo's resolution?
Free to try. No signup required.