Smooth Wrinkles from Photo
Just describe what you want. 'Reduce wrinkles naturally' usually works on the first try.
Type 'smooth the wrinkles while keeping skin texture natural' and EditThisPic reduces fine lines in 15-30 seconds. No selection tools, no marking required. The AI understands faces and applies subtle, realistic smoothing that preserves character. Free to try, no account needed.
How it works
Upload your photo
Drop your portrait into EditThisPic. JPG, PNG, and WebP up to 7MB work best. Higher resolution photos give the AI more detail to work with for natural-looking results.
Describe the look you want
Type your instruction: 'reduce wrinkles naturally while keeping skin texture' or 'smooth forehead lines subtly.' The AI understands faces and applies realistic smoothing. No need to mark specific areas.
Copy one of these to get started:
reduce wrinkles naturally while keeping skin texture and character intact
smooth forehead lines and crow's feet subtly, maintain professional natural appearance
gently soften facial lines on everyone, keep skin looking healthy and natural
reduce under-eye wrinkles and fine lines while preserving smile lines and natural expression
2 more prompts
smooth deep wrinkles and lines while keeping pores and skin texture visible for a refreshed look
soften neck lines and smooth jawline area naturally, matching the face's skin quality
Review the result
Check that skin texture is preserved and the result looks natural. Zoom to 100% to verify pores and fine details remain visible. The best results are ones where the edit is undetectable.
Refine specific areas if needed
If certain areas need more or less smoothing, tap markers on those spots and adjust your prompt. This is optional—most portraits look great without markers.
"Finally a tool that doesn't make everyone look plastic. My mom's portrait looks ten years fresher but still looks like her." @PortraitLisa
See it in action
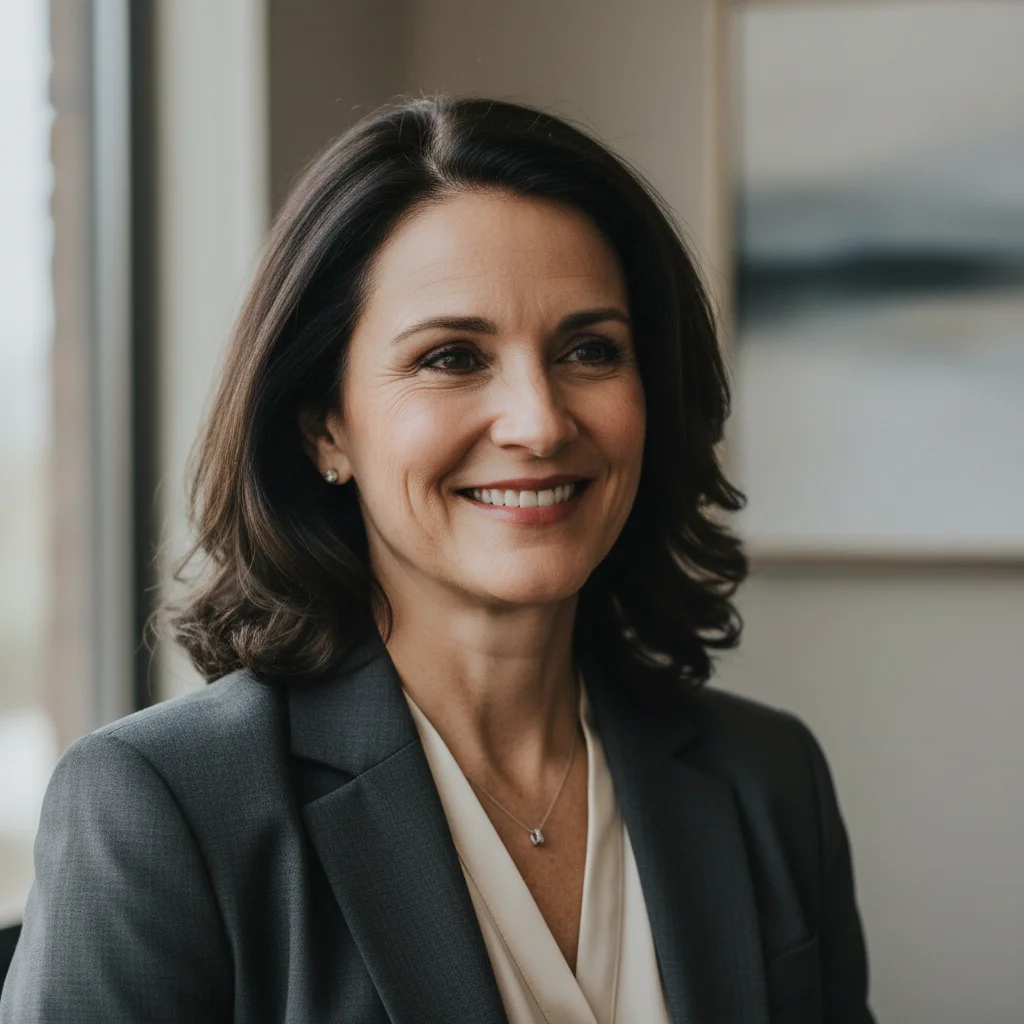
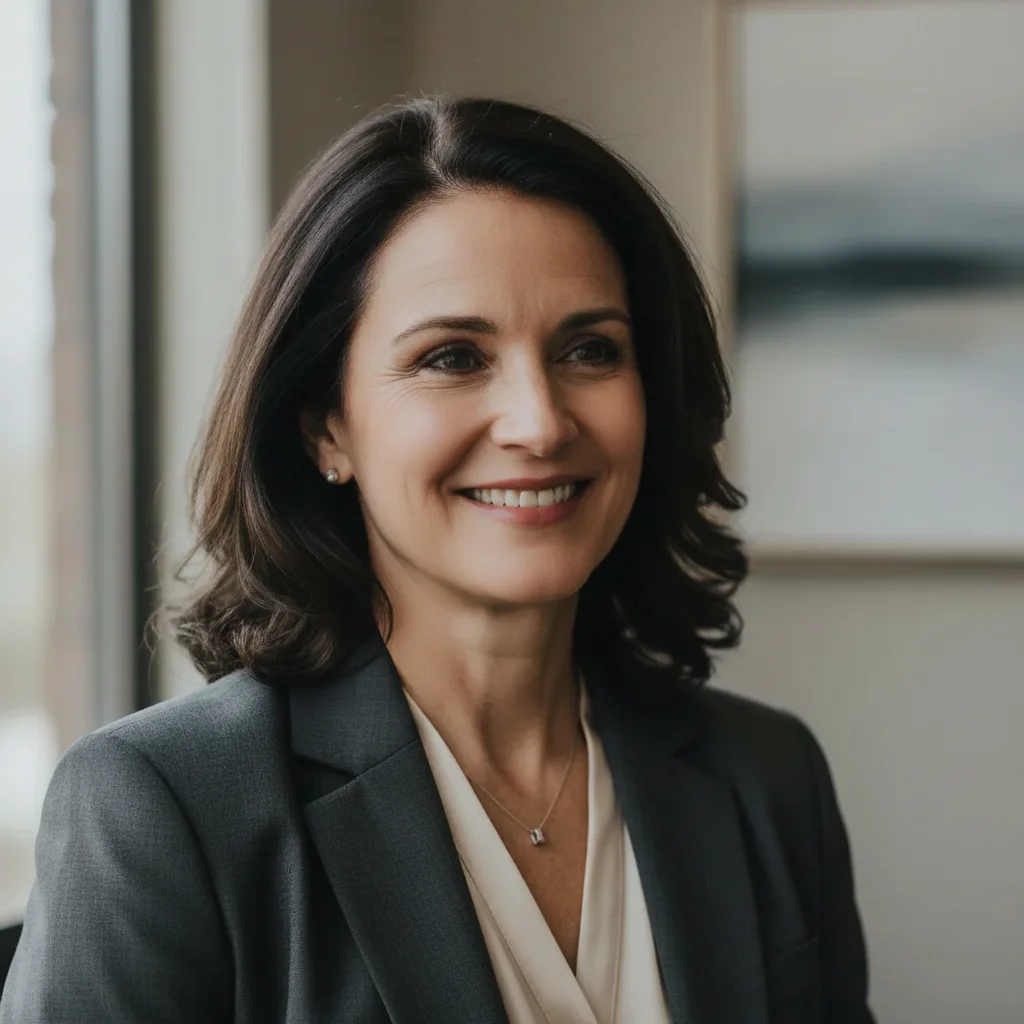
Professional headshot refresh
Executive portrait for company website. One prompt reduced forehead lines while keeping the confident, approachable expression intact.
reduce wrinkles naturally while keeping skin texture and professional appearance
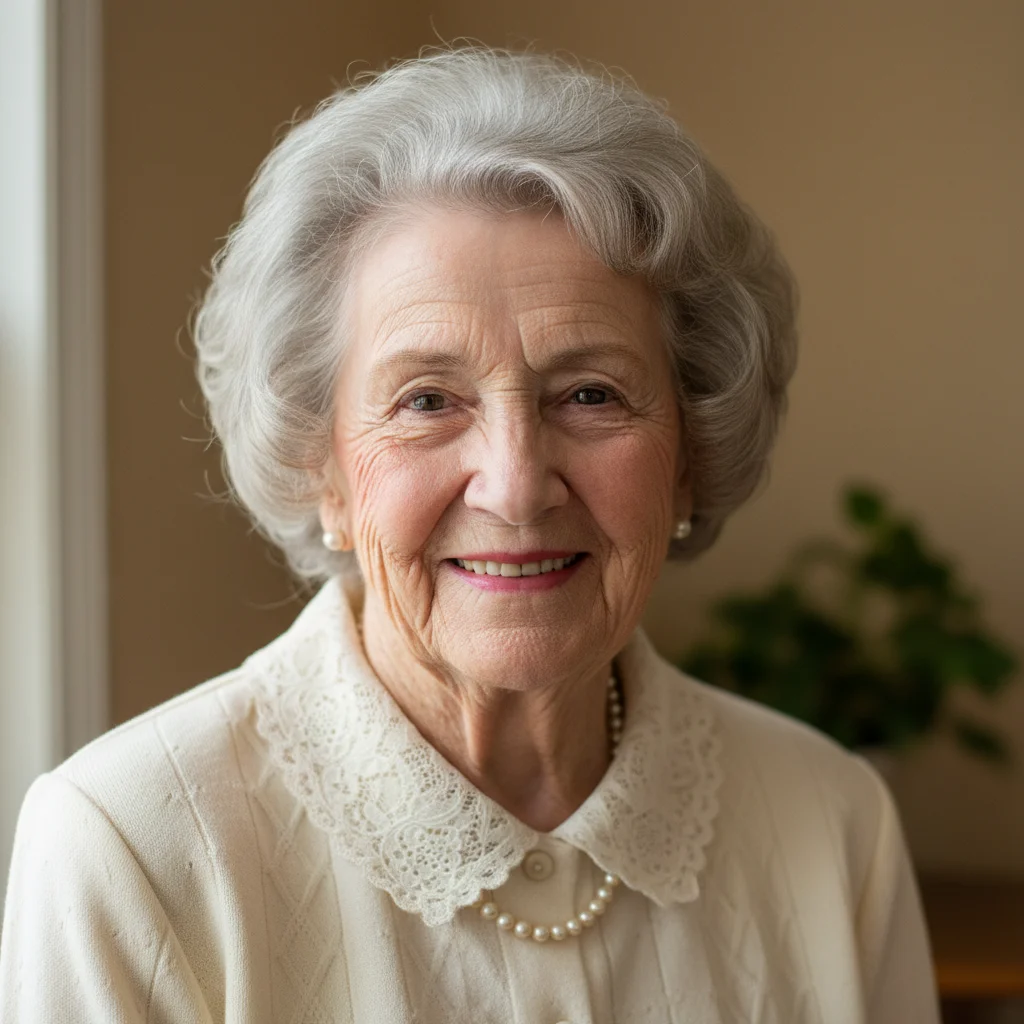
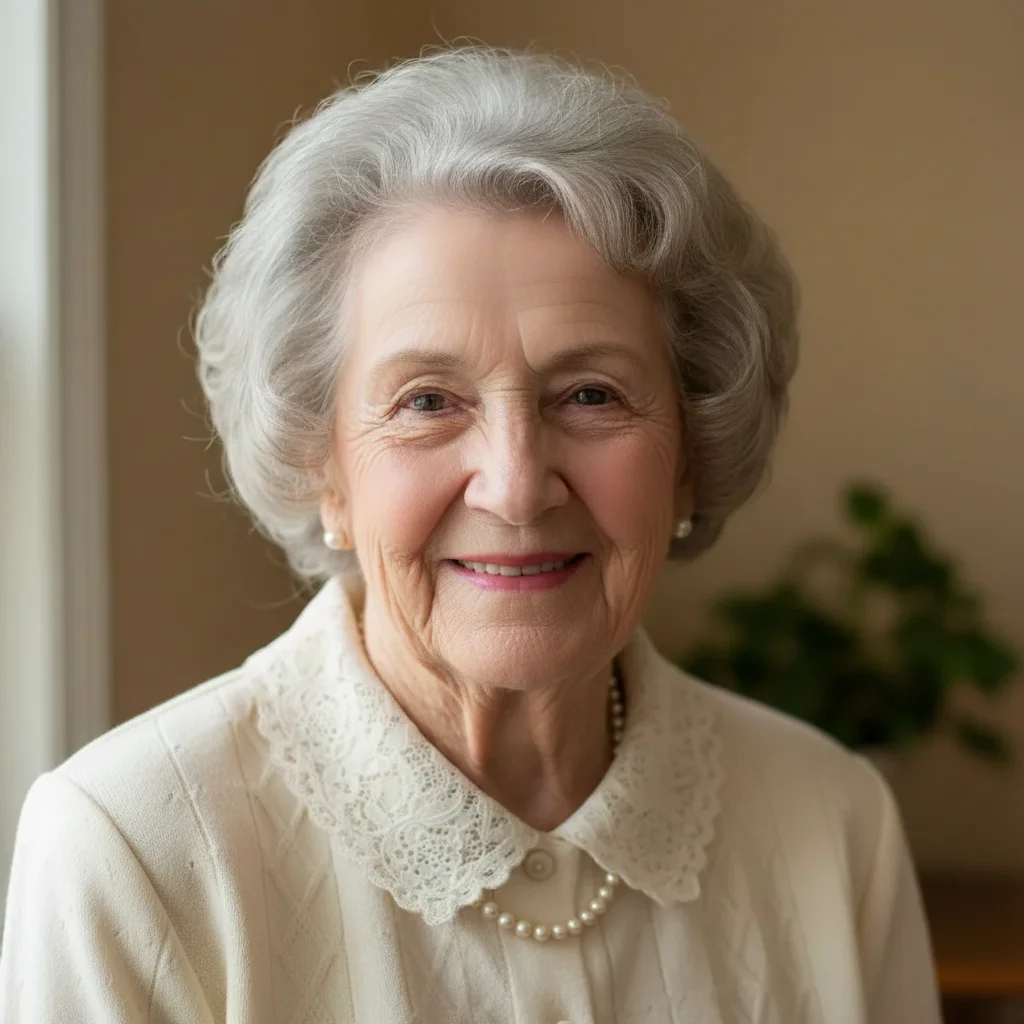
Family reunion portrait
Grandmother wanted to look her best in the family photo. Subtle smoothing refreshed her appearance without changing who she is.
gently soften facial lines while preserving smile lines and natural warmth
If something looks off
Skin looks plastic or waxy after smoothing
Why: The AI applied too much smoothing and removed natural skin texture. This happens when the prompt doesn't specify to preserve texture.
reduce wrinkles subtly while preserving skin pores, texture, and natural appearance
💡 Words like 'subtly' and 'preserve texture' tell the AI to use a lighter touch.
AI changed areas I didn't want changed
Why: The AI couldn't determine exactly which areas you meant from description alone. This happens with ambiguous requests.
Tap a marker on the specific area you want smoothed, then regenerate with the same prompt
💡 Markers tell the AI 'I mean THIS area specifically.' Use them when you want different treatment for different zones.
Expression looks different or unnatural
Why: Over-smoothing around eyes and mouth can change how expressions read. The AI removed lines that contribute to facial character.
smooth wrinkles gently while preserving smile lines and expression around eyes
💡 Smile lines and eye crinkles are part of genuine expressions—specify keeping them for natural results.
Some wrinkles smoothed more than others
Why: Lighting differences across the face made some wrinkles more visible to the AI than others, leading to inconsistent processing.
Tap markers on the areas that need more smoothing and regenerate with 'smooth this area to match the rest of the face'
💡 For even results, you may need a second pass targeting specific spots that were missed.
Quick answers
Do I need to mark the wrinkles before describing?
No—just describe what you want. 'Reduce wrinkles naturally' usually works because the AI understands faces. Markers are only needed if you want different levels of smoothing in different areas, like more on the forehead and less around the eyes.
How do I avoid the over-processed 'plastic' look?
Use words like 'subtle,' 'natural,' or 'gently' in your prompt, and always include 'preserve skin texture.' The goal is results where the edit is undetectable. If results look too smooth, try 'reduce wrinkles slightly while keeping pores visible.'
Can I smooth wrinkles on multiple people in one photo?
Yes. Type 'gently soften facial lines on everyone in the photo' and the AI will apply consistent smoothing across all faces. For different levels per person, process each face separately using markers to specify who you're targeting.
Will this work on neck wrinkles too?
Yes. Include 'and neck' in your prompt: 'smooth facial and neck wrinkles naturally.' For best results, mention 'matching the face's skin quality' so the neck doesn't look more or less processed than the face.
Ready to smooth your photo naturally?
Free to try. No signup required.