Upscale Old Photo from Photo
Just type 'upscale this old photo'—the AI knows how to handle vintage images.
Type 'upscale this old photo and enhance clarity while preserving the vintage character.' The AI understands the difference between damage that needs fixing and period-authentic grain it should keep. Results in 20-45 seconds. No selection needed, no settings to configure. Works on scanned prints, faded snapshots, and century-old portraits. Free, no signup required.
How it works
Upload your old photo
Drop your scanned or photographed old image into EditThisPic. JPG, PNG, WebP up to 7MB. Higher resolution scans give the AI more original detail to work with, but even phone photos of old prints can work well.
Describe what you want
Type your instruction: 'upscale this old photo and restore clarity' or 'enhance this vintage portrait while keeping the period look.' The AI understands old photos need different treatment than modern images—it preserves authentic grain while fixing actual damage. No marking needed.
Copy one of these to get started:
upscale this old photo and enhance clarity while preserving the authentic vintage character
upscale this old family photo with special attention to making the faces clear and recognizable
upscale and restore this badly faded old photo, bring back the contrast and detail while keeping it looking like a period photograph
upscale this black and white portrait to print quality, enhance sharpness and detail while maintaining natural film grain
3 more prompts
upscale this sepia vintage photo, enhance clarity and detail while preserving the warm sepia tones exactly
upscale this old photo and reduce the scratches and spots while enhancing the underlying image detail
upscale this photo of my ancestor to the highest quality possible, making their face and features as clear as the original would allow
Generate and review
Tap generate and examine faces at full zoom—these matter most for family photos. Check that important details like eyes and expressions are clearer, and verify the photo still feels authentically old rather than artificially modern.
Refine specific areas if needed
If certain areas need more attention—like a face that's still unclear or damage that wasn't fully addressed—tap markers on those spots and regenerate. This precision step is optional; most upscaling works without markers.
"Found my great-grandmother's wedding photo in a shoebox. One prompt and I could finally see her face clearly for the first time." @FamilyHistoryJen
See it in action
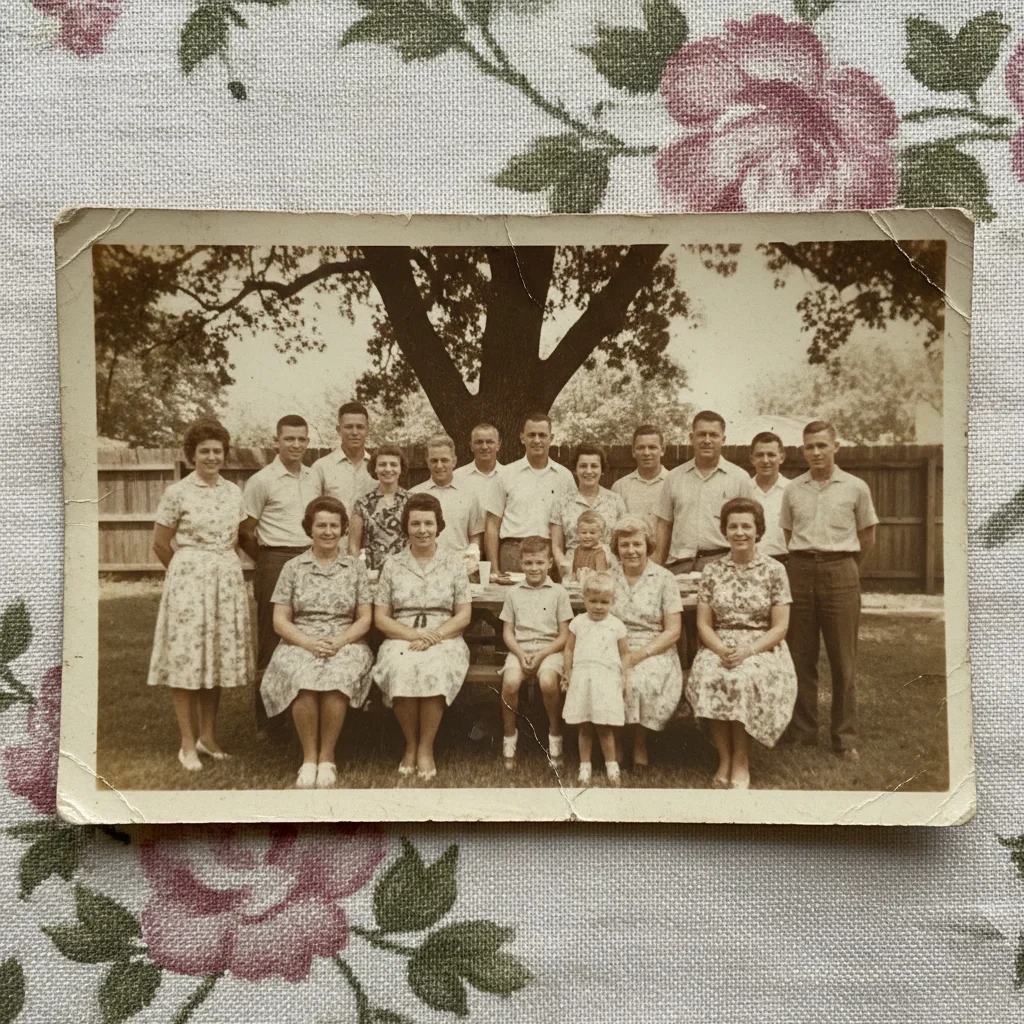
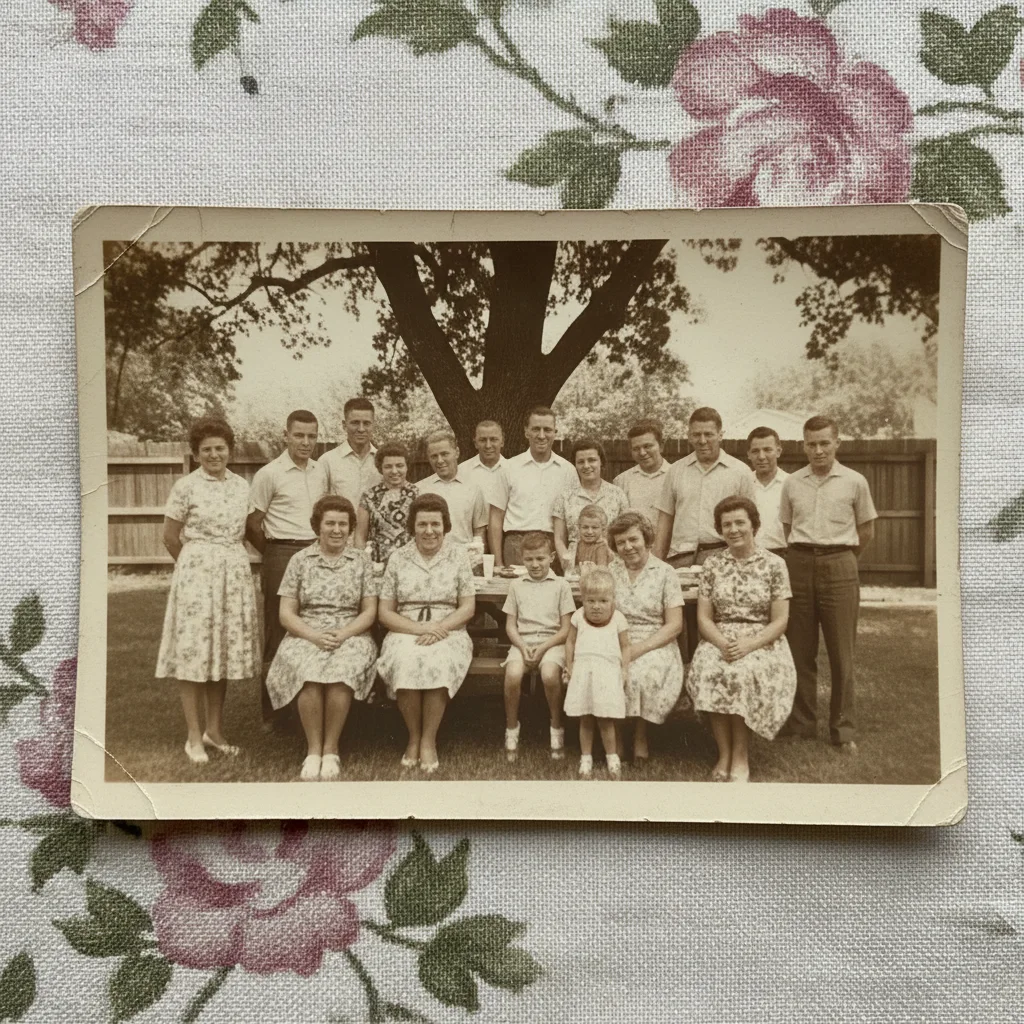
1960s family reunion photo
Faded color snapshot from a family reunion found in grandmother's album. Upscaled for a memorial slideshow, faces now clearly recognizable.
upscale this old family photo and enhance clarity, focus on making all the faces clear and recognizable while keeping the 1960s color palette
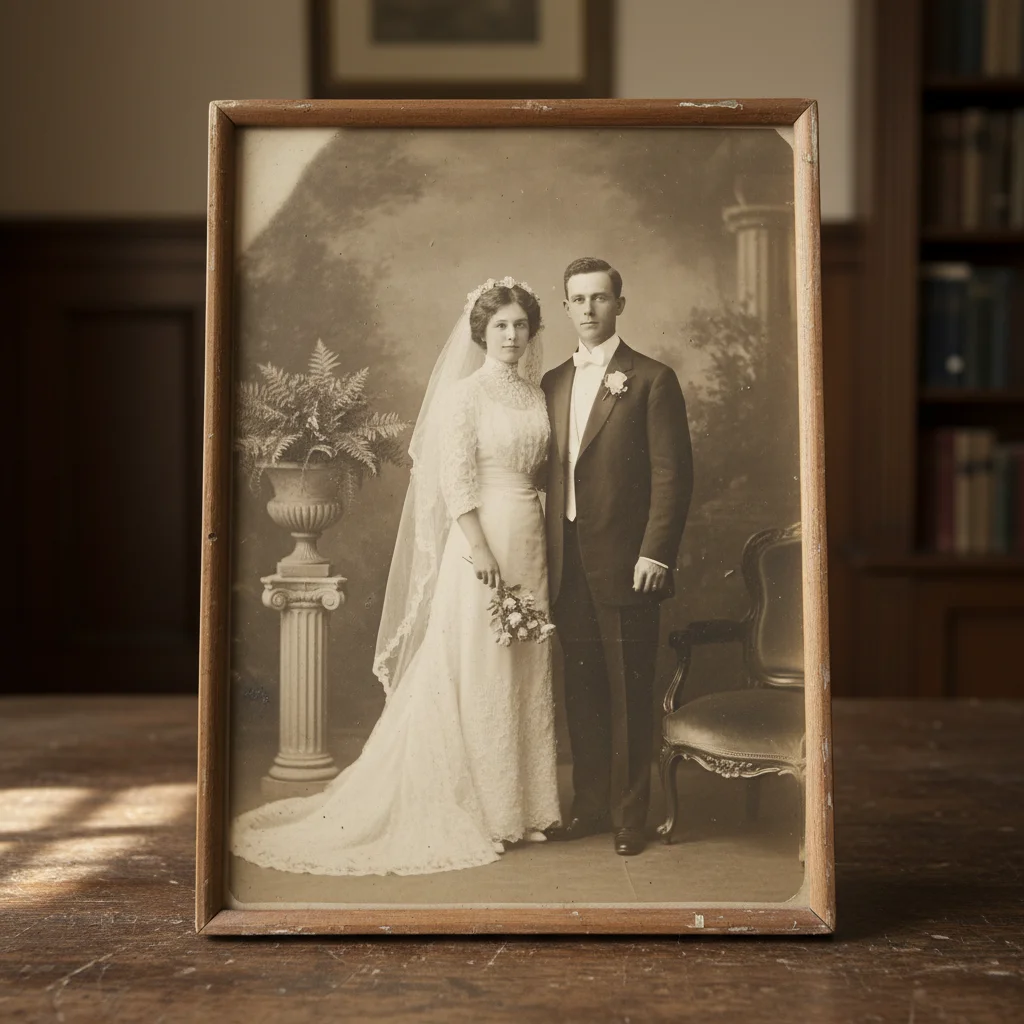
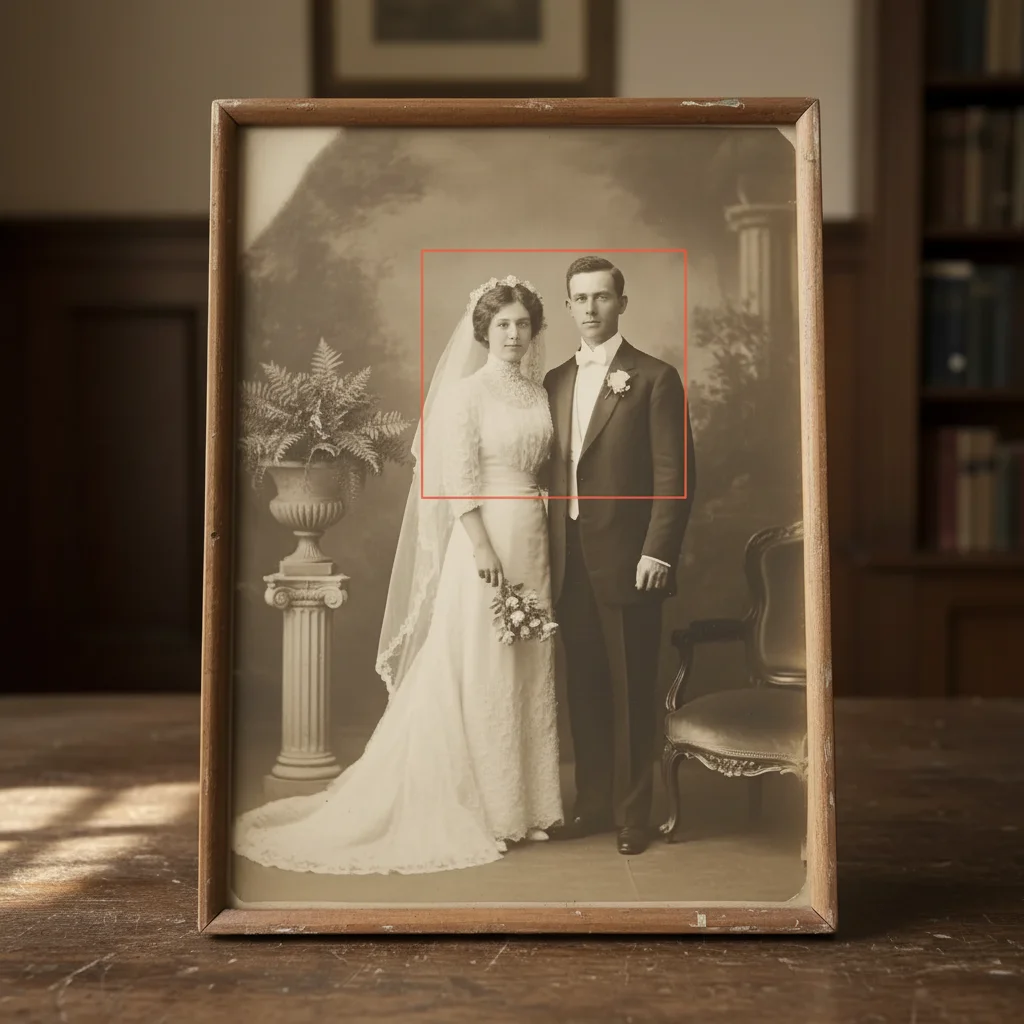
Great-grandparent wedding portrait
Formal black and white studio portrait from early 1900s. Enhanced for genealogy records while preserving the period aesthetic.
upscale this antique wedding portrait to high resolution, enhance facial detail and clothing texture while preserving the authentic early 1900s studio portrait quality

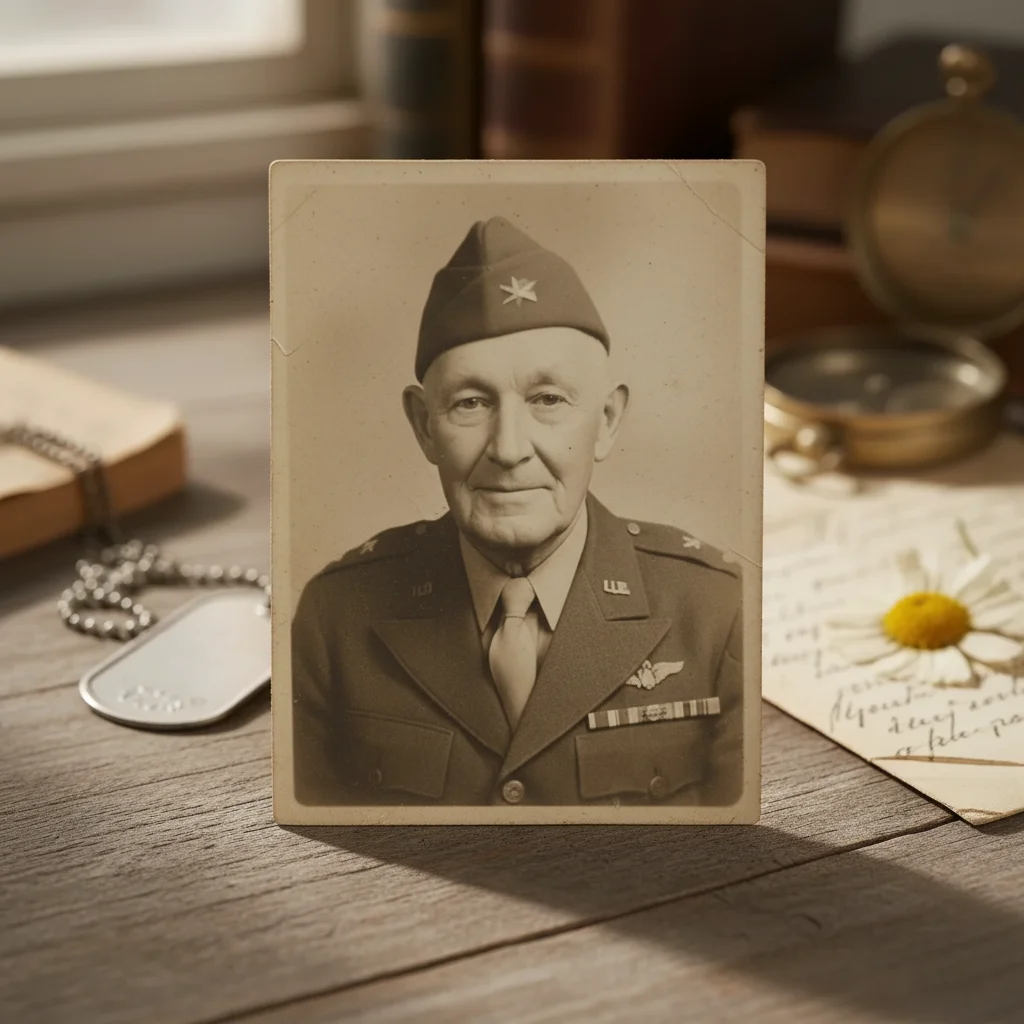
WWII-era military photo
Small wallet-sized photo of grandfather in uniform. Upscaled for framing and family history documentation.
upscale this small WWII military portrait to large print quality, enhance facial features and uniform details while maintaining the wartime photograph character
If something looks off
AI changed the wrong area or over-enhanced something I wanted preserved
Why: The AI interpreted damage or grain as something to fix when you wanted to keep it. This happens with intentionally aged looks or artistic film grain.
Tap a marker on the area you want preserved as-is, then regenerate with 'keep this area unchanged'
💡 Markers tell the AI 'leave this alone.' Use them when the AI is too aggressive with enhancement.
Faces look artificial or over-smoothed
Why: The AI applied too much enhancement, removing natural skin texture and making faces look plastic. This often happens with heavily damaged originals.
upscale this photo with natural facial enhancement, preserve skin texture and avoid artificial smoothing
💡 Adding 'natural' and 'preserve texture' counterbalances the AI's tendency to over-polish damaged areas.
Photo lost its vintage character and looks too modern
Why: The AI removed authentic period grain and color cast, treating them as defects. Old photos should feel old.
upscale this photo while strictly preserving the vintage film grain and period color palette, enhance only the sharpness
💡 'Strictly preserving' is stronger language that tells the AI the vintage qualities are intentional, not damage.
Some faces are clear but others are still blurry
Why: The AI focused enhancement on the most prominent faces. Background or smaller faces may need explicit attention.
Tap markers on the faces that need more clarity, then 'enhance these faces to match the others in the photo'
💡 For group photos, specify face count: 'make all 6 faces equally clear' helps the AI distribute enhancement evenly.
Scratches and damage are still visible after upscaling
Why: Basic upscaling enhances what's there, including damage. Damage removal needs explicit instruction.
upscale this photo and remove the scratches, dust spots, and damage marks while enhancing the underlying image
💡 Separate the tasks mentally: upscaling makes things bigger; damage removal fixes defects. Ask for both explicitly.
Colors look wrong or shifted after enhancement
Why: The AI tried to correct color cast, not knowing whether the original was sepia-toned intentionally or faded accidentally.
upscale this photo keeping the exact original color tones, do not adjust color balance or white balance
💡 If you want color correction, be specific: 'restore natural colors' vs 'preserve the warm sepia tones.'
Quick answers
Do I need to mark anything before enhancing?
No—just type what you want. 'Upscale this old photo and make the faces clear' works without any marking. The AI understands old photos and knows to prioritize faces. Markers are only needed if you want to focus on specific areas after seeing the first result.
Will this make my old photos look artificially modern?
Not if you tell it to preserve the vintage character. Type 'upscale while preserving authentic vintage look' and the AI keeps period-appropriate grain and tones. It knows the difference between damage that needs fixing and authentic character that should stay.
What resolution should I scan my old photos at before uploading?
Higher is better—300-600 DPI captures the most original detail for the AI to work with. But even phone photos of old prints can work well. The AI enhances what it can see, so more input detail means better output.
Can this fix photos with significant damage like tears or missing corners?
Yes, but mention it specifically: 'upscale and repair the torn corner' or 'fill in the missing section.' Basic upscaling enhances resolution; damage repair needs explicit instruction. For major damage, you may need 2-3 rounds of refinement.
How large can I print the enhanced photo?
A well-enhanced photo can typically print 3-4x larger than the original without looking pixelated. A wallet-sized original might print nicely at 8x10. Results depend on original quality—the AI enhances detail but can't invent information that was never captured.
Ready to upscale your old photos?
Free to try. No signup required.