Colorize Old Photo
Type what you want. The AI understands 'colorize this old photo' without any marking.
Type 'colorize this old photo with natural realistic colors' or 'add realistic colors to this vintage photo' and EditThisPic's AI brings your family memories to life in 20-40 seconds. No selection tools, no marking areas. The AI analyzes the entire image and applies historically accurate colors. Free to try, no signup needed.
How it works
Upload your old photo
Drop your vintage image into EditThisPic. JPG, PNG, and WebP up to 7MB. Scanned photos work best—aim for at least 300 DPI if you're scanning. The AI works with faded, sepia, or true black-and-white originals.
Describe the colorization you want
Type your instruction: 'colorize this old photo with natural realistic colors' or 'add warm natural colors to this vintage portrait.' That's it. No marking, no selecting. The AI analyzes skin tones, clothing, and backgrounds to apply historically plausible colors.
Copy one of these to get started:
colorize this old photo with natural realistic colors, maintaining the original mood and lighting
add realistic natural colors to this vintage portrait, warm skin tones, period-appropriate clothing colors
restore full natural color to this faded sepia photograph, converting all brown tones to realistic colors
colorize this old outdoor photo with natural blue sky, green grass, and realistic environment colors
3 more prompts
colorize this old photo, the woman is wearing a navy blue dress and the man has a brown suit
colorize this vintage military photo with accurate uniform colors for the era, realistic skin tones, period-correct medals and insignia
colorize this old damaged photo with natural colors while preserving the original detail, ignore scratches and focus on color
Review the colorized result
Examine the restored photo at full zoom. Check skin tones for natural appearance, clothing colors for consistency, and background elements for believable hues. Pay attention to faces—they're the emotional center of most old photos.
Refine specific areas if needed
If certain colors look off—maybe the sky turned purple or a dress looks unnatural—tap markers on those areas and add specific color guidance. This precision step is optional; most colorizations work without markers.
"Found my grandmother's 1940s wedding photo in a shoebox. One prompt later, I finally saw what that day really looked like. My mom cried." @FamilyHistoryJen
See it in action
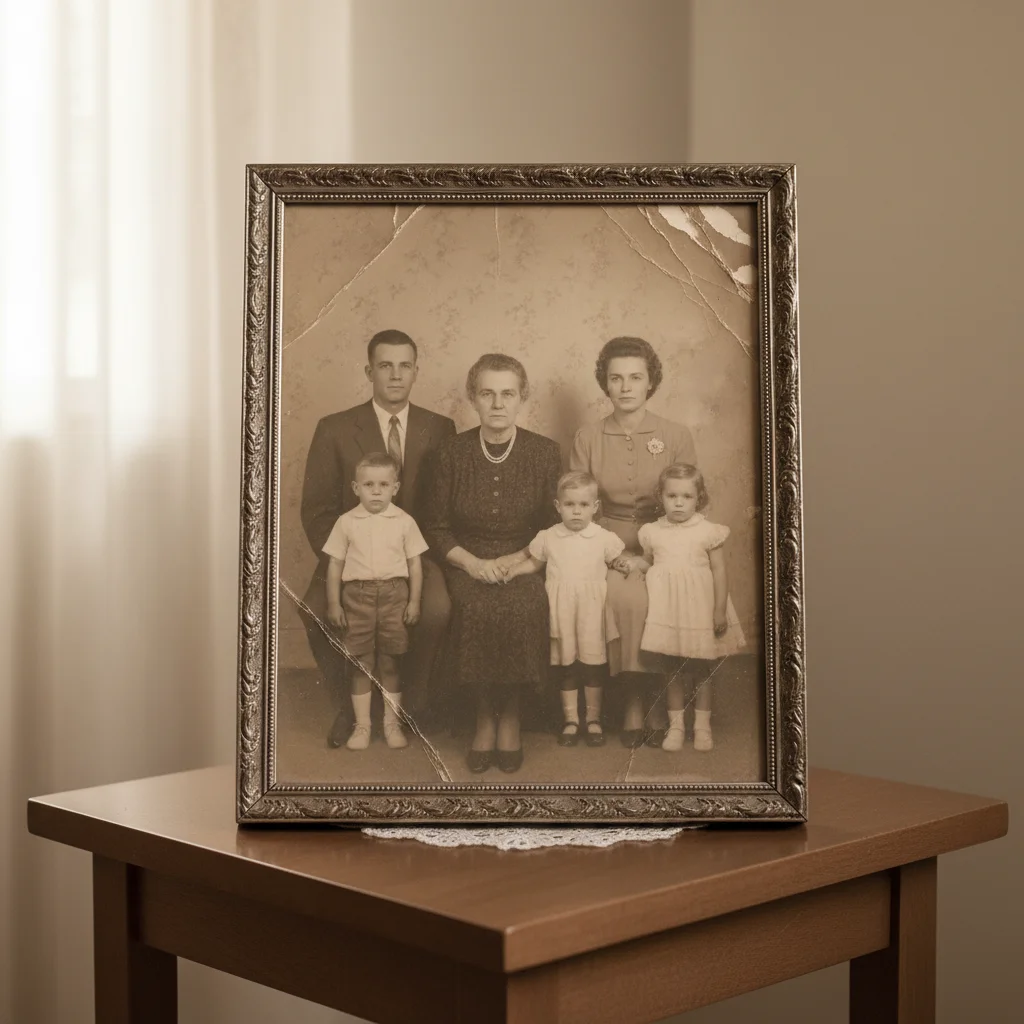
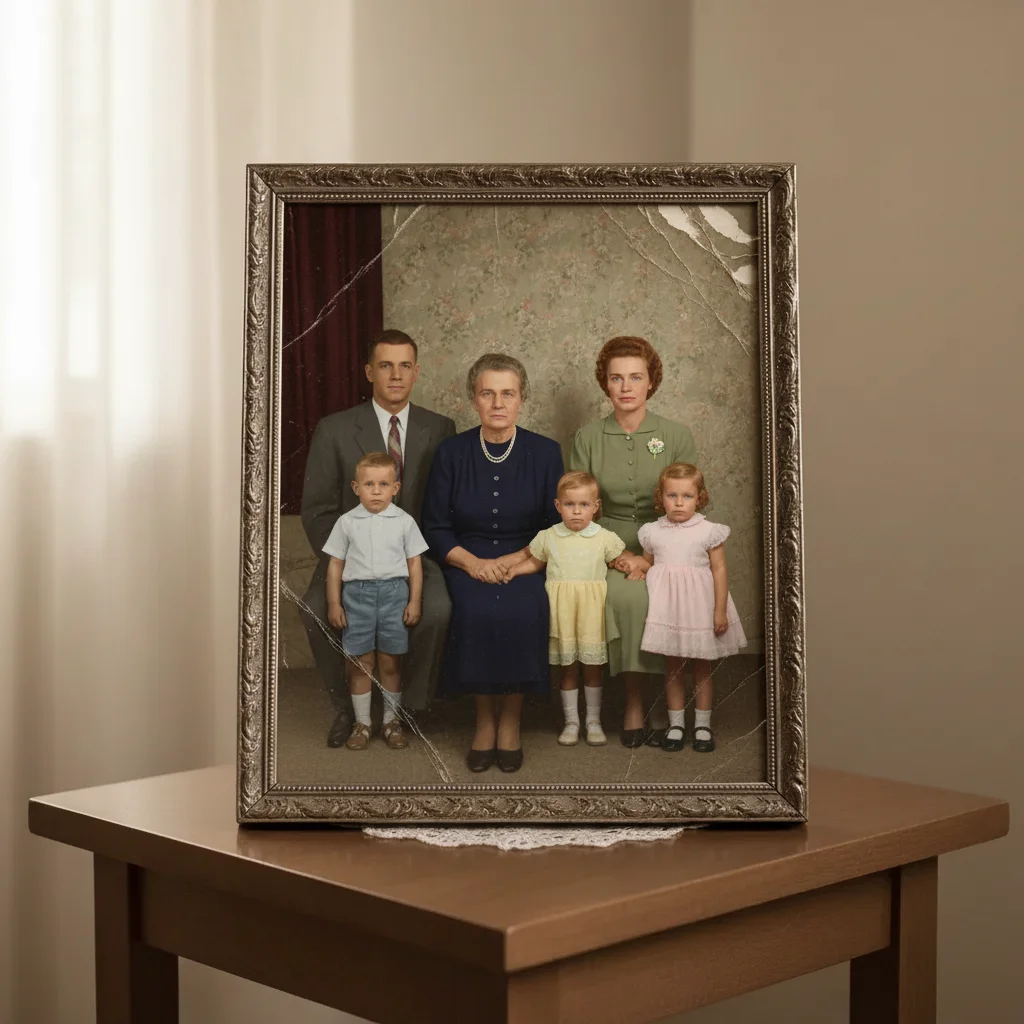
1950s family portrait brought to life
Grandmother's formal family portrait was faded sepia. One prompt restored natural skin tones and period-appropriate clothing colors.
colorize this old photo with natural realistic colors, warm skin tones, period-appropriate 1950s clothing and background
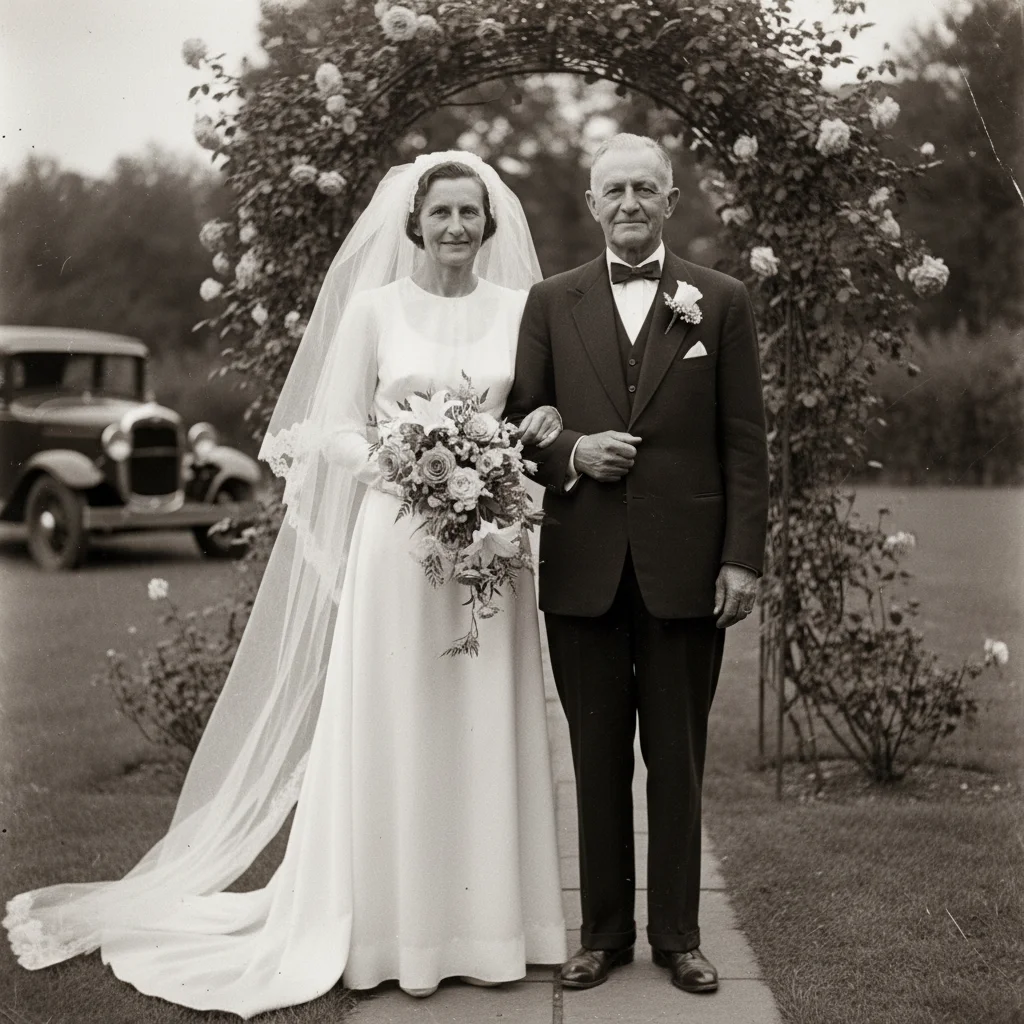
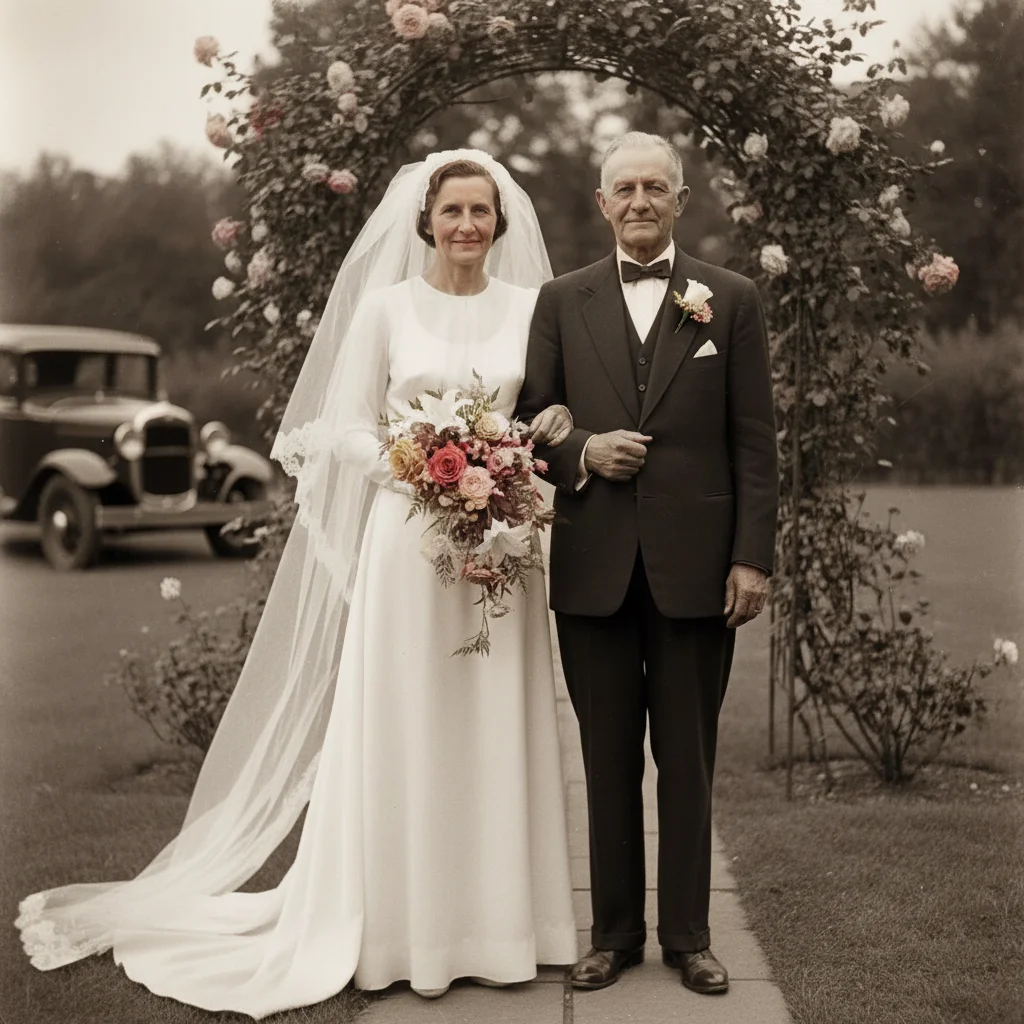
Vintage wedding photo restored
Great-grandparents' wedding photo from the 1930s. Restored the bride's dress, groom's suit, and flower details for a family reunion display.
colorize this old wedding photo with realistic colors, white bridal dress, dark formal suit, natural flower colors, soft romantic lighting
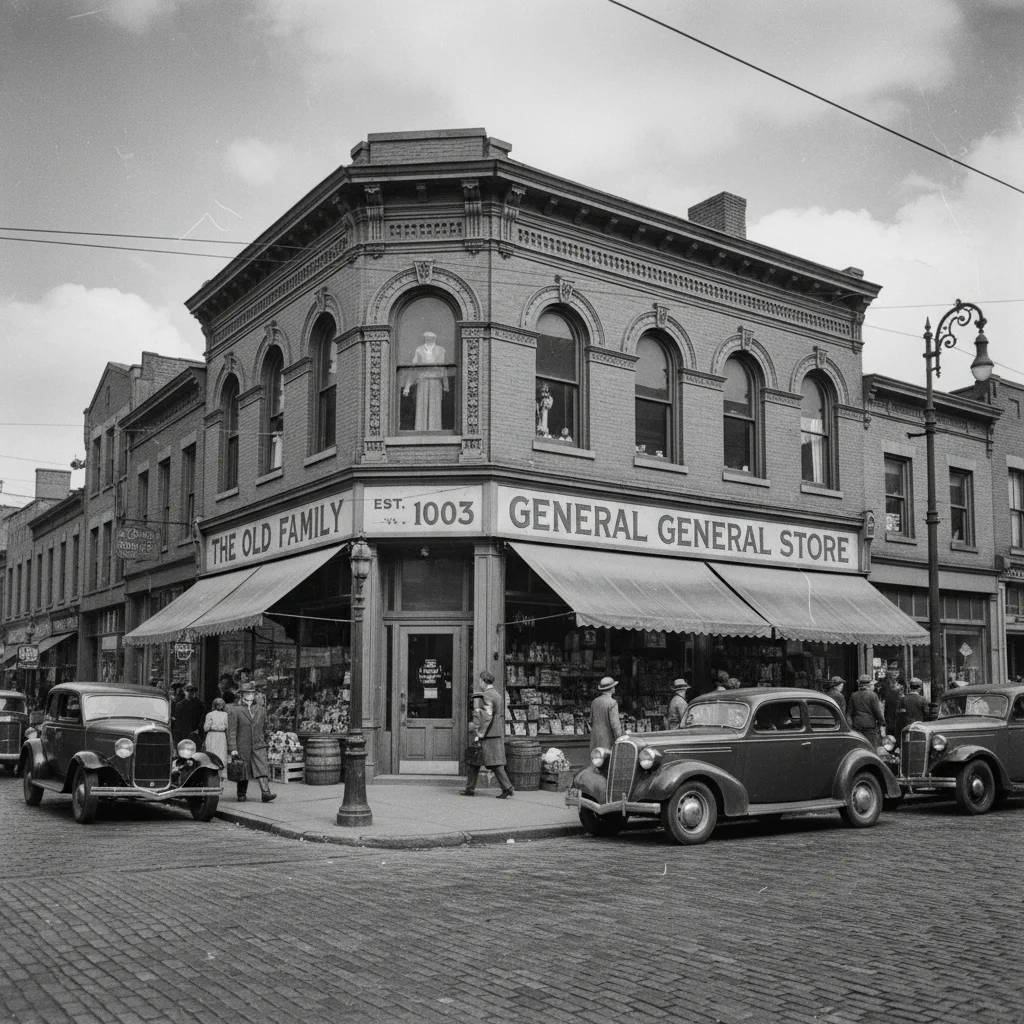
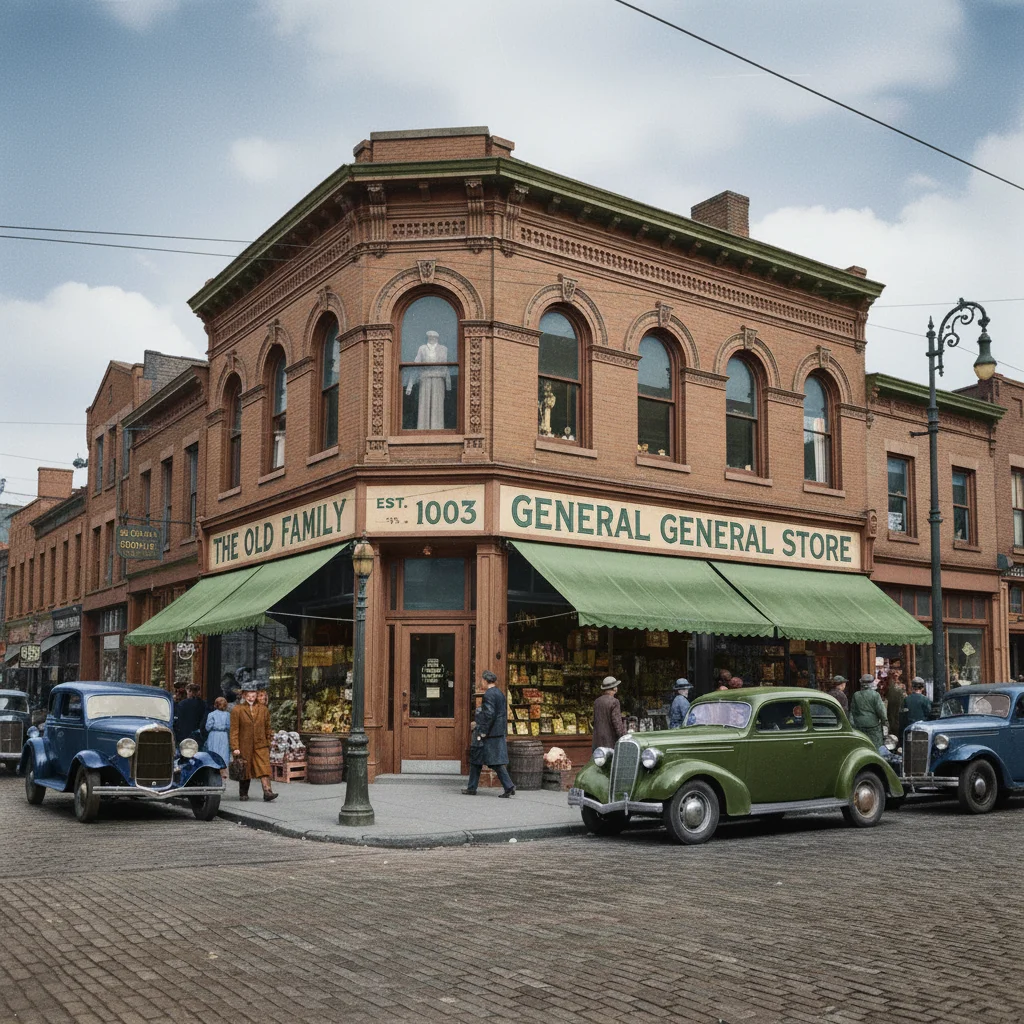
Historical street scene colorized
Found a 1940s photo of the old family business storefront. Colorization revealed the original sign colors and vintage cars.
colorize this old street photograph with historically accurate 1940s colors, realistic storefronts, vintage car colors, natural sky and street tones
If something looks off
AI changed the wrong area or applied color where I didn't want it
Why: The AI interpreted certain areas differently than you expected, or applied color to elements you wanted to remain as-is.
Tap a marker on the specific area you want to adjust, then regenerate with color guidance for that area
💡 Markers tell the AI 'I mean THIS area specifically.' Use them when the AI colors something incorrectly.
Skin tones look unnatural or too orange
Why: The AI is overcompensating for the original sepia or yellowed tones, pushing skin colors too warm.
colorize this photo with natural cool-neutral skin tones, avoiding orange or overly warm colors
💡 Adding 'cool-neutral' pulls back the warmth. Different ethnicities need different approaches—be specific if needed.
Colors are too saturated and look fake
Why: Modern AI sometimes defaults to vibrant colors, but old photos often depicted scenes with more muted tones and natural lighting.
colorize this old photo with muted, historically accurate colors typical of the era, subtle and natural
💡 Clothing dyes and photographic conditions in older eras produced less saturated colors. 'Muted' often looks more authentic.
Background colors clash with the subject
Why: The AI chose colors independently for different areas without considering the overall color harmony of the scene.
colorize this photo with harmonious natural colors, ensure background complements the subject's clothing and skin tones
💡 If specific areas clash, tap markers on the background and specify a color that works with the rest.
Fine details like eyes or jewelry lost their definition
Why: Colorization sometimes softens fine details, especially in lower-resolution scans or already-faded originals.
colorize this photo with realistic colors while preserving sharp detail in eyes, jewelry, and facial features
💡 Higher resolution scans give the AI more detail to work with. Rescan at 600 DPI if possible.
The photo still looks old-fashioned despite colorization
Why: The original lighting, contrast, and photographic style remain even after colorization, which is actually often desirable for authenticity.
colorize this old photo and modernize the overall look with contemporary color grading and contrast
💡 Most people prefer keeping the vintage feel. But if you want modern, explicitly ask for contemporary color grading.
Quick answers
Do I need to mark areas before colorizing?
No! Just describe what you want: 'colorize this old photo with natural realistic colors.' The AI analyzes the entire image and applies appropriate colors to skin, clothing, backgrounds, and objects automatically. Markers are only needed if you want to correct a specific area afterward—like changing a dress color the AI guessed wrong.
Does the AI know the actual original colors?
The AI uses context clues and historical knowledge to make educated guesses. It recognizes skin tones, common clothing styles by era, natural outdoor colors, and typical indoor settings. For more accuracy, include any colors you know: 'her dress was blue' or 'the car was dark green.' Family memories often hold these details.
Can I colorize damaged or scratched old photos?
Yes, but with caveats. The AI can colorize around minor scratches and fading. For heavily damaged photos, you may want to restore damage first using a separate prompt, then colorize. Or ask for colorization while 'ignoring scratches'—the AI will focus on color without trying to fix physical damage.
What's the best resolution for scanning old photos before colorizing?
Scan at 300-600 DPI for best results. Higher resolution gives the AI more detail to work with, especially for facial features and fine clothing textures. Most scanners default to 200 DPI—bump it up before scanning. If you're photographing a print with your phone, use good lighting and keep the camera steady.
Why do some old photos colorize better than others?
Original photo quality matters significantly. Sharp, well-exposed black-and-white photos with good contrast colorize beautifully. Faded, overexposed, or blurry originals have less tonal information for the AI to interpret. Sepia photos work well because the brown tones still contain detail. Heavily faded photos may need multiple attempts.
Ready to colorize your old photo?
Free to try. No signup required.