Grátis • Sem cadastro Fix Underexposed photo · Grátis

Fix Underexposed Photo

Last updated

Brighten dark photos and restore shadow detail in seconds with AI.

Dark silhouette of person against bright window
Before
Same person with properly exposed face and balanced window light
After

Fix Underexposed Photo

Upload photo to fix underexposed photo

Free • Results in 30 seconds • No signup

Release to upload

GratisSem cadastroSem marca d'agua

1 free edit·then from $1.99

Popular use cases:
  • event photographers
  • real estate agents
  • wedding photographers
  • indoor photography
  • night photography
  • travel photos
  • restaurant photos
  • product photographers

Cost
Free No signup required
Time
Instant results in 15-30 seconds
Works on
Any device - browser, phone, tablet, desktop
Powered by
AI-powered photo editing
Scenario Prompt Time
General fix brighten the photo and restore detail in the shadows 15s
Backlit subject brighten the subject in the foreground while keeping the background balanced 20s
Night photo increase exposure and reduce noise while preserving the mood 25s

How it works

  1. Upload your dark photo

    Drop your underexposed image into EditThisPic. JPG, PNG, WebP up to 7MB. The AI works best with photos that have at least some recoverable detail in the shadows.

    Expect: Simple exposure fixes: 15-30 seconds. Severely dark photos: may need 2-3 refinements to balance exposure throughout.
  2. Descreva o que voce quer

    Type your instruction: 'brighten the photo and restore detail in the shadows' or 'fix the dark exposure and bring out the subject.' Be specific about areas if needed. No marking required - a IA entende that underexposed means the whole image needs exposure correction.

    Tip: Mention specific areas if they need extra attention: 'brighten the shadows on the face while keeping the window from blowing out'

    Copy one of these to get started:

    General dark photo fix brighten the photo and restore detail in the shadows
    Indoor portrait with bad lighting fix the dark exposure on the face and bring out natural skin tones
    Backlit subject (silhouette effect) brighten the subject in the foreground while keeping the background balanced
    Evening or night photography increase exposure and reduce noise in the dark areas while preserving the mood
    3 more prompts
    Real estate interior with dark corners brighten the dark corners and shadows to show the full room clearly
    Product photo with poor lighting fix the underexposure and make the product details clearly visible with even lighting
    Outdoor photo in heavy shade brighten the shaded areas and balance the exposure with the sunny background
  3. Gere e revise

    Check that shadows are lifted without looking washed out. Verify skin tones look natural and highlights aren't overexposed. Zoom to 100% to check for noise that might have appeared in the lifted shadows.

  4. Refine with markers if needed

    If some areas need more brightening than others (like a face in shadow while background is fine), tap markers on those specific spots and regenerate. This is optional for most exposure fixes since the AI handles global adjustments well.

    Tip: Markers help when you have mixed lighting - bright windows with dark interiors, for example.
Try it free

Fix Underexposed Photo

Upload photo to fix underexposed photo

Free • Results in 30 seconds • No signup

Release to upload

Grátis • Sem cadastro

See it in action

Dark silhouette of person against bright window
Before
->
Same person with properly exposed face and balanced window light
After

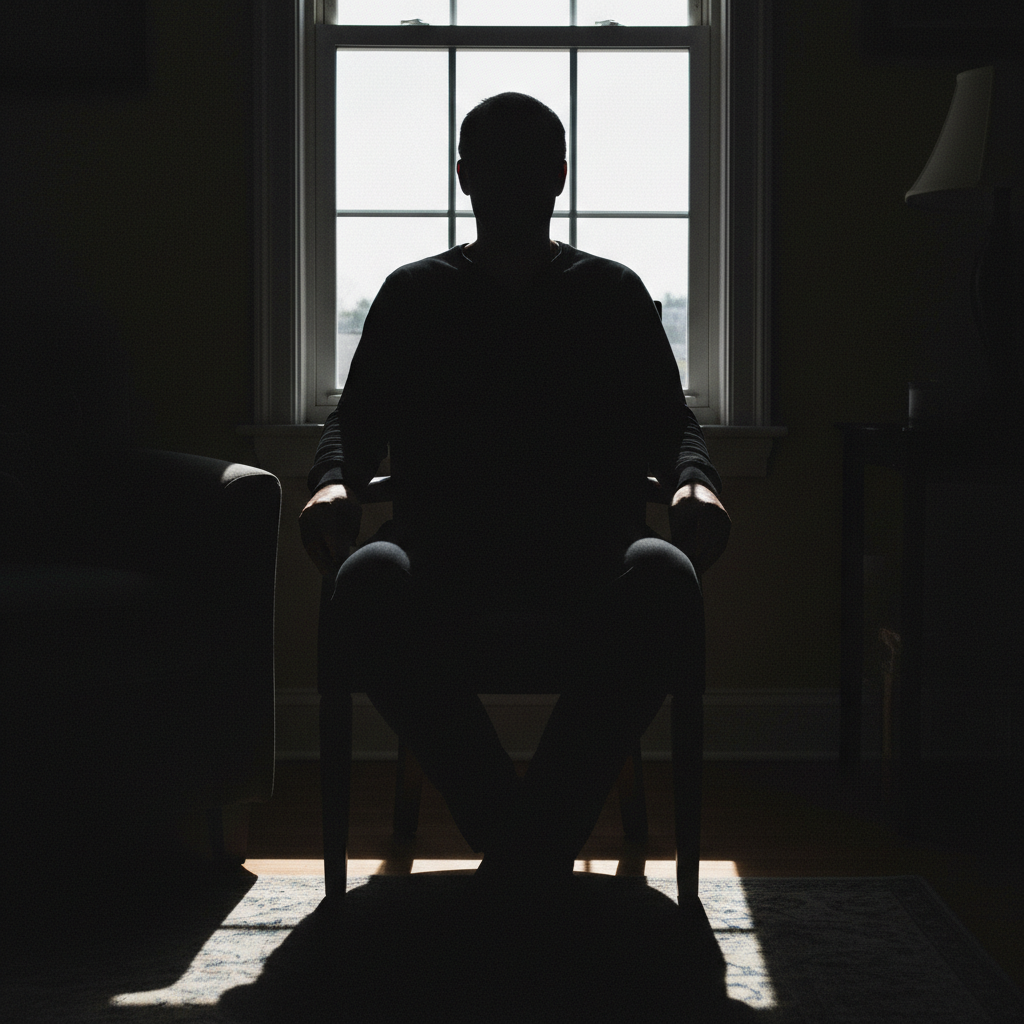
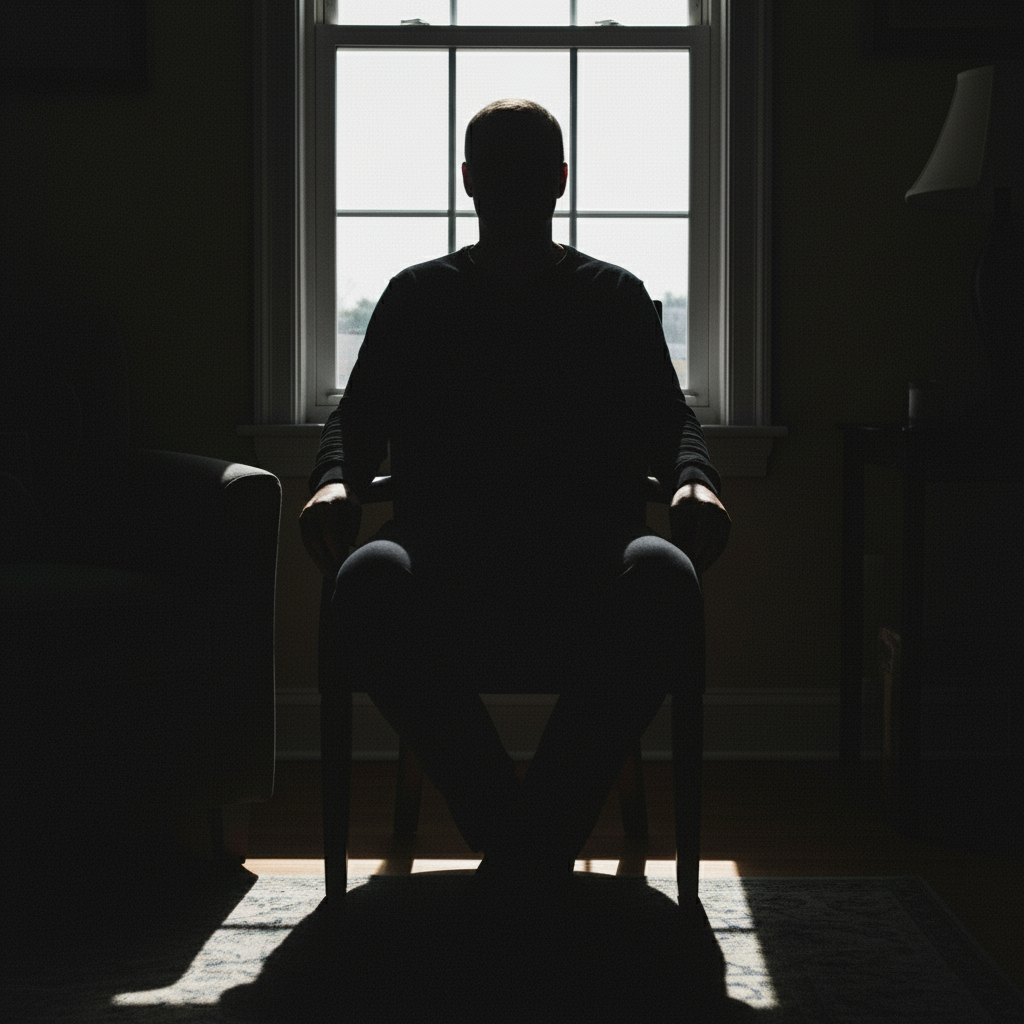
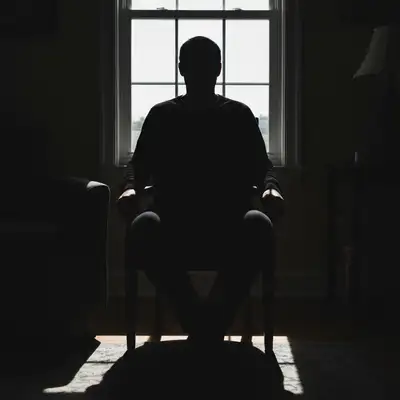
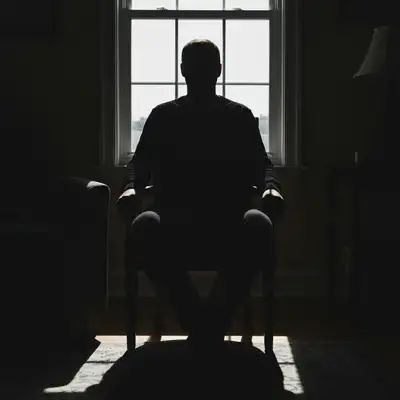
Indoor portrait with window backlight

Subject sitting by a window appeared as a dark silhouette. AI brought out facial details while keeping the window from blowing out.

Prompt: brighten the person's face and body while keeping the window light natural
Nearly black restaurant photo with only candle flames visible
Before
->
Same restaurant scene with visible faces and food, maintaining warm ambiance
After

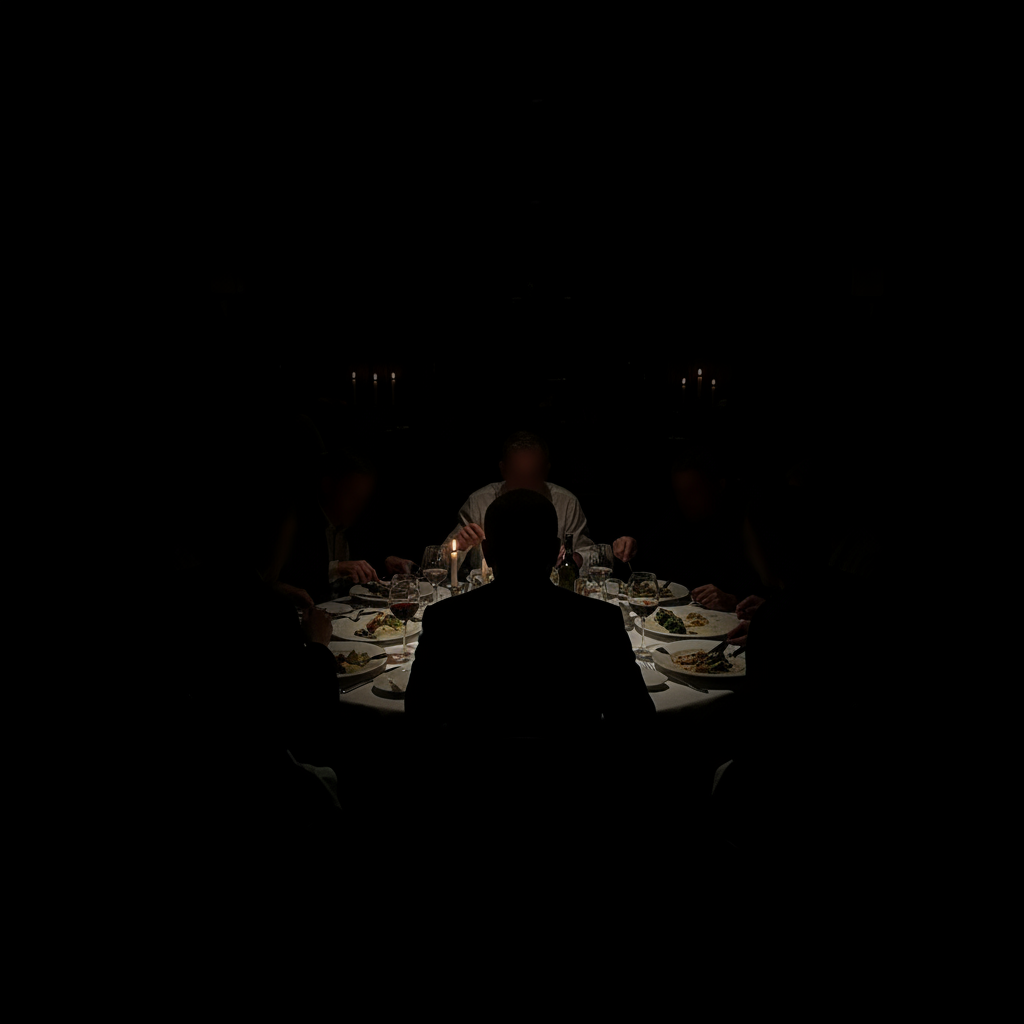
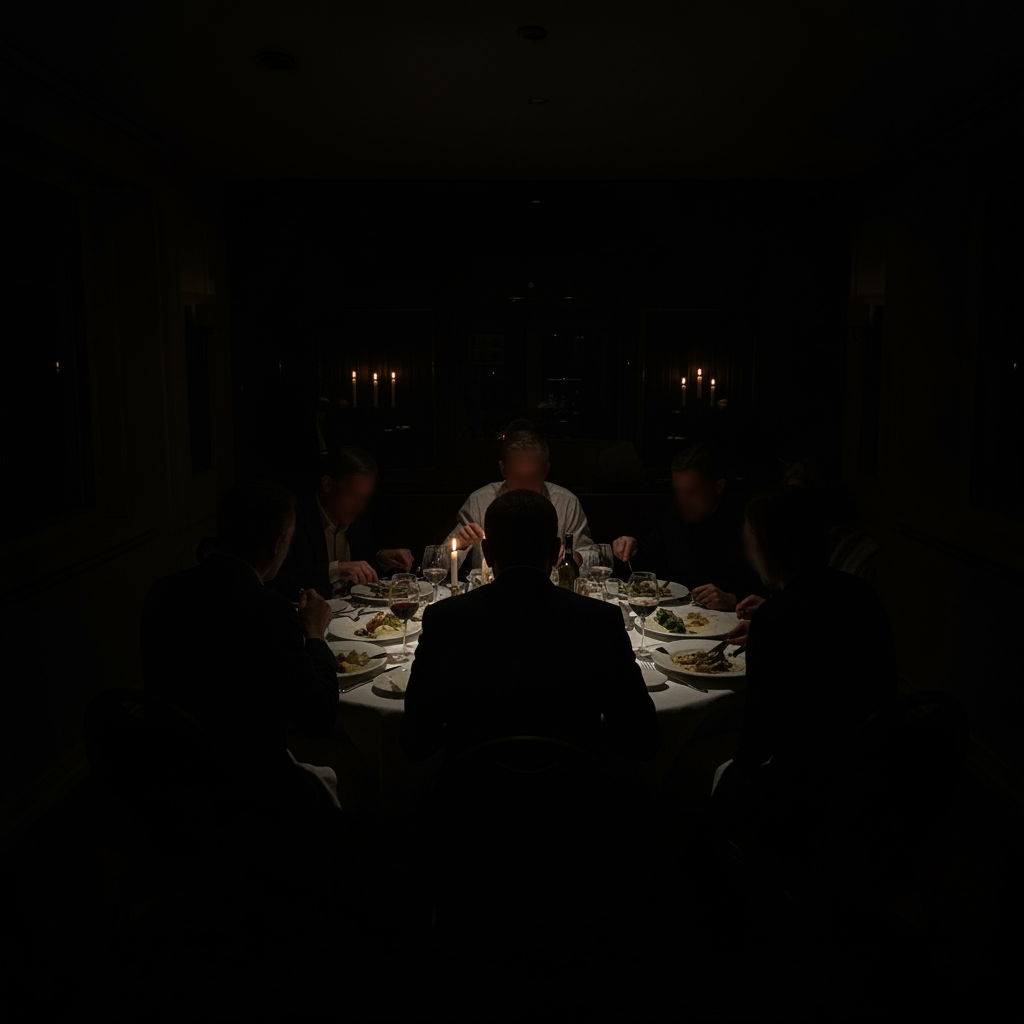
Evening restaurant photo too dark

Dinner photo was almost black except for candles. AI recovered the food and faces while maintaining the ambient atmosphere.

Prompt: brighten the photo to show the food and people clearly while keeping the cozy evening mood
Dark living room with shadowy corners and poor visibility
Before
->
Bright, evenly lit living room showing all furniture and corners clearly
After

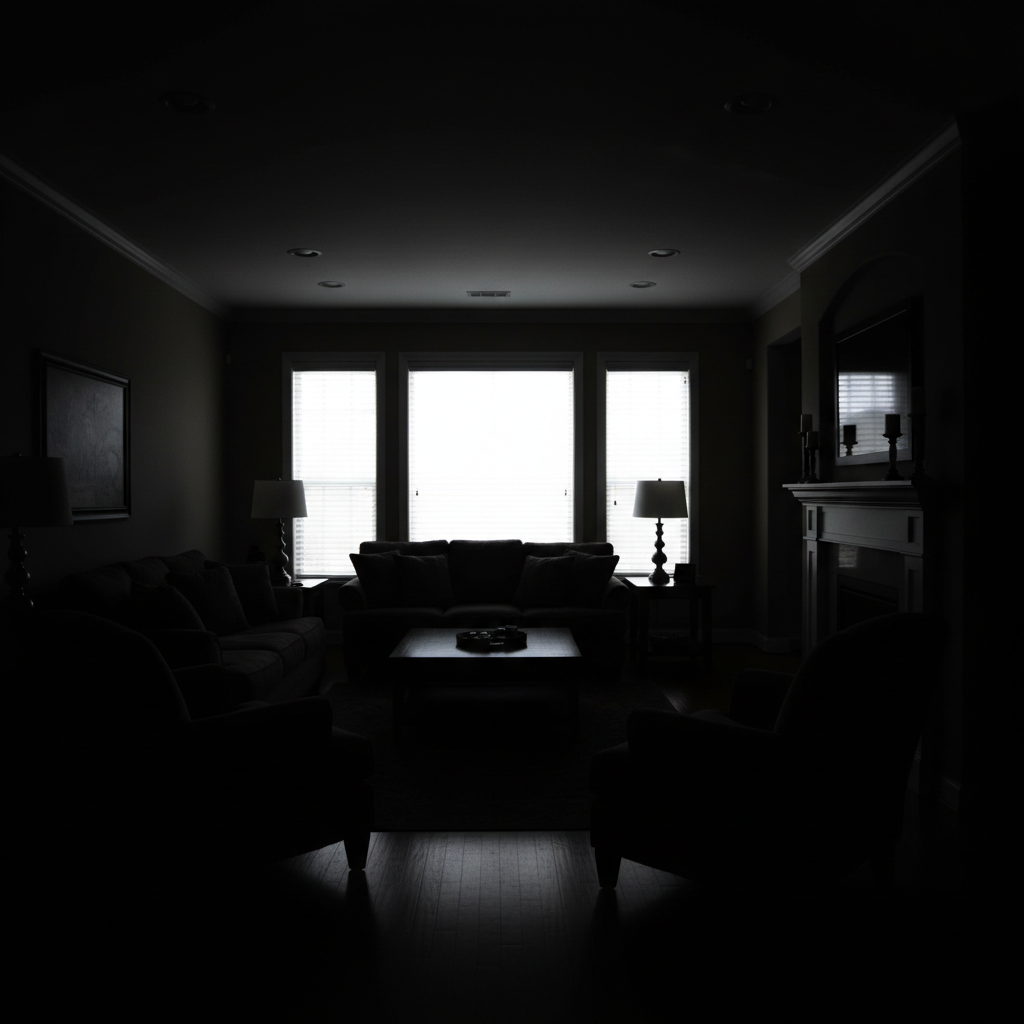
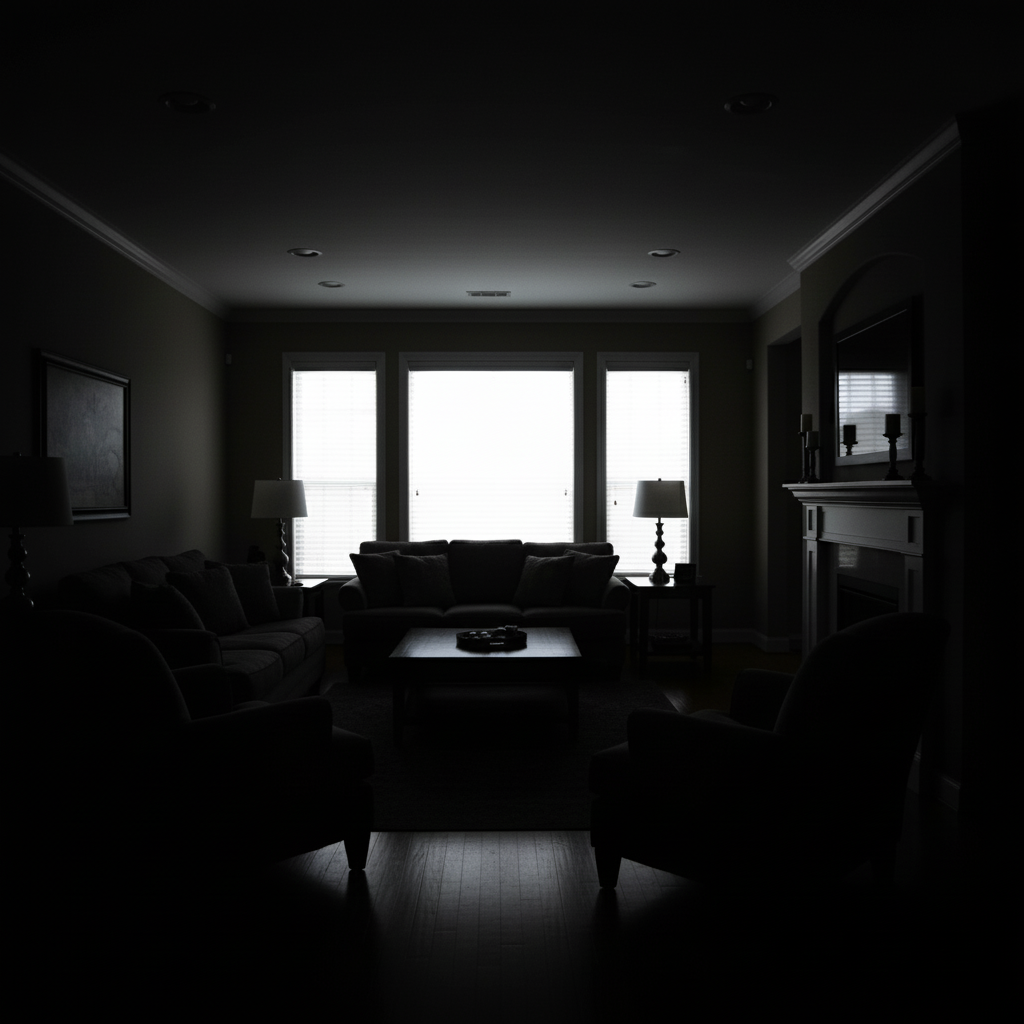
Real estate room with dark interior

Living room shot was underexposed with dark corners hiding the space. AI evenly brightened to show the full room.

Prompt: fix the dark exposure throughout the room and brighten all corners to show the full space

If something looks off

Photo looks washed out after brightening

Why: The AI may have lifted exposure too aggressively, losing contrast. Very dark originals sometimes need a balanced approach.

Try: brighten the shadows while maintaining strong contrast and rich colors

Tip: Adding 'maintain contrast' prevents the flat, washed-out look.

Noise appeared in the shadow areas

Why: When shadows are lifted, noise that was hidden in the dark becomes visible. This is a common issue with high-ISO or phone camera photos.

Try: brighten the photo and reduce noise in the shadow areas for a clean result

Tip: Mentioning noise reduction alongside brightening helps the AI handle both issues.

Highlights got blown out (too bright)

Why: The AI brightened the whole image equally instead of targeting just the shadows. This happens with mixed lighting scenes.

Try: lift the shadows and dark areas only, keeping the already-bright areas unchanged

Tip: Be explicit about protecting highlights when you have bright areas in the frame.

Colors look unnatural after fixing

Why: Aggressive exposure correction can shift color balance. Some cameras record color data poorly in underexposed areas.

Try: brighten the exposure and correct the color balance for natural-looking results

Tip: Adding 'natural-looking' or 'correct color balance' helps restore proper hues.

AI changed the wrong area or something I didn't want changed

Why: The AI couldn't determine exactly which area you meant from description alone. This happens with ambiguous requests.

Try: Tap a marker on the specific area you want to brighten, then regenerate with the same prompt

Tip: Markers tell the AI 'I mean THIS area specifically.' Use them when you only want to brighten certain parts.

Photo is still too dark after one attempt

Why: Severely underexposed photos may need incremental adjustment. The AI avoids over-correction on the first pass.

Try: brighten the photo significantly more and recover all shadow detail

Tip: Adding 'significantly' or 'much more' tells the AI to be more aggressive with the correction.

Quick answers

Do I need to mark the dark areas before describing?

No! For exposure correction, just describe what you want: 'brighten the photo and restore shadow detail' or 'fix the dark exposure.' The AI understands these concepts globally. Only use markers when you need selective brightening - like lifting just the subject's face while leaving a moody background dark.

Can AI fix a completely black photo?

If there's truly no data in the shadows (pure black), no tool can recover it. But most 'black' photos actually have hidden detail. Try the fix and you might be surprised - modern cameras capture more shadow information than you can see on screen.

Will fixing underexposure add noise to my photo?

Lifting shadows can reveal noise that was hidden in the dark. EditThisPic's AI handles this intelligently, but for very noisy results, add 'reduce noise' to your prompt for cleaner output.

How is this different from just increasing brightness?

Simple brightness affects the whole image equally, often blowing out highlights. AI exposure correction intelligently lifts shadows while protecting already-bright areas, similar to HDR processing or professional curves adjustment.

Can I fix underexposure on just part of the photo?

Yes! If you have a backlit subject or mixed lighting, describe what you want: 'brighten only the person in shadow' or tap markers on the dark areas you want to fix. The AI can selectively adjust exposure.

How much does EditThisPic cost?

You get 1 free edit per week — no account needed. After that, credit packs start at $1.99 for 3 edits. Monthly plans start at $4.99/mo for 15 edits with unused credits rolling over. All edits are full resolution with no watermark.

How EditThisPic compares

Tool Free tier Per-edit cost AI-powered Signup required
EditThisPic 1 free edit/week From 27¢ Yes (Gemini) No
Adobe Photoshop 7-day trial ~$22.99/mo subscription Yes (Firefly) Yes
Remove.bg Low-res preview only ~20¢/HD edit Background only Yes (for HD)
Canva Basic tools only $15/mo Pro for AI Partial (Pro tier) Yes

Ready to fix your underexposed photo?

Gratis to try. Sem cadastro required.

1 free edit included·Credit packs from $1.99