How do I brighten a dark photo without adding noise?
In a single prompt, ask for both at once: 'brighten the dark areas and reduce noise as you recover shadow detail.' The AI handles brightening and denoising together rather than amplifying hidden grain. This works far better than brightening first and trying to denoise after — by then the noise is baked in. Underexposed JPEGs from phones are the most prone to noise, so this combined prompt is especially important for mobile photos.
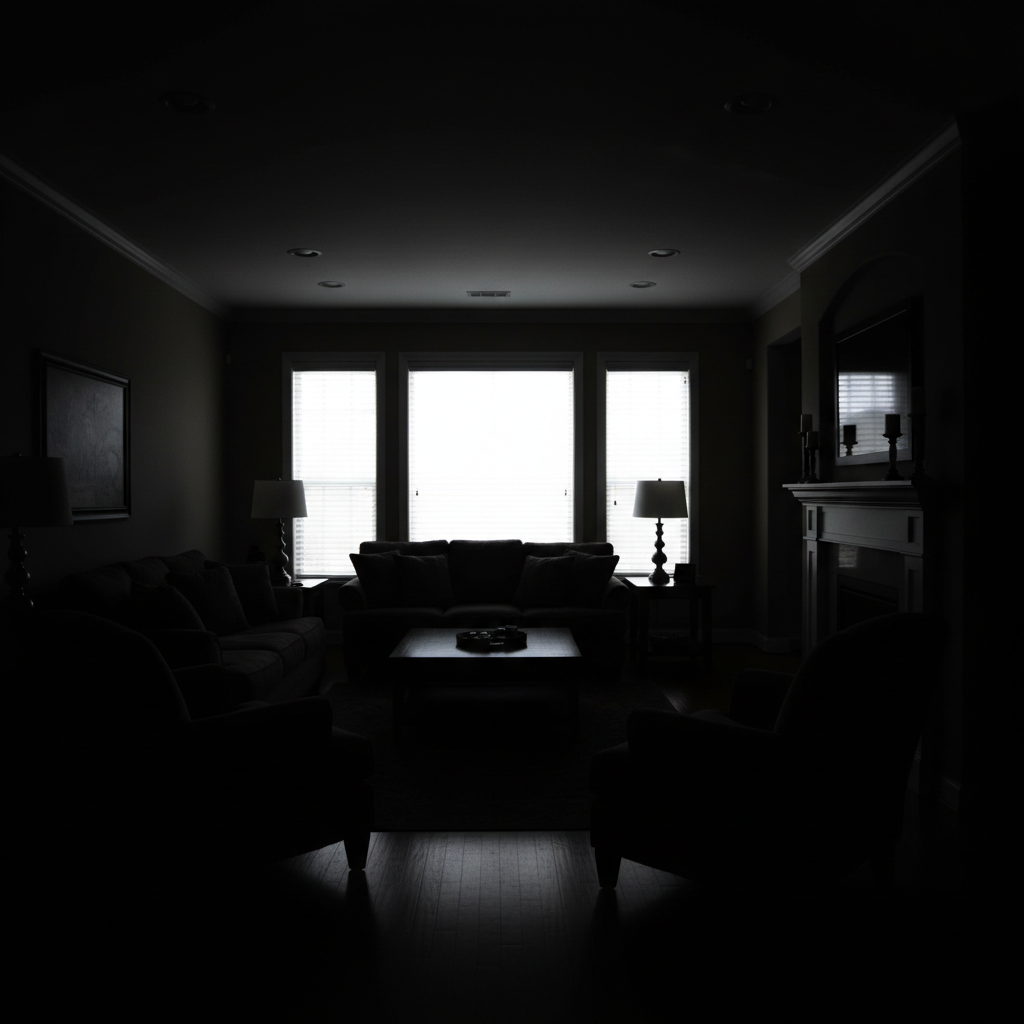
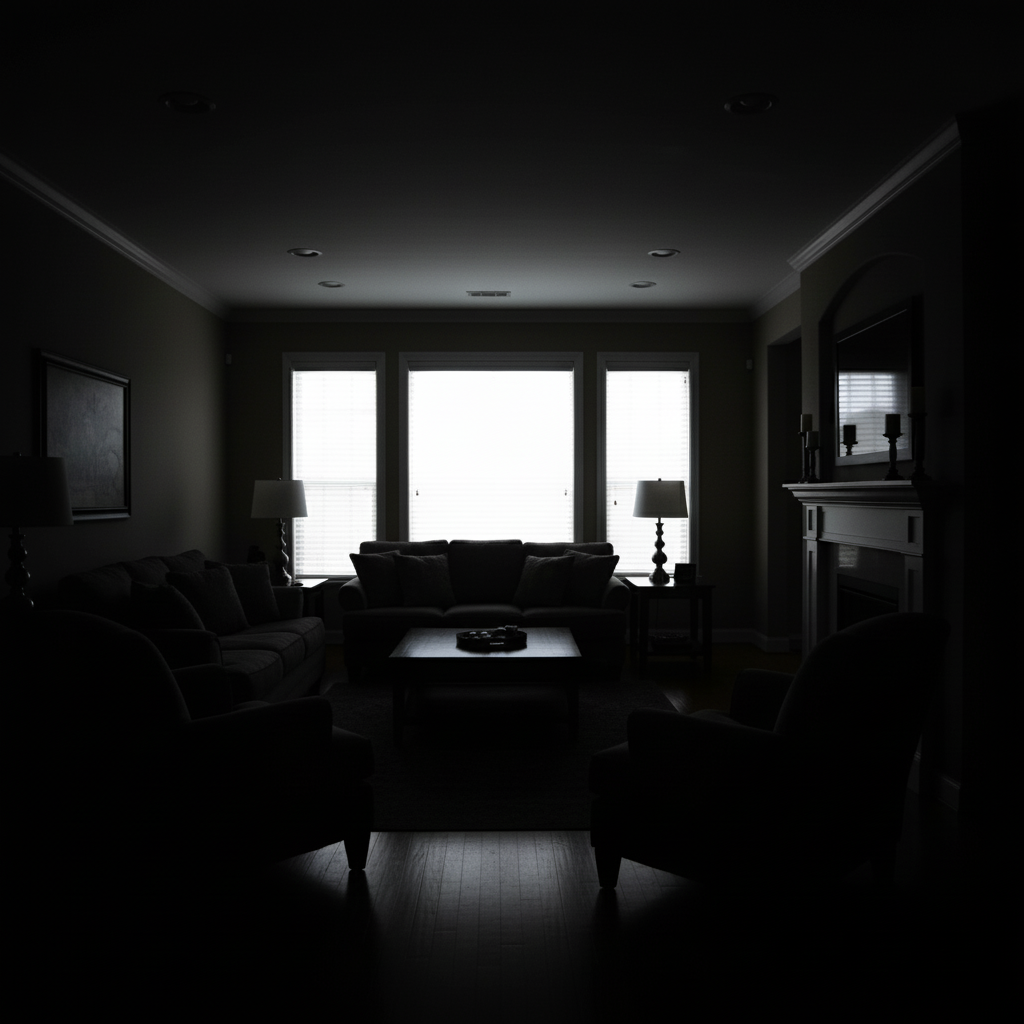
Can AI recover shadows in dark photos?
Yes — and it's better at shadow recovery than highlight recovery, because dark areas usually retain more residual data than blown white areas. The AI can lift roughly 3 stops of underexposure with real recoverable detail, and even photos that look completely black often have hidden texture the AI can rebuild. The deeper the shadow, the more the result is intelligent reconstruction rather than literal recovery.
What's the difference between brightening and exposure recovery?
Brightening is a global lift — every pixel gets brighter, including parts that were already correctly exposed, which often blows highlights and washes the photo out. Exposure recovery is targeted: only the dark areas come up while shadows lift, midtones stay, and highlights are protected. EditThisPic's AI does proper recovery by default when you describe what's dark, instead of just 'make it brighter.'
How many stops of underexposure can AI recover?
Roughly 3 stops with strong results, and up to 4-5 stops with intelligent reconstruction (where the AI is generating plausible detail rather than literally recovering it). Shadow recovery has more headroom than highlight recovery because dark pixels almost always retain some data — pure black (RGB 0,0,0) is rarer than pure white. Phone JPEGs recover about a stop less than DSLR RAW.
Why does brightening a dark photo make it grainy?
Digital camera sensors generate constant electronic noise, but in bright areas the noise is overwhelmed by the actual image signal. In shadows, the signal is weak and the noise becomes visible the moment you lift them. This is why phone photos at high ISO get noisy when brightened. The fix is to denoise and brighten in the same step — telling the AI 'recover detail without grain' addresses both at once.
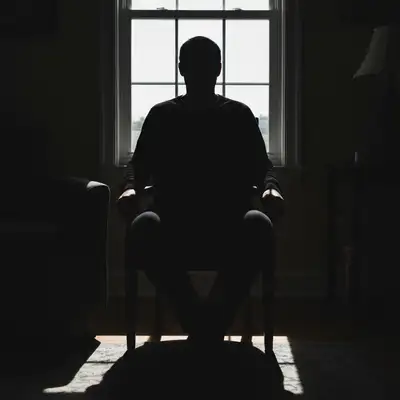
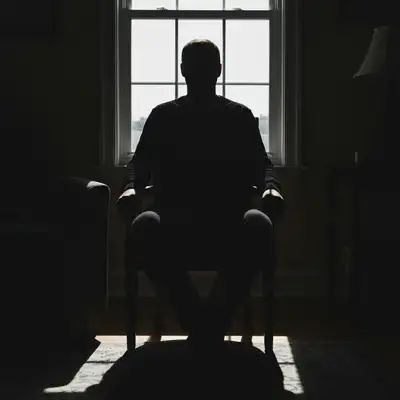
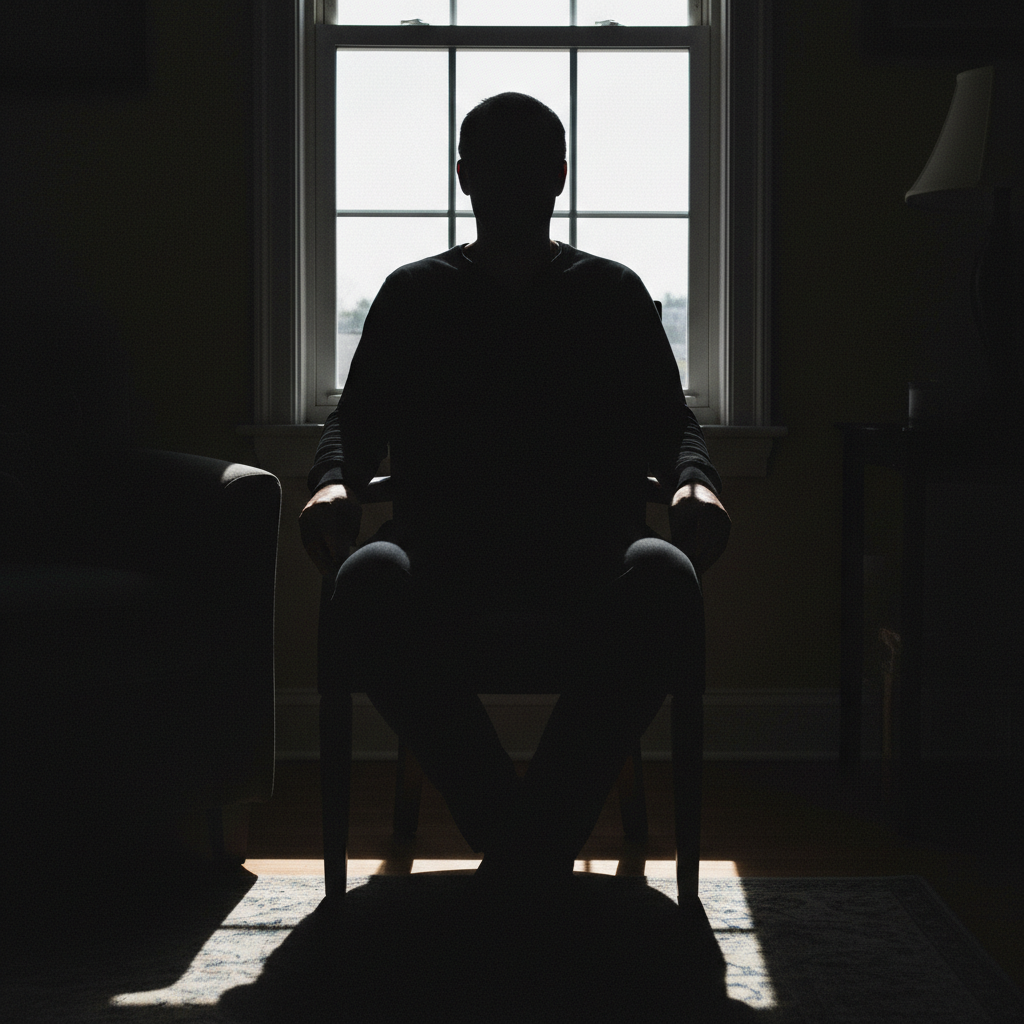
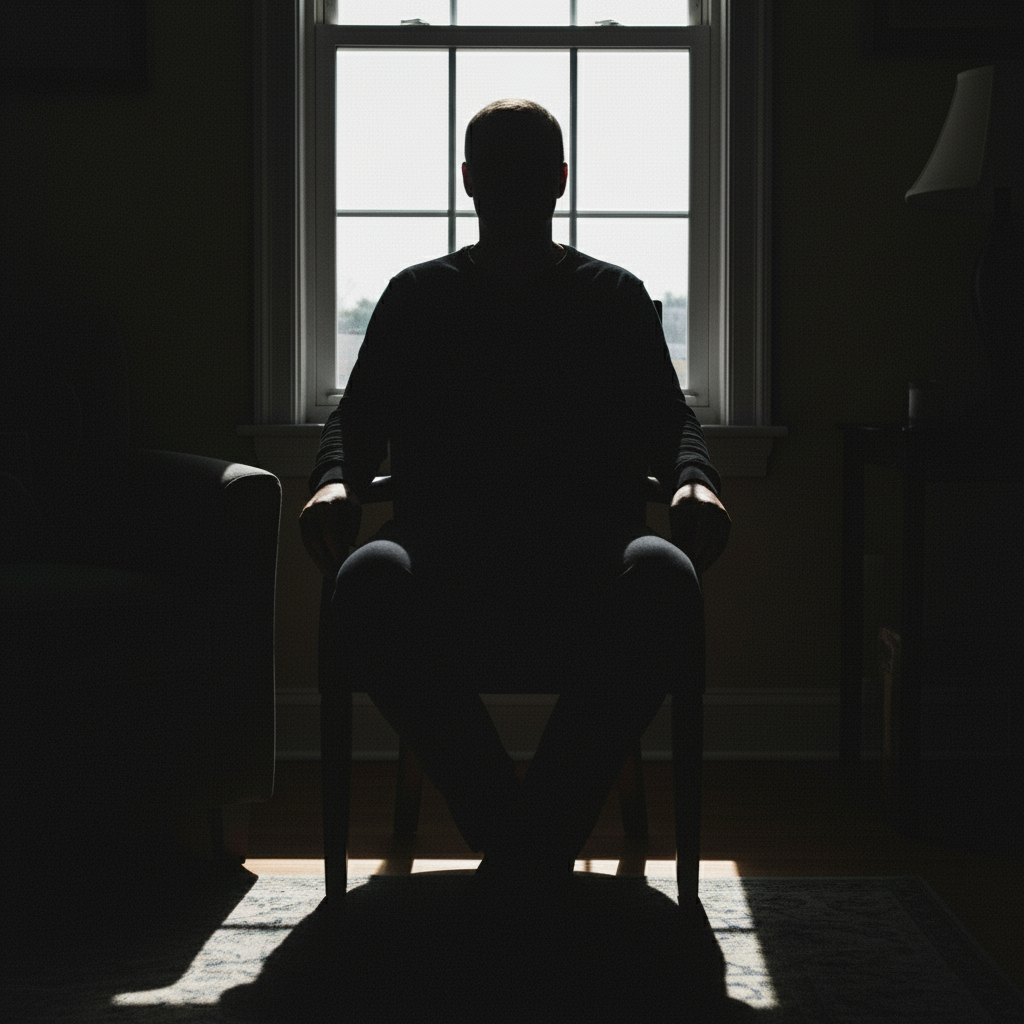
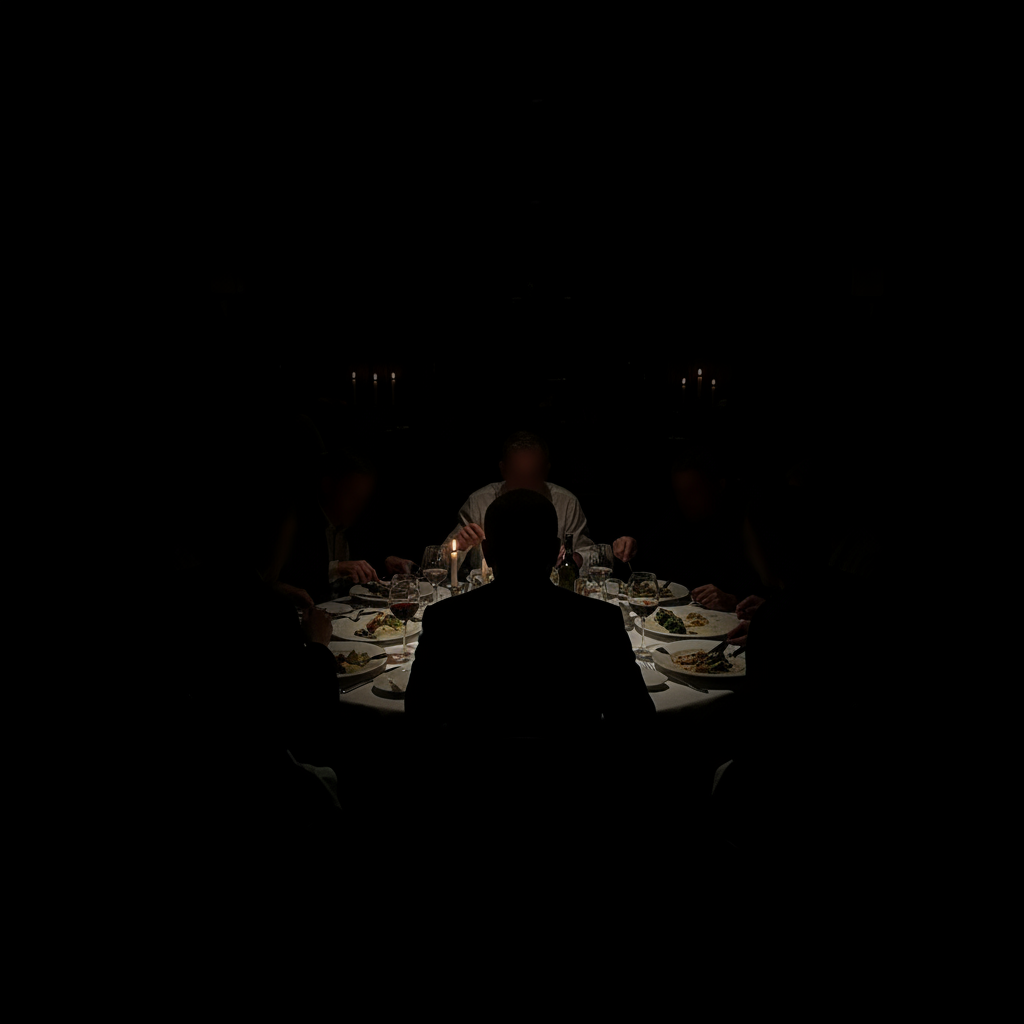
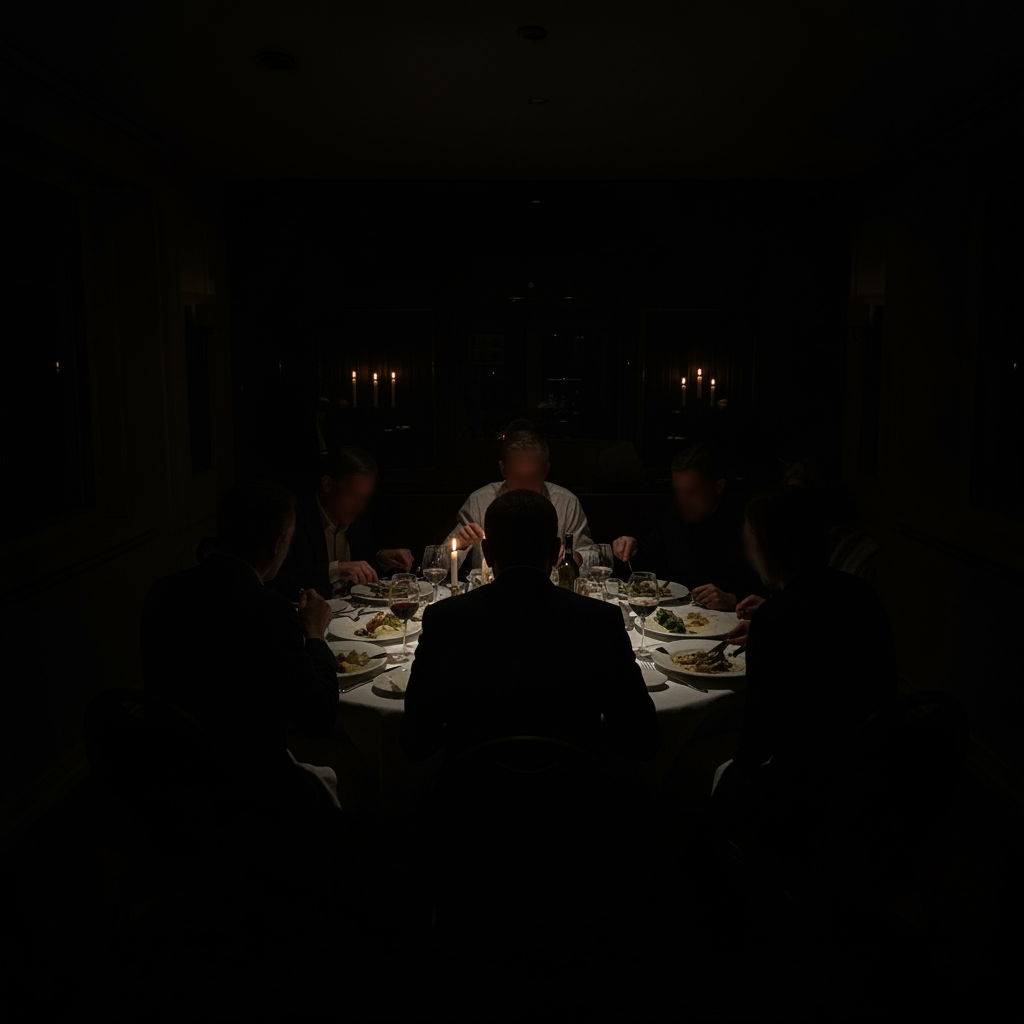
How do I fix a backlit photo where the face is a silhouette?
Type 'brighten the backlit subject in the foreground, recover facial detail, keep the bright background exactly as it is.' Locking the background is the key step — without it, the AI lifts global exposure and blows out the bright sky or window behind the subject.
Can EditThisPic fix dark iPhone photos?
Yes. EditThisPic accepts HEIC directly and works in any mobile browser — no app download. iPhone Night Mode helps with truly dim scenes but often produces a washed-out, low-contrast result that benefits from AI recovery. JPG, PNG, WebP, and HEIC up to 7MB are all supported on mobile. The full editing experience works on iPhone and Android.
Is there a free underexposed photo fixer with no signup?
Yes — EditThisPic gives you one free edit per week with no account required, and there's no watermark on the result. Paid plans start at $4.99/month for 15 edits if you fix photos regularly, but you can rescue a dark photo right now without entering an email address.
Is this better than Lightroom's Shadows slider?
For mild underexposure they're similar. For severe cases — backlit silhouettes, near-black indoor shots, lost-in-shadow night photos — AI recovery wins because it generates actual detail where the shadow slider can only stretch existing tones. Lightroom is also limited by RAW headroom; AI recovery works on JPEGs, HEICs, and screenshots without that constraint.
What happens if a part of my photo is completely black?
Pure black (RGB 0,0,0) has no original detail to recover — just like pure white can't be recovered literally. In that case the AI generates plausible texture from surrounding context: a shadowed face becomes a face the AI thinks would fit there, a dark wall becomes a wall texture. Results are usually convincing for skin, walls, and fabric, weaker for fine detail like text or jewelry.
How much does EditThisPic cost?
You get 1 free edit per week — no account needed. After that, one-time credit packs start at $4.99 for 10 edits, valid 12 months, no subscription. Power users who edit daily can pick Studio, a monthly workspace from $29.99/mo. Purchased downloads are clean with no watermark.