Free • No signup Fix Fluorescent lighting · Free

Fix Fluorescent Lighting

Describe the problem and AI fixes your photo automatically.

Office photo with green fluorescent cast
Before
Office photo with natural corrected colors
After

Fix Fluorescent Lighting in Photo

Drop your photo here

or click to browse

Release to upload

Free • No signup

Popular use cases:
  • fix fluorescent lighting
  • AI fluorescent lighting editor
  • photo fluorescent lighting tool
  • free fluorescent lighting editing

Cost
Free No signup required
Time
Instant results in 15-30 seconds
Works on
Any device - browser, phone, tablet, desktop
Powered by
AI-powered photo editing

How it works

  1. Upload your photo

    Upload the photo you want to improve. The AI analyzes existing light sources and shadows to apply realistic fluorescent lighting corrections. JPG, PNG, WebP up to 7MB.

    Expect: Most edits complete in 20-45 seconds. Complex changes may need 1-2 refinements.
  2. Describe your edit

    Type what you want: 'fix the fluorescent lighting, remove the green tint and restore natural colors.' Be specific about details for best results. The AI understands natural language — no technical skills needed.

    Tip: Try the edit first without markers — enhancement usually works globally on the first try.

    Copy one of these to get started:

    Green office lighting remove the green fluorescent tint, restore natural skin tones and white balance
    Harsh flat store lighting fix the harsh flat fluorescent store lighting, add natural depth and color
    School gym fluorescents correct the yellow-green gym fluorescent lighting, make faces and colors look natural
    Hospital or clinic lighting fix the harsh clinical fluorescent lighting, warm up the photo naturally
    4 more prompts
    Mixed fluorescent and daylight balance the mixed fluorescent and window daylight, make the colors consistent throughout
    Full quality restoration fix fluorescent lighting for maximum clarity and detail, make it look professionally retouched
    Natural-looking fix fix fluorescent lighting while keeping the photo looking completely natural and untouched
    Targeted correction only fix only fluorescent lighting in this specific area without affecting the rest of the photo
  3. Review the result

    Check that lighting adjustments look physically plausible — shadows should match light sources, highlights shouldn't clip to pure white, and the overall exposure feels balanced.

  4. Refine if needed

    If some areas are still too dark or highlights look blown out, tap markers on those zones and describe the adjustment. Try 'brighten just this shadow area' or 'reduce the glare on this surface.'

    Tip: Markers are optional. Try without them first — the AI usually gets it right.
Try it free

Fix Fluorescent Lighting in Photo

Drop your photo here

or click to browse

Release to upload

Free • No signup

"Office headshot looked green and sickly. Fixed the fluorescent cast and now it looks professional." @OfficeWorkerJen

See it in action

Office photo with green fluorescent cast
Before
->
Office photo with natural corrected colors
After

Office green removed

Office photo with natural colors after removing fluorescent green cast.

Prompt: remove the green fluorescent tint, restore natural skin tones
Gym photo with harsh yellow-green cast
Before
->
Gym photo with natural balanced colors
After

Gym lighting fixed

Gym photo with corrected colors and natural-looking faces.

Prompt: correct the yellow-green gym fluorescent lighting

Detailed Guides by Scenario

📷

Photo Rescue & Restoration

Revive old, damaged, or poorly-shot photos with AI fluorescent lighting — bring new life to images you thought were unsalvageable.

Common Scenarios

  • Applying fluorescent lighting to old family photos that have degraded over time
  • Fixing a once-in-a-lifetime shot (wedding, graduation) that suffers from poor quality
  • Using fluorescent lighting on scanned prints to get crisp digital versions

Best Practices

  • Scan old photos at the highest DPI your scanner supports before uploading for best results
  • Describe the specific issue — 'this photo is too dark and blurry' gives better fluorescent lighting than a generic prompt
  • For severely damaged photos, work in stages: fix the biggest issue first, then refine
📷

Professional & Business Use

Ensure photos for websites, presentations, and marketing meet professional standards with fluorescent lighting.

Common Scenarios

  • Using fluorescent lighting on employee photos for a company website that need to look polished
  • Applying fluorescent lighting to event photos before sharing in a client presentation
  • Improving product images with fluorescent lighting for an online store or catalog

Best Practices

  • Process all images in a batch with the same enhancement settings for visual consistency
  • For web use, balance enhancement quality with file size — overly large images slow page loads
  • Always compare before and after to make sure fluorescent lighting looks natural, not over-processed
📷

Social Media & Personal Sharing

Make your personal photos look their best before sharing with friends, family, or followers using fluorescent lighting.

Common Scenarios

  • Quickly applying fluorescent lighting to vacation photos before posting on social media
  • Using fluorescent lighting on a selfie that has great composition but poor lighting
  • Batch-fixing a phone gallery of photos with fluorescent lighting before creating an album to share

Best Practices

  • Start with the photo you'd most like to share — fix that one first and use the same approach on the rest
  • For selfies, subtle enhancement always beats heavy processing — keep it natural
  • If the photo was shot in low light, mention it in the prompt so the AI tailors fluorescent lighting accordingly

If something looks off

AI changed the wrong area

Why: The AI couldn't determine exactly which area you meant from the description alone.

Try: Tap a marker on the specific area you want to edit, then regenerate with the same prompt

Tip: Markers tell the AI exactly where to focus. Use them when description alone is ambiguous.

Result looks unnatural or blurry

Why: The AI may need more specific guidance about the look you want.

Try: fix the fluorescent lighting, remove the green tint and restore natural colors, ensure natural lighting and sharp details that match the rest of the photo

Tip: Adding 'natural' and 'realistic' to your prompt helps the AI prioritize believability.

Photo looks over-processed or artificial

Why: The enhancement was too aggressive, pushing the image beyond natural-looking.

Try: Try 'subtle enhancement only — keep the photo looking natural and not over-processed'

Tip: Try the edit first without markers — enhancement usually works globally on the first try.

Fix made the image too smooth and lost texture

Why: Noise reduction or smoothing was applied too heavily, removing natural grain and detail.

Try: Add 'preserve original texture and grain while fixing the issue' to your prompt

Tip: Mention 'keep natural skin texture' or 'preserve film grain' to avoid the plastic look.

Colors shifted when fixing the exposure

Why: Brightness adjustments affected the color balance, causing a tint shift.

Try: Regenerate with 'fix the exposure while maintaining the original color balance and white point'

Tip: If you notice a color tint after fixing exposure, mention the tint specifically: 'remove the yellow cast.'

Quick answers

Do I need to mark anything?

No, the AI detects and corrects fluorescent color cast across the entire image.

Is this free?

Yes, 1 free edit per week. Plans from $3.99/mo for unlimited.

Does it work on mobile?

Yes, works in any mobile browser.

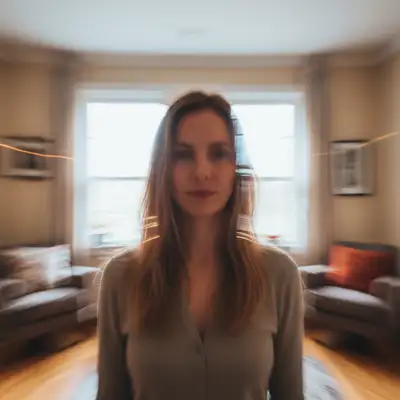
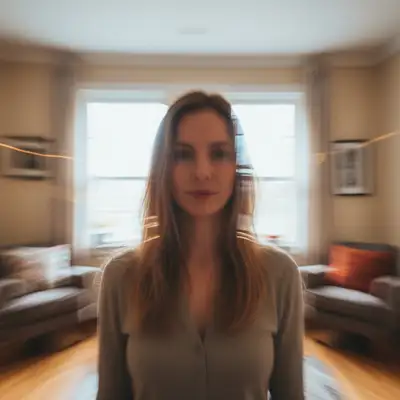
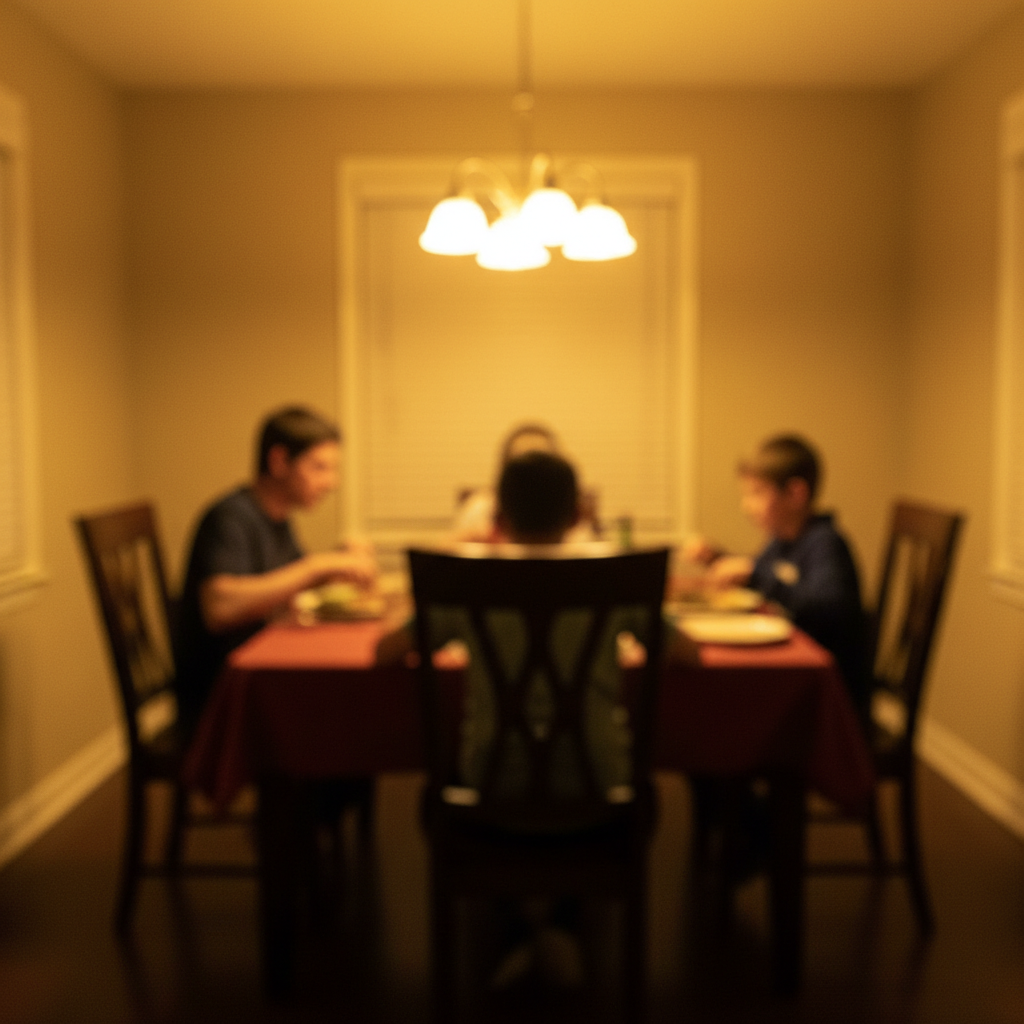
What color cast do fluorescent lights create?

Most fluorescents create a green or yellow-green tint. Some older tubes shift toward pink or blue.

Can it fix photos from different types of fluorescents?

Yes, the AI adapts to any type of fluorescent lighting including tube, CFL, and older types.

What photo formats does the fix fluorescent lighting tool support?

JPG, PNG, WebP, and HEIC. Upload any common photo format and EditThisPic handles the rest.

How long does it take to fix fluorescent lighting?

Usually 20-45 seconds. Upload your photo, describe what you want, and the AI delivers the result.

Do I need to download an app to fix fluorescent lighting?

No app needed. EditThisPic runs entirely in your web browser on any device -- desktop, laptop, phone, or tablet.

Ready to fix your photos?

Free to try. No signup required.

Try it free