Free • No signup Fix Bald spot · Free

Fix Bald Spot in Photo

Describe the hair change you want. AI handles it naturally.

Photo showing thinning crown
Before
Photo with filled-in crown area
After

Fix Bald Spot in Photo

Drop your photo here

or click to browse

Release to upload

Free • No signup

Popular use cases:
  • fix bald spot
  • AI bald spot editor
  • photo bald spot tool
  • free bald spot editing

Cost
Free No signup required
Time
Instant results in 15-30 seconds
Works on
Any device - browser, phone, tablet, desktop
Powered by
AI-powered photo editing

How it works

  1. Upload your photo

    Upload a clear photo showing the area you want to edit. Good lighting and sharp focus help the AI deliver better bald spot results. JPG, PNG, WebP up to 7MB.

    Expect: Most edits complete in 20-45 seconds. Complex changes may need 1-2 refinements.
  2. Describe your edit

    Type what you want: 'Fill in the bald spot with natural-looking hair matching the surrounding area.' Be specific about details for best results. The AI understands natural language — no technical skills needed.

    Tip: Mention the specific hair texture you want: 'smooth', 'textured', or 'glossy'.

    Copy one of these to get started:

    Crown Thinning Fill in the thinning area at the crown with natural-looking hair matching my existing hair
    Receding Hairline Fill in the receding hairline to create a fuller, more youthful hair line
    Bald Patch Cover the bald patch with hair that matches the color, texture, and direction of surrounding hair
    Overall Density Add more hair density throughout for a fuller, thicker appearance
    4 more prompts
    Temple Fill Fill in the thinning temples for a fuller hairline
    Full quality restoration fix bald spot for maximum clarity and detail, make it look professionally retouched
    Natural-looking fix fix bald spot while keeping the photo looking completely natural and untouched
    Targeted correction only fix only bald spot in this specific area without affecting the rest of the photo
  3. Review the result

    Use the before/after slider to compare results. Check that the bald spot edit blends naturally with surrounding areas — look for consistent lighting, color matching, and clean edges throughout.

  4. Refine if needed

    If any areas need fine-tuning, tap markers on those specific spots and describe what to fix. The AI can adjust individual regions without redoing the entire edit — useful for perfecting bald spot details in tricky areas.

    Tip: Markers are optional. Try without them first — the AI usually gets it right.
Try it free

Fix Bald Spot in Photo

Drop your photo here

or click to browse

Release to upload

Free • No signup

"Fixed the thinning area on top for my LinkedIn photo. Looks completely natural!" @ConfidentHeadshot

See it in action

Photo showing thinning crown
Before
->
Photo with filled-in crown area
After

Crown Fill

Thinning crown filled with natural-looking hair.

Prompt: Fill in thinning area at the crown with matching hair
Photo with receding hairline
Before
->
Photo with restored hairline
After

Hairline Restore

Receding hairline filled in for a fuller look.

Prompt: Fill in receding hairline for fuller hair line

Detailed Guides by Scenario

📷

Photo Rescue & Restoration

Revive old, damaged, or poorly-shot photos with AI bald spot — bring new life to images you thought were unsalvageable.

Common Scenarios

  • Applying bald spot to old family photos that have degraded over time
  • Fixing a once-in-a-lifetime shot (wedding, graduation) that suffers from poor quality
  • Using bald spot on scanned prints to get crisp digital versions

Best Practices

  • Scan old photos at the highest DPI your scanner supports before uploading for best results
  • Describe the specific issue — 'this photo is too dark and blurry' gives better bald spot than a generic prompt
  • For severely damaged photos, work in stages: fix the biggest issue first, then refine
📷

Professional & Business Use

Ensure photos for websites, presentations, and marketing meet professional standards with bald spot.

Common Scenarios

  • Using bald spot on employee photos for a company website that need to look polished
  • Applying bald spot to event photos before sharing in a client presentation
  • Improving product images with bald spot for an online store or catalog

Best Practices

  • Process all images in a batch with the same enhancement settings for visual consistency
  • For web use, balance enhancement quality with file size — overly large images slow page loads
  • Always compare before and after to make sure bald spot looks natural, not over-processed
📷

Social Media & Personal Sharing

Make your personal photos look their best before sharing with friends, family, or followers using bald spot.

Common Scenarios

  • Quickly applying bald spot to vacation photos before posting on social media
  • Using bald spot on a selfie that has great composition but poor lighting
  • Batch-fixing a phone gallery of photos with bald spot before creating an album to share

Best Practices

  • Start with the photo you'd most like to share — fix that one first and use the same approach on the rest
  • For selfies, subtle enhancement always beats heavy processing — keep it natural
  • If the photo was shot in low light, mention it in the prompt so the AI tailors bald spot accordingly

If something looks off

AI changed the wrong area

Why: The AI couldn't determine exactly which area you meant from the description alone.

Try: Tap a marker on the specific area you want to edit, then regenerate with the same prompt

Tip: Markers tell the AI exactly where to focus. Use them when description alone is ambiguous.

Result looks unnatural or blurry

Why: The AI may need more specific guidance about the look you want.

Try: Fill in the bald spot with natural-looking hair matching the surrounding area, ensure natural lighting and sharp details that match the rest of the photo

Tip: Adding 'natural' and 'realistic' to your prompt helps the AI prioritize believability.

Hair edges look jagged or cut out

Why: Individual hair strands weren't properly rendered, creating a hard, unnatural boundary.

Try: Regenerate with 'smooth, natural hair edges with realistic flyaway strands'

Tip: Mention the specific hair texture you want: 'smooth', 'textured', or 'glossy' for best results.

New hair color looks painted on

Why: The color was applied uniformly without the natural variation of real hair.

Try: Add 'natural hair color with subtle highlights, lowlights, and variation throughout'

Tip: Specify 'with natural highlights and depth' so the color doesn't look like a flat overlay.

Hairline transition looks unnatural

Why: The boundary between the new hairstyle and the forehead/face looks abrupt or fake.

Try: Regenerate with 'natural hairline transition with baby hairs and soft edges'

Tip: Baby hairs and a soft hairline make the difference between 'edited' and 'natural' looking hair.

Quick answers

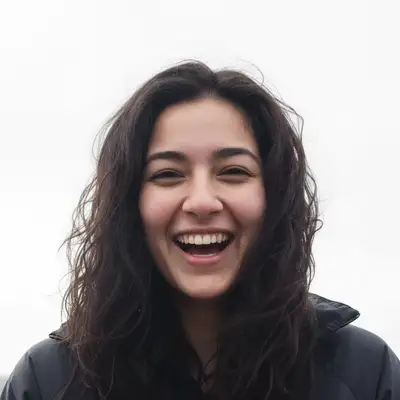
Will the added hair look natural?

Yes. The AI matches your existing hair color, texture, direction, and density for a seamless result.

Is it free?

Yes. Free bald spot fixing with no signup.

Can it fix a receding hairline?

Yes. The AI can extend the hairline forward and fill in temple areas.

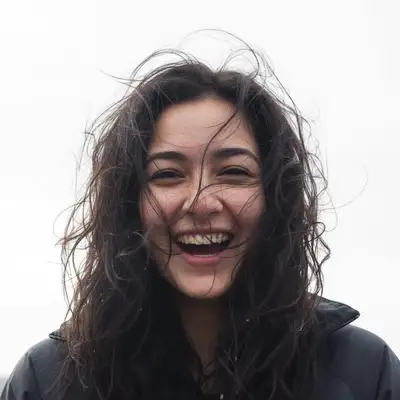
Will it work on any hair type?

Yes. Straight, curly, coily, thin, thick — the AI matches your hair type.

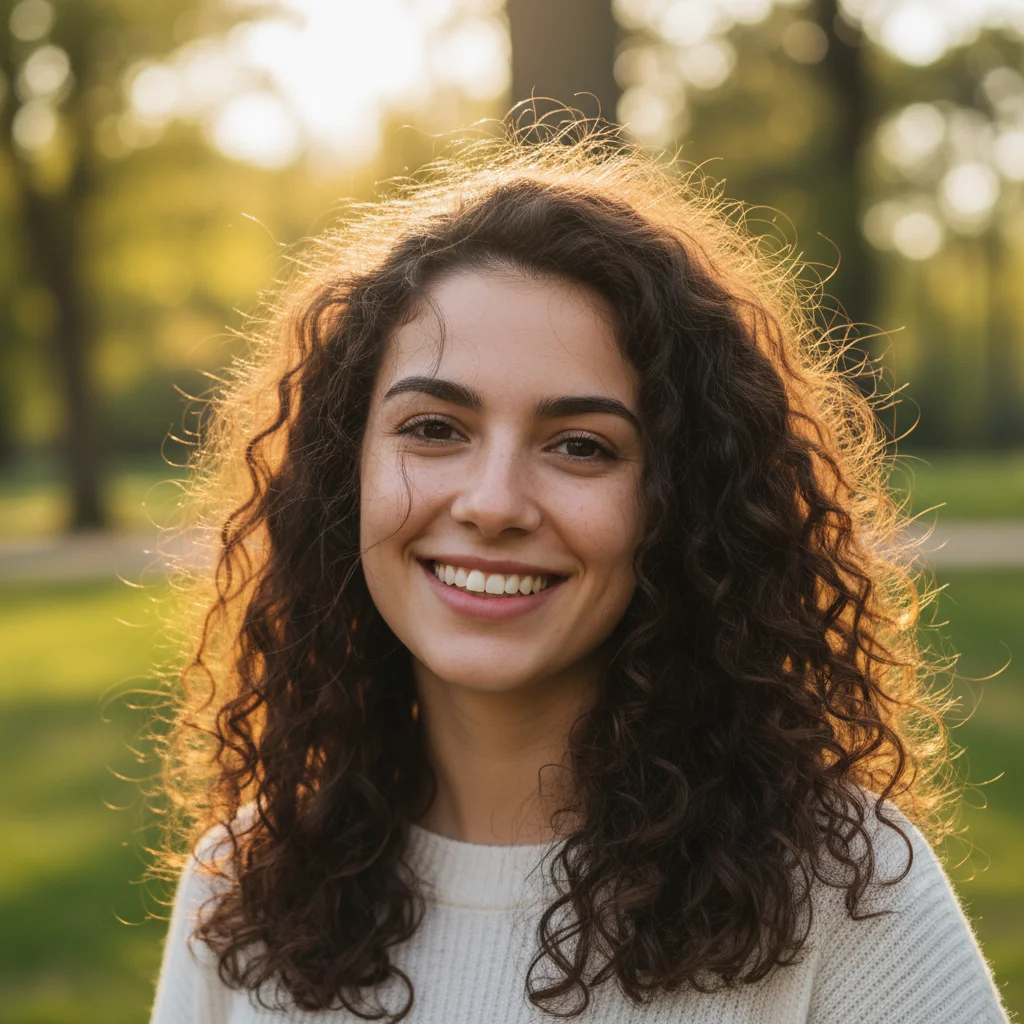
How dramatic can the fill be?

From subtle density improvement to filling significant bald areas. Moderate fills look most natural.

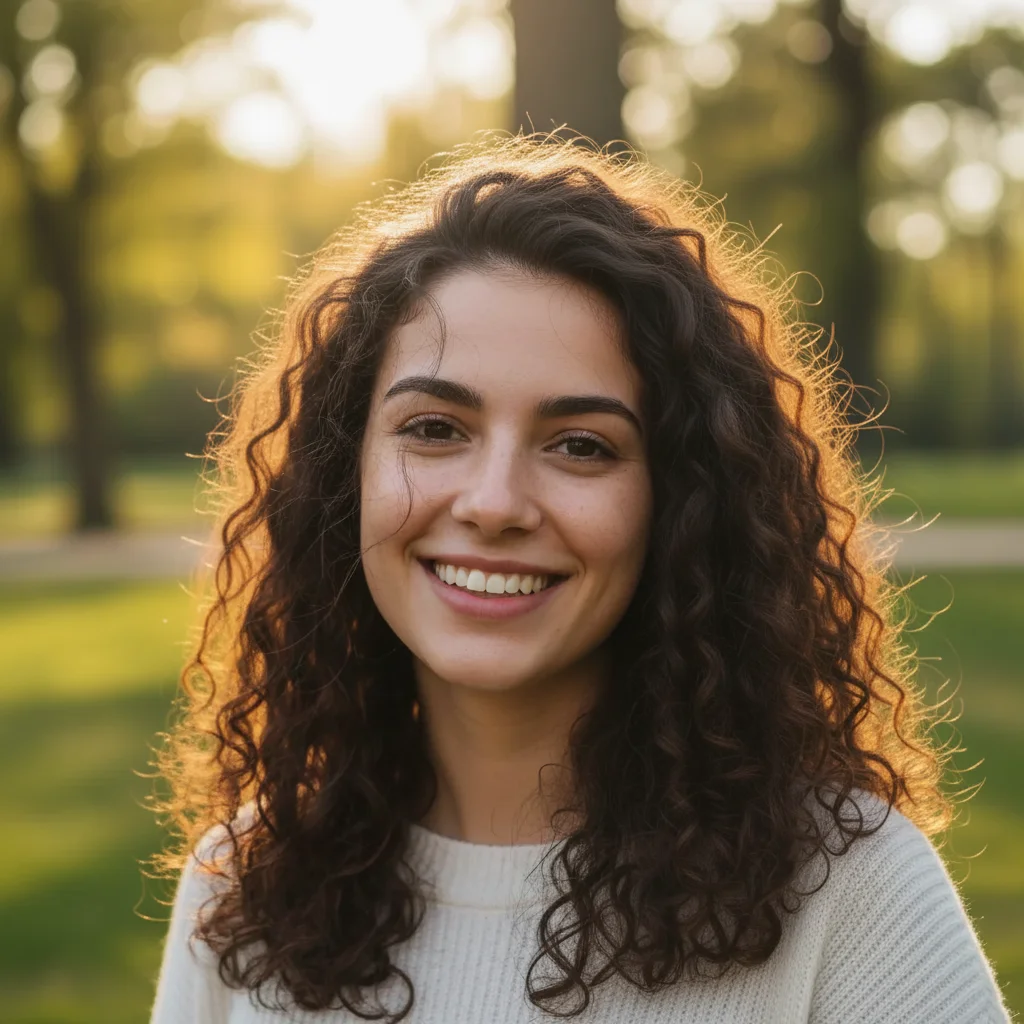
Good for professional headshots?

Yes. Many people use this for more confident headshots and profile photos.

Can I fix bald spot on my phone?

Yes. EditThisPic works in any mobile browser -- iPhone, Android, tablet. No app download needed.

What photo formats does the fix bald spot in photo tool support?

JPG, PNG, WebP, and HEIC. Upload any common photo format and EditThisPic handles the rest.

Ready to change your hair?

Free to try. No signup required.

Try it free