Add Volume to Hair in Photo
← Browse all add & replace toolsLast updated
Describe the hair change you want. AI handles it naturally.
Upload photo to add hair volume
"Add volume at the crown and roots for a lifted, voluminous look"
Release to upload
50,000+photos edited
<30stypical edit
1 freeedit weekly
How it works
See it in action
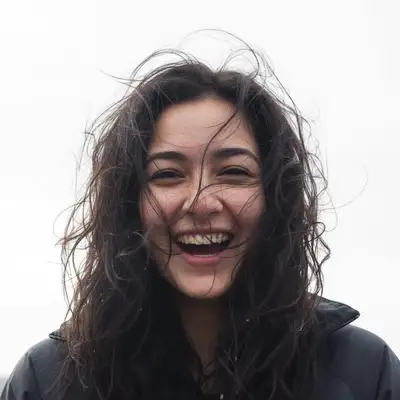
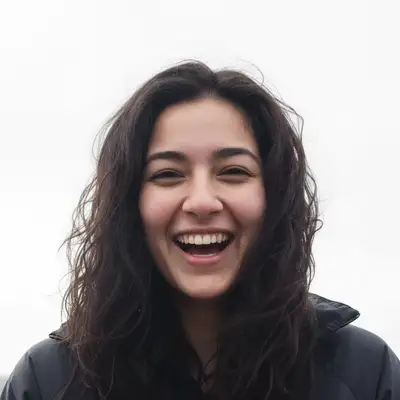
Wind-blown flyaways tamed and reshaped
A laughing woman with dark frizzy wind-blown hair had her flyaways smoothed and the overall shape tidied into a controlled style.
Prompt:
tame the flyaway strands and smooth the overall hair shape while keeping a natural look
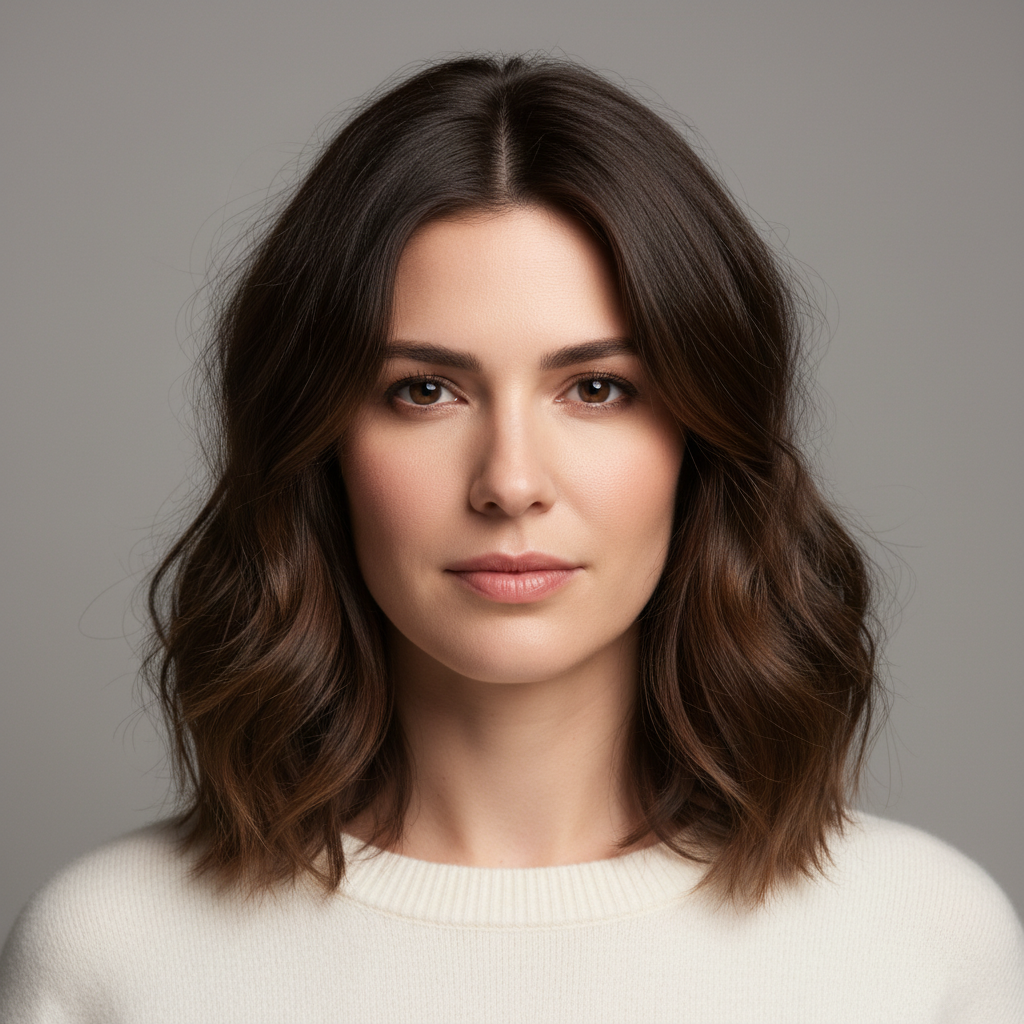
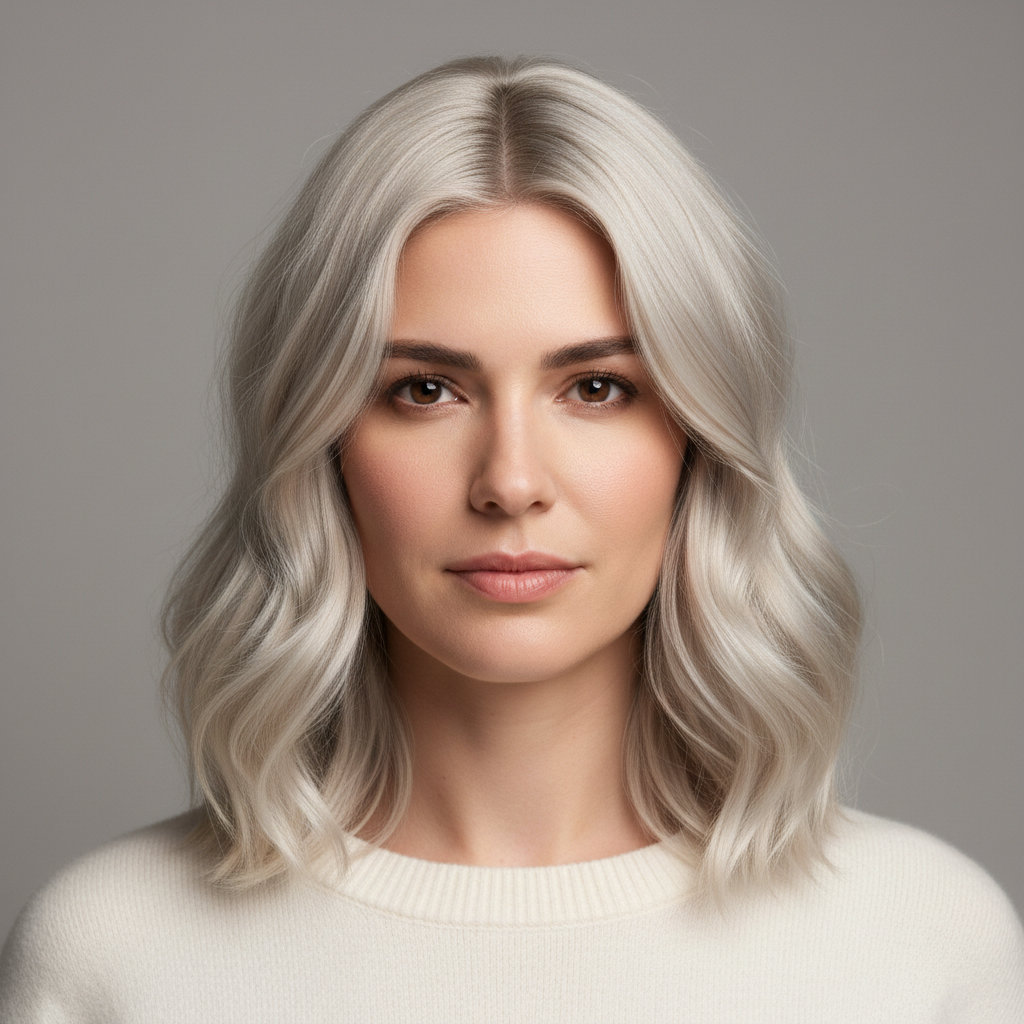
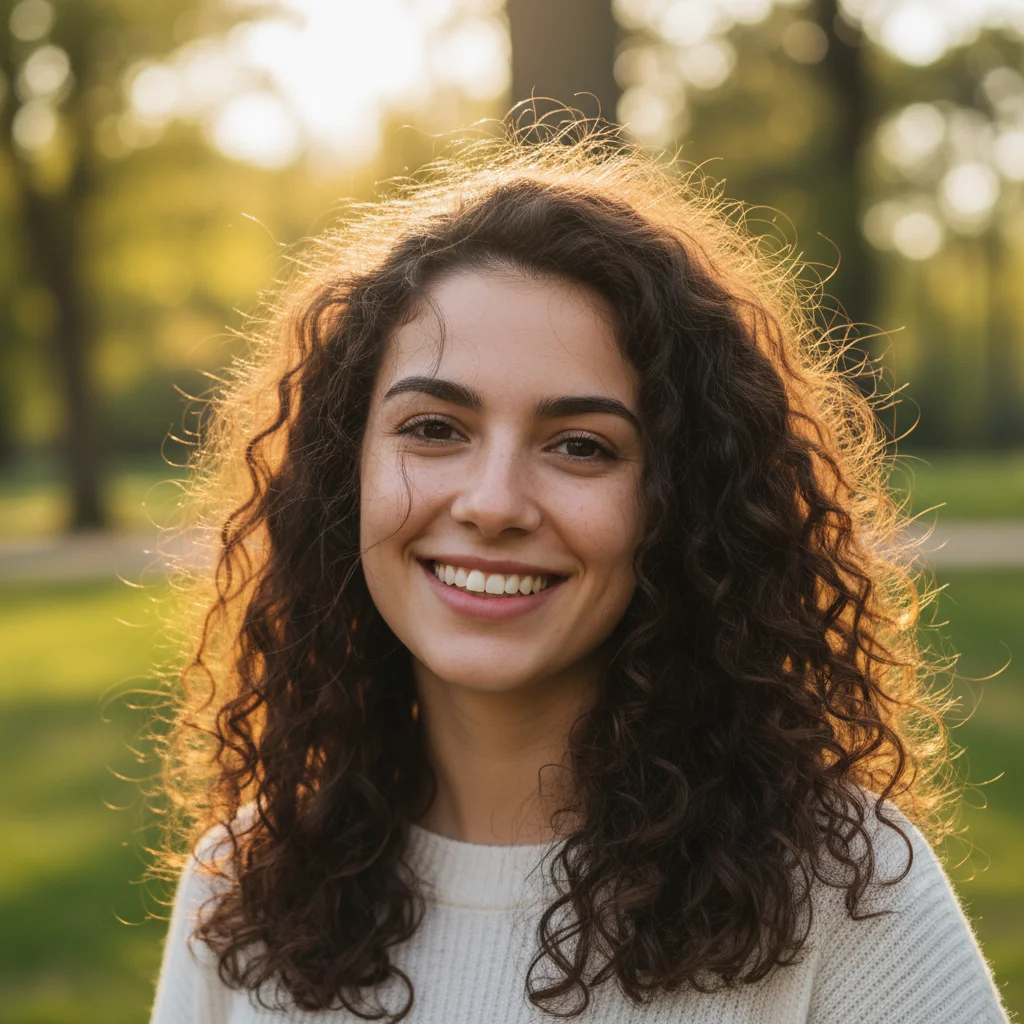
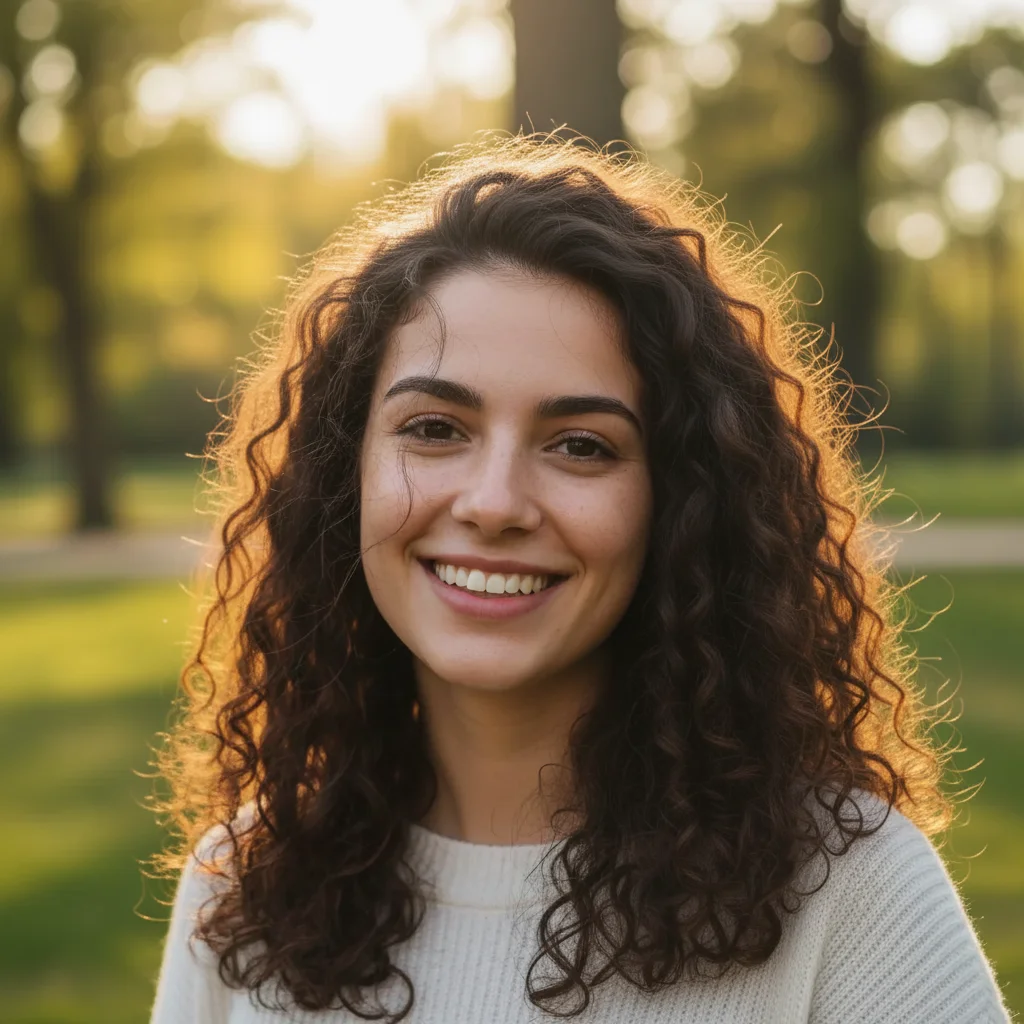
Dark brown waves recolored to silver
A woman with dark brown wavy hair had the color changed to silver-platinum, preserving the wave pattern and volume.
Prompt:
change the hair color to silver platinum while keeping the natural wave and volume
Quick answers
Popular use cases
Ready to add volume to your hair?
Free to try. No signup required.