AI Object Adder
← Browse all add & replace toolsLast updated
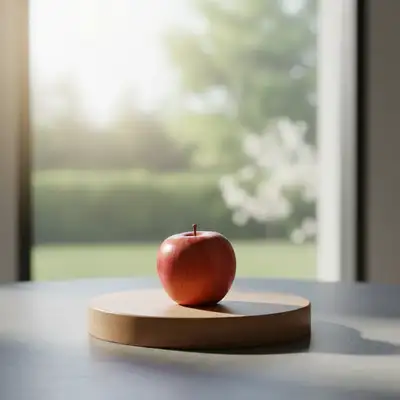
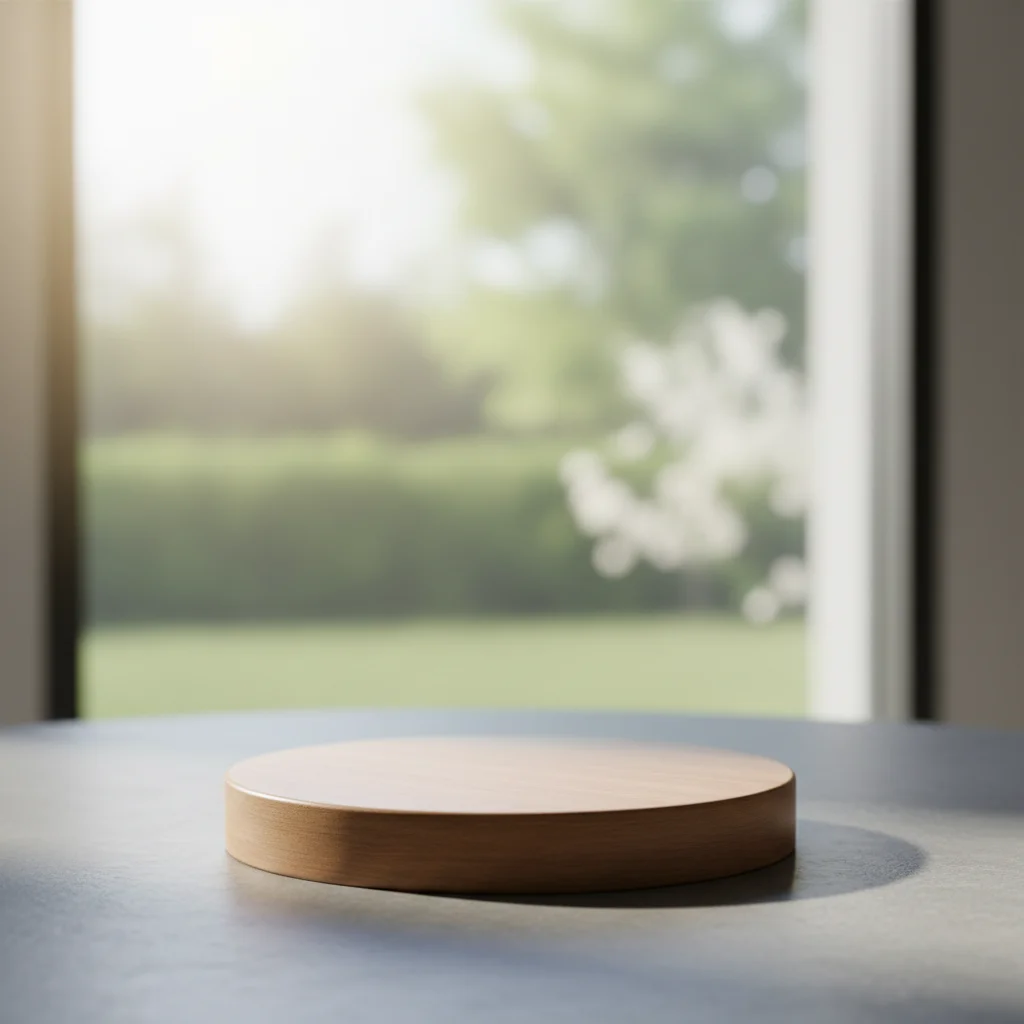
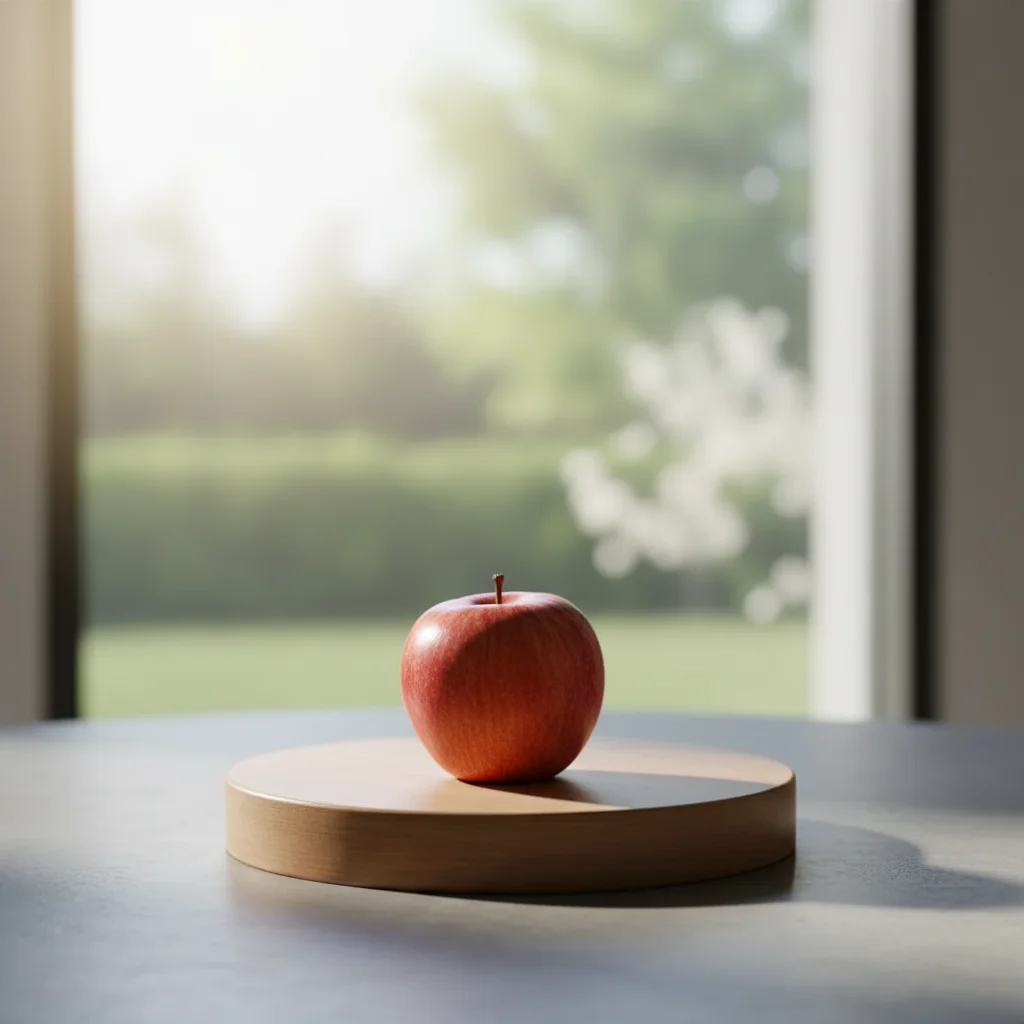
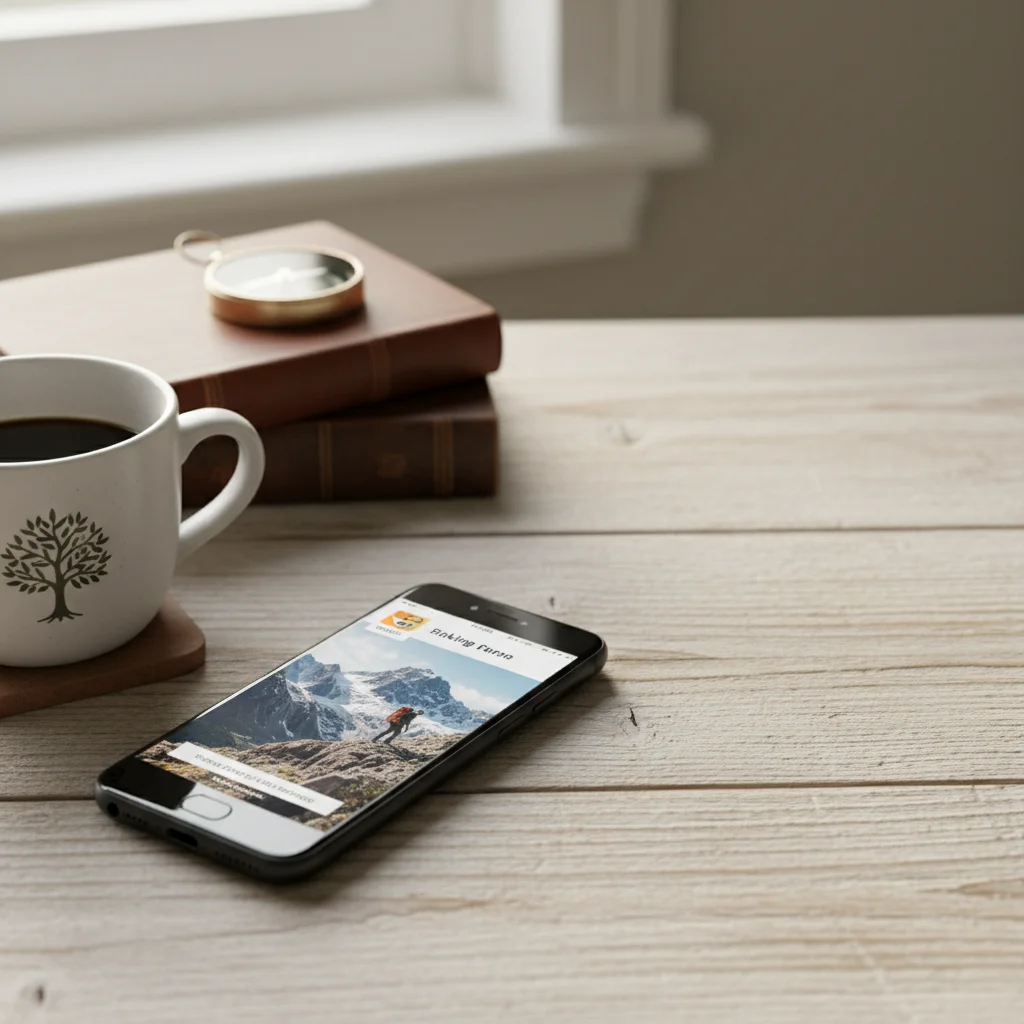
Place any object from another photo or generate new ones with AI - perfectly lit and integrated.
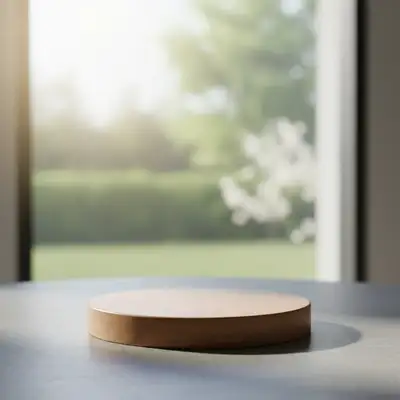

Upload photo to add object
"add this object to the desk on the right side, scale it to match other items, with realistic shadows"
Drag & drop, or paste · JPG · PNG · WEBP
Release to upload
How it works
-
1
Upload your photo
Upload a clear photo showing the area you want to edit. Good lighting and sharp focus help the AI deliver better object results. JPG, PNG, WebP up to 7MB.
Expect: Simple objects: 20-30 seconds. Complex scenes with multiple objects: may need 2-3 refinements. -
2
Upload the object you want to add
Click '+ Add another image' and select a photo of your object. This is the best approach for product photography, specific props, or branded items. The AI will extract and composite that exact object into your scene. Photo of object on a neutral/clean background extracts best.
Tip: Don't have a photo of the object? Skip this step and describe what you want - the AI can generate common objects like mugs, laptops, plants, etc.Copy one of these to get started:
Add your product (with reference photo)place this product on the table in the center, matching the scene lighting and adding natural shadowsAdd specific item (with reference photo)add this object to the desk on the right side, scale it to match other items, with realistic shadowsDesktop accessory (no reference)add a sleek silver laptop open on the desk with the screen facing slightly toward the camera, matching the room's lightingTable decoration (no reference)add a clear glass vase with fresh white flowers on the center of the table, with natural shadows6 more prompts
Outdoor sceneadd a red bicycle leaning against the wall on the left side of the image, with natural sunlight shadowsFood photographyadd a freshly baked croissant on a white plate next to the coffee cup, with appetizing golden brown colorHoliday decorationadd a small decorated Christmas tree with twinkling lights in the corner of the room, about 4 feet tallProduct on lifestyle backgroundplace this product centered on the marble countertop with soft studio lighting and a subtle shadow underneathPet in a sceneadd a golden retriever sitting on the rug in front of the fireplace, looking at the camera with natural indoor lightingWall art or framed photoadd a large framed landscape painting centered on the blank wall above the sofa, about 3 feet wide with a thin black frame -
3
Describe the placement
Tell the AI where to place it: 'put this object on the coffee table' or 'place in the bottom right corner matching the lighting.' Include position, scale, and orientation. Without a reference photo, describe the object itself too: 'add a vase of red roses on the table.'
Tip: With a reference photo, focus on WHERE and HOW to place it. Without one, also describe WHAT the object should look like.Copy one of these to get started:
Add your product (with reference photo)place this product on the table in the center, matching the scene lighting and adding natural shadowsAdd specific item (with reference photo)add this object to the desk on the right side, scale it to match other items, with realistic shadowsDesktop accessory (no reference)add a sleek silver laptop open on the desk with the screen facing slightly toward the camera, matching the room's lightingTable decoration (no reference)add a clear glass vase with fresh white flowers on the center of the table, with natural shadows6 more prompts
Outdoor sceneadd a red bicycle leaning against the wall on the left side of the image, with natural sunlight shadowsFood photographyadd a freshly baked croissant on a white plate next to the coffee cup, with appetizing golden brown colorHoliday decorationadd a small decorated Christmas tree with twinkling lights in the corner of the room, about 4 feet tallProduct on lifestyle backgroundplace this product centered on the marble countertop with soft studio lighting and a subtle shadow underneathPet in a sceneadd a golden retriever sitting on the rug in front of the fireplace, looking at the camera with natural indoor lightingWall art or framed photoadd a large framed landscape painting centered on the blank wall above the sofa, about 3 feet wide with a thin black frame -
4
Generate and review
Check that the object sits naturally on the surface with proper shadows. Verify the scale matches other items in the scene and lighting direction is consistent. Look for realistic reflections on glossy surfaces.
See it in action

Laptop added to desk scene
An empty desk transformed into a productive workspace by adding a laptop with matching lighting.
Add the laptop from the reference photo onto the desk. Please make it look natural by matching the lighting and reflections from the window.

Vase added to living room
A bare coffee table enhanced with a decorative vase of flowers as a centerpiece.
add a tall glass vase with pink peonies on the center of the coffee table, with natural shadows on the table surface
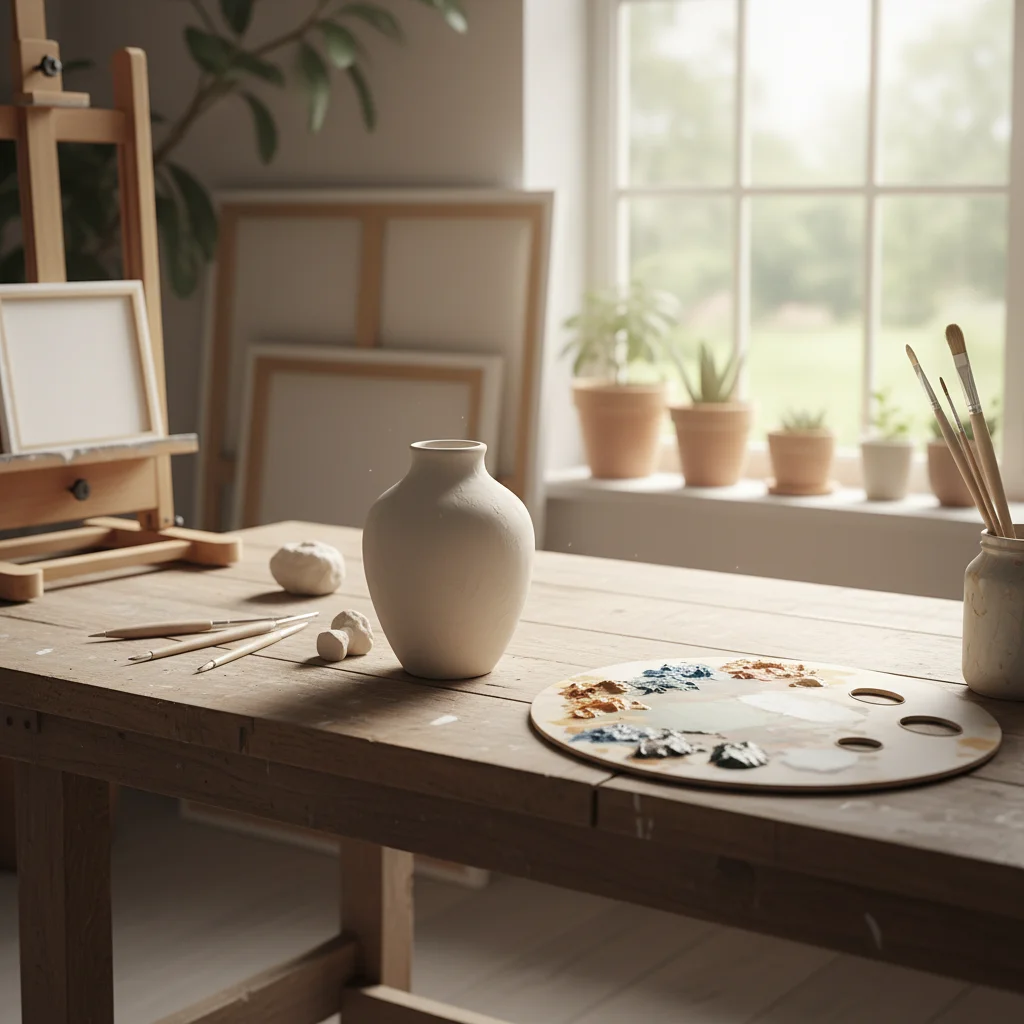
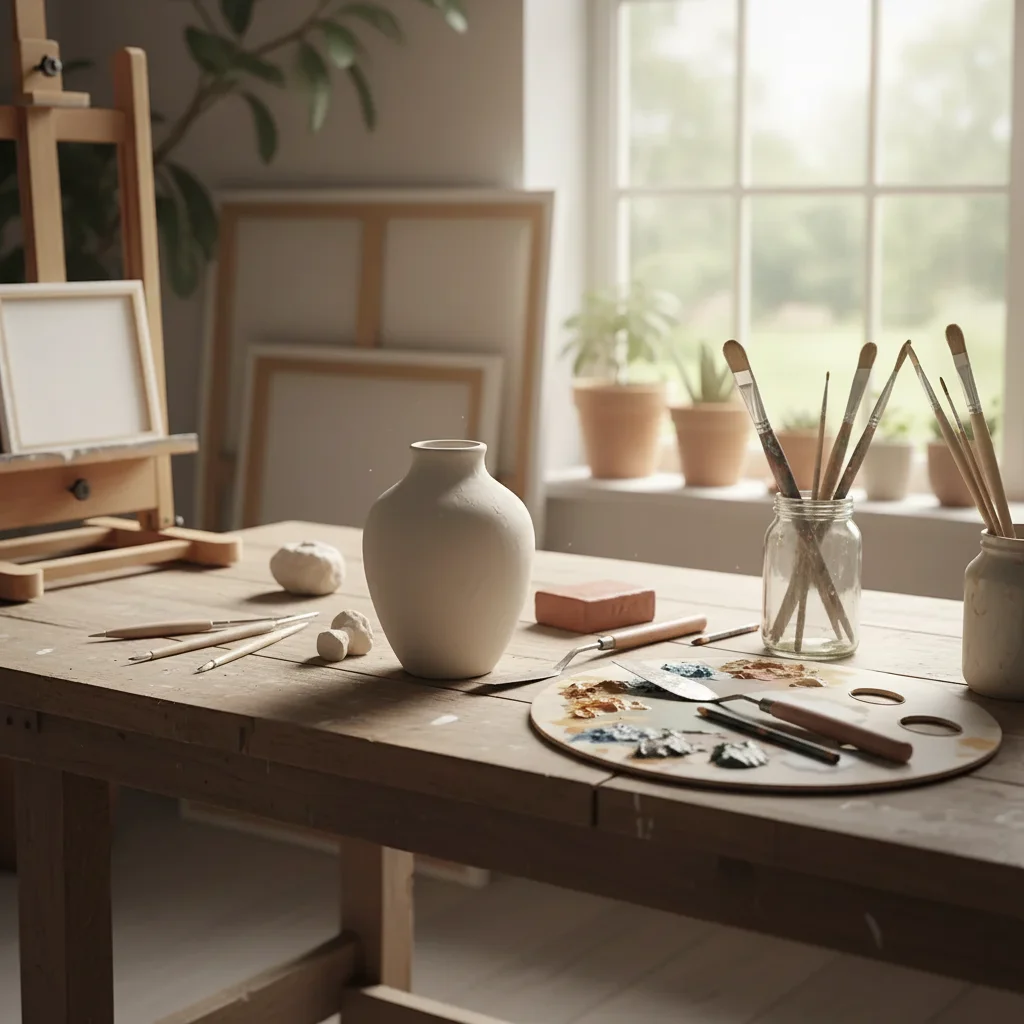
Plant added to empty corner
A bare corner of a room filled with a tall decorative plant for visual interest.
add a large fiddle leaf fig plant in a terracotta pot in the empty corner, about 5 feet tall, with natural lighting
Quick answers
Do I need to mark where the object should go?
No! Just describe the placement in your prompt: 'add this on the left side of the desk' or 'place in the center of the table.' The AI understands spatial descriptions.
How do I add an object to a photo for free?
Upload your photo to EditThisPic and describe what you want added: 'add a coffee mug on the table' or upload a reference photo of the exact object. The AI places it with matching lighting and shadows in 20-40 seconds. Free to try, no login, no watermarks.
Should I use a reference photo or just describe what I want?
Use a reference photo when you need the EXACT object - your product, a specific prop, or a branded item. Click '+ Add another image' to upload it. The AI extracts and composites that exact object into your scene. Use description alone for generic items like 'a coffee mug' or 'a potted plant' where any version will work.
How do I control the size of added objects?
Include size references in your prompt. Use measurements ('about 12 inches tall'), comparisons ('the size of a coffee mug'), or relative terms ('small,' 'large'). You can also reference existing objects: 'about the same height as the lamp.'
Can I add multiple objects at once?
Yes! Describe all objects in one prompt: 'add a laptop on the desk, a coffee mug next to it, and a small plant in the corner.' The AI will place all items with consistent lighting. For complex arrangements, adding objects one at a time gives more control.
Why do glass or reflective objects sometimes look wrong?
Glass and metal need environmental reflections to look real. Include 'with natural reflections' in your prompt. The AI will add appropriate reflections of the surroundings, making glass vases, shiny electronics, and metallic objects look realistic.
What is the best free AI tool for adding objects to photos?
EditThisPic offers free AI object placement with no signup required. Unlike Photoshop compositing that requires finding stock images and manual blending, just describe what you want and where. The AI generates objects with matching perspective, lighting, and shadows automatically. Works for furniture, products, decorations, and props.
Is EditThisPic's AI object adder really free?
Yes — every visitor gets one free edit per week with no account needed, so you can add an object to your photo at no cost the first time. If you need more, the Lite plan is $4.99/month for 15 credits, Standard is $12.99/month for 50, and Pro is $29.99/month for 150. There are also one-time credit packs from $1.99.
Can I add object on my phone?
Yes. EditThisPic runs entirely in your mobile browser — iPhone Safari, Android Chrome, and tablets all work. There's nothing to install. Just open editthispic.com, tap to upload a photo from your camera roll, type your prompt, and add an object to your photo. The result downloads straight back to your photos. There's also an iOS app on the App Store.
What photo formats does the AI object adder support?
EditThisPic accepts JPG, PNG, WebP, and HEIC files up to 7MB. HEIC support matters for iPhone users since that's the default capture format. The AI object adder returns the result in the same format you uploaded, so an HEIC in stays an HEIC out — no conversion step or quality loss in transit.
Can I add my own product using a reference photo?
Yes, and this is the best method for product photography. Click '+ Add another image' and upload a photo of your product on a clean background. Then describe where to place it: 'put this product on the wooden table.' The AI extracts your exact product and composites it into the scene with matching lighting.
How do I make added objects look realistic with proper shadows?
Include 'with natural shadows' or 'with contact shadow underneath' in your prompt. Also mention the light direction if visible in the photo: 'matching the window light from the left.' The AI uses these cues to generate shadows that ground the object on the surface and match the scene's lighting.
Can I add text or logos to a photo with this tool?
For simple text or logos, describe what you want: 'add a neon sign saying OPEN on the wall.' For precise logos, upload the logo as a reference image and describe placement. For complex typography, the dedicated Add Text tool gives more control over fonts and positioning.
Does the AI match the perspective of added objects to the scene?
Yes. The AI analyzes the camera angle and vanishing points in your photo, then generates the object with matching perspective. Objects placed on tables appear at the correct angle, and wall-mounted items follow the room's perspective lines. Straight-on photos give the most accurate perspective matching.
How much does EditThisPic cost?
You get 1 free edit per week — no account needed. After that, credit packs start at $1.99 for 3 edits. Monthly plans start at $4.99/mo for 20 edits with unused credits rolling over. All edits are full resolution with no watermark.
Related Tools
Browse all add & replace tools →Explore More Add & Replace Tools
View all add & replace tools →You might also like
Popular use cases
Ready to add objects to your photos?
Free to try. No signup required.