Free • No signup Extend Image · Free

AI Image Extender

Type 'extend this image to the right' and watch AI generate what should be there.

Tightly cropped vertical headshot with no room on sides
Before
Same headshot extended to landscape 16:9 format
After

AI Image Extender

Drop your photo here

or click to browse

Release to upload

Free • No signup

Advertisement
Popular use cases:
  • Social media aspect ratios
  • Instagram Stories from posts
  • LinkedIn banners from headshots
  • Print cropping recovery
  • Magazine layout fitting
  • YouTube thumbnails
  • Website hero images

Cost
Free No signup required
Time
Instant results in 15-30 seconds
Works on
Any device - browser, phone, tablet, desktop
Powered by
AI-powered photo editing
Scenario Prompt Time
Horizontal for banner extend left and right equally to create 16:9 landscape format 25s
Add more sky expand upward to add more sky, matching clouds and light 20s
Square to Story extend up and down to convert to 9:16 vertical 30s
More ground/foreground extend downward to show more surface and add breathing room 20s

How it works

  1. Upload your photo

    Upload a clear photo showing the area you want to edit. Good lighting and sharp focus help the AI deliver better image results. JPG, PNG, WebP up to 7MB.

    Expect: Simple extensions with uniform backgrounds: 20-30 seconds. Complex scenes with detailed edges: may need 2-3 refinements.
  2. Describe the extension you want

    Type your instruction: 'extend this image to the right' or 'expand the image upward by about 30%.' Be clear about direction and amount. The AI reads your edges and generates content that matches seamlessly. No marking needed—just describe where you want more image.

    Tip: Specify what should appear in the extension if it matters: 'extend right to show more of the beach and ocean horizon.'

    Copy one of these to get started:

    Portrait needs landscape aspect ratio extend this image to the left and right equally to create a 16:9 landscape crop, keeping the background natural and consistent
    Photo cropped too tight at top expand the image upward to add more sky and headroom, matching the existing clouds and lighting
    Instagram square to vertical story extend this image upward and downward to convert from square to 9:16 vertical format, continuing the scene naturally
    Product shot needs more table surface extend the image downward to show more of the table surface and add breathing room below the product
    3 more prompts
    Landscape needs vertical print format expand this landscape image upward significantly to fit a vertical print format, extending the sky with matching clouds and atmosphere
    Beach photo needs more ocean extend to the right to reveal more of the ocean and coastline, continuing the waves and water naturally
    Group photo cut off someone at edge extend the left side to recover the person who was cropped, matching the existing lighting and background
  3. Generate and review

    Tap generate and examine where the original meets the extension. Check that textures continue naturally, lighting stays consistent, and no obvious seams appear. Zoom to 100% to verify the blend.

    Tip: Look at the transition zone carefully. The AI usually nails large areas but sometimes struggles with fine repeating patterns like brick or fabric.
  4. Refine or extend further if needed

    If the extension doesn't match well, try being more specific about what should appear. You can also extend multiple times in different directions to build out your canvas progressively.

    Tip: For large extensions, go in stages. Extend 20% at a time rather than trying to double the image in one go.
Advertisement
Try it free

AI Image Extender

Drop your photo here

or click to browse

Release to upload

Free • No signup

"Shot a portrait too tight. Typed 'extend left and right for landscape crop' and got exactly the extra room I needed for the magazine spread." @StudioLensPro

See it in action

Tightly cropped vertical headshot with no room on sides
Before
->
Same headshot extended to landscape 16:9 format
After

Portrait to landscape for social cover

Vertical headshot needed to become a LinkedIn banner. Extended both sides to create proper 16:9 ratio while keeping subject centered.

Prompt: extend this image to the left and right equally to create a 16:9 landscape format, continuing the neutral office background naturally
Mountain landscape with barely visible sky at top
Before
->
Same landscape with expansive dramatic sunset sky added
After

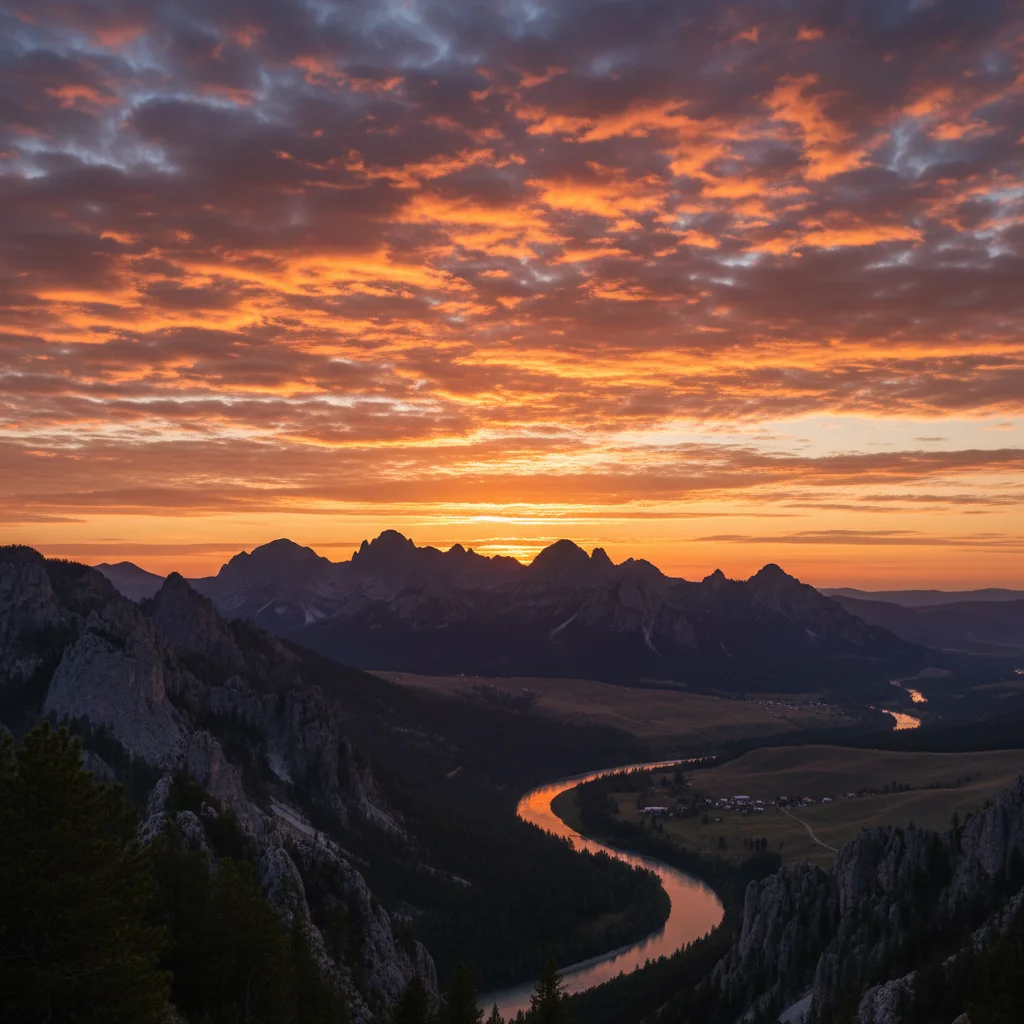
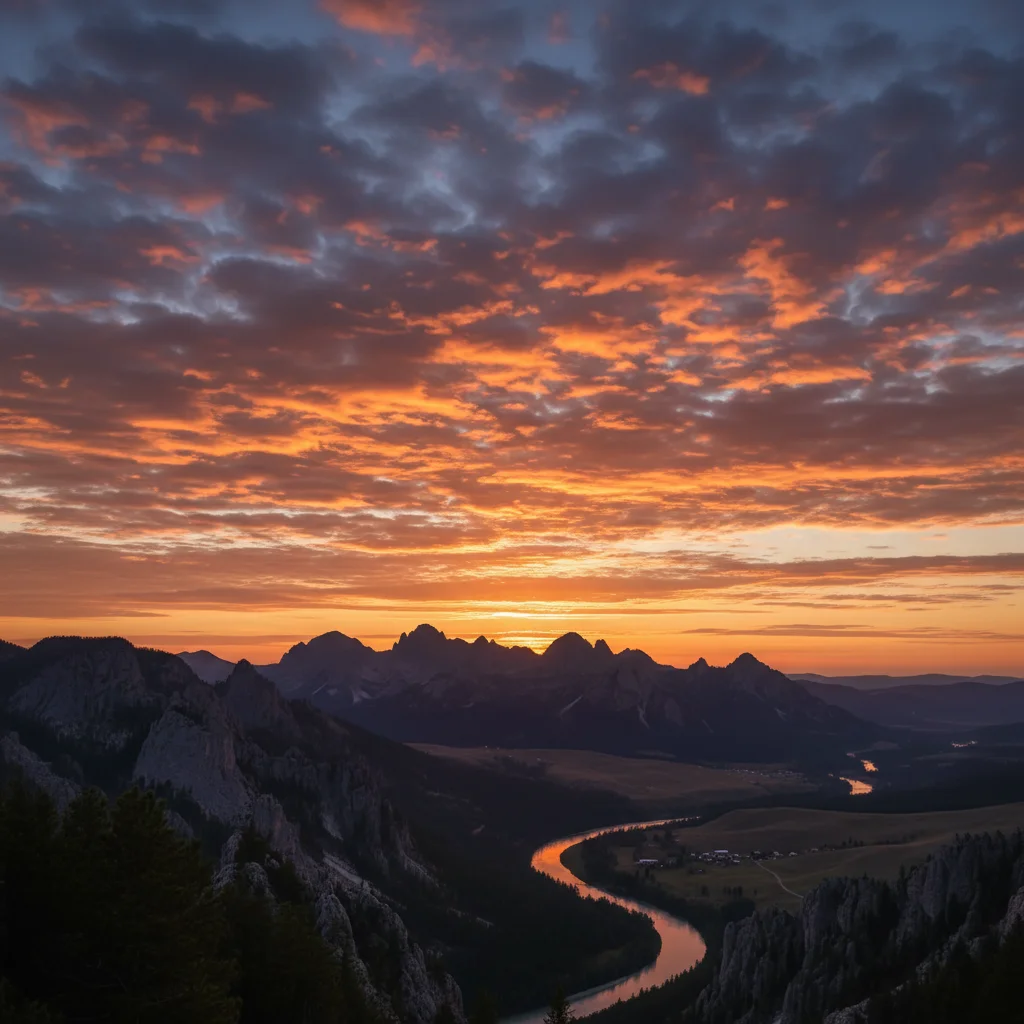
Adding sky for dramatic composition

Mountain landscape was cropped too low. Extended upward to add dramatic sky and improve the composition balance.

Prompt: expand the image upward significantly to add more sky, matching the existing sunset colors and cloud formations

Detailed Guides by Scenario

📷

Composition Improvement

Extend image canvas to improve composition — add breathing room, fix tight crops, or reframe for better visual balance.

Common Scenarios

  • Extending image edges to add negative space around a tightly cropped subject
  • Widening a portrait from vertical to square format by extending image horizontally
  • Adding sky or ground to image for a more balanced landscape composition

Best Practices

  • Describe what should appear in the extended area: 'more sky,' 'continue the grass,' 'extend the wall'
  • Start with a small extension (20-30%) — too much generates less convincing content
  • For symmetrical scenes, extending both sides equally gives the most natural result
📷

Platform & Format Adaptation

Extend image to fit different platform aspect ratios without cropping or losing important content.

Common Scenarios

  • Converting a vertical image to landscape for a website banner by extending the sides
  • Extending image to fill a 16:9 presentation slide without cropping
  • Adapting a square image to 9:16 for Instagram stories by extending top and bottom

Best Practices

  • Specify the target aspect ratio in the prompt — '16:9 for a YouTube thumbnail' is clear
  • The AI fills extended areas with generated content that matches the existing scene
  • For banners and headers, extend to leave room for text overlay

If something looks off

AI changed the wrong area or generated in the wrong direction

Why: The AI misinterpreted which direction you meant, or 'extend' was ambiguous in context. This happens when the instruction isn't explicit about direction.

Try: Tap a marker on the edge where you want extension, then regenerate with 'extend outward from this edge'

Tip: Markers tell the AI 'I mean THIS edge specifically.' Use them when direction words alone are ambiguous.

Visible seam or line where original meets extension

Why: The AI generated content that doesn't perfectly match the lighting or texture at the edge. This is more common with complex textures or strong directional light.

Try: extend this image to the [direction] with seamless blending, matching exact colors and lighting at the edge

Tip: If seams persist, try extending less distance at a time. Smaller extensions blend more naturally.

Extended area has different lighting or color cast

Why: The AI analyzed the overall image but didn't match the specific edge conditions. Photos with gradients or changing light are harder to extend.

Try: extend to the [direction] matching the exact color temperature and lighting intensity at the edge precisely

Tip: Photos with even, flat lighting extend most successfully. Strong shadows or gradients are challenging.

Repeating patterns look wrong in the extension

Why: Patterns like bricks, tiles, or fabric require precise alignment. The AI generates plausible texture but may not align the grid perfectly.

Try: extend to the [direction] carefully continuing the exact pattern alignment and spacing of the [bricks/tiles/pattern]

Tip: For pattern-heavy images, extend in smaller increments and check alignment at each step.

Extension shows unrealistic or impossible content

Why: The AI inferred what might be beyond the frame but guessed wrong. This happens when edges don't give enough context.

Try: extend to the [direction] showing [specific content you want], keeping it realistic and matching the scene

Tip: Be explicit about what should appear. 'More beach' is better than letting the AI guess.

Quick answers

Do I need to mark the edges before describing the extension?

No! Just describe the direction: 'extend to the right' or 'expand upward.' The AI understands directional instructions without marking. Only use markers if the AI extends the wrong edge, which rarely happens when you're clear about direction.

How much can I extend an image in one go?

You can typically double an image's size in one direction, but results are better with moderate extensions (20-50%). For major expansions, extend in stages: add 30% to the right, review, then add more. This gives the AI better context at each step and produces more natural results.

Can I extend in multiple directions at once?

Yes, absolutely. Type 'extend left and right equally' or 'expand in all four directions to add a border.' The AI handles multi-directional extensions well, especially for symmetric expansions. For complex scenes, you might get better results extending one direction at a time.

Will the extended area match my image quality?

The AI generates content at your original image's resolution. High-resolution source images produce high-resolution extensions. If your original is 4000px wide and you extend right, the new pixels match that quality. Low-resolution sources will produce matching low-resolution extensions.

What if I need a specific final aspect ratio like 16:9?

Mention the target ratio directly: 'extend to create a 16:9 landscape aspect ratio' or 'expand to fit 9:16 vertical format.' The AI understands common aspect ratios and calculates how much extension each direction needs. You can also say 'extend right by about 30%' for proportional control.

Is EditThisPic's AI image extender really free?

Yes — you get 1 free edit per week, no account needed. For unlimited edits, plans start at $3.99/month.

Can I extend image on my phone?

Yes. EditThisPic works in any mobile browser — iPhone, Android, tablet. No app download needed.

What photo formats does the AI image extender support?

JPG, PNG, WebP, and HEIC. Upload any common photo format and EditThisPic handles the rest.

Ready to extend your image?

Free to try. No signup required.

Try it free