Extend Photo from Photo
Rescue cropped photos by extending beyond the edges—no Photoshop required.
Type 'extend this photo on the left side to show more of the scene' and EditThisPic's AI generates new content that matches your existing image in 20-40 seconds. Perfect for fixing tight crops, changing aspect ratios, or recovering accidentally cut-off subjects. No selection tools needed—just describe which direction to extend. Free, no signup required.
How it works
Upload your photo
Drop your image into EditThisPic. JPG, PNG, and WebP up to 7MB work best. Higher resolution photos give the AI more context to match when generating the extended areas.
Describe what you want
Type your instruction: 'extend this photo on the left to show more of the beach' or 'extend top and bottom for vertical aspect ratio.' Be specific about which edges to extend and what should appear there. The AI understands direction and scene context without marking.
Copy one of these to get started:
extend this photo at the top to add natural headroom above the subject, matching the existing background
extend this photo on both left and right sides to create a wider landscape format, continuing the scene naturally
extend this photo on the top and bottom to fit a 4:5 vertical aspect ratio, matching the existing colors and lighting
extend this photo on the left side to show more of the scenery and give the composition more balance
3 more prompts
extend this photo at the bottom to reveal the full body that was cropped out, continuing the same floor and background
extend this photo on all four sides with matching background to create safe margins for printing and framing
extend this photo at the top with more sky area for adding text, matching the existing sky gradient and clouds
Generate and review
Tap generate and examine where the original meets the extension. Look for seamless blending at boundaries, consistent lighting, and natural continuation of textures like sky gradients, walls, or ground surfaces.
Refine with markers if needed
If the boundary looks artificial or the AI generated unexpected content, tap markers on the problem areas and regenerate with more specific instructions. Most extensions work without markers.
"Cropped my wedding photo too tight—thought it was ruined. Extended both sides and now it's perfect for the frame I bought." @PhotoRescueMom
See it in action
Portrait headroom rescue
Professional headshot cropped too tight at the top. Extended upward to add proper headroom for professional use.
extend this photo at the top to add natural headroom above the subject, matching the existing neutral gray background seamlessly
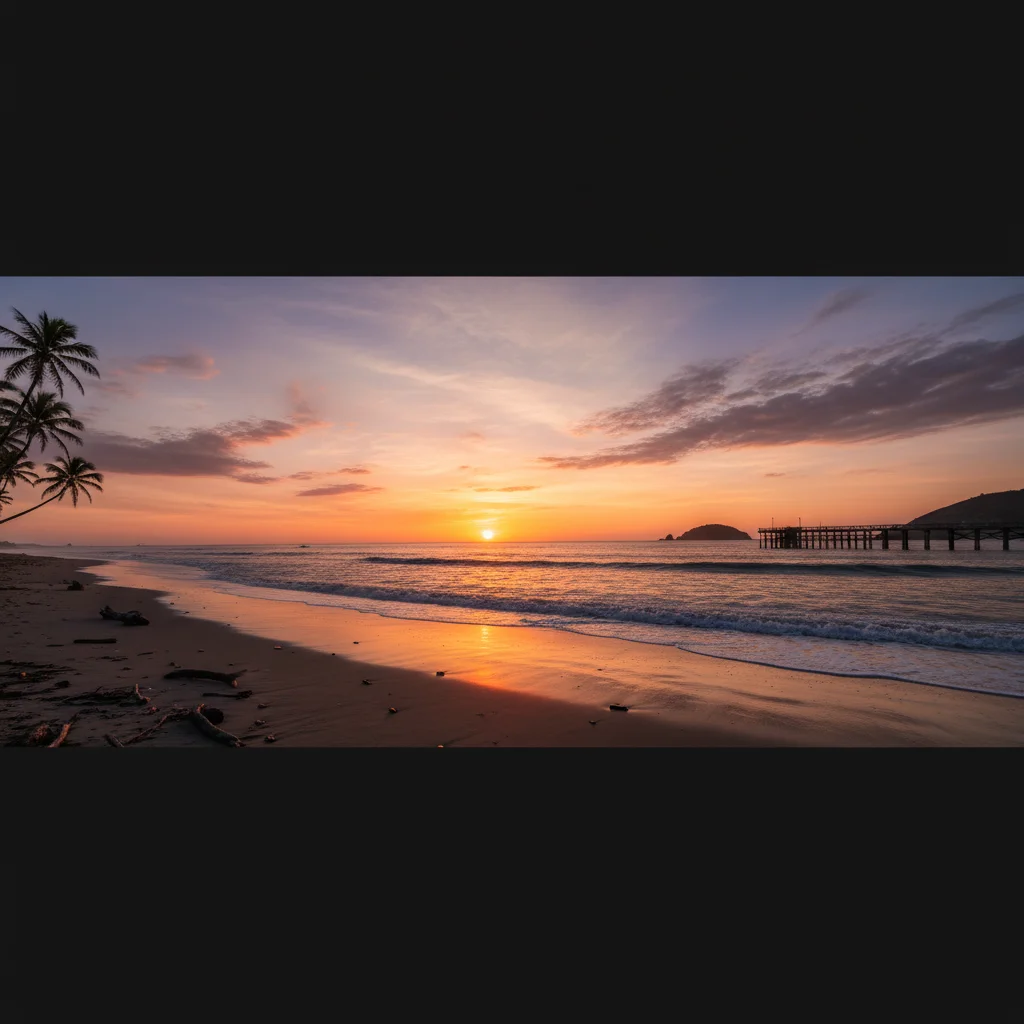
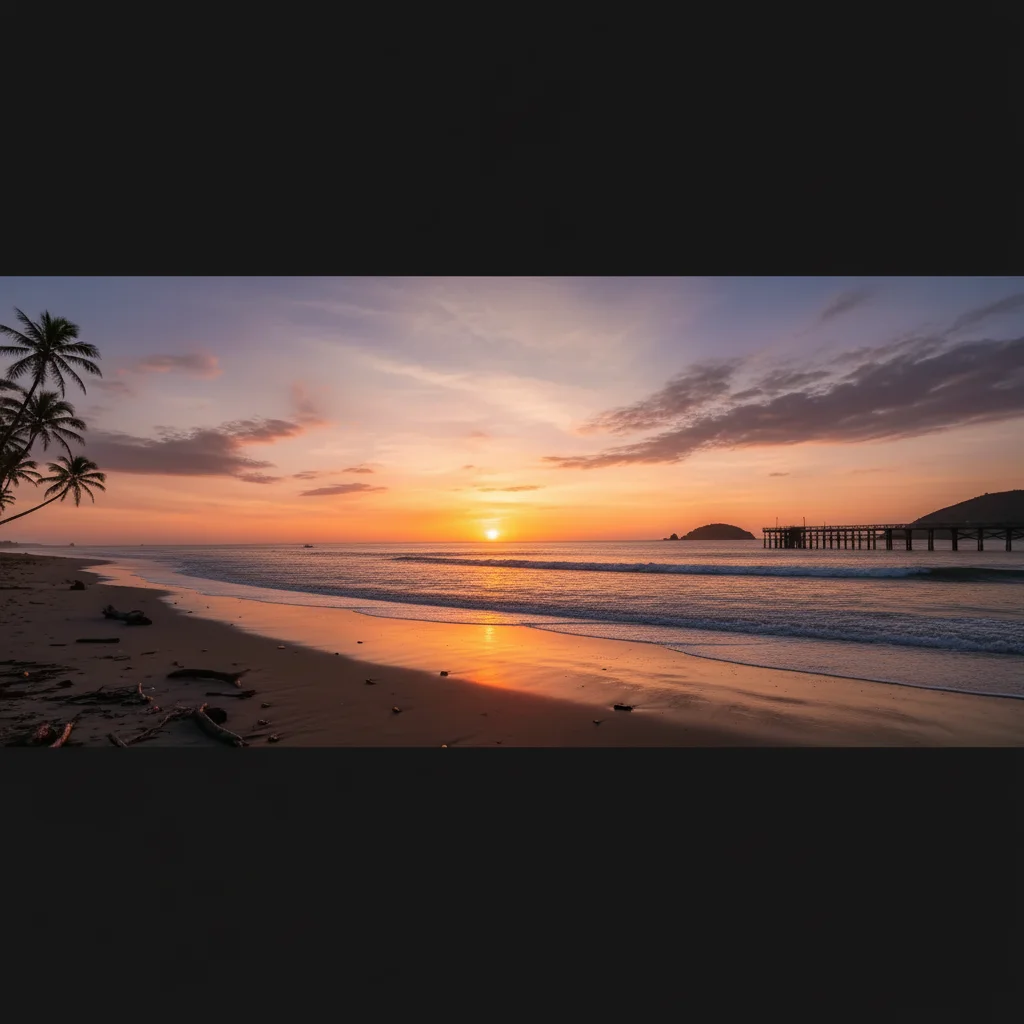
Landscape to widescreen conversion
Beach sunset photo needed to be wider for a panoramic frame. Extended both sides to capture more of the scene.
extend this photo on both left and right sides to create a wider panoramic format, continuing the beach, ocean, and sunset sky naturally
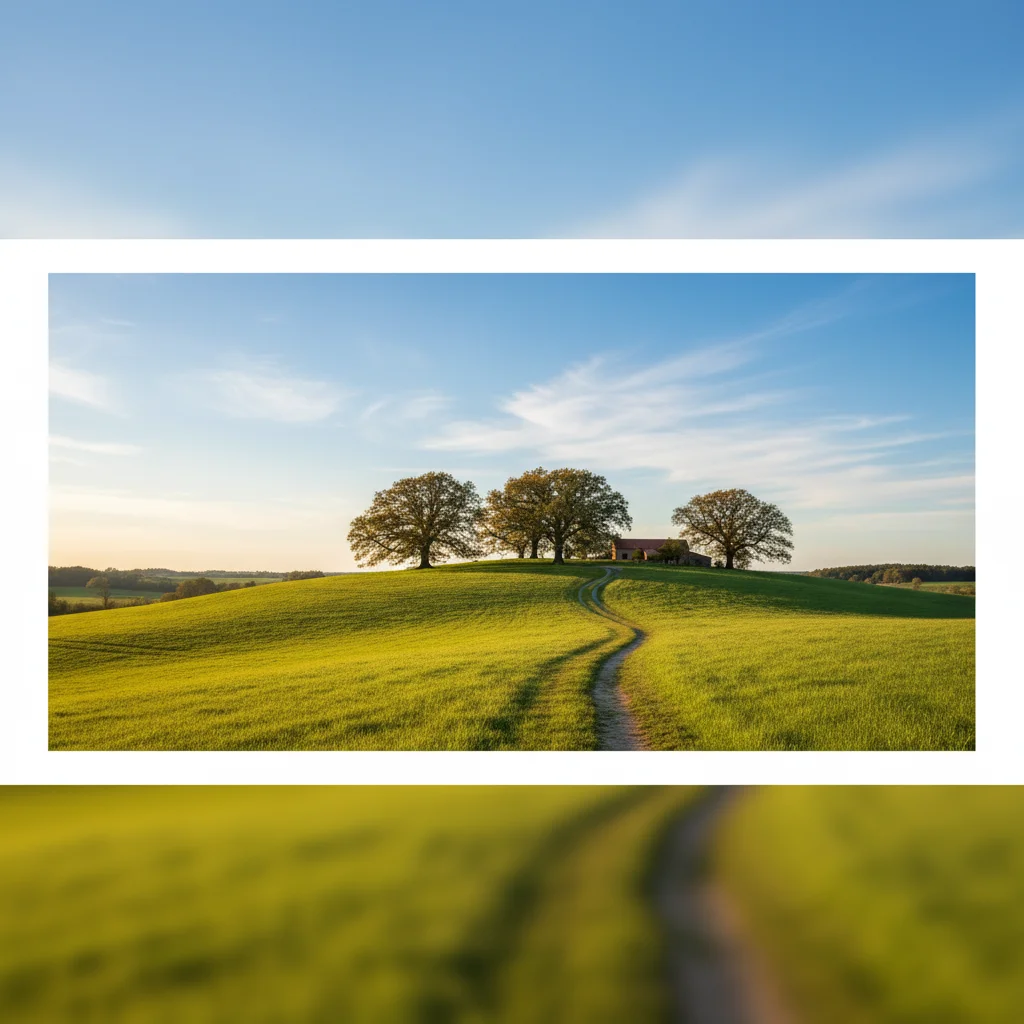
Instagram aspect ratio fix
Horizontal landscape photo converted to Instagram's 4:5 vertical format by extending top and bottom.
extend this photo on the top and bottom to fit Instagram's 4:5 vertical aspect ratio, continuing the blue sky above and green grass below naturally
If something looks off
AI changed the wrong area or something I didn't want changed
Why: The AI interpreted which edge to extend differently than you expected, or modified the original image area instead of extending it.
Tap a marker on the specific edge where you want extension to happen, then regenerate with the same prompt
💡 Markers tell the AI 'extend from THIS edge specifically.' Use them when direction description alone is ambiguous.
Visible seam line where extension meets original
Why: The AI-generated content doesn't perfectly match the lighting, color, or texture at the boundary. This happens especially with complex textures or strong directional light.
extend this photo on [direction] with seamless blending, matching exact lighting and color temperature at the boundary
💡 If the seam persists, tap markers along the visible boundary line and regenerate focusing on that specific area.
Extended area looks artificially generated or blurry
Why: The AI had insufficient context to generate realistic content, often with complex scenes or unusual subjects.
extend this photo on [direction] with sharp detail matching the original image quality, continuing [specific elements like 'the brick wall pattern' or 'the grass texture']
💡 Describe what should appear in the extension specifically—'more trees' gives better results than just 'extend right.'
AI generated unexpected objects in the extension
Why: Without specific guidance, the AI guessed what should appear in the extended area based on the scene context.
extend this photo on [direction] showing only [what you want], no additional objects or people
💡 Be explicit about what should NOT appear: 'only sky, no birds or planes' prevents unwanted additions.
Sky gradient doesn't continue smoothly
Why: Gradient colors are challenging to match precisely, especially at sunset or sunrise with multiple color transitions.
extend this photo upward continuing the exact sky gradient from [color] to [color] with the same cloud pattern and lighting
💡 Name the specific colors in the gradient to help the AI match them exactly.
Quick answers
Do I need to mark the edges I want to extend?
No! Just describe which direction: 'extend this photo on the left' or 'extend top and bottom.' The AI understands directional language. Markers are only needed if the AI extends the wrong edge or you want to refine specific boundary areas—but most extensions work with description alone.
How much can I extend a photo?
You can typically extend 50-100% in any direction with good results. Smaller extensions (20-30%) blend more seamlessly since the AI has more original context to match. Very large extensions work best with simple backgrounds like sky, water, or solid colors. Complex scenes may need multiple smaller extensions.
Can I extend in multiple directions at once?
Yes. Type 'extend this photo on the left and right' or 'extend on all four sides.' The AI handles multiple directions simultaneously. For best results with large multi-direction extensions, consider doing them in separate passes—extend horizontally first, then vertically.
Will the extended area match my photo's lighting and colors?
The AI analyzes your original image and attempts to match lighting direction, color temperature, and overall mood. For best results, mention key details: 'extend with the same warm sunset lighting' or 'continue the soft overcast mood.' If colors don't match, regenerate with more specific color descriptions.
Can I use this to change a photo's aspect ratio?
Absolutely—this is one of the most common uses. Describe the target format: 'extend top and bottom for 4:5 Instagram vertical' or 'extend left and right for 16:9 widescreen.' The AI adds content to reach your desired dimensions while keeping your subject intact and centered.
Ready to extend your photo?
Free to try. No signup required.