Add a Background to Any Photo
← Browse all add & replace toolsLast updated
Upload your photo, add a reference image of the background you want, and the AI composites them together in seconds.


Upload photo to add background
"composite me into the reference background, matching the lighting and perspective naturally"
Release to upload
50,000+photos edited
<30stypical edit
1 freeedit weekly
How it works
See it in action
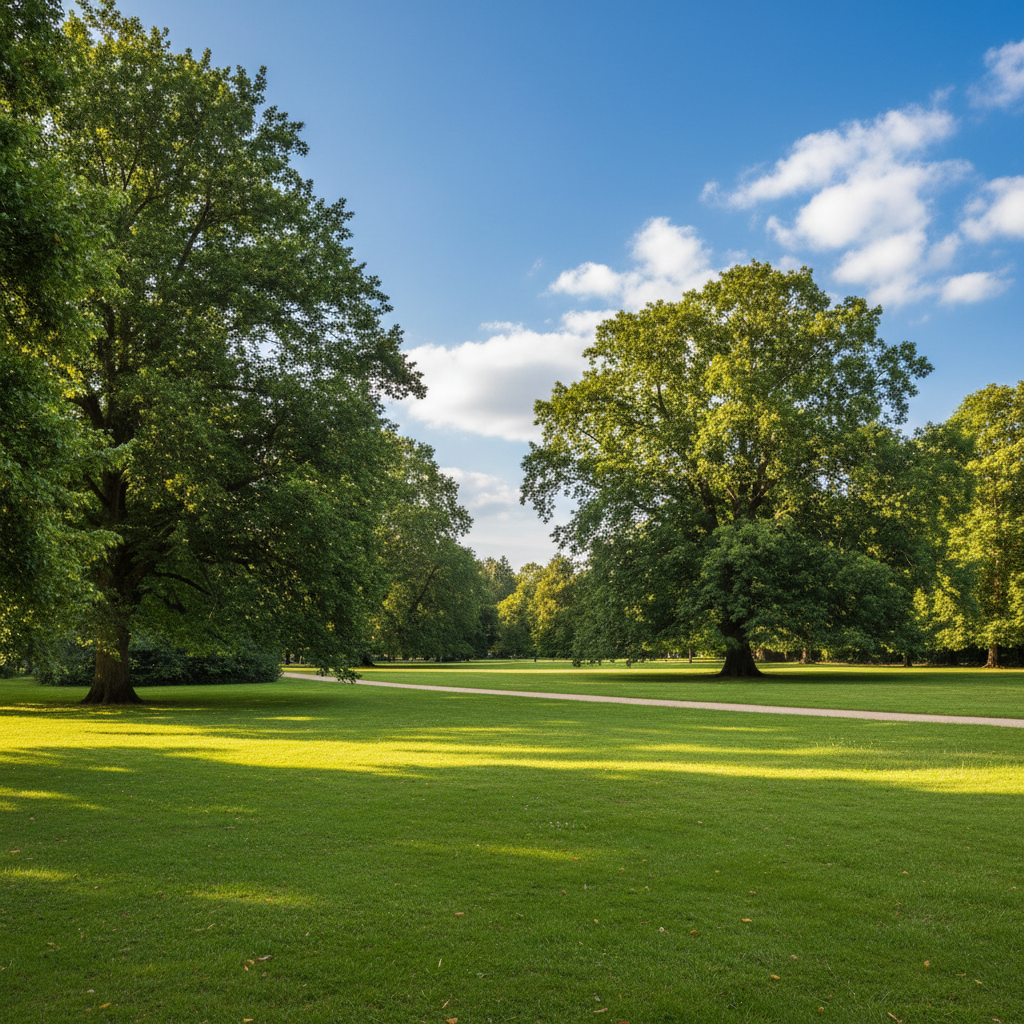
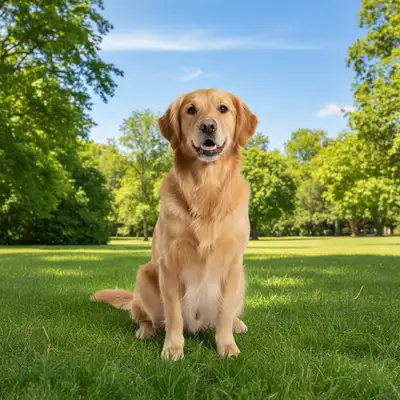
Pet portrait with park background added
Golden retriever photographed on white studio background. Used a park scene as reference to composite the dog into a natural outdoor setting.
Prompt:
add a beautiful sunny park background with green grass and trees behind the dog, matching the reference photo scene


Portrait with studio backdrop
Casual selfie transformed into professional headshot with proper studio background.
Prompt:
add a professional soft gray gradient studio background with subtle vignette darkening at the edges
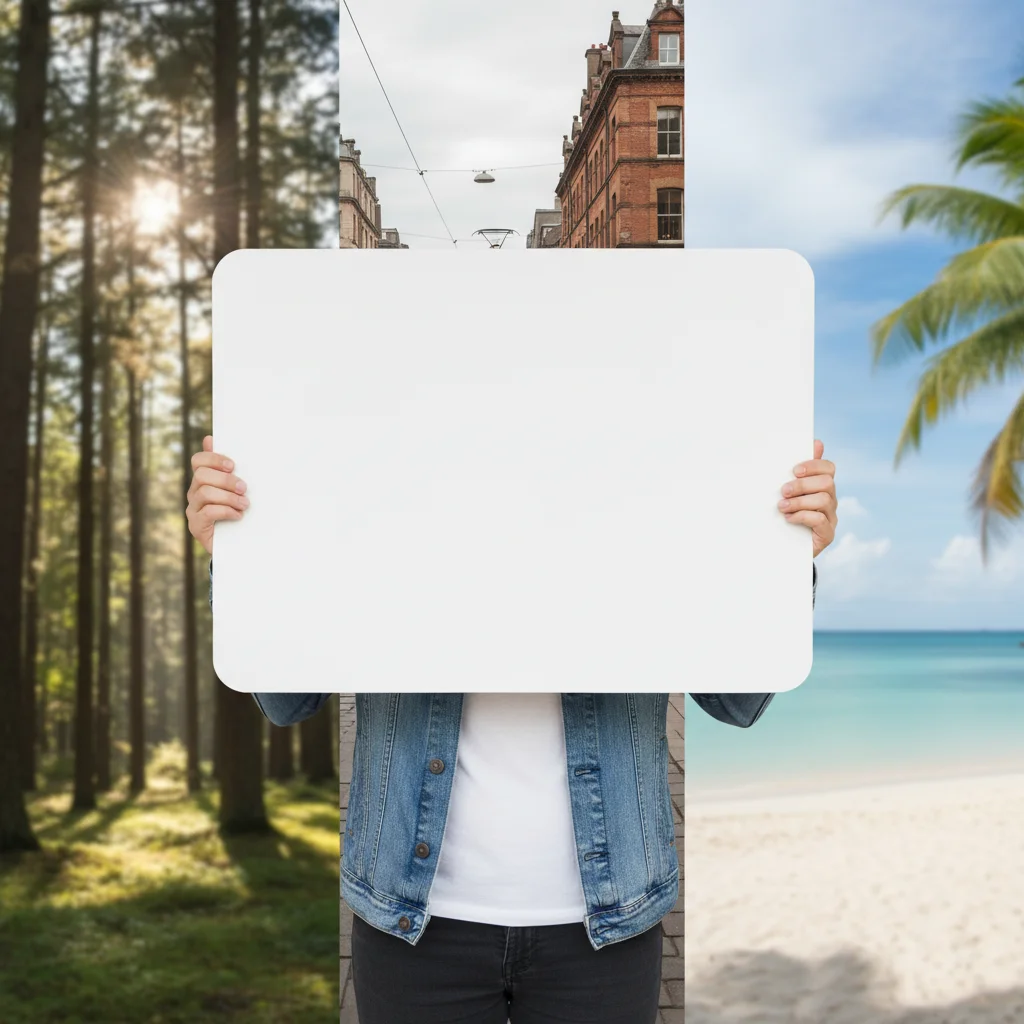

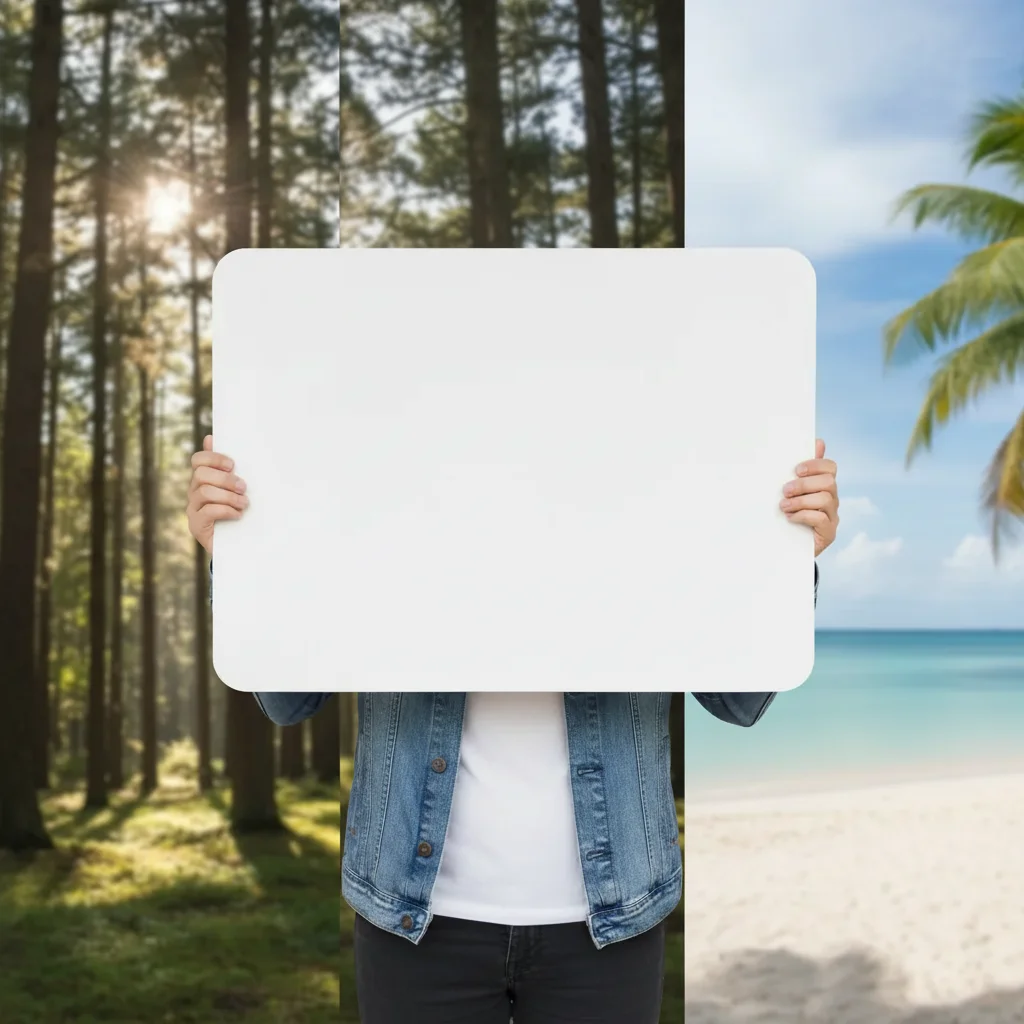
Beach vacation composite
Subject cut out from indoor photo placed in tropical paradise setting.
Prompt:
Replace the green screen with the background from the reference photo. Please match the lighting on the person to the sunset in the new background.
Quick answers
You might also like
Popular use cases
Ready to add your photos?
Upload your photo and a reference background. Free to try, no signup required.