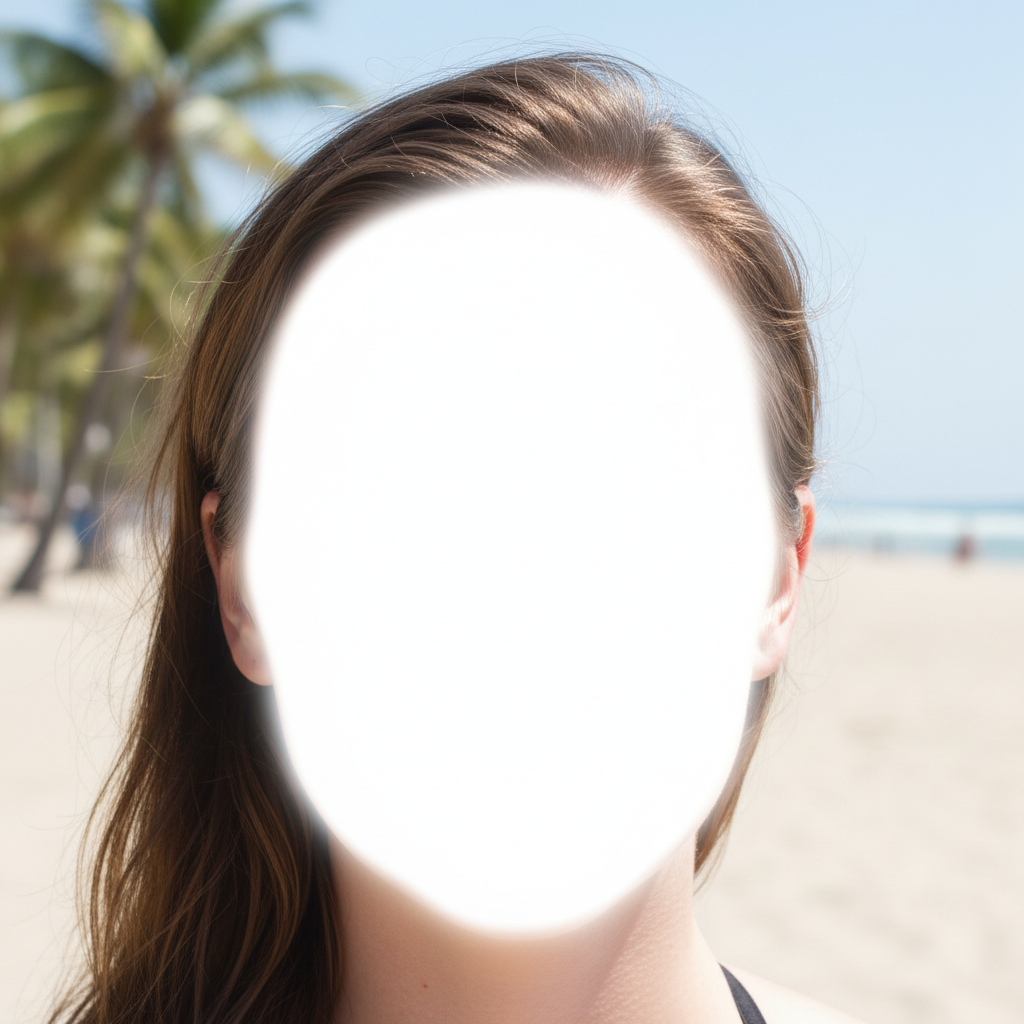
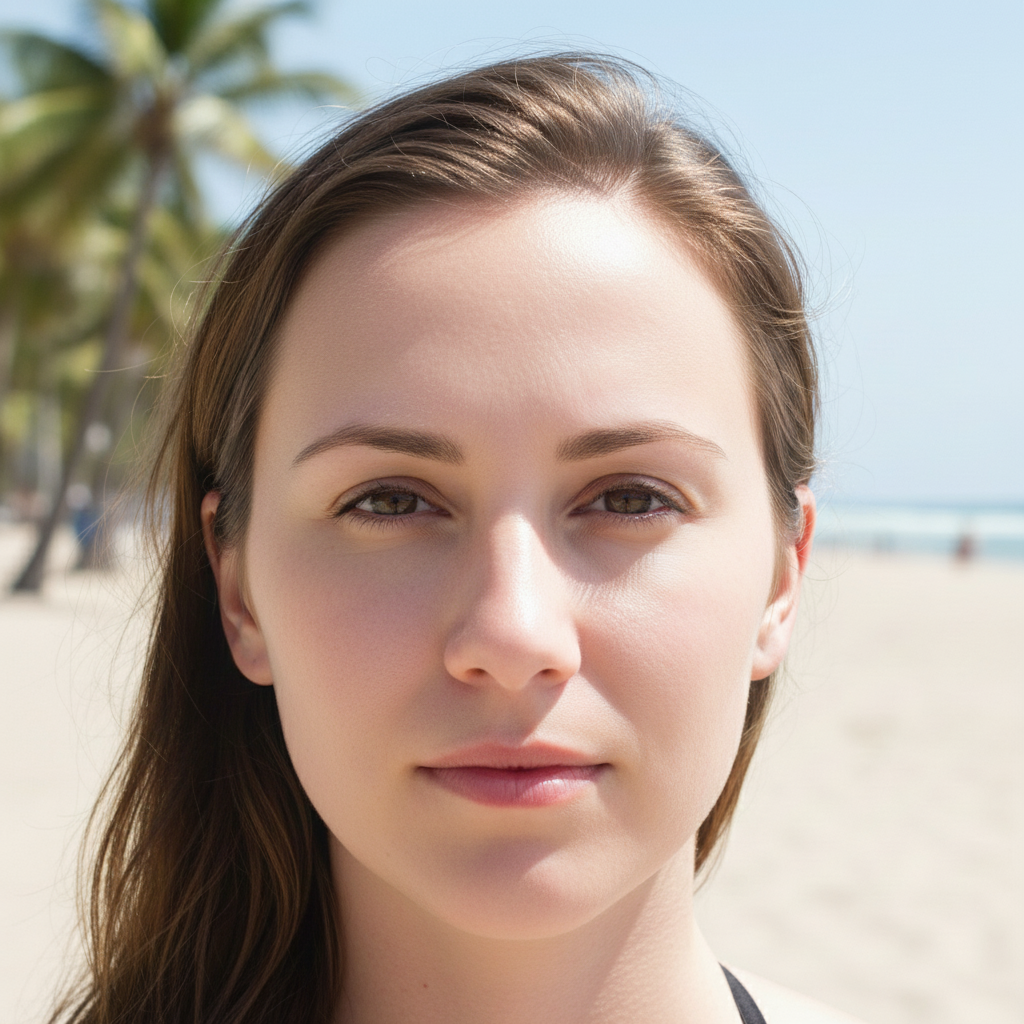
Can AI fix blown-out highlights?
Yes, with limits. If there's even slight texture in the highlights, the AI can recover surprising detail in 15-30 seconds. But pixels at pure clipped white (RGB 255,255,255) have no original data to recover — in those cases the AI generates plausible detail based on surrounding context. Recovery is strongest for skies, faces, and clothing, and weaker for detailed patterns like text or fine fabric weaves.
Why are my photos overexposed?
Overexposure usually comes from one of three causes: the camera metered for a dark area and let too much light in elsewhere (common with backlit subjects and bright skies), direct flash hit a close subject (washed-out faces), or the scene has a wider dynamic range than your sensor can capture in one frame (interiors with bright windows). EditThisPic fixes all three with a single descriptive prompt.
Can you recover a white sky in photos?
Almost always, yes. Skies are the easiest thing for AI to rebuild because the gradient and color are predictable from context — the AI knows what the sky 'should' look like above your scene. For mildly blown skies, it recovers real residual blue and clouds. For fully clipped skies, it generates a realistic match. If the result still looks fake, AI Sky Replacer gives a cleaner full replacement.
How many stops of overexposure can AI actually recover?
Roughly 1.5 to 2 stops of real recovery, depending on the source file. JPEGs from phones have less highlight headroom than DSLR RAW, so phone photos top out closer to 1 stop of true recovery and rely on generative fill beyond that. The AI does not check EXIF — it just looks at the pixels, so visible texture matters more than the original exposure setting.
What's the difference between overexposed and blown-out highlights?
Overexposed means the photo as a whole is brighter than intended. Blown-out highlights are a specific symptom — the very brightest pixels have clipped to pure white and lost all detail. A photo can be perfectly exposed overall but still have blown highlights (like a bright sky over a balanced landscape), or the entire photo can be uniformly overexposed. Both are fixable with the same description-first approach.
How do I fix an overexposed photo without making it too dark?
Anchor the prompt to the bright areas only. Type 'recover the blown highlights, keep shadows and midtones unchanged' instead of just 'fix the exposure.' That tells the AI to make a targeted adjustment instead of a global brightness drop. Adding 'keep it naturally bright' as a guardrail also helps prevent over-correction.
Can EditThisPic fix overexposed iPhone photos?
Yes. EditThisPic accepts HEIC directly and works in any mobile browser — no app download. iPhone HDR mode often produces a slightly washed-out result in bright sun, and EditThisPic recovers those highlights cleanly. JPG, PNG, WebP, and HEIC up to 7MB are all supported on mobile.
Is there a free overexposed photo fixer with no signup?
Yes — EditThisPic gives you one free edit per week with no account required, and there's no watermark on the result. Paid plans start at $4.99/month for 15 edits if you need more, but you can fix an overexposed photo right now without entering an email address.
Is fixing overexposure better than just lowering exposure in Lightroom?
For mild cases they're similar, but Lightroom's Highlights slider just maps bright values down — it cannot invent detail that was clipped. EditThisPic's AI generates plausible texture where the data is gone, which matters most for blown skies, white wedding dresses, and washed-out faces. For RAW files with significant headroom, Lightroom is fine; for clipped JPEGs and HEICs, AI recovery wins.
Will recovery introduce noise or artifacts?
Less than you'd expect. Unlike shadow recovery (which amplifies sensor noise), highlight recovery deals with channels that were already saturated — there's no hidden noise to amplify. The most common artifact is a faint color shift near recovered edges, which goes away with a follow-up 'remove any color cast from the recovered areas.'
How much does EditThisPic cost?
You get 1 free edit per week — no account needed. After that, one-time credit packs start at $4.99 for 10 edits, valid 12 months, no subscription. Power users who edit daily can pick Studio, a monthly workspace from $29.99/mo. Purchased downloads are clean with no watermark.