How to Create a Before and After Photo Comparison
To create a before and after comparison, upload your 'before' photo to EditThisPic and add the 'after' photo as a reference image. Describe the layout: 'create a side-by-side before and after with labels.' The AI generates a clean comparison image with matched sizing, alignment, and optional text labels. Free, no signup required.
Before and After Photos That Actually Convert
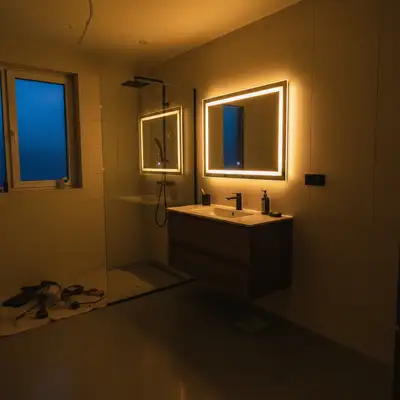
Before and after comparisons are the most persuasive visual content on the internet. Fitness transformations, home renovations, skincare results, car restorations, photo retouching, and product demos all rely on them. But creating a clean, professional comparison from two separate photos usually means wrestling with image editors to align, resize, and label both shots. AI does all of that in one step.
How AI Creates Comparison Images
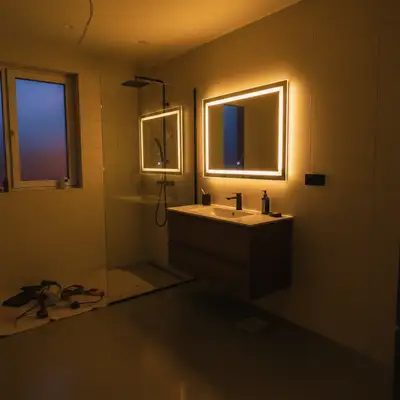
Upload both photos and the AI analyzes their dimensions, subjects, and framing. It resizes them to match, aligns the subjects so the comparison is clear, and arranges them in your chosen layout. You can add text labels like 'Before' and 'After,' choose a divider style, or create a single image with a slider-style split down the middle. The AI ensures both halves have consistent brightness and sizing so the comparison is fair and impactful.
Comparison Layout Options
- Side by side — Classic left-right layout with both images at equal size
- Top and bottom — Vertical stack, useful for tall subjects or mobile viewing
- Split down the middle — Single image divided with a clean line, slider style
- Diagonal split — Angled divider for a more dynamic, editorial look
- With labels — 'Before' and 'After' text overlaid on each half
- With border and branding — Add your logo or color scheme to the comparison frame
Who Uses Before and After Comparisons
Fitness coaches show client transformations. Dentists display whitening results. Real estate agents compare staged versus unstaged rooms. Landscapers document yard makeovers. Skincare brands prove product effectiveness. Auto detailers showcase paint corrections. Photo editors demonstrate retouching quality. In every case, the before-and-after format communicates value faster than any paragraph of text could.
Getting Perfect Alignment Between Photos
The most effective comparisons have the subject in the same position in both frames. If your before and after photos were taken from slightly different angles or distances, mention it: 'align both photos so the house is centered and the same size.' The AI adjusts cropping and scale to match. For body transformations, framing from the same angle and distance in both shots makes the biggest visual impact.
Tips for Impactful Before-After Content
Keep the lighting consistent between shots when possible. Similar backgrounds help viewers focus on the actual change rather than environmental differences. If you want labels, keep them simple and high contrast. White text with a subtle shadow on a dark area of the image reads well. For social media, square or 4:5 formats work best. For websites and portfolios, wider 16:9 or 3:2 ratios give both images more room.
Step-by-Step Guide
Upload the Before Photo
Drop or select the 'before' image as your main photo. This is the starting state you want to compare against. Any format works: JPG, PNG, or WebP up to 7MB.
Add the After Photo as Reference
Click the reference image icon and upload the 'after' photo. This is the result or transformation you want to showcase alongside the before image.
Describe the Comparison Layout
Tell the AI how to arrange them. Examples: 'create a side-by-side comparison with Before and After labels,' 'stack them vertically with a thin line between,' or 'make a split-screen comparison image.'
Download or Share
Review the comparison and download the final image. If the alignment or labels need tweaking, describe the adjustment: 'make the Before label larger' or 'crop both to focus on the face area.'
Frequently Asked Questions
Ready to Create Your Comparison?
Upload both photos and describe the layout. AI handles sizing, alignment, and labels. Free, no signup.
Drop your photo to start editing
"Create the before-after portfolio s"
Release to upload