Complete Guide to Photo Enhancement
Upscaling Resolution
AI upscaling doesn't just enlarge pixels - it intelligently adds detail to create higher resolution images. This is perfect for printing small photos large, improving old low-res images, or preparing images for high-DPI displays.
Upload your low-res image
Even very small images can be upscaled, though starting quality affects final results.
Request upscaling
'Upscale this image to higher resolution', 'increase the resolution while adding detail', or 'make this image larger without losing quality'.
Check details
Zoom in to verify that details look natural. Faces and text should be clear, not mushy.


Prompt: "Upscale this image to higher resolution with added detail"
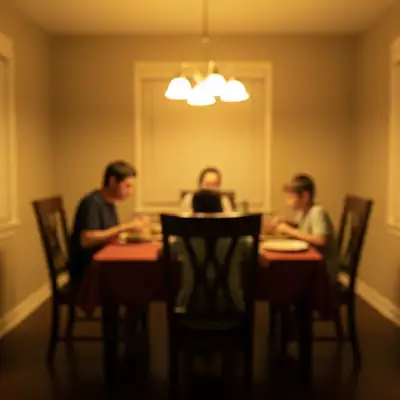
Sharpening Blurry Photos
AI can recover sharpness from moderately blurry photos - motion blur, focus issues, or general softness. While it can't create detail that doesn't exist, it can significantly improve many soft images.
Assess the blur type
Motion blur (movement), focus blur (wrong focus point), or general softness each respond differently.
Request sharpening
'Sharpen this blurry photo', 'fix the focus blur', 'reduce motion blur and sharpen', or 'make the image crisp and clear'.
Avoid over-sharpening
If edges look crunchy or halos appear: 'reduce sharpening, make it more natural'.
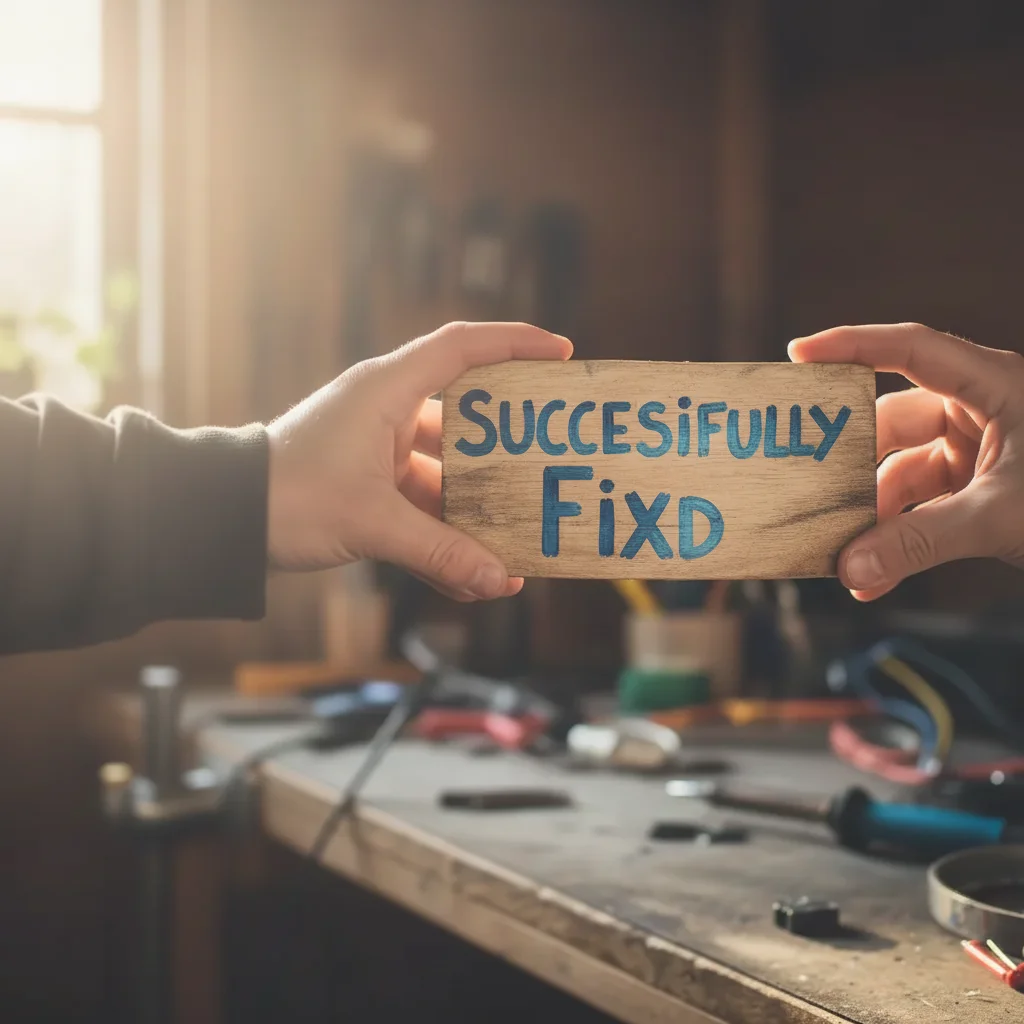
Prompt: "Sharpen this blurry photo and add clarity"
Enhancing Colors
Color enhancement can make photos more vibrant, fix color casts, or create specific moods. The goal is usually to make colors pop while keeping them natural.
Identify the issue
Dull colors? Color cast (too blue, too yellow)? Inconsistent white balance?
Describe the enhancement
'Make the colors more vibrant', 'fix the yellow color cast', 'improve saturation naturally', or 'enhance colors while keeping them realistic'.
Fine-tune
'Make the greens more vibrant', 'warm up the skin tones', or 'cool down the highlights' for specific adjustments.
Prompt: "Enhance the colors and make them more vibrant"
Fixing Lighting Issues
Photos are often too dark (underexposed), too bright (overexposed), or have harsh shadows. AI can balance these issues while preserving natural appearance.
For dark photos
'Brighten this underexposed photo', 'bring out the shadows', or 'increase exposure while keeping highlights'.
For bright photos
'Recover the blown out highlights', 'reduce exposure', or 'fix the overexposed areas'.
For harsh lighting
'Soften the harsh shadows', 'balance the lighting', or 'reduce contrast in shadows'.

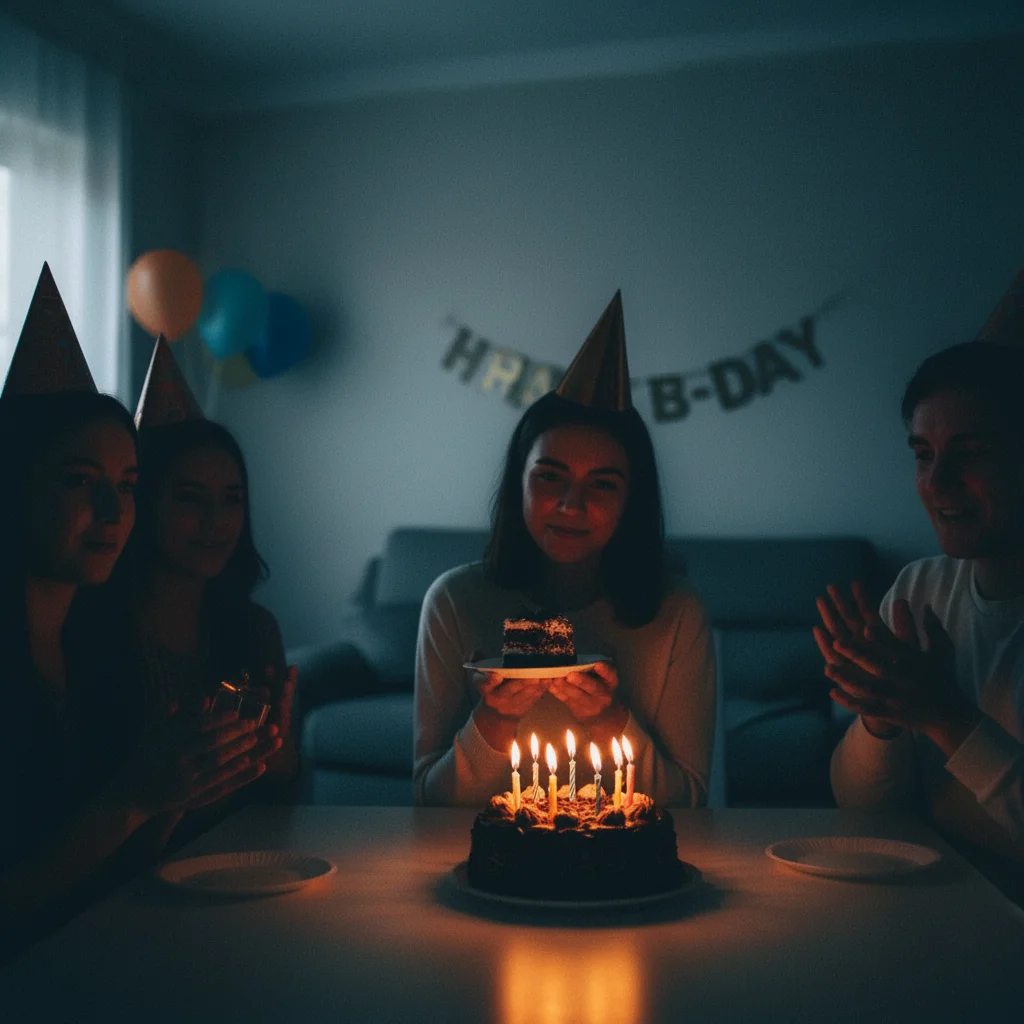
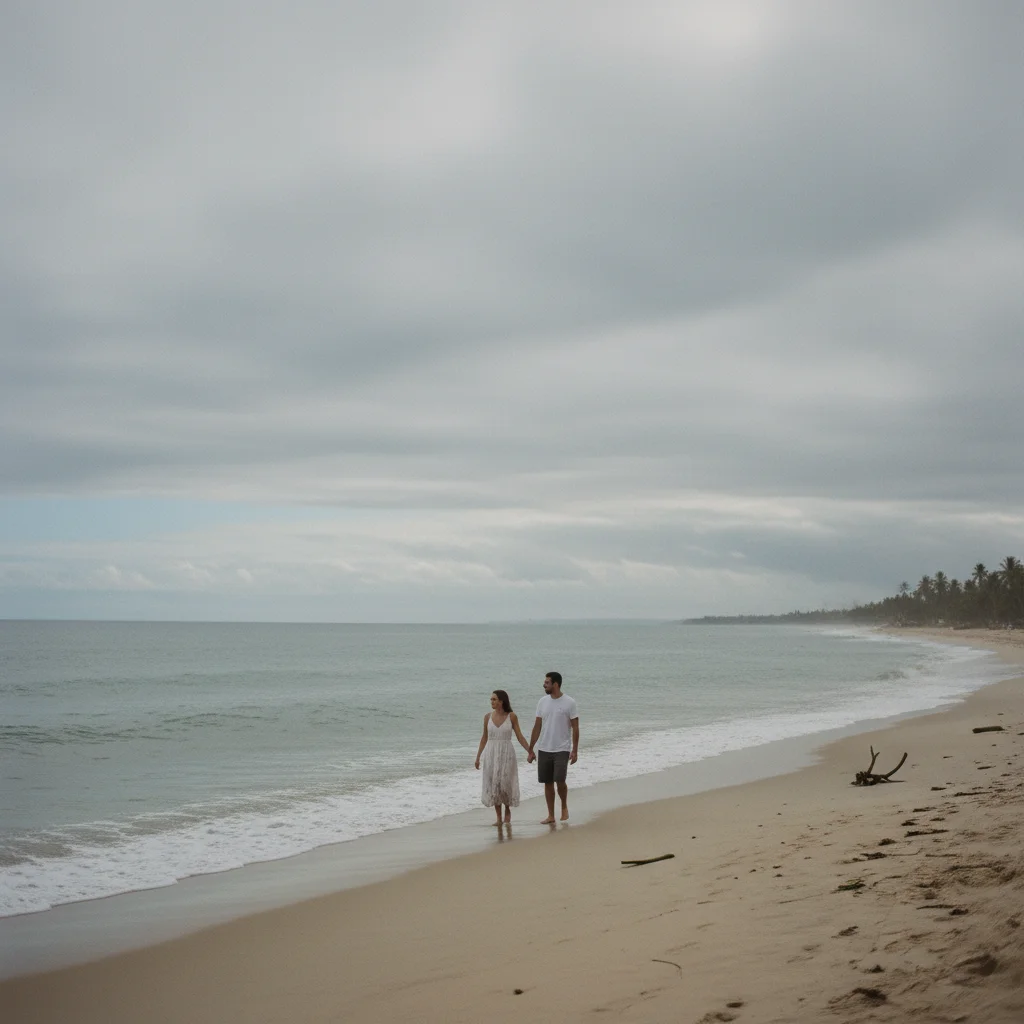
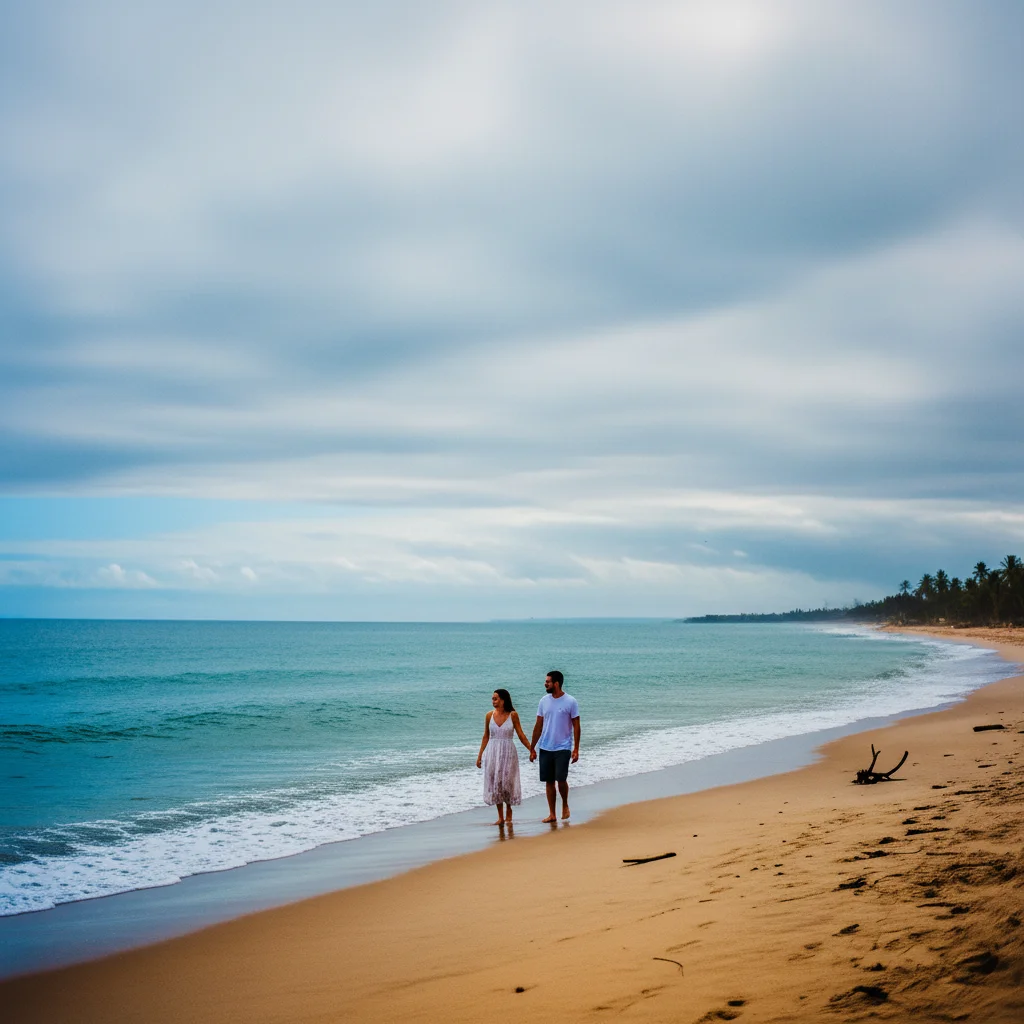
Prompt: "Brighten the photo and bring out shadow detail"
Creating HDR-Like Effects
HDR (High Dynamic Range) techniques bring out detail in both shadows and highlights, creating dramatic, detailed images. AI can simulate this effect from single photos.
Upload your photo
Works best with scenes that have both bright and dark areas - landscapes, architecture, interiors.
Request HDR effect
'Apply HDR effect', 'bring out detail in shadows and highlights', or 'create a dramatic HDR look'.
Adjust intensity
For subtle: 'light HDR enhancement'. For dramatic: 'strong HDR effect with vivid details'. Too much can look unnatural.
Best Practices for Enhancement
Enhancement works best when you have a clear goal and work incrementally. Here's how to get professional results consistently.
Start subtle
It's easier to add more enhancement than to remove too much. Begin with light adjustments.
One thing at a time
For major improvements, work in steps: fix exposure, then colors, then sharpness. This gives you more control.
Check at 100%
Always zoom to full size to see actual quality. Thumbnails hide artifacts and noise.
Compare to original
Side-by-side comparison helps you avoid going too far. Enhancement should improve, not transform.
Frequently Asked Questions
Ready to enhance your photos?
Upscale, sharpen, and improve colors in seconds. Free, no signup required.
Try It Free
"Enhance this photo to look professional"
Release to upload