Complete Guide to Background Editing
How to Remove Backgrounds
Background removal is the foundation of photo editing. Whether you need a transparent PNG, a solid white background for e-commerce, or just want to isolate a subject, AI makes it simple.
Upload your photo
Drop your image into EditThisPic. Works best when the subject is clearly distinguishable from the background.
Describe the removal
Choose your output: 'remove background and make transparent', 'remove background and make white', or 'remove background and make solid black'.
Download your result
For transparent backgrounds, download as PNG. The AI preserves fine details like hair strands.


Prompt: "Remove the background and make it white"
How to Replace Backgrounds
Don't just remove backgrounds - replace them with something better. Transport your subject to a beach, a professional studio, a cityscape, or anywhere you can imagine.
Upload your photo
Start with a clear image of your subject.
Describe the new background
Be specific: 'replace background with a modern office', 'change background to a sunset beach', or 'put a blurred city skyline behind the subject'.
Refine if needed
If the lighting doesn't match, try: 'adjust the subject lighting to match the sunset background'.
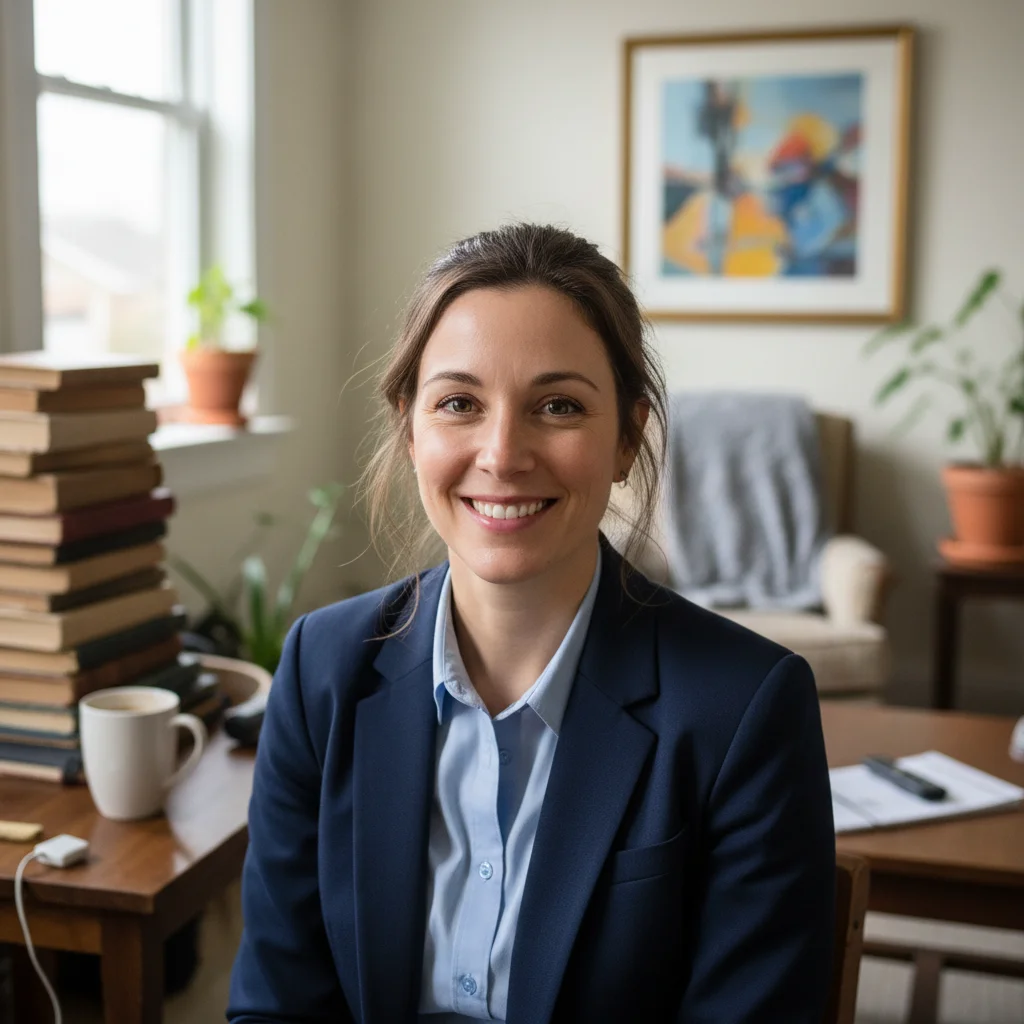

Prompt: "Replace the background with a professional studio"
How to Blur Backgrounds (Bokeh Effect)
A blurred background (bokeh effect) makes your subject pop and gives photos that professional, DSLR look. This is perfect for portraits, product shots, and any image where you want to draw attention to the subject.
Upload your photo
Works with any photo, but especially effective for portraits and close-ups.
Describe the blur
Try 'blur the background for a portrait effect', 'add strong bokeh blur to background', or 'slightly blur the background while keeping the person sharp'.
Adjust intensity
If needed, refine with 'make the background blur stronger' or 'reduce the blur slightly'.
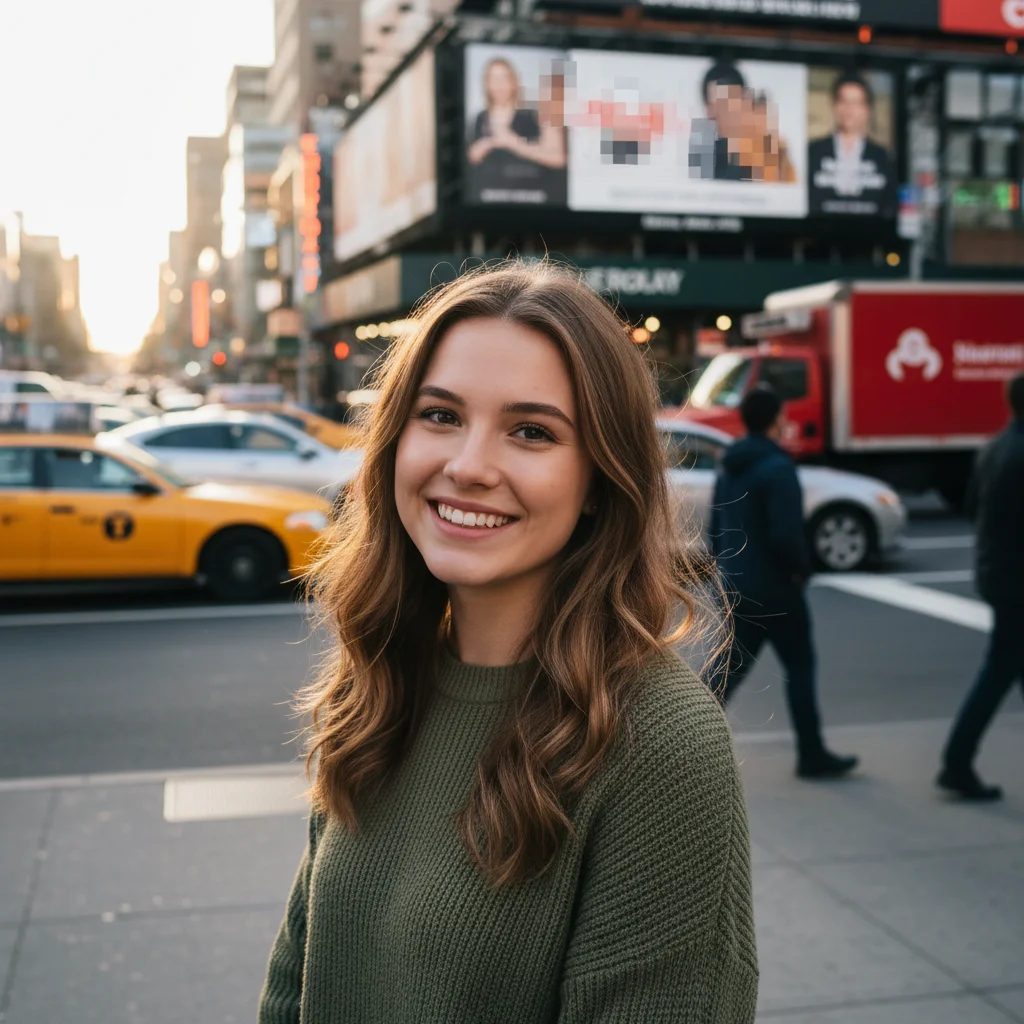

Prompt: "Blur the background for a professional portrait effect"
How to Extend Backgrounds
Need more space around your subject? AI can extend backgrounds in any direction - perfect for changing aspect ratios, creating banner images, or just giving your composition room to breathe.
Upload your cropped photo
Start with the image you want to expand.
Describe the extension
'Extend the background on the left side', 'make the image wider by extending the sky', or 'expand the photo to landscape format'.
Check consistency
The AI matches textures and colors. For complex backgrounds, you may need to refine specific areas.


Prompt: "Extend the background to make the image wider"
Backgrounds for Product Photos
E-commerce success depends on great product photos. Clean backgrounds increase click-through rates, meet marketplace requirements, and make your products look professional.
For Amazon/eBay listings
'Remove background and make pure white' meets most marketplace requirements.
For lifestyle shots
'Replace background with a modern kitchen counter' or 'put product on a marble surface'.
For shadow effects
'Remove background, make white, and add a subtle drop shadow'.
Pro Tips for Perfect Edges
The difference between amateur and professional background editing is in the edges. Hair, fur, transparent objects, and fine details require extra attention.
Hair and fur
The AI handles most hair automatically. For tricky strands, add: 'preserve all hair strands and flyaways'.
Transparent objects
For glasses, bottles, etc.: 'keep the glass transparency and reflections intact'.
Edge refinement
If edges look rough: 'smooth the edges around the subject' or 'refine the cutout edges'.
Color spill
If the old background color bleeds into edges: 'remove the green color spill from the edges'.
Frequently Asked Questions
Ready to transform your photo backgrounds?
Remove, replace, blur, or extend backgrounds in seconds. Free, no signup required.
Try It Free