Smooth Face from Photo
Type 'smooth the face' and watch blemishes fade while skin texture stays real.
Type 'smooth the face naturally' or 'soften facial skin while keeping texture.' EditThisPic's AI evens out skin tone and softens imperfections in 15-20 seconds. No brush tools, no layer masks. The AI knows where the face is. Perfect for selfies, portraits, and headshots. Free, no signup needed.

How it works
Upload your photo
Drop your portrait into EditThisPic. JPG, PNG, and WebP up to 7MB. Higher resolution captures more skin detail, giving the AI better material to work with for natural results.
Describe the smoothing you want
Type your instruction: 'smooth the face naturally' or 'soften facial skin while keeping natural texture.' No need to mark the face—the AI identifies it automatically. Be specific about how natural you want the result.
Copy one of these to get started:
smooth the face naturally, evening out skin tone while keeping natural texture and pores visible
soften facial skin, reduce visible pores and minor blemishes, keep the look natural and believable
smooth the face for professional headshot, subtle skin softening that looks polished but not retouched
smooth the face with soft airbrushed look, flawless skin while keeping eyes and lips sharp
2 more prompts
smooth the face, specifically reducing redness and uneven skin tone while preserving natural skin texture
soften facial skin subtly, keeping character lines and natural features while reducing only harsh blemishes
Generate and review
Tap generate and examine the result at full zoom. Check that skin looks smooth but not plastic, and that facial features like eyes and lips remain sharp.
Refine with markers if needed
If certain areas need more or less smoothing, tap markers on those spots and regenerate with adjusted instructions. This is optional—most skin smoothing works on the first try.
"Finally stopped spending 20 minutes on frequency separation. Now I type one sentence and my portraits look magazine-ready." @HeadshotMike
See it in action
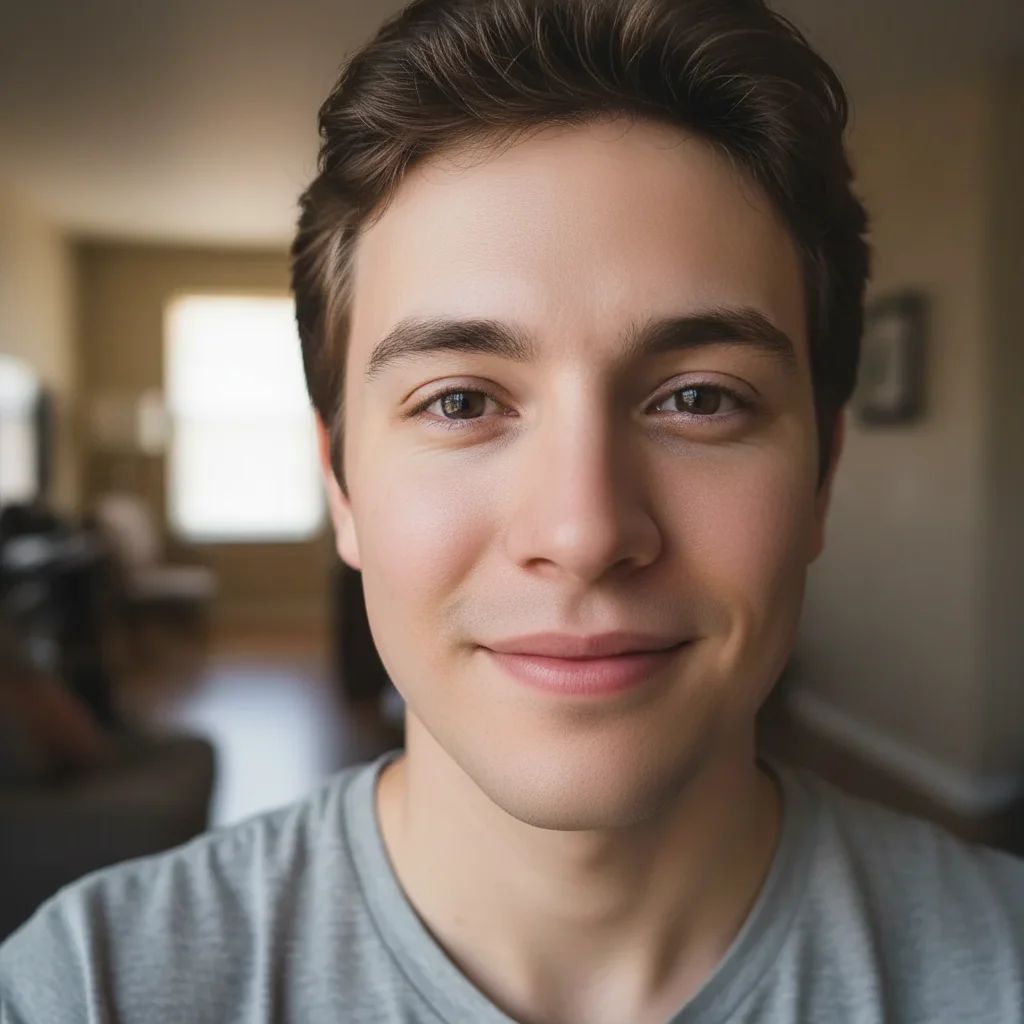
Natural selfie enhancement
Casual selfie with visible pores and minor blemishes. One prompt created natural, photo-ready skin without the fake look.
smooth the face naturally, evening out skin tone while keeping natural texture visible
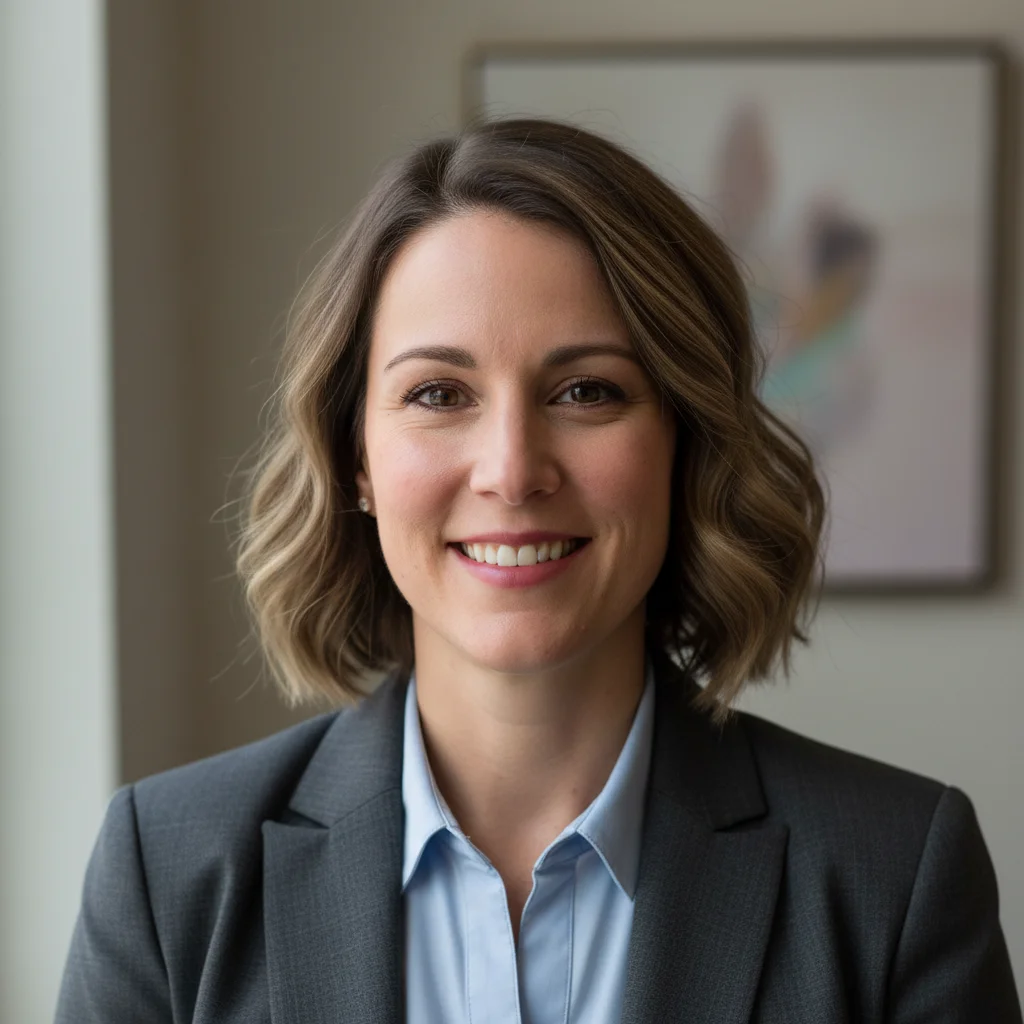
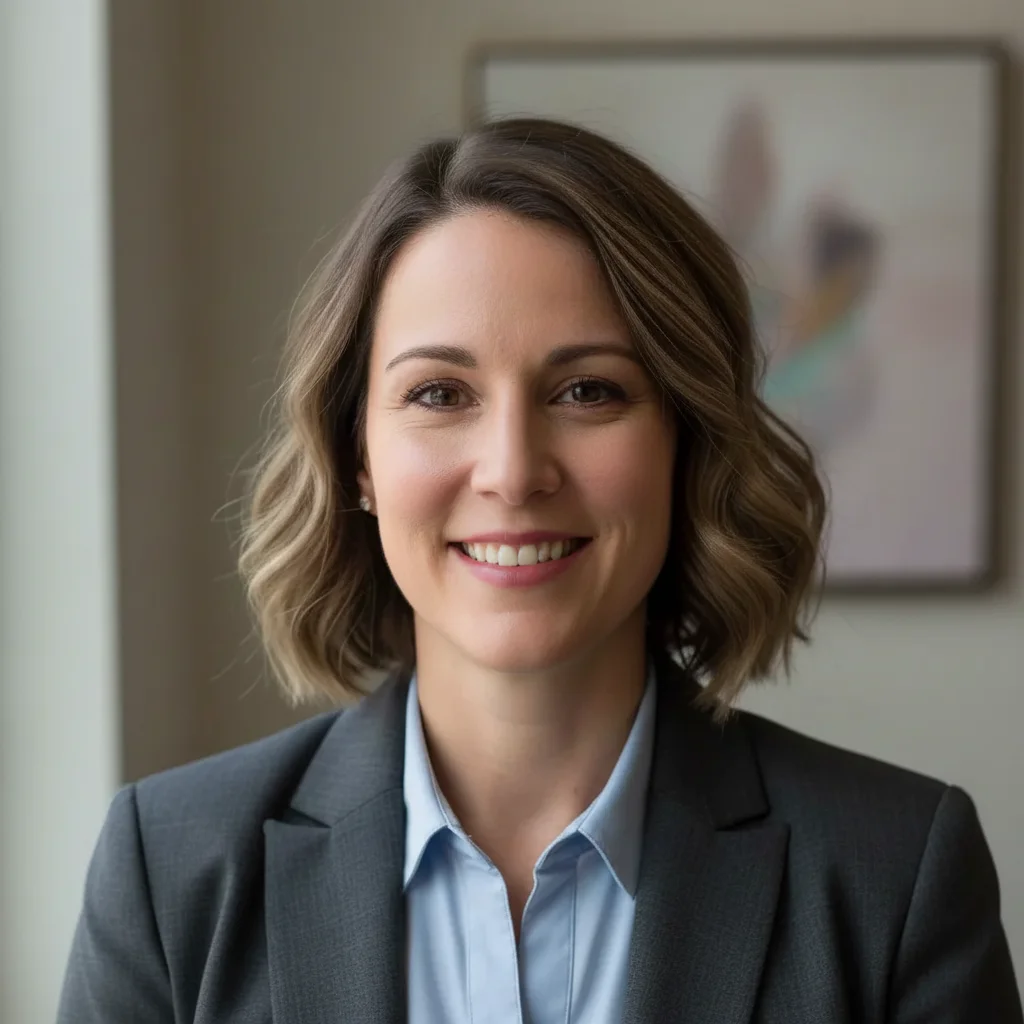
Professional headshot polish
Business headshot needing subtle retouching. Transformed to executive-ready with natural smoothing.
smooth the face for professional headshot, subtle skin softening that looks polished but not retouched
If something looks off
AI changed the wrong area or something I didn't want changed
Why: The AI couldn't determine exactly which area you meant from description alone. This happens with multiple faces or when you want selective smoothing.
Tap a marker on the specific face or area you want smoothed, then regenerate with the same prompt
💡 Markers tell the AI 'I mean THIS face specifically.' Use them when there are multiple people in the photo.
Skin looks plastic or over-smoothed
Why: The AI applied too much smoothing. Without guidance about texture preservation, it defaults to heavier retouching.
smooth the face subtly, preserving natural skin texture and pores, only reduce harsh blemishes
💡 Words like 'subtly' and 'preserving texture' dial back the intensity significantly.
Eyes or lips got blurred along with skin
Why: The AI's smoothing spread to facial features. This happens when you don't specify what to keep sharp.
smooth facial skin only, keeping eyes, lips, eyebrows, and hair perfectly sharp
💡 Explicitly listing features to 'keep sharp' protects important details.
Smoothing looks uneven across the face
Why: Different areas of the face had different lighting or texture, causing inconsistent results.
smooth the face evenly across all areas, consistent skin softening from forehead to chin
💡 If unevenness persists, tap markers on the areas that need more work and regenerate.
Quick answers
Do I need to mark the face before smoothing?
No! Just describe what you want: 'smooth the face naturally' or 'soften facial skin.' The AI automatically identifies faces in your photo. Only use markers if you have multiple people and need to specify which face, or if you want different smoothing on specific areas.
How do I avoid the fake, plastic look?
Add texture-preserving language to your prompt: 'smooth the face naturally while keeping pores and skin texture visible.' Words like 'subtly,' 'naturally,' and 'believable' tell the AI to apply lighter smoothing that looks professional rather than artificial.
Can I smooth skin on multiple people in one photo?
Yes. Type 'smooth all faces in the photo naturally' and the AI will apply consistent smoothing to everyone. If you want different levels for different people, process them separately by tapping markers on specific faces.
Will smoothing remove freckles or beauty marks?
By default, heavy smoothing may reduce freckles. To keep them, specify: 'smooth the face while preserving freckles and beauty marks.' The AI will soften skin texture but leave distinctive features intact.
Ready to smooth your portrait?
Free to try. No signup required.