Free โ€ข No signup Remove Braces ยท Free

AI Braces Remover

Just describe what you want and AI handles the braces editing.

Before ai-braces-remover edit
Before
โ†’
After ai-braces-remover edit
After

AI Braces Remover

Drop your photo here

or click to browse

Release to upload

Free โ€ข No signup

Advertisement
Popular use cases:
  • social media photos
  • professional headshots
  • product photography
  • personal photos

Cost
Free No signup required
Time
Instant results in 15-30 seconds
Works on
Any device - browser, phone, tablet, desktop
Powered by
AI-powered photo editing
Scenario Prompt Time
Remove metal braces Remove all metal braces including brackets, wires, and bands to reveal natural teeth beneath 15s
Remove upper braces only Remove the upper braces completely while leaving the natural lower teeth unchanged 15s
Remove braces with colored bands Remove all braces including colored rubber bands to show natural teeth color and shape 20s
Remove clear ceramic braces Remove ceramic braces and wires to reveal the natural teeth underneath 20s

How it works

  1. Upload Your Photo

    Choose a photo where your braces are clearly visible, preferably with your mouth open in a smile. Front-facing photos with good lighting produce the most realistic braces-free results.

    Expect: Your photo loads instantly in the editor at full resolution. You'll see the original image with braces, ready for removal without any quality loss.
  2. Mark the Braces

    Use the brush tool to carefully paint over all visible braces including metal brackets, wires, and bands. Mark both upper and lower braces if you have both. The AI will reconstruct your natural teeth beneath the orthodontic hardware.

    Copy one of these to get started:

    Remove metal braces Remove all metal braces including brackets, wires, and bands to reveal natural teeth beneath
    Remove upper braces only Remove the upper braces completely while leaving the natural lower teeth unchanged
    Remove braces with colored bands Remove all braces including colored rubber bands to show natural teeth color and shape
    Remove clear ceramic braces Remove ceramic braces and wires to reveal the natural teeth underneath
    3 more prompts
    Remove braces from wide smile Remove all visible braces from the wide smile to show natural tooth alignment
    Remove braces from closed smile Remove partially visible braces to create a natural braces-free closed smile
    Remove braces and whiten teeth Remove all braces and reveal naturally white teeth beneath with improved appearance
  3. Generate Braces-Free Smile

    Click Generate to let AI remove the braces and reveal your natural teeth. The process analyzes tooth shape, color, and alignment to create a realistic braces-free appearance.

  4. Download Your Braces-Free Photo

    Save your edited photo showing your smile without braces. The full-resolution image has no watermark and displays natural-looking teeth.

Advertisement
Try it free โ†“

AI Braces Remover

Drop your photo here

or click to browse

Release to upload

Free โ€ข No signup

"This braces tool is incredible. Just described what I wanted and it worked perfectly on the first try." @happy_user

See it in action

Before ai-braces-remover edit
Before
->
After ai-braces-remover edit
After

Metal Braces Removal

Removed full metal braces from a teenage smile, revealing natural teeth beneath with realistic results.

Prompt: Removed full metal braces from a teenage smile, revealing natural teeth beneath with realistic results.
Before ai-braces-remover edit
Before
->
After ai-braces-remover edit
After

Ceramic Braces Elimination

Cleared tooth-colored ceramic braces for a professional headshot with natural-looking teeth.

Prompt: Cleared tooth-colored ceramic braces for a professional headshot with natural-looking teeth.
Before ai-braces-remover edit
Before
->
After ai-braces-remover edit
After

Colorful Bands Removal

Removed braces with bright colored rubber bands to show clean, natural teeth for a graduation photo.

Prompt: Removed braces with bright colored rubber bands to show clean, natural teeth for a graduation photo.

Detailed Guides by Scenario

๐Ÿ“ท

Professional Photography

Remove unwanted braces from professional photo shoots, client deliverables, and stock photography to achieve clean, polished results.

Common Scenarios

  • Client portrait sessions where the braces appeared unexpectedly in frame
  • Stock photography that needs the braces removed for broader commercial appeal
  • Product photography with distracting braces in the background

Best Practices

  • Zoom in and place a marker directly on the braces for the most accurate removal
  • Run a second pass if any faint outlines or shadows remain after the first edit
  • Describe the desired background fill โ€” e.g., 'replace the braces with clean wall' for predictable results
๐Ÿ“ท

Real Estate & Property Listings

Clean up property photos by removing braces that distract buyers and lower perceived home value.

Common Scenarios

  • Listing photos where the braces clutters the frame and makes rooms look smaller
  • Exterior shots with braces that hurt curb appeal
  • Open house photos that need the braces removed before uploading to MLS

Best Practices

  • Shoot the space first, then edit โ€” AI removal works better than awkward staging workarounds
  • After removing the braces, check that floor lines and wall edges still look straight
  • Process all listing photos in one session so lighting and style stay consistent
๐Ÿ“ท

Personal & Social Media

Fix personal photos by removing braces before sharing on social media, printing, or gifting.

Common Scenarios

  • Vacation photos where the braces appeared in an otherwise perfect shot
  • Family photos with braces that distract from the people in the frame
  • Profile pictures and dating app photos that need the braces cleaned out

Best Practices

  • Save the original photo first โ€” edit a copy so you can always go back
  • For group photos, mark the braces carefully to avoid affecting nearby people
  • If the first result isn't perfect, try rewording your prompt with more detail about the background

If something looks off

AI changed wrong area

Why: The AI interpreted the instruction differently than expected.

Try: Mark only the metal brackets, wires, and bands. Avoid marking the gums, lips, or tongue. The AI needs to see the boundaries of the orthodontic hardware clearly.

Tip: Use smaller brush strokes on just the target area for more precise AI edits.

Teeth look unnatural or fake

Why: The AI interpreted the instruction differently than expected.

Try: This happens when the original photo doesn't show enough tooth structure. Photos where you can see the tooth shape beneath the braces produce more realistic results. Try a photo with a wider smile.

Tip: Include 'keep natural texture and detail' in your prompt to avoid over-processing.

Only some braces removed

Why: The AI interpreted the instruction differently than expected.

Try: Ensure you marked all visible braces including brackets on side teeth, wires, and bands. Missing areas won't be processed. Mark thoroughly across the entire smile.

Tip: Place markers directly on the problem area before describing what you want fixed.

Tooth color doesn't match

Why: The AI interpreted the instruction differently than expected.

Try: The AI estimates tooth color from visible areas. If your teeth appear discolored under braces, the result reflects that. Consider using our AI Teeth Whitener after braces removal for enhanced results.

Tip: Specify the exact colors you want, like 'warm natural tones' or 'cool blue tint.'

Gaps or alignment issues visible

Why: The AI interpreted the instruction differently than expected.

Try: The AI shows teeth as they are under the braces, including current alignment. If teeth haven't fully straightened yet, the result will reflect their current position, not the final orthodontic result.

Tip: Try adjusting your prompt wording if the first result isn't perfect โ€” small changes make a big difference.

Wires still visible after removal

Why: The AI interpreted the instruction differently than expected.

Try: Thin wires can be missed. After generating, check for any remaining wire segments, mark them specifically, and generate again for complete removal.

Tip: A quick second pass on remaining traces usually gives a clean final result.

Quick answers

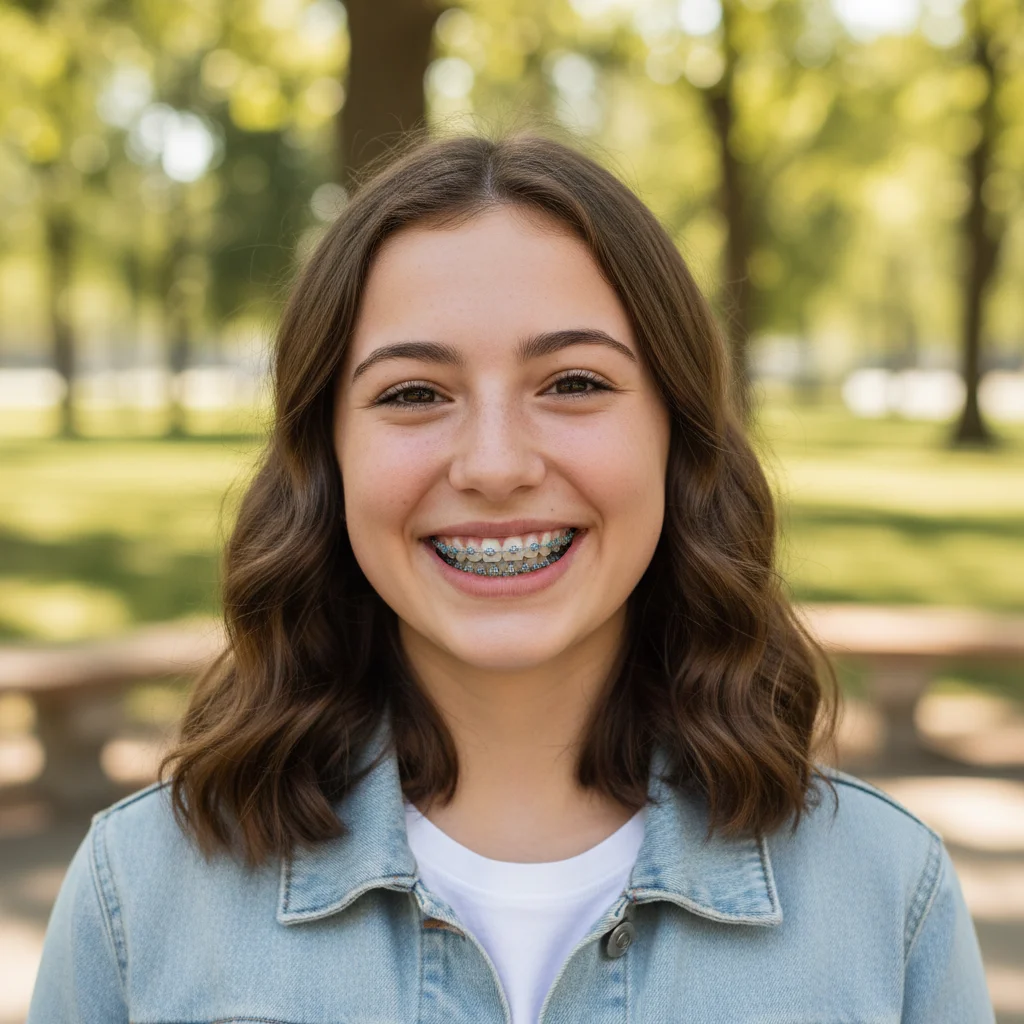
Do I need to mark the braces?

Yes, paint over all visible braces using the brush tool. This includes brackets, wires, bands, and any rubber bands. The AI will reconstruct your natural teeth based on what's visible beneath and around the hardware.

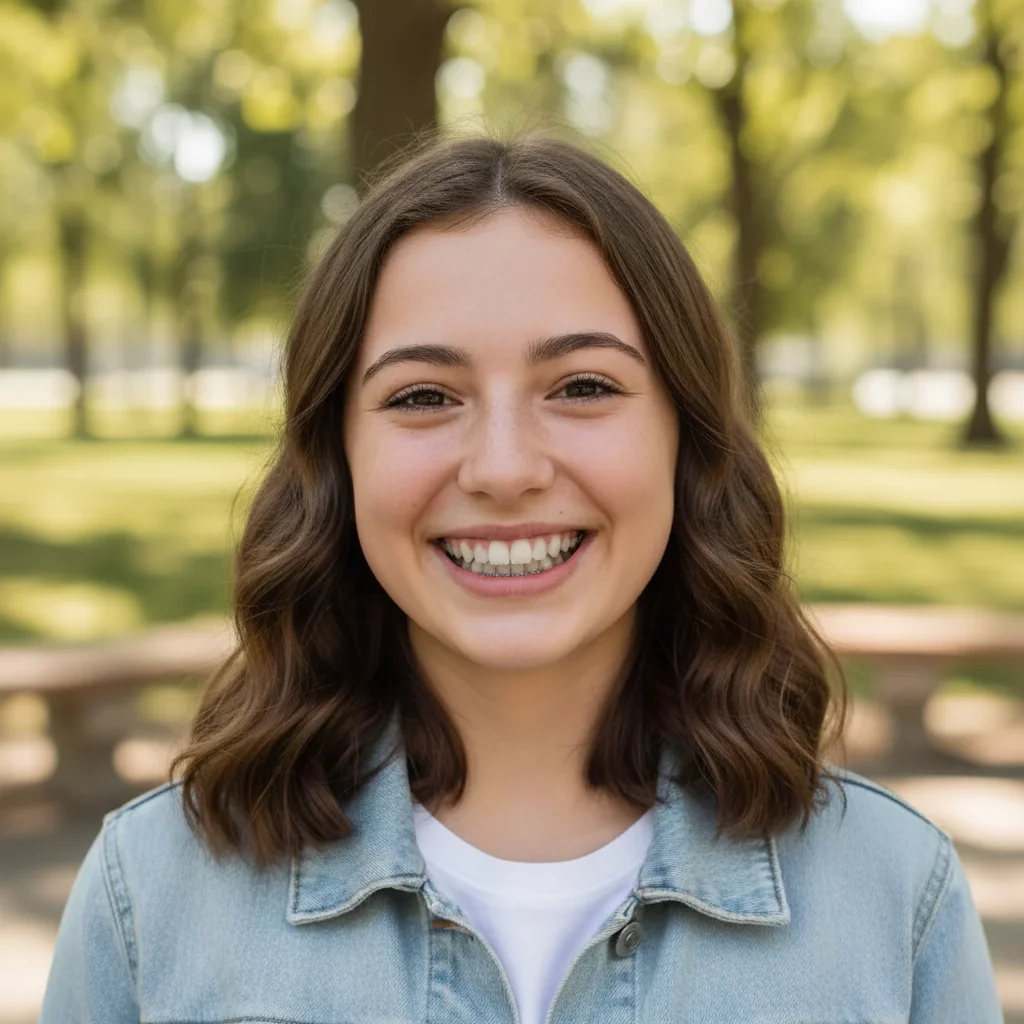
Will it show what my teeth will look like after treatment?

The AI shows your teeth as they currently are beneath the braces, not the final orthodontic result. If your teeth are still moving into alignment, the result reflects their current position, not what they'll look like when treatment is complete.

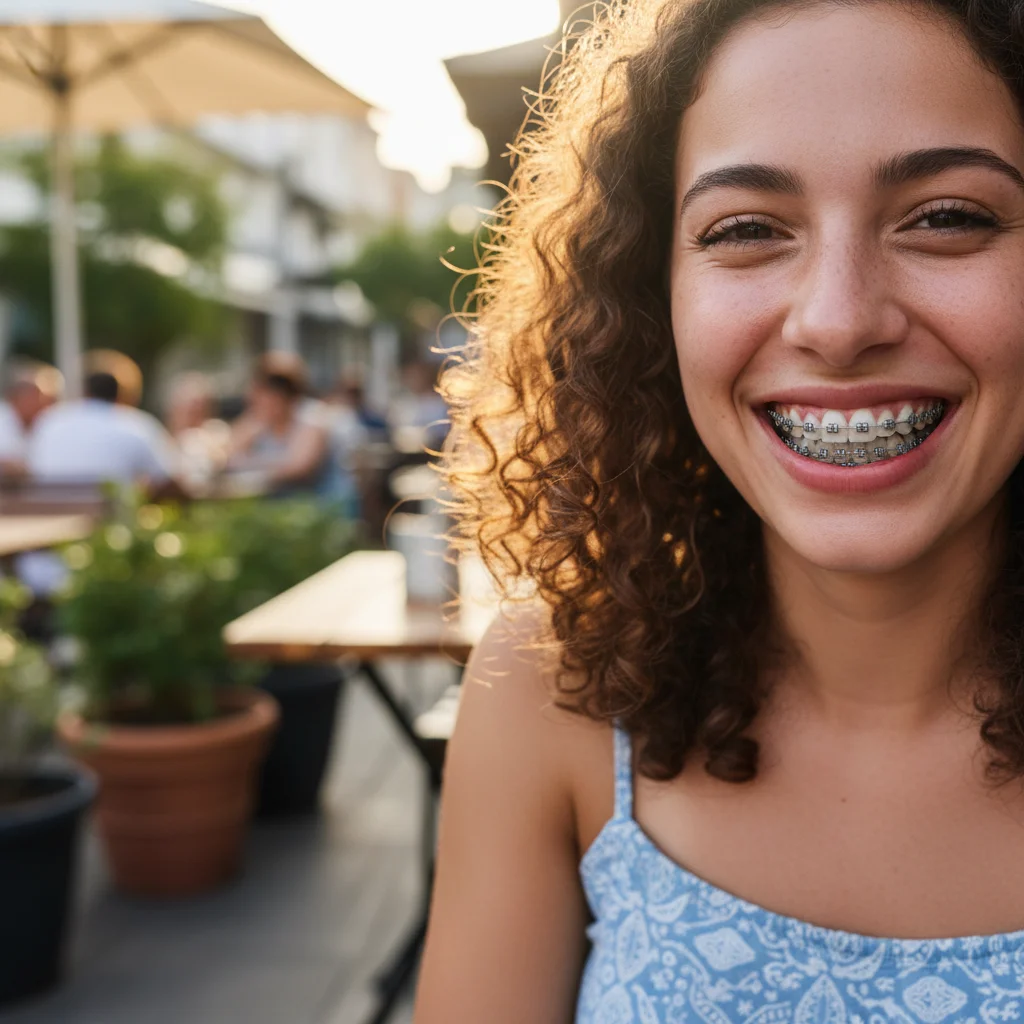
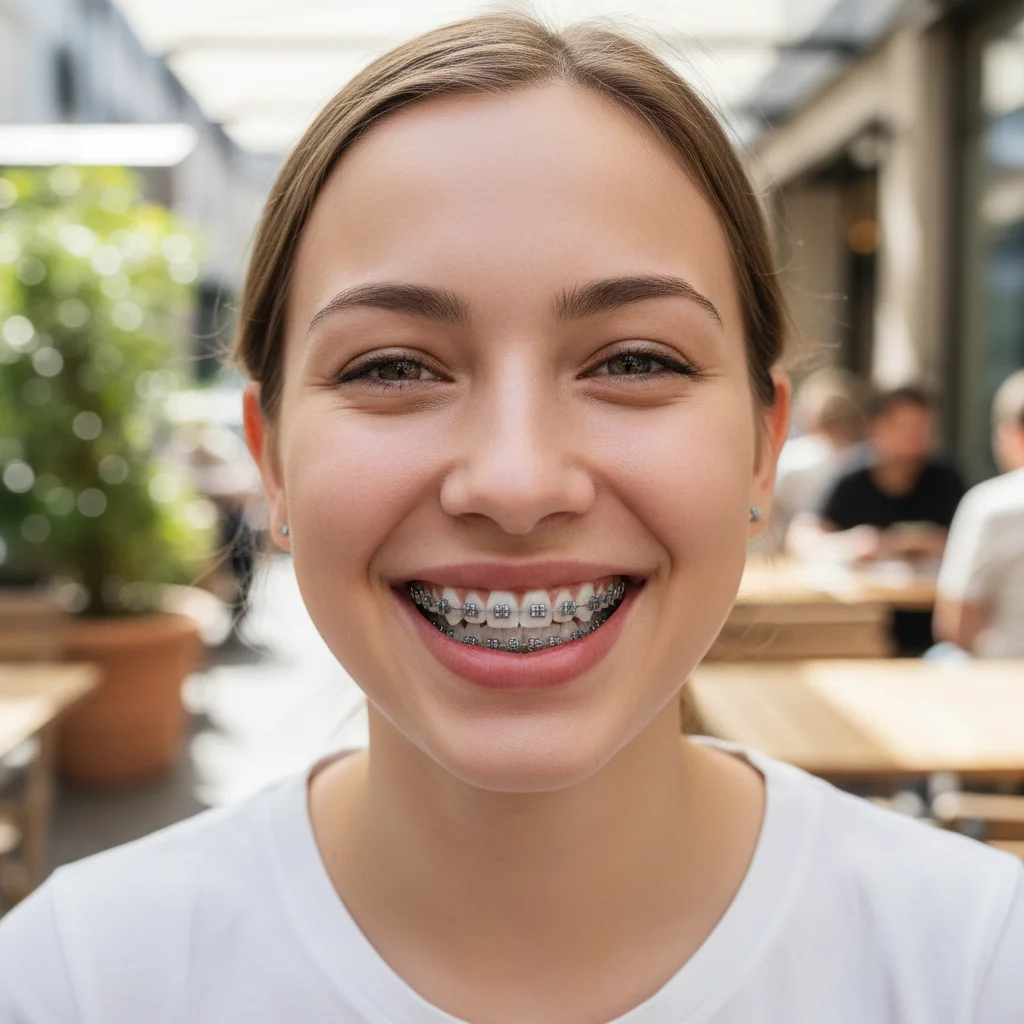
Does it work on colored or clear braces?

Yes, the AI removes all types of braces including traditional metal, ceramic, clear, and braces with colored rubber bands. Simply mark any visible orthodontic hardware.

Can I whiten my teeth after removing braces?

Absolutely. After using this tool to remove braces, you can use our AI Teeth Whitener on the result to brighten your smile even more.

Why do my teeth still look slightly crooked?

If you're mid-treatment, your teeth may not be fully aligned yet. The AI shows current tooth position under the braces, not the final aligned result after orthodontic treatment completes.

Is EditThisPic's AI braces remover really free?

Yes โ€” you get 1 free edit per week, no account needed. For unlimited edits, plans start at $3.99/month.

Can I remove braces on my phone?

Yes. EditThisPic works in any mobile browser โ€” iPhone, Android, tablet. No app download needed.

What photo formats does the AI braces remover support?

JPG, PNG, WebP, and HEIC. Upload any common photo format and EditThisPic handles the rest.

Ready to edit your photos?

Free to try. No signup required.

Try it free โ†’