Upscale Image from Photo
Type 'upscale this image 4x' and watch your low-res photos become print-ready.
Type 'upscale this image 4x' or 'increase image size with AI' and EditThisPic enlarges your photo in 20-45 seconds. The AI adds real detail, not just blurry pixels. Works on old photos, screenshots, and compressed images. Free to try, no account needed.

How it works
Upload your photo
Drop your image into EditThisPic. JPG, PNG, and WebP up to 7MB work. Even tiny images like 200x200 can be upscaled effectively with AI enhancement.
Describe the upscale you need
Type what you want: 'upscale this image 4x' or 'increase image size with AI for printing.' Specify the scale factor (2x, 4x) or your target use like 'for large format printing.' The AI adds genuine detail, not just stretched pixels.
Copy one of these to get started:
upscale this image 4x with AI enhancement, adding sharp details and clean edges
increase image size with AI for large format printing, enhance textures and maintain sharp edges at 300 DPI
upscale this image 2x and remove compression artifacts, restore smooth gradients and sharp text
upscale this image 4x with AI, enhance facial details, restore texture in clothing and background
3 more prompts
upscale this image 2x, keep text razor sharp, maintain clean lines on UI elements
upscale this image 4x for e-commerce, enhance product texture and material details, maintain accurate colors
upscale this image 4x, preserve artistic style and brush strokes, sharpen edges without adding artificial detail
Generate and review
Tap generate and examine the result at 100% zoom. Check faces, text, and fine textures like fabric or hair. These reveal whether the AI successfully added detail or just smoothed everything over.
Refine specific areas if needed
If certain areas look soft while others are sharp, tap markers on the problem spots and regenerate with 'enhance detail in marked areas.' This helps the AI focus extra attention where you need it.
"Found my grandparents' wedding photo at 300x400. Upscaled to 2400x3200 and printed a 16x20 for their anniversary." @VintageMemories_Kate
See it in action
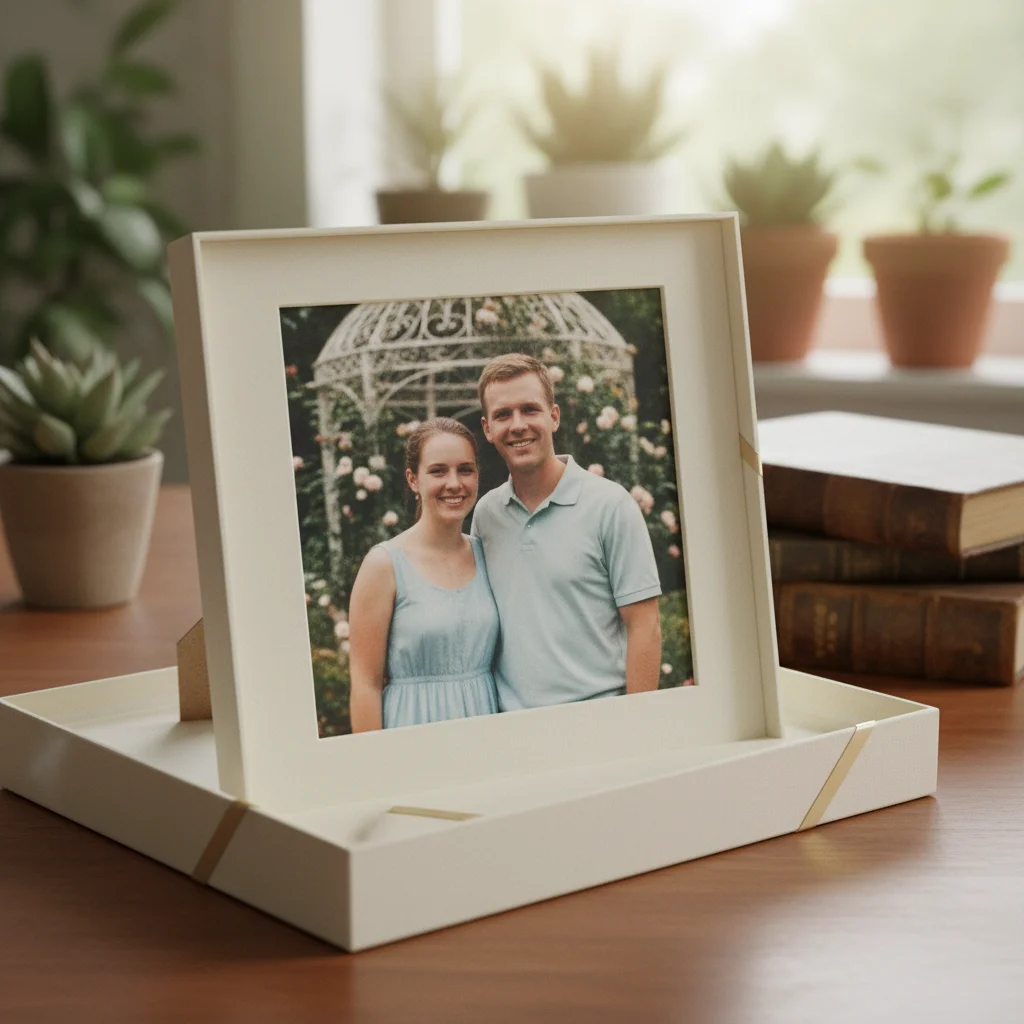
Low-res photo rescued for printing
A 400x600 photo from 2005 upscaled to 1600x2400 for a framed gift. The AI added genuine detail to faces and textures.
upscale this image 4x with AI enhancement, sharpen facial details and restore natural skin texture
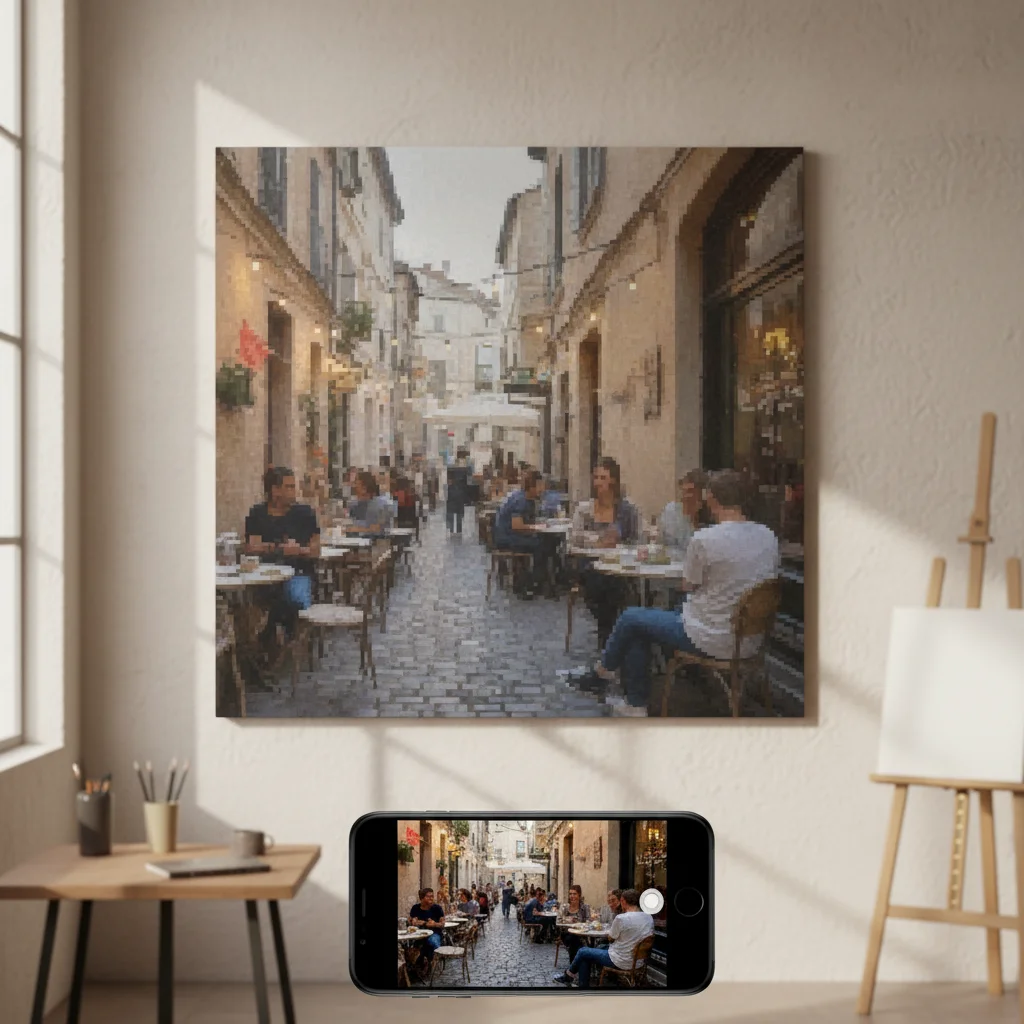
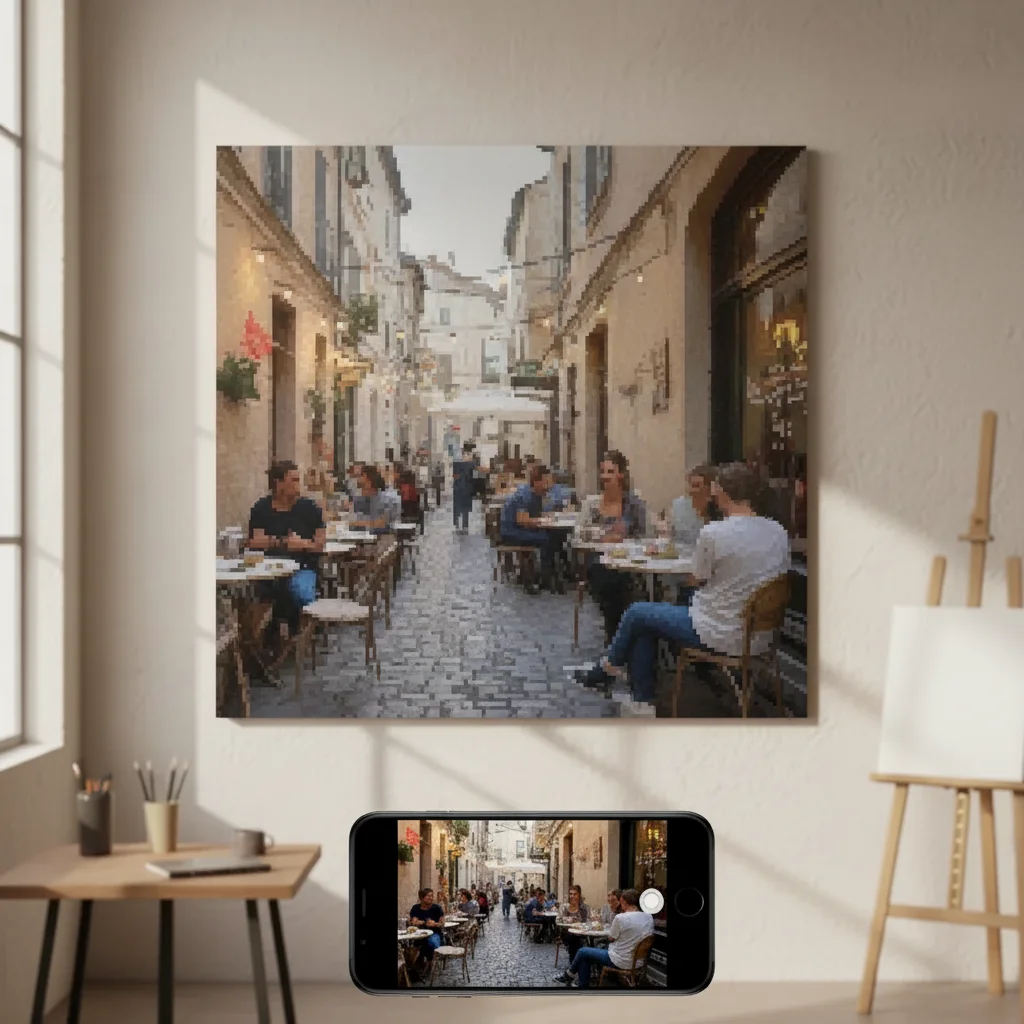
Social media image made print-ready
Instagram download at 1080px upscaled to 4320px for a canvas print. Compression artifacts removed in the process.
upscale this image 4x for large format printing, remove compression artifacts, restore smooth color gradients
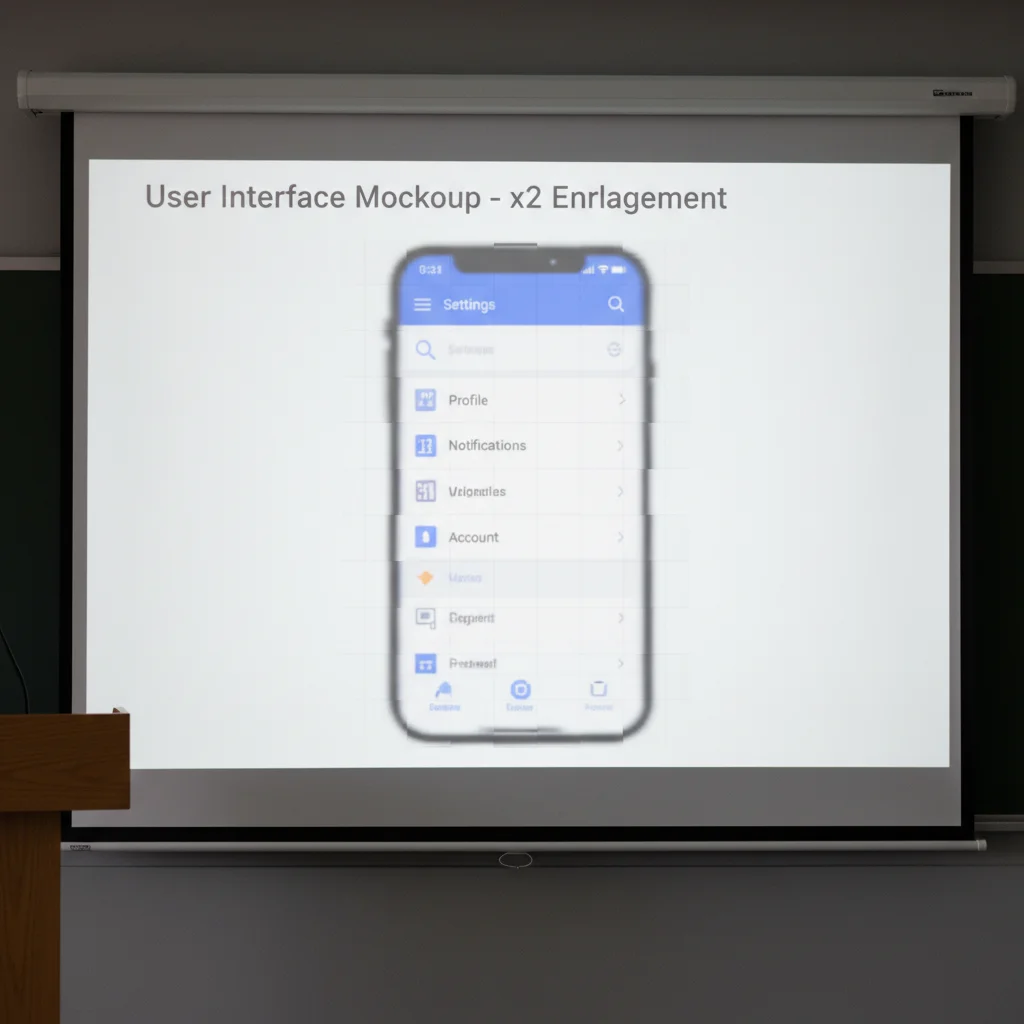
Screenshot sharpened for presentation
Small UI screenshot enlarged 2x for a keynote deck. Text stayed crisp and icons remained sharp.
upscale this image 2x, keep all text razor sharp and legible, maintain clean lines on interface elements
If something looks off
AI changed the wrong area or added unwanted details
Why: The AI interpreted your request too broadly and enhanced or modified areas you wanted left alone.
Tap a marker on the specific area you want enhanced, then regenerate with 'upscale and enhance only the marked area'
💡 Markers tell the AI 'focus here specifically.' Use them when the AI is being overly creative with other areas.
Faces look plasticky or over-smoothed
Why: The AI prioritized noise removal over detail preservation, common when faces are small in the original image.
upscale this image 4x, preserve natural skin texture and pores, avoid over-smoothing faces
💡 If faces are the main subject, try marking them and adding 'enhance facial detail while maintaining natural appearance.'
Result looks sharp but has weird artifacts or hallucinated details
Why: The AI invented details that weren't in the original when trying to fill in missing information at high scale factors.
upscale this image 2x only, enhance existing detail without adding new elements, conservative enhancement
💡 Try 2x instead of 4x for images with complex detail. You can always run a second 2x pass if needed.
Text became blurry or unreadable after upscaling
Why: The AI treated text as a texture rather than sharp edges. Text requires different enhancement than photos.
upscale this image 2x, keep all text razor sharp with hard edges, do not smooth text characters
💡 For screenshots with text, 2x usually works better than 4x since text edges don't benefit from aggressive enhancement.
Colors shifted or became oversaturated
Why: Enhancement algorithms sometimes boost saturation as a side effect of sharpening and contrast adjustments.
upscale this image 4x with AI enhancement, maintain exact original colors and saturation levels
💡 Adding 'maintain exact colors' constrains the AI from creative color adjustments.
Quick answers
Do I need to mark anything before upscaling?
No - just type 'upscale this image 4x' and the AI handles the entire image. The enhancement works globally on your photo. Only use markers if you want to focus extra attention on specific areas like faces, or if the AI enhanced something you wanted left alone.
What's the maximum I can upscale an image?
EditThisPic supports up to 4x upscaling in a single pass. For most uses, this is plenty - a 1000x1000 image becomes 4000x4000 (16 megapixels). If you need more, you can run the upscaled result through again, though quality diminishes with each pass. For extreme enlargements, start with the highest quality source you can find.
Will upscaling fix a blurry photo?
Partially. AI upscaling adds detail and sharpness that makes images look clearer at larger sizes. However, if your original photo has motion blur or is badly out of focus, upscaling can only do so much. It works best on images that are simply too small or compressed, not ones with fundamental focus problems.
What resolution do I need for printing?
For quality prints, aim for 300 DPI at your target size. An 8x10 inch print needs 2400x3000 pixels. A 16x20 inch print needs 4800x6000 pixels. Type 'upscale this image for [size] print at 300 DPI' and the AI will optimize accordingly. For canvas or viewing from distance, you can get away with 150 DPI.
Is AI upscaling better than Photoshop's resize?
For most photos, yes. Traditional resizing algorithms like bicubic just interpolate existing pixels, creating smooth but blurry results. AI upscaling actually generates new detail based on learned patterns from millions of images. The difference is most visible in faces, text, and fine textures where AI can reconstruct what 'should' be there.
Ready to upscale your image?
Free to try. No signup required.