Free • No signup Place Design on t-shirt · Free

T-Shirt Mockup Generator from Photo

Upload your blank shirt photo + design image. The AI wraps your artwork to the fabric realistically.

Plain white t-shirt flat lay with no design on the chest
Photo 1
+
Bold graphic design or artwork to be placed on the shirt
Photo 2
White t-shirt flat lay with a bold graphic centered on the chest, fabric wrinkles visible under the print
Result

T-Shirt Mockup from Photo

Drop your photo here

or click to browse

Release to upload

Free • No signup

Popular use cases:
  • t-shirt mockup generator
  • POD mockup from photo
  • merch mockup creator
  • Etsy shirt listing mockup
  • band merch preview
  • corporate shirt approval mockup
  • print on demand preview
  • custom t-shirt design preview
  • shirt mockup no photoshop
  • place design on shirt photo
  • apparel mockup AI
  • event shirt mockup

1Your photo
+
2Reference
=
Result
Plain white t-shirt on mannequin Your shirt photo
Artwork or logo to place on the shirt Your design
T-shirt with design placed on chest, realistic fabric texture visible Result

"Place this design centered on the shirt front, following the fabric wrinkles"

Cost
Free No signup required
Time
Instant results in 15-30 seconds
Works on
Any device - browser, phone, tablet, desktop
Powered by
AI-powered photo editing
Scenario Prompt Time
place this design centered on the full front chest, following fabric wrinkles 30s
place this logo on the left chest, 3 inches wide, clean screen print look 30s
place this design as a large full-back print, centered, following fabric folds 30-45s
place this graphic on the chest with faded distressed vintage print texture 30-45s

How it works

  1. Upload your blank shirt photo

    Drop a photo of your blank t-shirt into EditThisPic. On-person, mannequin, and flat-lay shots all work. A clean, well-lit shirt with a visible front panel gives the best result. JPG, PNG, WebP up to 7MB.

    Expect: Simple centered logo placement: 15-30 seconds. Complex all-over prints or heavily wrinkled fabric: may need 2-3 refinements.
  2. Upload your design as a reference image

    Click '+ Add reference image' below the prompt and upload your artwork, logo, or graphic. The AI reads your design from this second image and composites it onto the shirt with proper fabric distortion. PNG with transparency works great, but JPG and flat artwork are also supported.

    Tip: Use a high-contrast design on a plain background for the cleanest placement. The AI isolates the artwork automatically.

    Copy one of these to get started:

    T-Shirt Mockup Generator from place this design on the shirt front, following the fabric wrinkles and perspective — make it look natural and professional
    Small left-chest logo, like a branded polo or casual tee place this logo on the left chest area, approximately 3 inches wide, matching the shirt angle and fabric texture, clean screen print look
    Vintage distressed band or POD design place this graphic centered on the front chest, large, with a slightly faded distressed vintage print texture, as if screen printed and washed many times
    Full back print for tour merch or event shirts place this design as a large full-back print, centered vertically on the shirt back, following the fabric folds, high contrast print
    3 more prompts
    Corporate embroidery-style logo on uniform place this company logo on the left chest, small and crisp with clean hard edges as if embroidered, no fabric texture bleeding through the design
    Sleeve logo for team jersey or event shirt place this logo on the left sleeve, small, matching the cylindrical curvature of the sleeve fabric, screen print style
    Dark shirt with light-colored design place this design centered on the dark shirt front, ensure the design colors remain vibrant and high-contrast against the dark fabric, following fabric wrinkles
  3. Describe where and how to place the design

    Type your placement instruction: 'place this design centered on the front chest, following the fabric wrinkles and perspective' or 'place the logo on the left chest pocket area, small, matching the shirt angle.' Specify size, position, and any color blending needed. No marking required — the AI understands shirt anatomy.

    Tip: Name the shirt zone explicitly: 'full front,' 'left chest,' 'sleeve,' or 'back center.' This removes ambiguity and gets accurate placement on the first try.

    Copy one of these to get started:

    T-Shirt Mockup Generator from place this design on the shirt front, following the fabric wrinkles and perspective — make it look natural and professional
    Small left-chest logo, like a branded polo or casual tee place this logo on the left chest area, approximately 3 inches wide, matching the shirt angle and fabric texture, clean screen print look
    Vintage distressed band or POD design place this graphic centered on the front chest, large, with a slightly faded distressed vintage print texture, as if screen printed and washed many times
    Full back print for tour merch or event shirts place this design as a large full-back print, centered vertically on the shirt back, following the fabric folds, high contrast print
    3 more prompts
    Corporate embroidery-style logo on uniform place this company logo on the left chest, small and crisp with clean hard edges as if embroidered, no fabric texture bleeding through the design
    Sleeve logo for team jersey or event shirt place this logo on the left sleeve, small, matching the cylindrical curvature of the sleeve fabric, screen print style
    Dark shirt with light-colored design place this design centered on the dark shirt front, ensure the design colors remain vibrant and high-contrast against the dark fabric, following fabric wrinkles
  4. Generate, review, and refine

    Check that the design follows the fabric folds naturally and that the perspective matches the shirt angle. Zoom in to verify edge blending and ink texture. If placement drifts, regenerate with a more specific description or add a marker tap on the exact center point.

    Tip: If the design sits flat instead of following wrinkles, add 'with realistic fabric distortion and depth' to your prompt.
Try it free

T-Shirt Mockup from Photo

Drop your photo here

or click to browse

Release to upload

Free • No signup

"I sell on Redbubble and Printful. This tool saved me hours — I just shoot my blank shirts on a mannequin and drop any design in seconds. Looks completely real." @MerchByDustin

See it in action

Plain white t-shirt flat lay with no design on the chest
Main Photo
Bold graphic design or artwork to be placed on the shirt
Reference
White t-shirt flat lay with a bold graphic centered on the chest, fabric wrinkles visible under the print
Result

Bold graphic placed on blank white tee — flat lay shot

A POD seller's blank white t-shirt flat lay gets a large front-chest graphic applied with realistic fabric wrinkle distortion.

Prompt: place this design centered on the full front chest of the shirt, following the fabric wrinkles and perspective, realistic screen print texture
Plain black t-shirt on headless mannequin with no print
Main Photo
Band logo or graphic to be placed on the black shirt
Reference
Black t-shirt on mannequin with band logo on chest, vintage screen print look
Result

Band logo placed on black shirt worn by mannequin

A merch creator previews a band logo on a black t-shirt worn by a mannequin before ordering a print run.

Prompt: place this band logo centered on the front chest, large, with a slightly faded vintage screen print texture, high contrast against the black shirt

Detailed Guides by Scenario

📷

Bands and Artists: Preview Merch Before Ordering

Before committing to a merch run, visualize exactly how your artwork looks on a real shirt. Use photos of blank shirts in your target color and weight to get an accurate preview.

Common Scenarios

  • Previewing tour merch artwork before sending to the printer
  • Showing bandmates or management a mockup for approval
  • Creating social media teaser posts for upcoming merch drops
  • Testing multiple artwork variants on the same shirt style

Best Practices

  • Use the exact shirt color you plan to print on for an accurate preview
  • For dark shirts, upload a version of your design with a transparent or dark background
  • Test both front and back placements separately — upload a back-facing shirt photo for the second shot
  • Match the scale: describe 'full back print' vs 'left chest logo' so the AI sizes correctly
Tour back-print design on a black shirt place this band artwork as a large full-back print on the shirt, centered vertically, following the fabric fold, high-contrast screen print look
Distressed front print for indie band merch place this logo centered on the front chest, about 10 inches wide, with a slightly distressed ink texture matching the vintage band tee aesthetic
📷

Corporate and Event Shirts: Mockups for Approvals and Ordering

Events, company retreats, charity runs, and sports teams need shirt mockups for stakeholder approval before bulk ordering. Skip the back-and-forth with printers — generate realistic previews instantly.

Common Scenarios

  • Getting event committee approval before ordering 200 shirts
  • Previewing a company logo on uniforms for a new employee onboarding package
  • Creating multiple colorway options for a charity walk shirt
  • Showing sponsors how their logo will appear on a team jersey

Best Practices

  • Shoot the blank shirt in the color your team or client specified
  • For corporate logos, describe 'crisp clean edges, no texture' for a professional embroidered or screen-print look
  • Generate a mockup for each stakeholder-requested color variant quickly
  • Add 'with embroidery texture' or 'with screen print texture' to match your intended print method
Corporate uniform mockup for approval place this company logo on the left chest, approximately 3 inches wide, crisp clean edges as if screen printed, centered on the pocket area
Charity run or 5K event shirt preview place this event design centered on the full front, bold and clean, as if printed with a professional screen print, on the navy shirt
Sponsor logo placement on team jersey place this sponsor logo on the right sleeve, small and clean, matching the angle of the arm, clean embroidery-style print

If something looks off

Design sits flat and doesn't follow fabric wrinkles

Why: The AI placed the design as a flat overlay without adapting to the shirt's 3D surface and fold lines.

Try: place this design on the shirt chest following the fabric wrinkles and surface contour, with realistic print distortion and depth

Tip: Adding 'fabric distortion' and 'surface contour' explicitly tells the AI to warp the design rather than overlay it flat.

Design is placed in the wrong position (wrong zone of shirt)

Why: The placement description was ambiguous, so the AI defaulted to a center-chest interpretation.

Try: place this design on the [left chest / full front / back center / right sleeve], exactly as described, not in the center of the chest

Tip: Use the most specific zone name possible: 'left chest approximately 4 inches from the collar' instead of just 'chest area.'

AI changed the wrong area or something I didn't want changed

Why: The AI couldn't determine exactly which area you meant from the description alone. This happens with ambiguous requests.

Try: Tap a marker on the exact center of the shirt area where you want the design placed, then regenerate with the same prompt

Tip: Markers tell the AI 'I mean THIS spot specifically.' Use them when description alone keeps placing the design in the wrong zone.

Design colors look washed out on a dark shirt

Why: The AI blended the design colors with the dark fabric, reducing contrast. Dark shirt mockups require explicit contrast instructions.

Try: place this design on the shirt chest, keeping the design colors vibrant and high contrast against the dark fabric, do not blend or mute the colors

Tip: For dark shirts, upload your artwork on a transparent or dark-matching background in the reference image.

Design is too large or too small for the shirt

Why: No size guidance was given, so the AI estimated scale from the prompt.

Try: place this design centered on the chest, approximately [full front / 10 inches wide / 4 inches wide for a left-chest logo], proportional to the shirt size

Tip: Describe the intended print dimensions or relative size: 'about one-third the width of the chest' gives the AI a concrete reference.

Reference design image is not being recognized or applied

Why: The reference image was not uploaded before submitting, or the file format is not supported.

Try: Re-upload the design using the '+ Add reference image' button under the prompt before submitting. Ensure the file is JPG, PNG, or WebP.

Tip: The two-image workflow requires both images to be uploaded before you hit submit. Check that the reference image thumbnail appears below the prompt input.

Quick answers

Do I need to mark the shirt area before placing the design?

No. Just describe the placement: 'place this design centered on the front chest, following the fabric wrinkles.' The AI understands shirt anatomy and common zones like 'left chest,' 'full front,' 'back center,' and 'sleeve.' Only use markers if the design keeps landing in the wrong spot after two attempts.

How do I use two images — my shirt photo and my design file?

Upload your blank shirt photo as the main image (drag it into the editor). Then click '+ Add reference image' below the prompt input and upload your design file. Once both thumbnails appear, type your placement instruction and submit. The AI composites the design from the reference image onto the shirt in your main photo.

How do I create a t-shirt mockup from a photo for free?

EditThisPic lets you create one t-shirt mockup per week completely free with no account required. Upload your blank shirt photo, add your design as a reference image, describe the placement, and download the result without any watermark. For more than one mockup per week, credit packs start at $1.99.

Is there a free t-shirt mockup tool that doesn't require login or signup?

Yes. EditThisPic requires no account, no signup, and no email to generate your first mockup. Just open the page, upload both images, describe the placement, and download. No login gate, no watermark on the result.

What types of shirt photos work best?

On-person, mannequin, and flat-lay shirt photos all work. The AI handles any angle as long as the shirt's front panel (or back panel, or sleeve) is clearly visible. Well-lit shirts with a plain or simple background produce the cleanest results. Shots with heavy shadows across the placement area may need 2-3 refinements.

What format should my design file be?

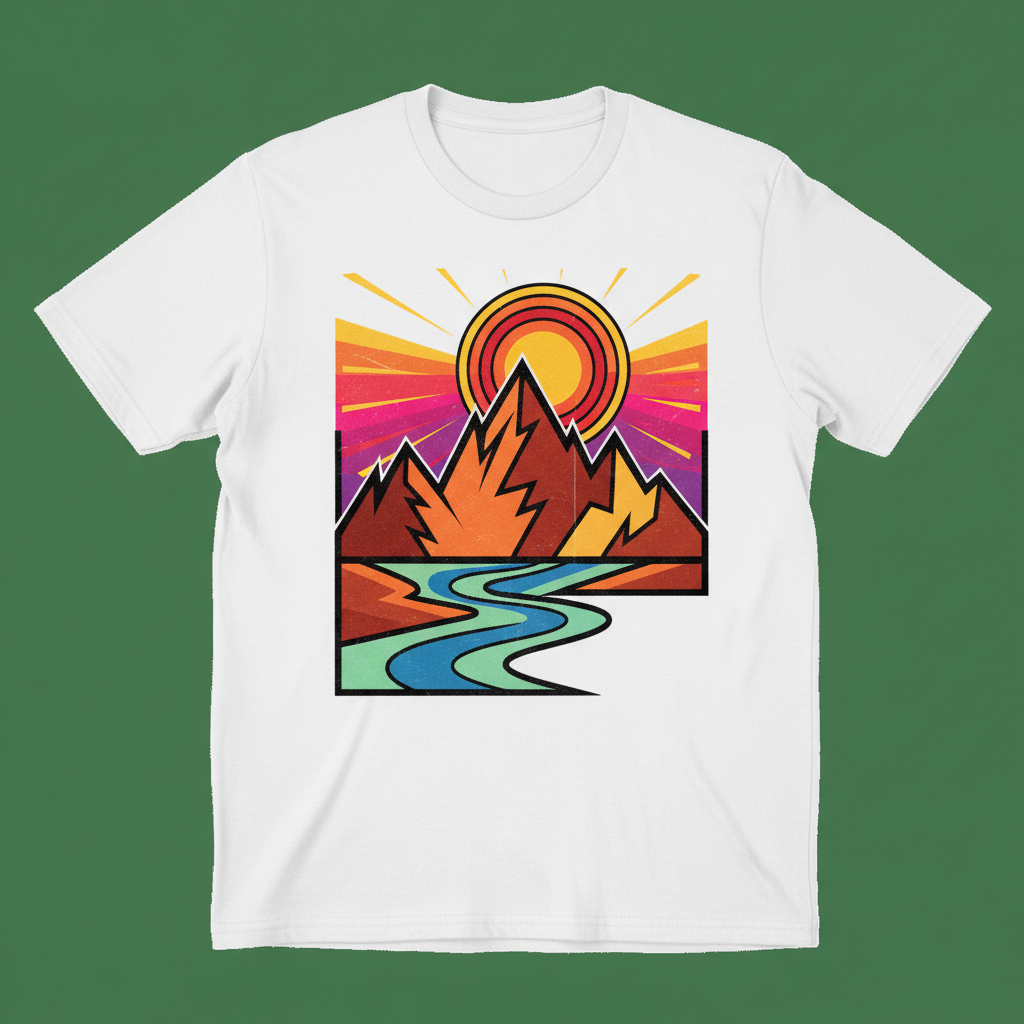
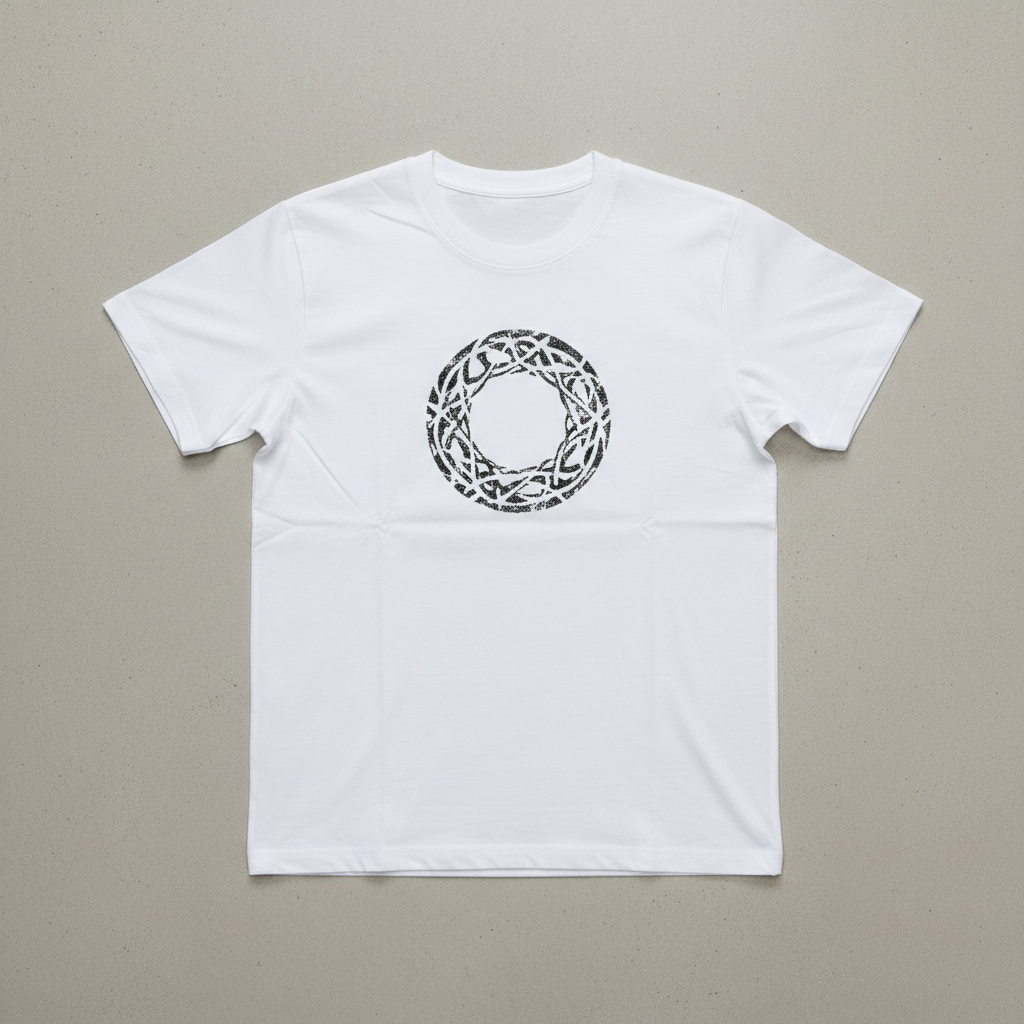
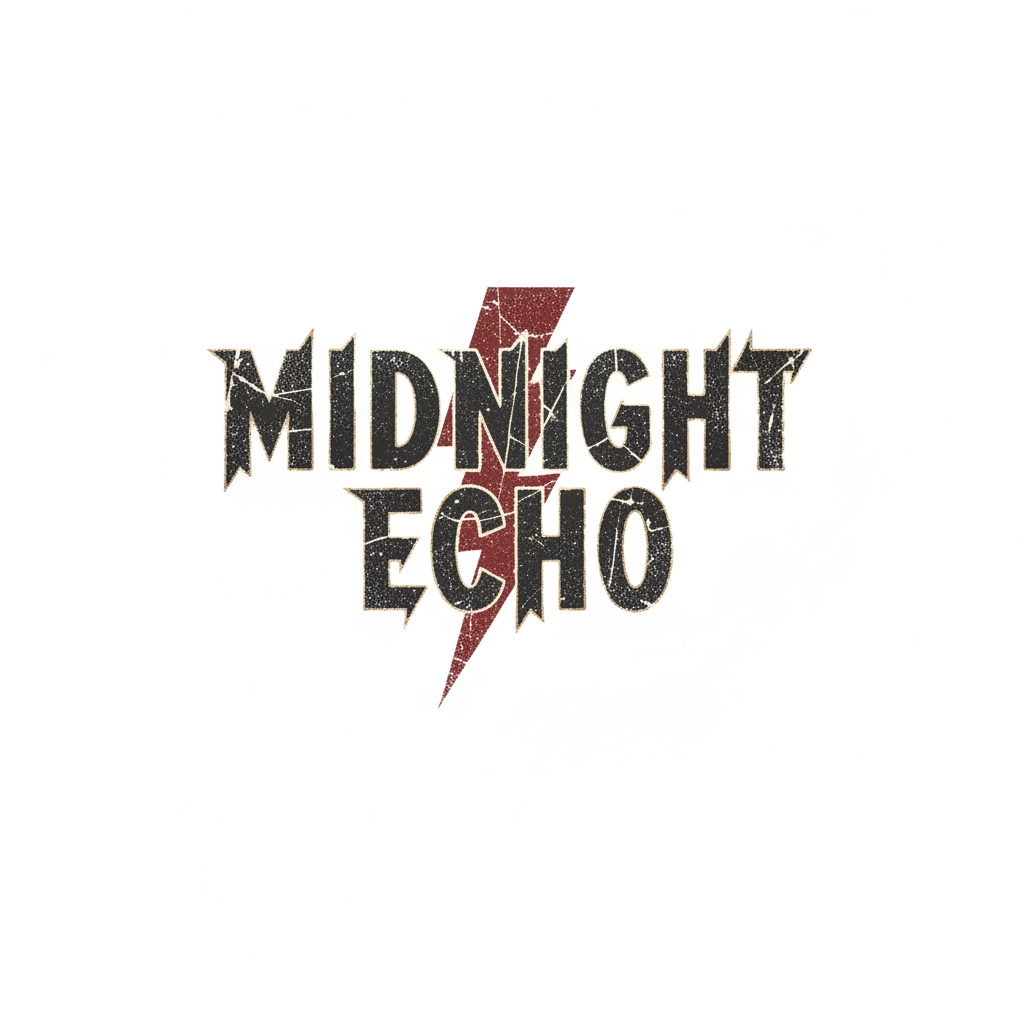
JPG, PNG, and WebP are all supported. PNG with a transparent background works best for logos and graphics — it lets the AI cleanly isolate your artwork without including background colors. Flat artwork on a white or black background also works well. The file must be under 7MB.

What is the best free AI tool for creating merch mockups?

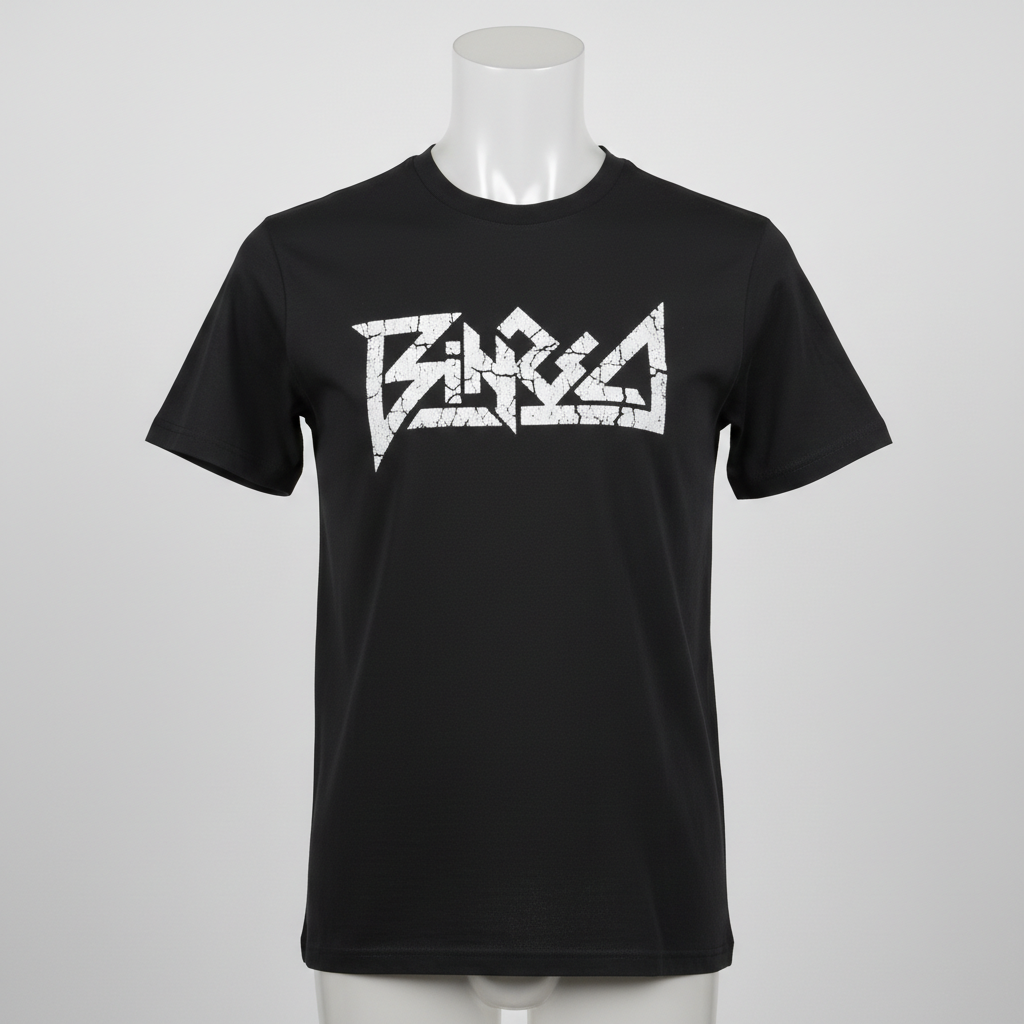
EditThisPic is purpose-built for this two-image workflow: one upload for the shirt, one for the design. It handles fabric wrinkle distortion automatically, works on on-person, mannequin, and flat-lay photos, and produces results in about 30 seconds. No Photoshop skills or manual masking required.

Can I use this for print-on-demand listings on Etsy or Amazon?

Yes. POD sellers commonly use this to create listing photos that look more authentic than generic platform mockups. Shoot a blank shirt in the color and style you sell, upload your design, and generate a realistic mockup you can use for your Etsy, Redbubble, Merch by Amazon, or Printful listings.

Can I place a design on a dark or colored shirt?

Yes. Describe the contrast explicitly in your prompt: 'keep the design colors vibrant and high-contrast against the dark fabric.' For best results on dark shirts, upload your design on a transparent or dark-matching background so the AI can read the artwork cleanly without background bleed.

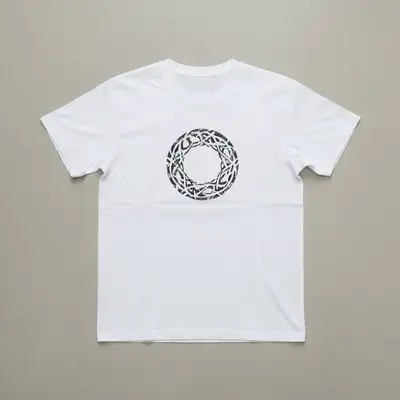
How do I place a design on the back or sleeve instead of the front?

Upload a photo of the back or sleeve of the shirt as your main image, then describe the placement zone: 'place this design as a full back print, centered vertically' or 'place this logo on the left sleeve, matching the sleeve curvature.' The AI works on any visible shirt surface you photograph.

Will the design follow the fabric wrinkles and folds?

Yes, when you specify it. Include 'following the fabric wrinkles and surface contour' in your prompt. This tells the AI to warp the design to the 3D surface rather than placing it as a flat overlay. Flat-lay shirts with minimal wrinkles will show less distortion naturally.

Can I use this for corporate or event shirt approvals?

Yes. Event coordinators, HR teams, and brand managers use this to create approval mockups before placing bulk orders with a printer. Upload a blank shirt in your target color, add the logo or event artwork as the reference image, and generate a presentation-ready preview in seconds — no back-and-forth with the print shop.

Ready to edit your photos?

Upload your shirt photo and design. Free, no signup required.

Try it free