AI Photo Editor for Flooring Installation Before & After Photos
Last updated
Flooring photos that show material beauty and installation precision.
Drop your photo here
"enhance the hardwood floor with warm lighting, show grain pattern and natural wood beauty"
Release to upload

Built for Flooring Installation Professionals
Flooring sells on visual quality — grain patterns, color richness, and installation precision. Phone cameras under room lighting rarely capture the material beauty customers see in showrooms. EditThisPic enhances your installation photos to showcase the true beauty of the materials and the precision of your work.
How to AI Photo Editor for Flooring Installation Before & After Photos
-
Upload your photo
Drop your flooring installation photo into EditThisPic.
-
Describe your edit
Type what you want in plain English.
-
Review the result
Check accuracy and natural appearance.
Prompts for Flooring Installation
enhance the hardwood floor with warm lighting, show grain pattern and natural wood beauty
Rich wood grain is what sells hardwood flooring
brighten the tile installation, show the pattern precision and grout lines clearly
Pattern precision demonstrates installation expertise
reduce glare on polished flooring while maintaining the natural sheen appearance
Control glare to show the floor, not just reflections
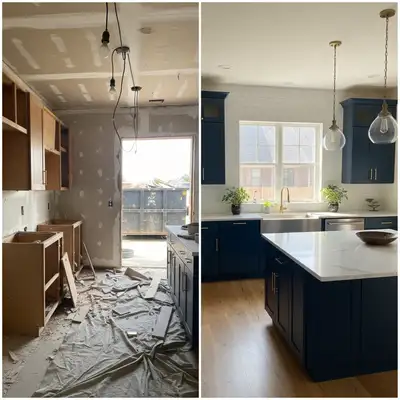
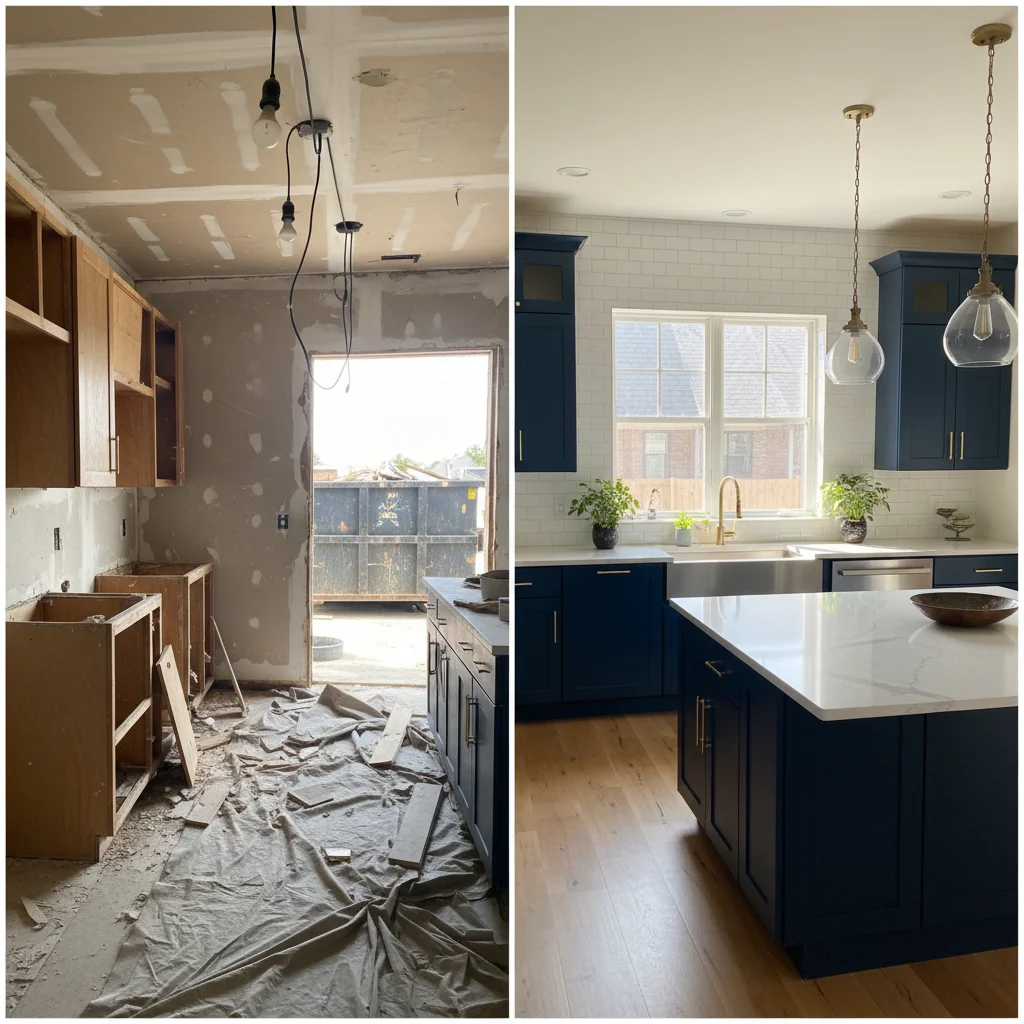
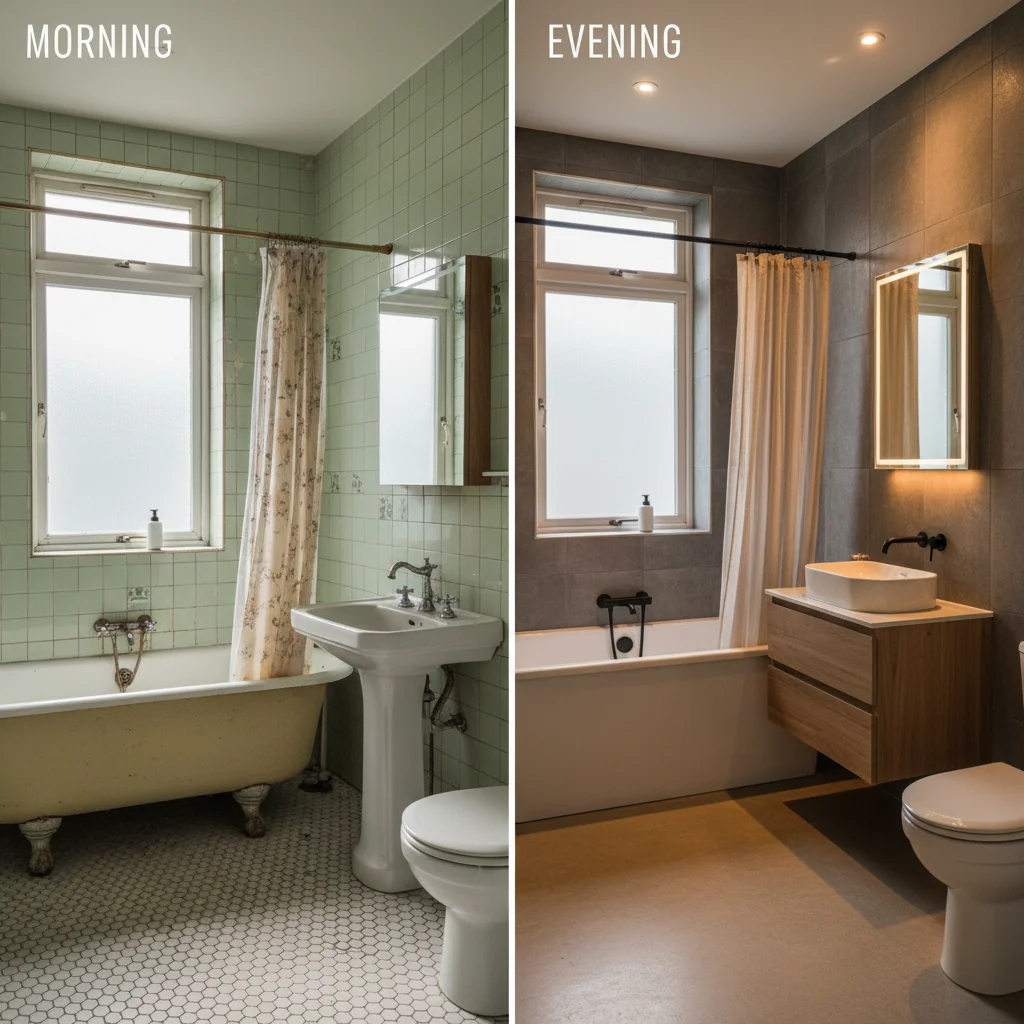
standardize lighting for flooring before/after, show the dramatic transformation
Old carpet to new hardwood is a dramatic transformation
Show more prompts
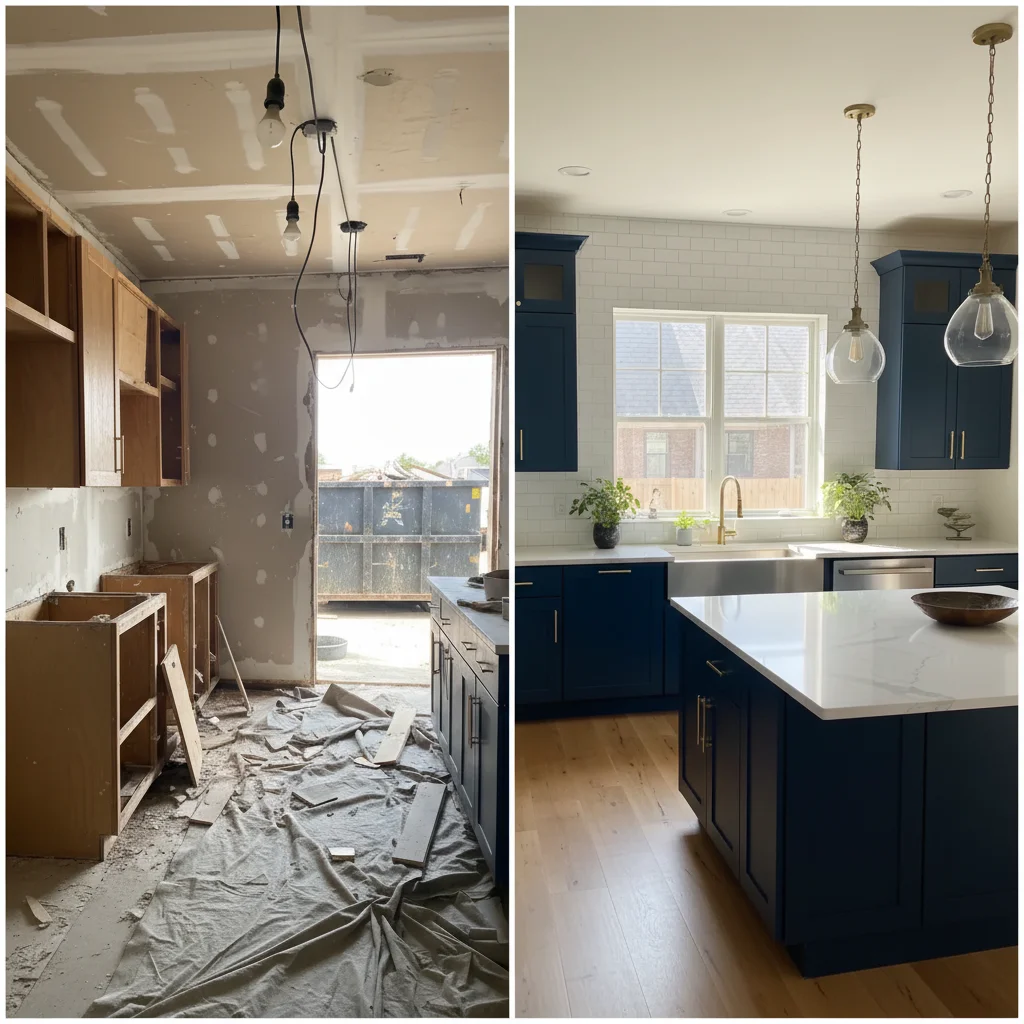
enhance the full room flooring shot with even lighting, show the complete installation
Wide shots show the full scope and pattern continuity
Real Flooring Installation Transformations
Hardwood grain showcased
Hardwood floor installation enhanced to show rich wood grain and natural beauty.
enhance the hardwood floor with warm lighting, show grain pattern and natural wood beauty

Tile work precision
Tile floor installation enhanced to show pattern alignment and material quality.
brighten the tile installation, show the pattern precision and grout lines clearly
Common Issues
Room looks darker and smaller than reality
Why: Phone cameras struggle with indoor exposure, especially mixed lighting
'Spacious and well-lit' triggers AI to open up shadows and enhance natural light
Windows are blown out white while interior is dark
Why: Extreme contrast between bright windows and dim rooms exceeds camera range
This HDR-style fix is one of AI's strongest capabilities — it handles it naturally
Clutter and personal items make space look messy
Why: Lived-in spaces have furniture, toys, and personal items that distract
For listing photos, decluttered spaces get significantly more engagement
Colors look wrong — walls appear yellow or green
Why: Indoor lighting and mixed light sources create color casts
Mention the actual wall color if you know it for more accurate correction
Frequently Asked Questions
How do I show wood grain in photos?
Warm lighting at a slight angle brings out grain patterns. Use prompts focused on 'grain pattern' and 'natural wood beauty.' The AI enhances the texture detail that flat lighting suppresses.
Why does my new floor look dull in photos?
Overhead lighting creates flat illumination that suppresses material beauty. The AI corrects this by simulating more natural, angled lighting that reveals texture and sheen.
Do portfolio photos help sell flooring?
Yes. Customers choosing flooring materials want to see them installed in real rooms, not just showroom samples. Your installation photos bridge that gap.
What about refinished floor documentation?
Before/after refinishing photos are powerful portfolio content. The transformation from worn to gleaming is visually dramatic when lighting is consistent.
Should I photograph empty rooms or furnished?
Both. Empty rooms show the flooring best for the portfolio. Furnished room photos show how flooring looks in real living situations — better for marketing.
Is this free?
Yes — 1 free edit per week. plans start at $4.99/month.
Popular use cases
Show the beauty of your installations
Professional flooring photos. Free to try.
Upload Your PhotoTrusted by 15,000+ users