Free • No signup Place Ad on billboard · Free

Billboard Mockup from Photo

Upload a billboard photo + your ad creative. AI places the design with correct perspective and lighting in 30 seconds.

Blank white street billboard on a city sidewalk under overcast daylight
Photo 1
+
Bright retail advertisement creative design used as the reference image
Photo 2
Same billboard with a retail ad design placed on it, perspective-matched and naturally integrated
Result

Billboard Mockup from Photo

Drop your photo here

or click to browse

Release to upload

Free • No signup

Popular use cases:
  • billboard mockup from real photo
  • OOH advertising mockup
  • outdoor advertising visualization
  • client presentation mockup
  • ad creative placement on billboard
  • signage mockup generator
  • bus shelter ad mockup
  • digital billboard mockup
  • agency pitch deck mockup
  • media planning visualization
  • design portfolio billboard shot
  • transit advertising mockup

1Your photo
+
2Reference
=
Result
Real street billboard with blank white display panel, city environment Your billboard photo
Ad creative design to be placed on the billboard Your ad design
Billboard with ad design placed correctly, perspective and lighting matched Result

"Place the ad design on the billboard, matching the perspective and environmental lighting"

Cost
Free No signup required
Time
Instant results in 15-30 seconds
Works on
Any device - browser, phone, tablet, desktop
Powered by
AI-powered photo editing
Scenario Prompt Time
place the ad design on the billboard panel, matching perspective and daylight 30-45s
composite the design on the poster panel, with glass reflection and ambient street lighting 30-45s
place design on the LED screen with bright backlit glow, no physical texture 30-45s
place design only in the panel where I placed the marker, leaving others unchanged 45-60s

How it works

  1. Upload your billboard photo

    Drop a photo of the real billboard, bus shelter, poster kiosk, or outdoor sign into EditThisPic. The photo should clearly show the display panel where your ad will go. Street-level shots, agency location scouting photos, and Google Street View screenshots all work. JPG, PNG, WebP up to 7MB.

    Expect: Clear billboard photos with a visible flat display panel: 30-45 seconds. Unusual angles or complex environments like curved signage or heavy reflections may need 2-3 refinements for best results.
  2. Upload your ad creative as a reference image

    Click '+ Add reference image' below the prompt to upload your ad design — the artwork, poster, or creative file you want placed on the billboard. This is what makes it a two-image workflow: the AI reads both your scene photo and your design, then composites them together. A flat export of your design works best; no need to pre-warp it.

    Tip: Export your ad creative at full resolution with a clean white or transparent background. The AI isolates the design automatically — no manual cropping required.

    Copy one of these to get started:

    Billboard Mockup from Photo place the ad design on the billboard, matching the perspective and lighting — make it look natural and professional
    Bus shelter poster panel placement composite the ad creative onto the bus shelter poster panel on the left side, matching the perspective and the glass reflection visible in the scene, with consistent ambient street lighting
    Digital LED billboard with backlit glow place the ad design on the LED digital billboard screen, with a bright backlit glow matching the evening ambient light, sharp pixel-level rendering of the design, no physical surface texture
    Angled or tilted billboard with perspective warp place the ad design on the billboard panel, with a perspective warp matching the slight left-facing angle of the sign in the photo, and the overcast flat lighting visible on the scene
    3 more prompts
    Multi-panel hoarding — target specific panel place the ad design only in the left panel of the multi-panel billboard hoarding, matching the perspective of that panel only, leaving the other panels unchanged
    Refinement — design looks flat or pasted on re-composite the ad design with realistic billboard surface texture, subtle wear and grain matching the physical material of the panel, and the shadow pattern from the overhead structure visible in the scene
    Subway or underground station poster panel composite the ad creative onto the subway station poster panel, matching the flat fluorescent lighting of the station environment, sharp and clean with no outdoor shadow
  3. Describe the placement

    Tell the AI where and how to place the design: 'place the ad design on the billboard display panel, matching the perspective and lighting of the scene.' Mention surface type if relevant — a wet billboard reflects differently than a matte poster. The more specific you are about lighting direction and surface material, the more realistic the result.

    Tip: Include the time-of-day lighting if it matters for your campaign: 'with golden hour side-lighting to match the scene' or 'under flat overcast daylight.'

    Copy one of these to get started:

    Billboard Mockup from Photo place the ad design on the billboard, matching the perspective and lighting — make it look natural and professional
    Bus shelter poster panel placement composite the ad creative onto the bus shelter poster panel on the left side, matching the perspective and the glass reflection visible in the scene, with consistent ambient street lighting
    Digital LED billboard with backlit glow place the ad design on the LED digital billboard screen, with a bright backlit glow matching the evening ambient light, sharp pixel-level rendering of the design, no physical surface texture
    Angled or tilted billboard with perspective warp place the ad design on the billboard panel, with a perspective warp matching the slight left-facing angle of the sign in the photo, and the overcast flat lighting visible on the scene
    3 more prompts
    Multi-panel hoarding — target specific panel place the ad design only in the left panel of the multi-panel billboard hoarding, matching the perspective of that panel only, leaving the other panels unchanged
    Refinement — design looks flat or pasted on re-composite the ad design with realistic billboard surface texture, subtle wear and grain matching the physical material of the panel, and the shadow pattern from the overhead structure visible in the scene
    Subway or underground station poster panel composite the ad creative onto the subway station poster panel, matching the flat fluorescent lighting of the station environment, sharp and clean with no outdoor shadow
  4. Review perspective and lighting match

    Zoom in to verify that the design follows the billboard's viewing angle correctly, that shadow and highlight patterns from the environment carry across the design surface, and that edges blend cleanly where the ad meets the frame or surrounding structure. Check at full resolution before sharing with clients.

  5. Refine with markers if needed

    If the design lands in the wrong panel, tap a marker directly on the display area and regenerate. Markers are useful when a billboard has multiple panels and the AI needs to know which one to target. Most single-panel placements work without markers on the first try.

    Tip: For multi-panel billboards, tap a marker in the center of the exact panel you want and describe it: 'place the design in the top panel where I placed the marker.'
Try it free

Billboard Mockup from Photo

Drop your photo here

or click to browse

Release to upload

Free • No signup

"Sent a client mockup of their campaign on three real London billboards in 10 minutes. They approved on the spot. Used to take me half a day in Photoshop." @AgencyCreative_Marc

See it in action

Blank white street billboard on a city sidewalk under overcast daylight
Main Photo
Bright retail advertisement creative design used as the reference image
Reference
Same billboard with a retail ad design placed on it, perspective-matched and naturally integrated
Result

Retail campaign ad placed on street billboard

A freelance designer uploaded a real street-level billboard photo and a bright retail sale creative. The AI placed the design with correct perspective warp and matched the overcast daylight from the scene.

Prompt: place the ad design from the reference image onto the billboard display panel, matching the perspective angle and the flat overcast daylight, with realistic vinyl surface texture and seamless panel frame integration
Glass-fronted bus shelter at evening with blank white poster panel inside
Main Photo
Client campaign ad creative used as reference image
Reference
Bus shelter with client ad creative placed on the poster panel, glass reflection visible
Result

Agency pitch mockup on bus shelter panel

An ad agency uploaded a bus shelter photo and their client's campaign artwork. The result showed the creative in context across a glass-fronted shelter panel with realistic street lighting — ready for the pitch deck.

Prompt: composite the ad creative onto the bus shelter poster panel, matching the angle of the panel in the photo, with the glass reflection from the street side and consistent ambient evening street lighting

Detailed Guides by Scenario

📷

Client Presentations and Campaign Approvals

Show clients exactly what their ad will look like on real-world sites before buying media. Replace generic mockup templates with photos of the actual locations on their media plan.

Common Scenarios

  • Agency presenting OOH concept to brand client
  • Media planner visualizing buys before purchase confirmation
  • Creative director reviewing final artwork in situ
  • Account team preparing campaign approval deck

Best Practices

  • Use location photos from the actual media plan, not stock billboard images
  • Match the creative export format to the real panel aspect ratio
  • Include 2-3 viewing distances in your deck — close-up, mid-distance, wide street view
  • Describe the lighting condition in your prompt to match the location: 'overcast morning light' or 'bright noon sun'
Campaign approval deck mockup place the ad design on the billboard display panel, matching the perspective angle and the overcast daylight of the scene, seamlessly integrated into the panel frame
In-situ creative review composite the ad creative onto the poster panel, with realistic surface texture and the cool shadow falling from the left as seen in the scene
📷

OOH Campaign Planning and Media Visualization

Visualize your outdoor advertising campaign across multiple real locations before the campaign goes live. Great for multi-market rollouts, budget justification, and post-campaign reporting.

Common Scenarios

  • Multi-city OOH campaign visualization across 10+ sites
  • Budget justification using real location photos
  • Traffic and context analysis with ad in situ
  • Post-campaign reporting with before/after visual proof

Best Practices

  • Build a consistent location photo library during site visits or use Street View
  • Use the same creative export across all locations for consistency
  • Describe environmental context in your prompt: 'on a busy retail high street' vs 'on a motorway gantry'
  • For digital billboards, mention the LED surface: 'glowing backlit LED display panel'
Street-level intersection site place the ad design on the billboard facing the intersection, perspective-corrected for the low-angle street view, matching the bright afternoon sunlight from the right
Retail-adjacent OOH site composite the ad creative onto the large-format billboard above the retail entrance, with the natural shadow from the canopy below visible on the design surface
Digital DOOH evening site place the digital ad design on the LED billboard panel, with a bright backlit glow effect matching the evening ambient light in the photo
📷

Design Portfolios and Social Proof for Agencies

Build a compelling portfolio showing real-world impact of your design work. Turn flat logo and campaign files into in-context proof shots that demonstrate how your work performs at scale.

Common Scenarios

  • Freelance designer showing OOH capability before landing client
  • Design agency building case study imagery
  • Brand team demonstrating marketing reach to leadership
  • Ad student building spec portfolio with real-environment mockups

Best Practices

  • Choose landmark or recognizable locations that signal scale and prestige
  • Layer multiple format sizes in one deck: 48-sheet, 6-sheet, digital screen
  • Match brand guidelines strictly — get the creative file from the brand team
  • For spec work, use locations from cities relevant to your target market
Portfolio hero shot place my brand ad design on the large billboard, matching the perspective of the wide street shot and preserving all the design's typography and color accuracy
Bus shelter 6-sheet mockup composite the campaign creative onto the bus shelter poster panel, with the glass reflection and ambient urban lighting from the street scene

If something looks off

Design looks flat or pasted on, not integrated into the surface

Why: The AI placed the design without applying the billboard's physical surface properties — vinyl texture, surface grain, or the environmental shadow pattern from the surrounding structure.

Try: re-composite the ad design with realistic billboard surface texture and subtle grain matching the physical material of the panel, with the environmental shadow from the overhead frame visible across the design surface

Tip: Physical billboards have vinyl texture, surface grain, and directional shadows. Digital screens have none. Describe which applies to your scene.

Perspective warp doesn't match the sign's viewing angle

Why: The AI needs explicit angle information when the billboard is not photographed straight-on. Without it, it may apply a flat placement rather than a correctly warped perspective.

Try: place the design with a perspective warp matching the [left-facing/right-facing/low-angle/high-angle] viewing angle of the billboard in the photo

Tip: Describe the camera angle: 'the sign is viewed from below and to the left' gives the AI the geometric information it needs to warp correctly.

AI placed the design on the wrong element in the photo

Why: The AI couldn't determine exactly which surface you meant from description alone — this happens when multiple flat surfaces appear in the scene (walls, shop fronts, other signs).

Try: Tap a marker on the specific billboard panel you want the design placed on, then regenerate with the same prompt

Tip: Markers tell the AI 'I mean THIS surface specifically.' Use them whenever more than one flat panel is visible in the frame.

For digital LED billboards, the design shows physical texture instead of a clean backlit screen

Why: The AI defaulted to printed vinyl behavior. Digital screens have no physical grain — they glow evenly from behind.

Try: place the design on the digital LED billboard screen with a bright backlit glow and sharp pixel rendering, no physical surface texture or grain, just clean luminous screen output

Tip: Always specify 'digital LED screen' vs 'printed vinyl billboard' — the surface material determines how realistic the result looks.

Lighting on the design doesn't match the environment

Why: The AI applied generic lighting to the design instead of reading the scene's actual light direction and color temperature.

Try: re-place the ad design with lighting matched to the [overcast/sunny/evening/fluorescent] light in the scene, with shadows falling from the [left/right/above] as visible on surrounding surfaces

Tip: Look at how shadows fall on the billboard frame or nearby structures and describe that direction explicitly in your prompt.

Multi-panel billboard filled all panels instead of one

Why: Without a specific panel target, the AI may fill the entire billboard structure when multiple panels are visible.

Try: Tap a marker in the center of the specific panel you want, then: 'place the ad design only in the panel where I placed the marker, leaving all other panels unchanged'

Tip: For multi-panel hoardings, markers are essential. Always combine a marker tap with a specific description: 'in the top-left panel only.'

Quick answers

Do I need to mark the billboard area before uploading my ad design?

No. Just upload the billboard photo as your main image, upload your ad creative as the reference image, and type 'place the ad design on the billboard panel.' The AI identifies the display surface automatically. Use markers only when a photo contains multiple flat surfaces and the AI needs to know which specific panel to target.

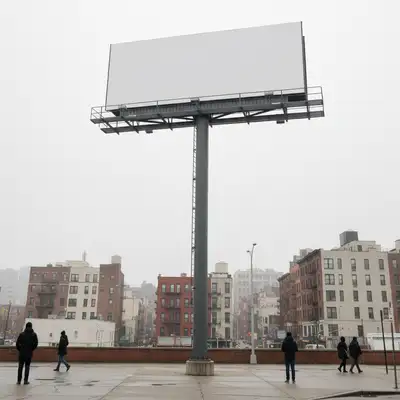
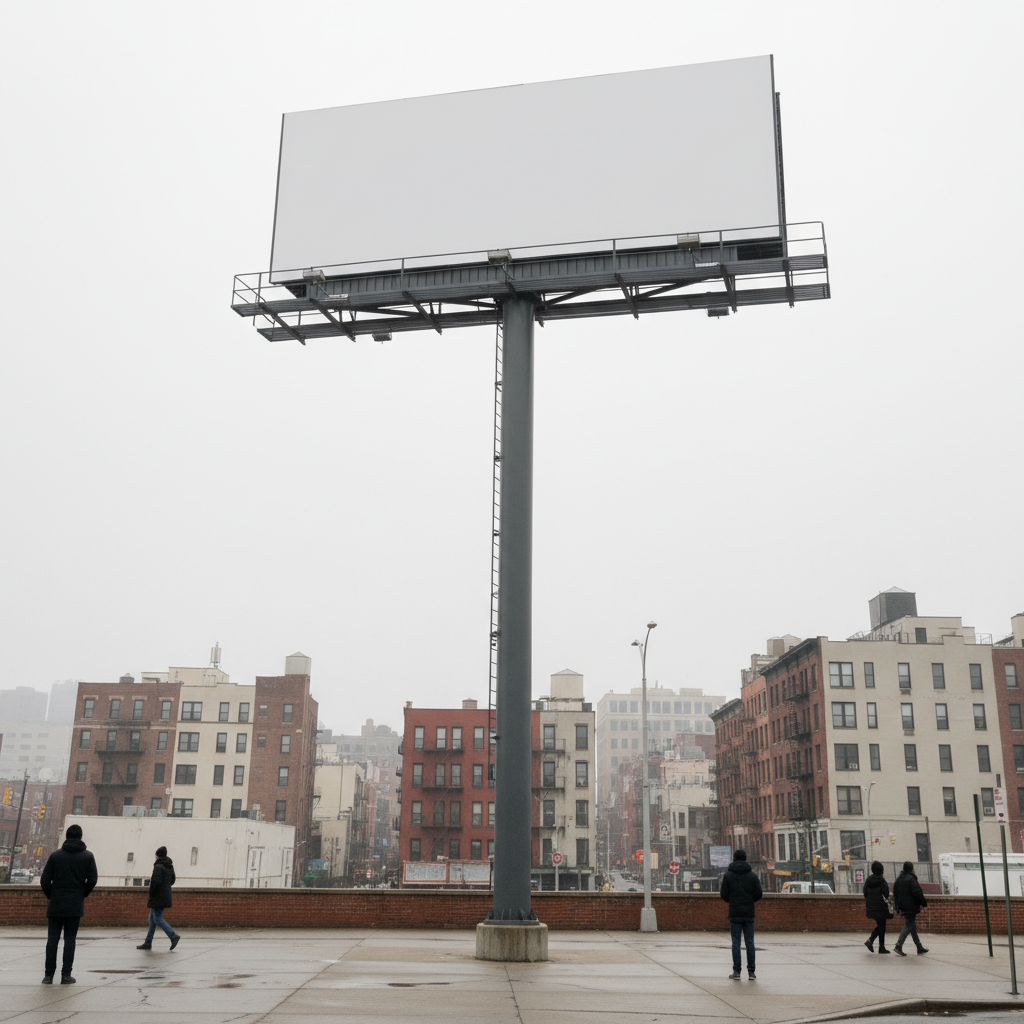
How do I put my ad design on a billboard photo for free?

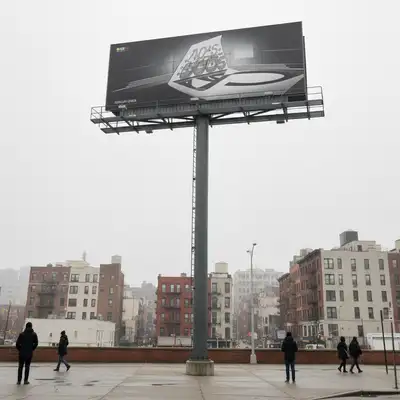
EditThisPic handles this as a two-image workflow at no cost. Upload your billboard location photo as the main image, then click '+ Add reference image' to attach your ad creative. Type a placement instruction — 'place the ad on the billboard, matching the perspective and lighting' — and click edit. The result downloads without a watermark. Free to try with no account required.

Can I create a billboard mockup from a real photo without Photoshop?

Yes. Photoshop requires manual perspective warping, masking, and layer blending — often 30-60 minutes per mockup. EditThisPic does the same thing in 30 seconds. Upload both images, describe the placement, and the AI handles perspective correction, surface texture matching, and lighting integration automatically. No design skills required.

What types of outdoor advertising does this work for?

It works for any flat or near-flat display surface: 48-sheet and 96-sheet roadside billboards, 6-sheet bus shelter panels, subway and transit posters, retail window graphics, building-wrap hoardings, digital LED screens, and outdoor kiosks. The key requirement is a clear photo showing the display panel where your design should appear. Curved displays like wrapped buses require additional refinement prompts.

Is there a free billboard mockup generator that works from real location photos, not templates?

Yes. EditThisPic is free and works from any real location photo — not stock templates. Upload a photo from a site visit, a media owner's location image, or a Google Street View screenshot, then upload your design as the reference image. The AI places your creative into the actual location context, which is far more persuasive for client presentations than template-based mockups.

What format should I export my ad creative for the reference image?

Export your ad at the highest resolution available, as a flat PNG or JPG with a clean white or transparent background. Do not pre-warp the design to match the billboard angle — the AI handles the perspective transformation. Standard creative formats like 4:1, 3:1, 48-sheet (12x3m ratio), or 6-sheet (1.2x1.8m ratio) all work. The AI reads the design content, not the file dimensions.

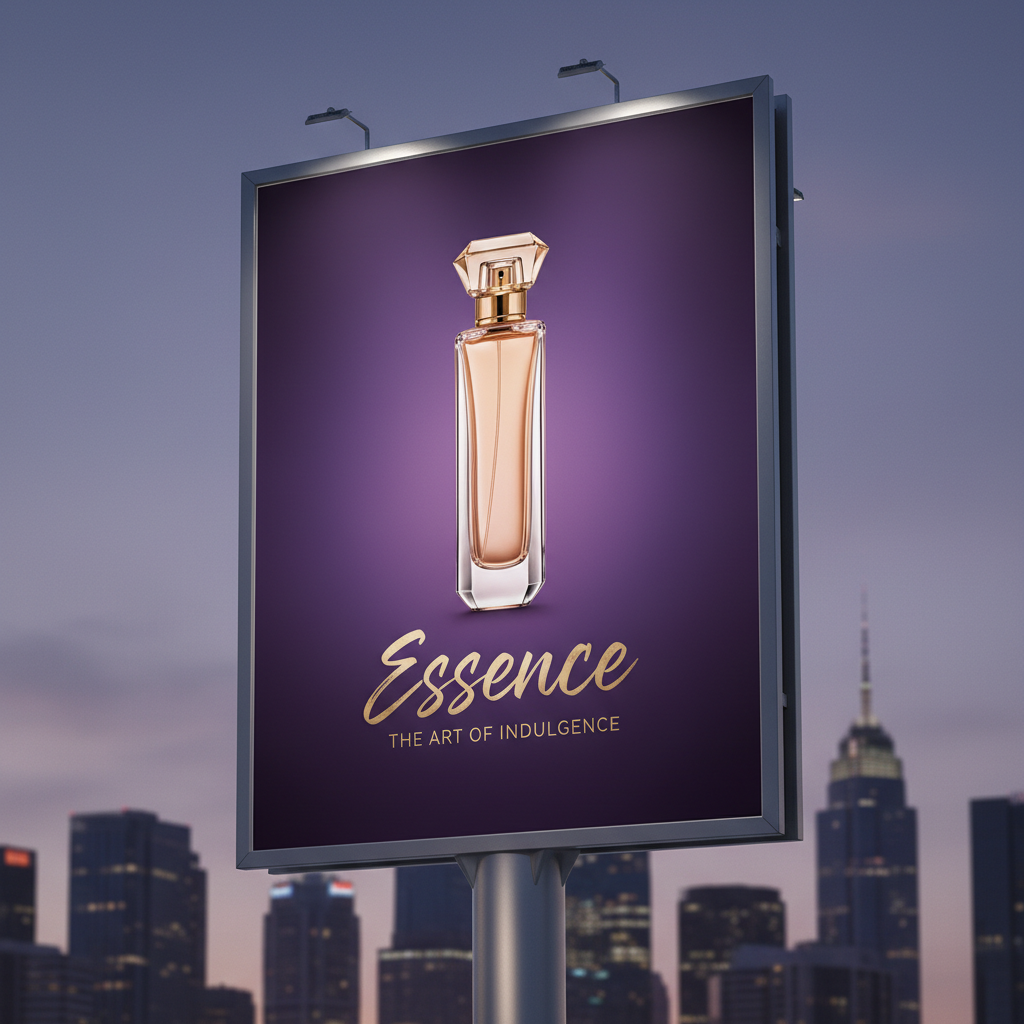
How do I make the mockup look realistic enough for a client pitch?

Three things drive realism: (1) use a high-quality photo of the actual location rather than a low-resolution screenshot; (2) describe the surface material in your prompt — 'vinyl billboard with slight grain' vs 'digital LED screen with backlit glow'; (3) mention the lighting conditions — 'overcast flat daylight' vs 'direct afternoon sun from the right.' For critical pitches, generate 2-3 variations and choose the most convincing.

Can I create mockups for digital DOOH screens and LED billboards?

Yes. For digital screens, specify 'LED digital screen with bright backlit glow and sharp pixel rendering, no physical surface texture' in your prompt. This tells the AI to skip the vinyl grain and paper texture that applies to printed displays and instead render the design as a luminous screen output. Evening and night shots work especially well for digital screen mockups.

Can I use this for bus shelter and transit advertising mockups?

Yes. Bus shelter panels, subway posters, and airport light boxes all work. For bus shelters, mention the glass frontage: 'composite the design on the poster panel inside the glass-fronted shelter, with a subtle glass reflection from the street side.' For backlit transit panels, add 'backlit lightbox glow' to your prompt for realistic illumination.

What if the billboard has an unusual angle or is photographed from far away?

Describe the angle explicitly: 'the sign is viewed from below and slightly to the left, apply perspective warp to match.' For distant shots where the panel appears small, zoom in to the panel area of your photo before uploading, or use a marker to indicate the exact panel location. Very small or heavily distorted panels may need 2-3 refinements for clean results.

Can my whole team use this for OOH campaign visualization?

Yes. EditThisPic is browser-based and requires no account to use the free tier. Share the URL with your team — each person can upload location photos and creative files independently. For teams running high volumes of mockups for large campaigns, credit packs give faster throughput: one credit per mockup with packs starting at $4.99 for 10 edits.

How is this different from Canva billboard mockup templates?

Canva uses generic stock billboard templates at fixed angles. EditThisPic works from your actual location photos — real streets, real sites, the exact locations on your media plan. That in-context realism is what closes client approvals. You can't show a brand that their ad will appear on the M25 gantry by using a stock photo of a generic American highway billboard.

Ready to edit your photos?

Two photos in. One client-ready mockup out. Free, no signup required.

Try it free