AI Screen Mockup from Photo
← Browse all composite & placement toolsLast updated
Upload a device lifestyle photo + your UI screenshot. AI places it with perfect perspective and reflections.


Upload photo to place screenshot on device
"composite the app screenshot onto the phone screen in this hand-held photo, perspective-matched to the phone angle, with natural screen brightness for the outdoor lighting"
Drag & drop, or paste · JPG · PNG · WEBP
Release to upload
How it works
-
1
Upload your device lifestyle photo
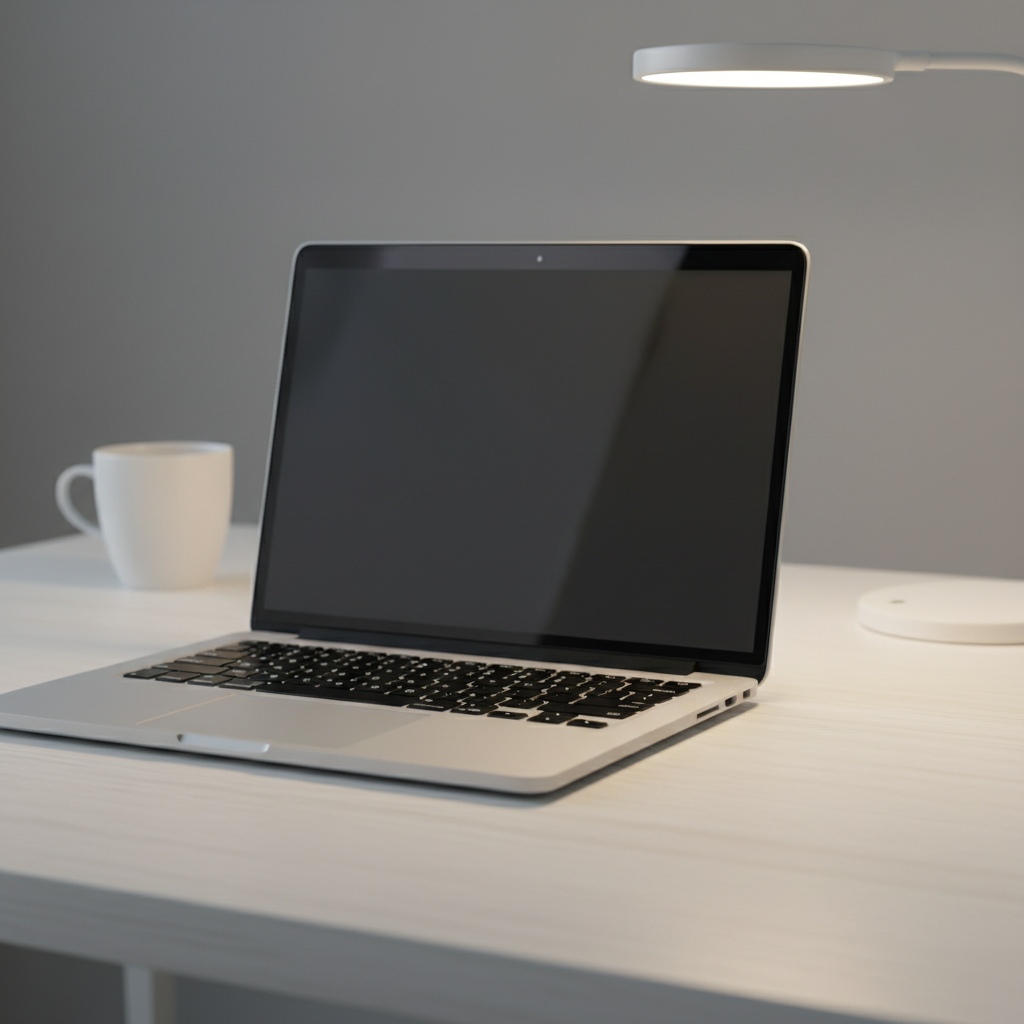
Drop a photo of the device into EditThisPic — a laptop on a desk, a phone held in someone's hand, a tablet on a table. The device screen should be clearly visible and facing the camera. Real-environment shots work best: coffee shops, clean home offices, studio setups. JPG, PNG, WebP up to 7MB.
Expect: Clean screen visible on device: 30 seconds. Angled or partially obscured screen: may need 2-3 refinements to get perspective exactly right. -
2
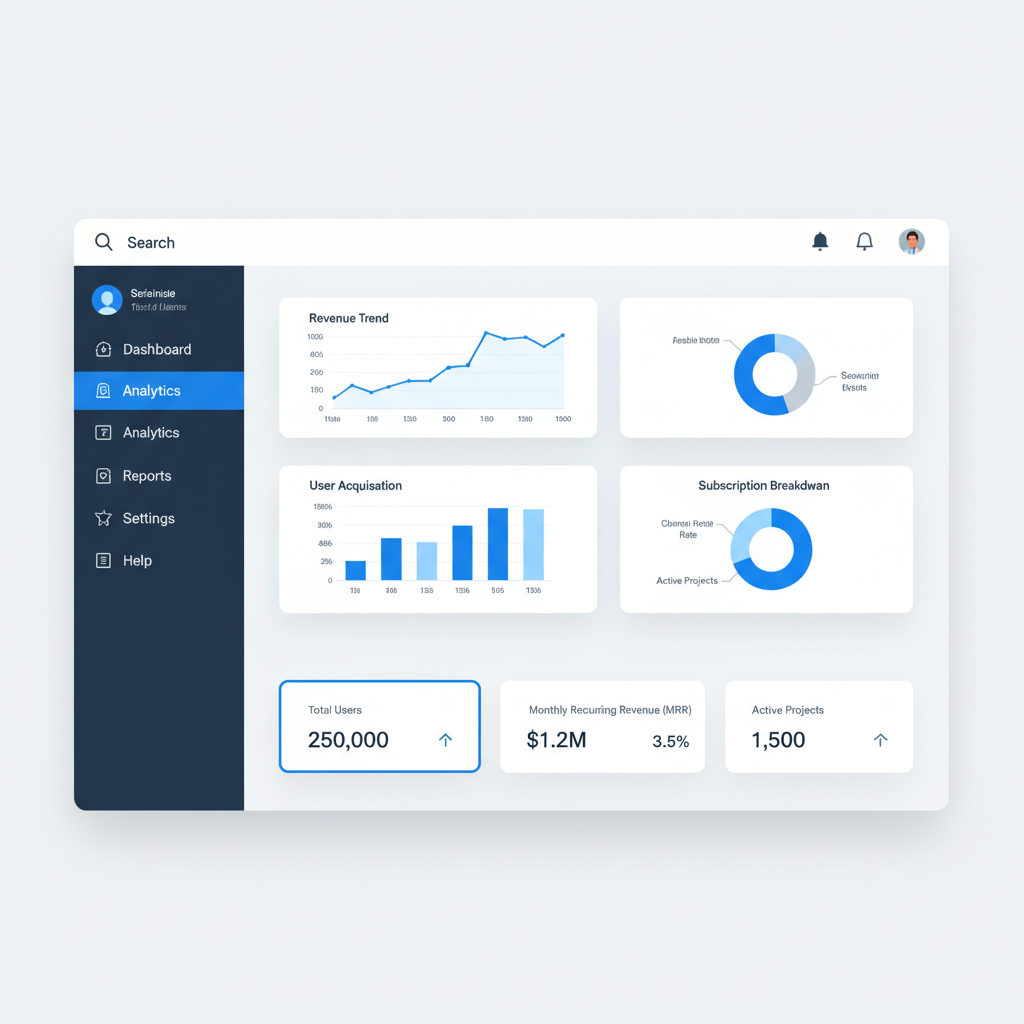
Upload your UI screenshot as a reference image
Click '+ Add reference image' below the prompt to upload your app screenshot, dashboard design, or website UI. This is the image the AI will composite onto the device screen. The reference can be a full-resolution screenshot, a Figma export, or a browser capture — any flat image works.
Tip: Use your actual full-resolution screenshot, not a cropped thumbnail. The AI will handle all the perspective distortion, so start with the cleanest version of your UI.Copy one of these to get started:
Screen Mockup from Photoplace the screenshot on the device screen with correct perspective — make it look natural and professionalMobile app on phone held in handcomposite the app screenshot onto the phone screen in this hand-held photo, perspective-matched to the phone angle, with natural screen brightness for the outdoor lightingWeb app on MacBook at coffee shopplace the web app screenshot on the MacBook screen with correct perspective, matching the warm ambient cafe lighting and adding a realistic screen reflection from the window lightDashboard on tablet on tablecomposite the analytics screenshot onto the iPad screen lying on the table, perspective-corrected to match the top-down angle, with accurate screen brightness for the desk lamp lighting4 more prompts
Minimal pitch deck MacBook on white deskplace the product screenshot on the laptop screen on this white desk, exact perspective match, clean screen glow with no harsh reflections, suitable for a professional pitch deckApp Store screenshot on phone against wallcomposite the mobile app screenshot onto the iPhone screen in this photo, perspective and scale matched, with a subtle screen reflection from the background wall lightMultiple device mockup — laptop and phoneplace the desktop screenshot on the MacBook screen and the mobile version of the app on the iPhone, both perspective-corrected, matching the consistent studio lighting across both screensDark mode UI on dark device photoplace the dark mode dashboard screenshot on the laptop screen, matching the dim ambient lighting of the scene, with a cool blue screen glow consistent with dark mode brightness -
3
Describe the placement
Type your instruction: 'place the screenshot on the laptop screen, matching the perspective and screen reflections.' Mention the device type if helpful — 'MacBook screen,' 'iPhone display,' 'iPad.' You can also specify lighting: 'with a slight screen glow matching the ambient light.' No marking needed — the AI identifies the screen automatically.
Tip: If your device photo has a strong lighting angle, describe it: 'with subtle screen glare from the upper-right light source.' This produces the most photorealistic result.Copy one of these to get started:
Screen Mockup from Photoplace the screenshot on the device screen with correct perspective — make it look natural and professionalMobile app on phone held in handcomposite the app screenshot onto the phone screen in this hand-held photo, perspective-matched to the phone angle, with natural screen brightness for the outdoor lightingWeb app on MacBook at coffee shopplace the web app screenshot on the MacBook screen with correct perspective, matching the warm ambient cafe lighting and adding a realistic screen reflection from the window lightDashboard on tablet on tablecomposite the analytics screenshot onto the iPad screen lying on the table, perspective-corrected to match the top-down angle, with accurate screen brightness for the desk lamp lighting4 more prompts
Minimal pitch deck MacBook on white deskplace the product screenshot on the laptop screen on this white desk, exact perspective match, clean screen glow with no harsh reflections, suitable for a professional pitch deckApp Store screenshot on phone against wallcomposite the mobile app screenshot onto the iPhone screen in this photo, perspective and scale matched, with a subtle screen reflection from the background wall lightMultiple device mockup — laptop and phoneplace the desktop screenshot on the MacBook screen and the mobile version of the app on the iPhone, both perspective-corrected, matching the consistent studio lighting across both screensDark mode UI on dark device photoplace the dark mode dashboard screenshot on the laptop screen, matching the dim ambient lighting of the scene, with a cool blue screen glow consistent with dark mode brightness -
4
Download your mockup
Review that the screenshot fills the screen naturally, perspective lines match the device angle, and reflections look realistic. Verify the UI text is readable and edges are clean where the screen meets the device bezel. Download the result without any watermark.
See it in action

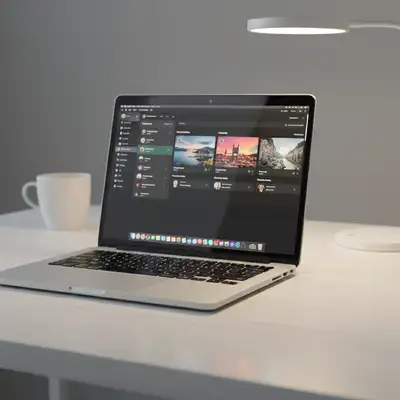
SaaS Dashboard on MacBook at Desk
A SaaS dashboard screenshot placed on a MacBook in a lifestyle desk photo for a pitch deck. The AI matched the perspective of the slightly angled screen and added a realistic glow from the overhead desk lamp.
Place the dashboard from the reference photo onto the MacBook screen, matching the perspective and adding a subtle glow.
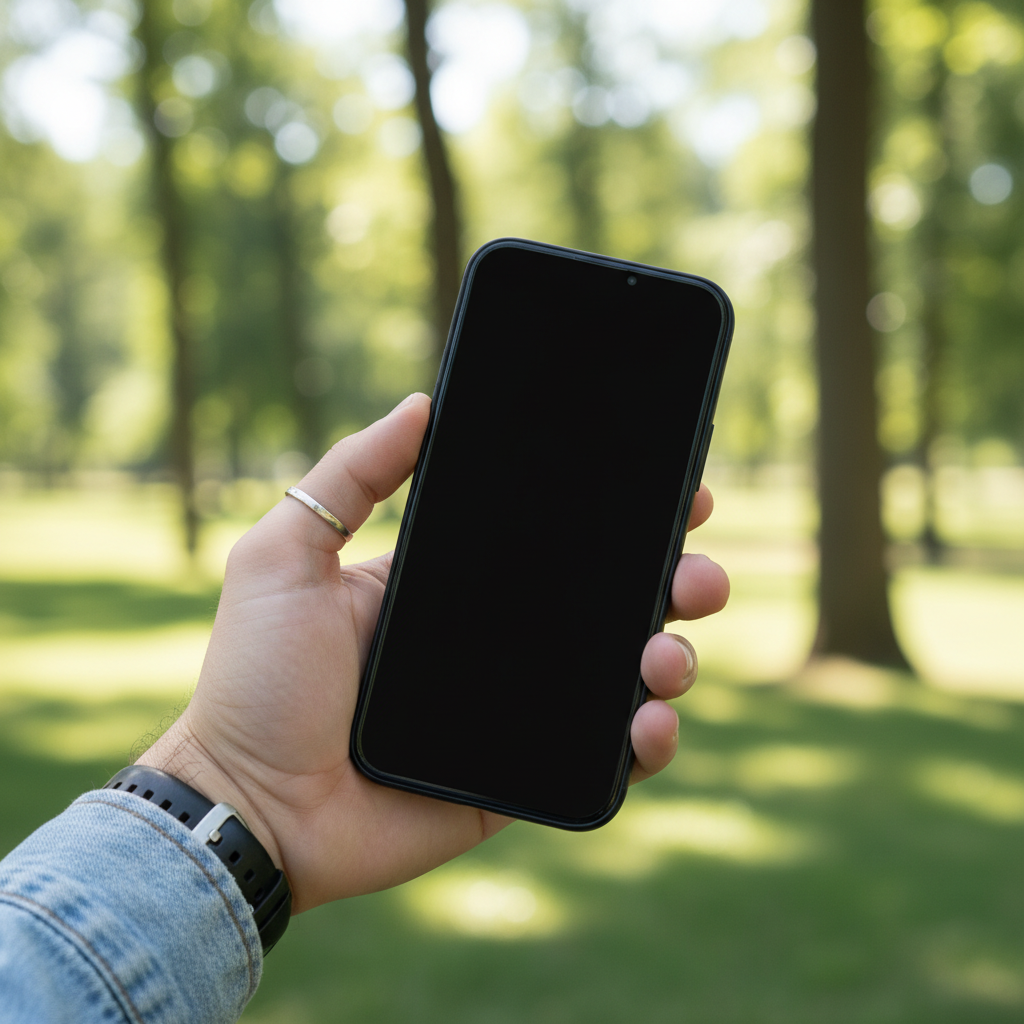
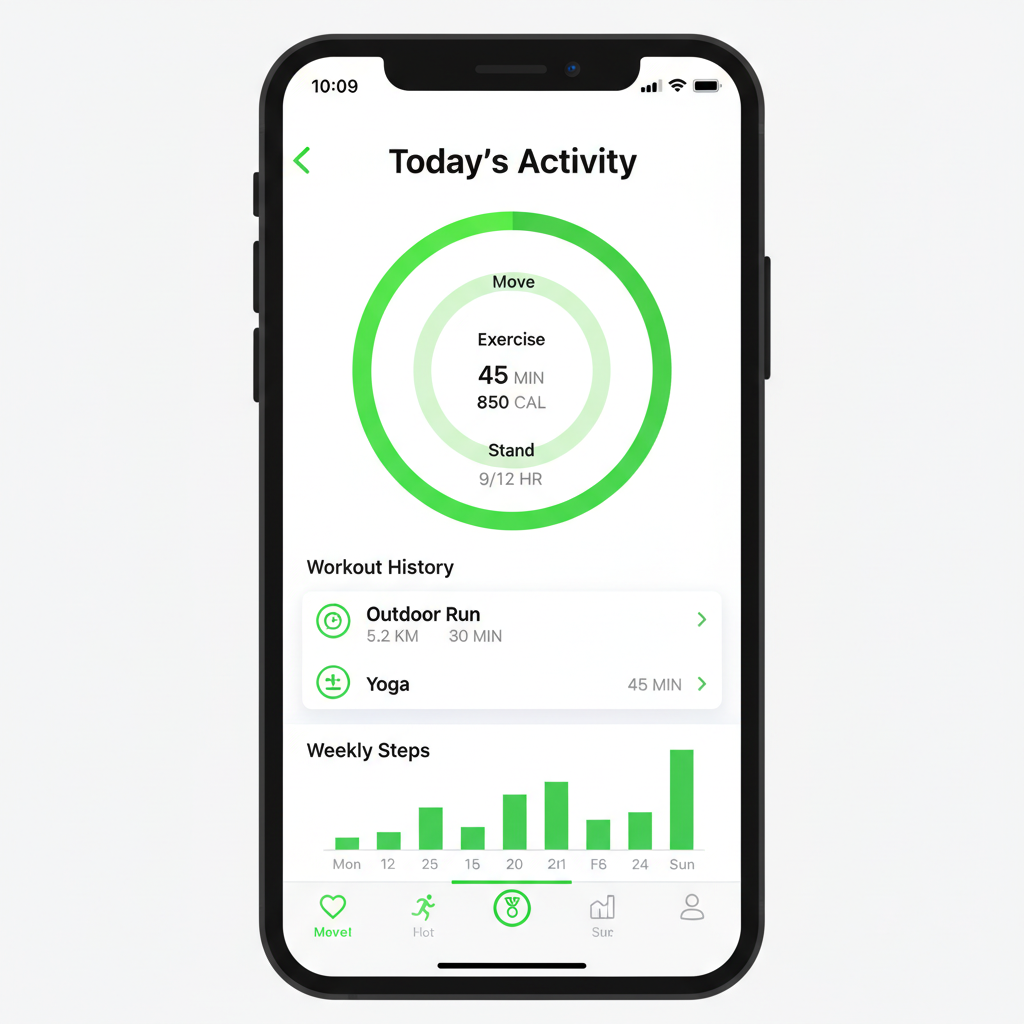
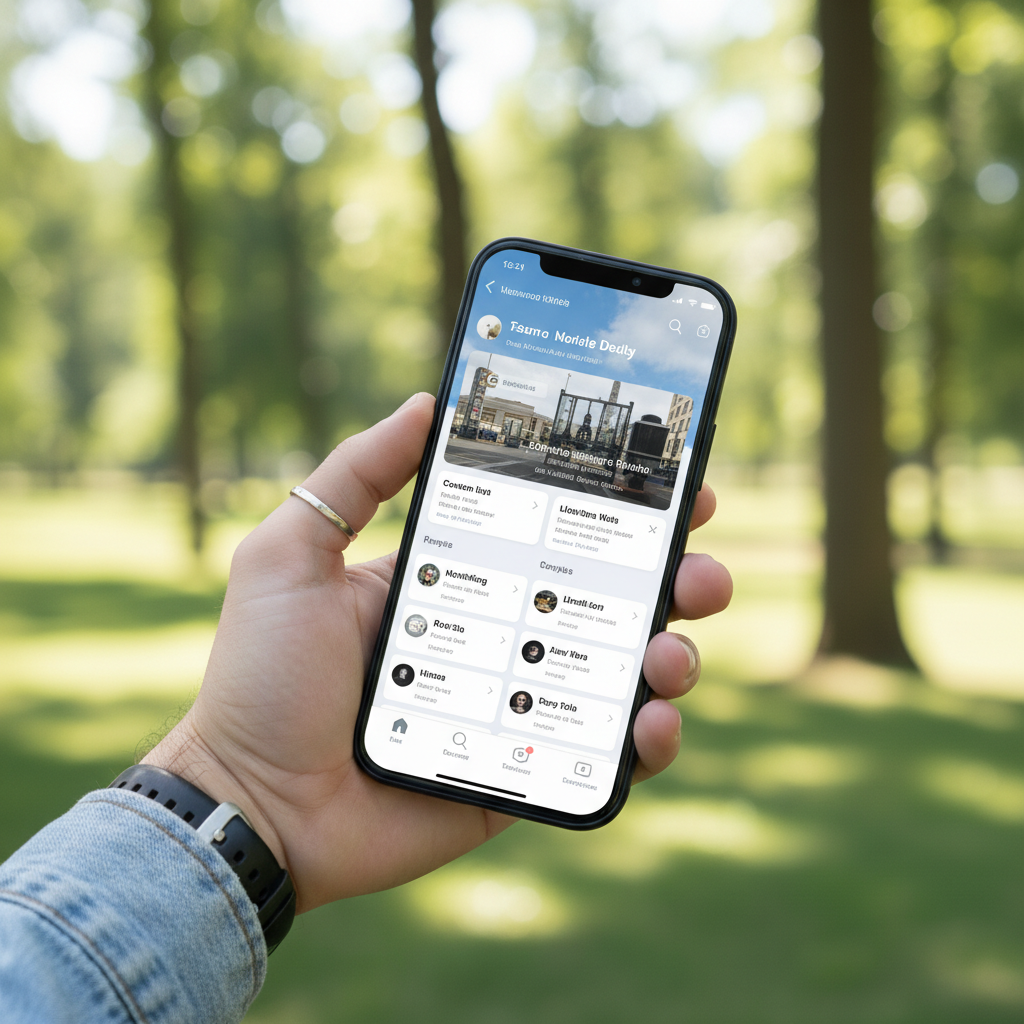
Mobile App on iPhone in Hand Outdoors
A fitness app UI screenshot placed on an iPhone held in a hand outdoors. The AI handled the phone's natural tilt and matched the bright daylight screen brightness for a convincing lifestyle shot.
Put the app screenshot from the reference photo onto the iPhone screen. Make it match the phone's tilt and add a slight reflection so it looks realistic for being outdoors.
Quick answers
Do I need to mark the screen area before placing the screenshot?
No. Just upload your device lifestyle photo, upload the screenshot as a reference image, and describe what you want: 'place the screenshot on the laptop screen with correct perspective.' The AI locates the device screen automatically.
How do I put a screenshot on a device mockup using a real photo?
EditThisPic uses a two-image workflow. Upload your device lifestyle photo as the main image (laptop on desk, phone in hand, tablet on table), then click '+ Add reference image' to upload your UI screenshot. Type 'place the screenshot on the device screen, perspective-matched.' The AI handles all the distortion, screen glow, and reflection matching automatically. Free, no account needed.
Is there a free device mockup generator that doesn't require signup?
Yes. EditThisPic lets you create realistic device mockups from real photos completely free, with no account or signup required. Upload your device photo and UI screenshot, describe the placement, and download the result without any watermark. You get one free mockup per week, or purchase credits for more.
What kind of device photos work best for this?
Photos where the screen faces mostly toward the camera work best — the screen should be clearly visible and take up a reasonable portion of the frame. Ideal setups: laptop open at 90-110 degrees on a desk, phone held upright or laid flat with screen up, tablet propped at reading angle. Avoid photos where the screen is nearly edge-on (more than 60 degrees from the camera), heavily glared, or too small in the frame.
Can I use my own screenshot or do I need a specific format?
Any flat screenshot works: browser captures, Figma exports, full-resolution app screenshots, or UI designs. Upload it as the reference image. The AI handles all scaling and perspective distortion, so start with the full-resolution version of your screenshot. JPG, PNG, and WebP are supported up to 7MB.
What is the best free AI tool for creating device mockups from photos?
EditThisPic is built specifically for this workflow. Unlike static mockup generators that use pre-built 3D frames, EditThisPic works with any real device photo you provide — a MacBook in your actual office, a phone in someone's hand outdoors, a tablet at a client site. The result looks like an actual photograph because it starts from one.
How do I make a professional mockup for my startup pitch deck?
Use a high-quality photo of a premium device (MacBook Pro, latest iPhone) on a clean desk or professional environment. Upload it as the main image, then add your best product screenshot or dashboard as the reference image. Describe 'place the screenshot on the screen with clean screen glow and minimal reflections, suitable for a pitch deck.' This produces a polished result in about 30 seconds — much faster than Figma mockup plugins or Photoshop.
Can I create mockups for multiple device types — phone, tablet, and laptop?
Yes. Run separate edits for each device type. Upload the relevant device photo as the main image, upload your screenshot (or the responsive version for that screen size), and describe the placement. You can create a full device showcase in a few minutes. For a multi-device photo (laptop + phone in same frame), describe both screens in one prompt: 'place the desktop version on the MacBook and the mobile version on the iPhone.'
Why does my screenshot look pixelated or low quality on the screen?
The reference screenshot is likely low resolution. Use the highest-resolution version of your screenshot — a full-resolution browser capture or Figma export at 2x. The AI scales the reference image to fit the screen, so starting with a higher-resolution source always produces sharper results.
How is this different from using a Figma mockup plugin or a mockup generator site?
Standard mockup tools use pre-built 3D device frames with fixed angles and lighting. They look generic because thousands of other brands use the same frames. EditThisPic works with any real-world device photo you provide, so the lighting, background, and environment are completely custom. The result looks like an actual photograph taken with your app on screen — because it starts from a real photo.
Does this work for dark mode UI designs?
Yes. Dark mode screenshots work well on device photos with dim or neutral ambient lighting — office environments with desk lamps, evening shots, or any photo that isn't in direct bright sunlight. Describe 'with screen brightness matching the dim ambient lighting and a cool blue glow from the dark mode display' for the most realistic result.
Is EditThisPic free to use? What are the limits?
EditThisPic offers one free edit per week with no account required and no watermark. If you need more than one mockup per week, you can purchase credit packs starting at $1.99 for 3 edits, or subscribe for monthly credits from $4.99/month. There is no signup required for the free weekly edit.
How much does EditThisPic cost?
You get 1 free edit per week — no account needed. After that, credit packs start at $1.99 for 3 edits. Monthly plans start at $4.99/mo for 20 edits with unused credits rolling over. All edits are full resolution with no watermark.
Related Tools
Browse all composite & placement tools →Explore More Composite & Placement Tools
View all composite & placement tools →Popular use cases
Ready to create your device mockup?
Upload your device photo and screenshot. Results in 30 seconds. Free, no signup required.