Free • No signup Visualize Flooring material changes with AI · Free

AI Flooring Visualizer

Upload your listing photo and describe the improvement. AI visualizes the change instantly.

Original photo before visualize flooring material changes with AI
Before
Photo after visualize flooring material changes with AI with AI
After

AI Flooring Visualizer Free Online | EditThisPic AI

Drop your photo here

or click to browse

Release to upload

Free • No signup

Popular use cases:
  • visualize flooring material changes with AI
  • AI flooring material changes with AI editor
  • photo flooring material changes with AI tool
  • free flooring material changes with AI editing

Cost
Free No signup required
Time
Instant results in 15-30 seconds
Works on
Any device - browser, phone, tablet, desktop
Powered by
AI-powered photo editing

How it works

  1. Upload your photo

    Drop your image into EditThisPic. JPG, PNG, WebP up to 7MB. Choose a clear photo where the area you want to edit is visible.

    Expect: Most edits complete in 20-45 seconds. Complex changes may need 1-2 refinements.
  2. Describe your edit

    Type what you want: 'change the flooring material to the specified type and color.' Be specific about details for best results. The AI understands natural language — no technical skills needed.

    Tip: Mention specific materials and colors — 'stainless steel appliances' gets better results than just 'modern appliances.'

    Copy one of these to get started:

    Flooring Visualizer replace carpet with light oak hardwood — make it look natural and professional
    Light hardwood install wide-plank natural white oak hardwood floors throughout the room, matte finish, quarter-sawn grain
    Large format tile install 24x24 light gray porcelain tile with minimal grout lines for a seamless contemporary look
    Dark hardwood contrast install dark espresso walnut hardwood floors, wide plank, matte finish — dramatic contrast with the white walls
    2 more prompts
    Herringbone wood install white oak hardwood in a herringbone pattern throughout the living room for a classic, upscale look
    Tile to wood replace the existing tile floors with warm natural wood-look LVP in a chevron pattern
  3. Review the result

    Check the output carefully. Look for natural blending, consistent lighting, and realistic details. Compare before and after using the slider.

  4. Refine if needed

    If specific areas need adjustment, tap markers on those spots and regenerate. Most edits work well on the first try.

    Tip: Markers are optional. Try without them first — the AI usually gets it right.
Try it free

AI Flooring Visualizer Free Online | EditThisPic AI

Drop your photo here

or click to browse

Release to upload

Free • No signup

"Staged an empty listing in 30 seconds. My clients thought I hired a professional photographer." @RealEstateKelly

See it in action

Original photo before visualize flooring material changes with AI
Before
->
Photo after visualize flooring material changes with AI with AI
After

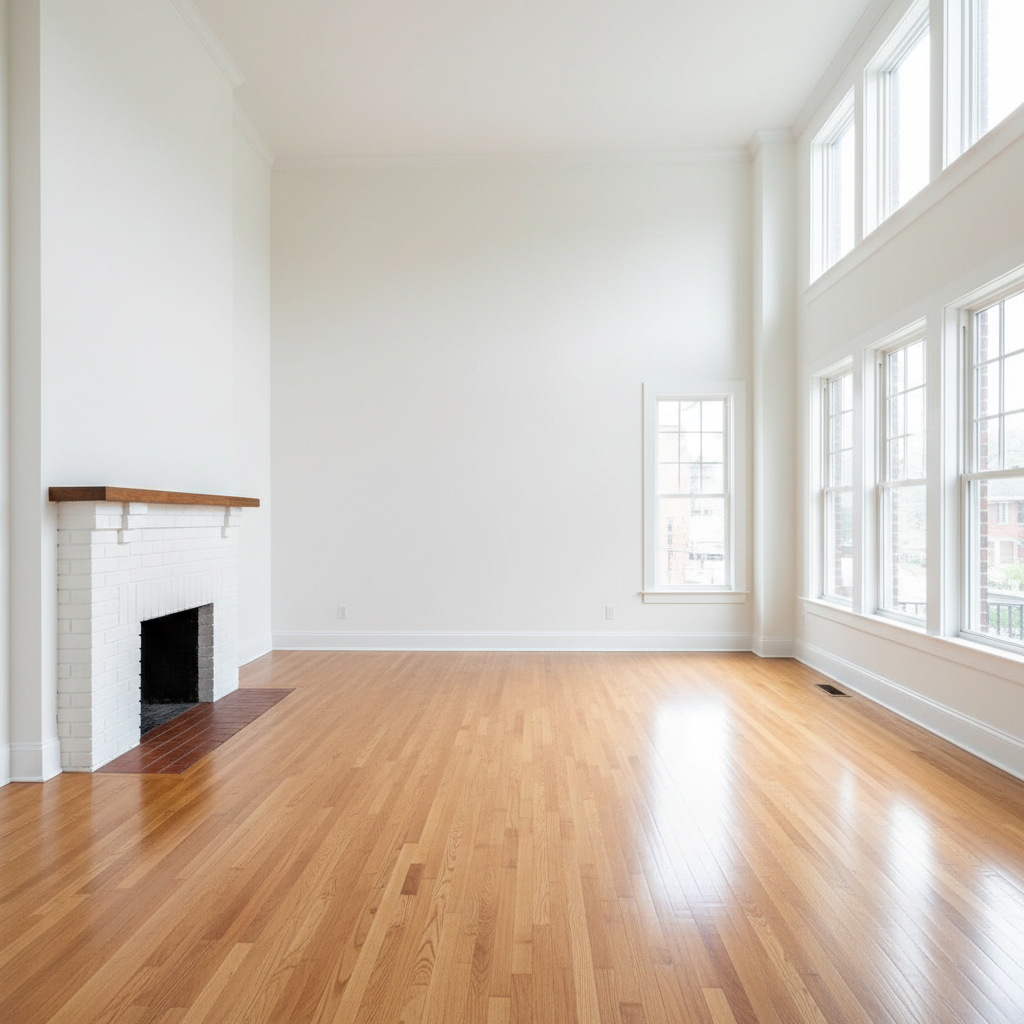
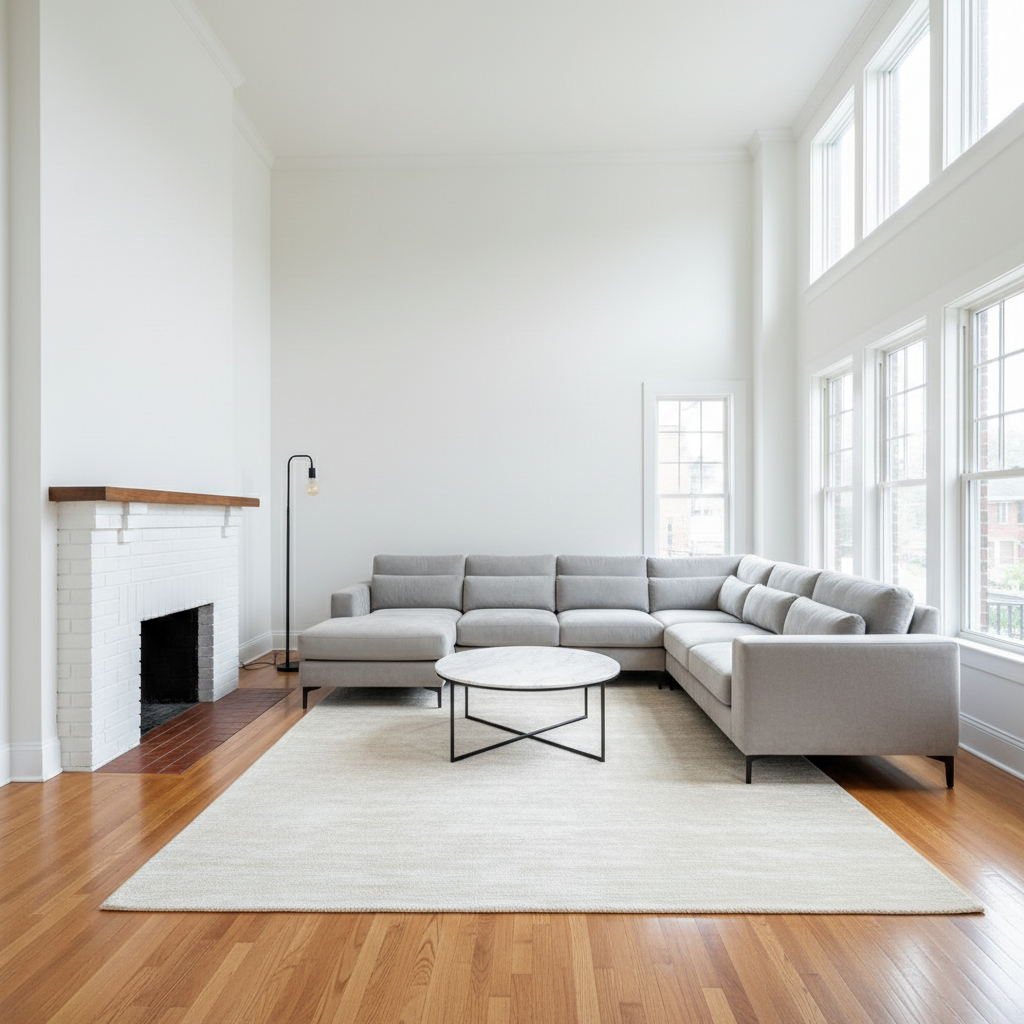
AI Flooring Visualizer — Example 1

A photo edited using EditThisPic to visualize flooring material changes with AI.

Prompt: replace the carpet with light gray luxury vinyl plank (LVP) flooring with a wood-look texture, wide plank format
Original photo before visualize flooring material changes with AI
Before
->
Photo after visualize flooring material changes with AI with AI
After

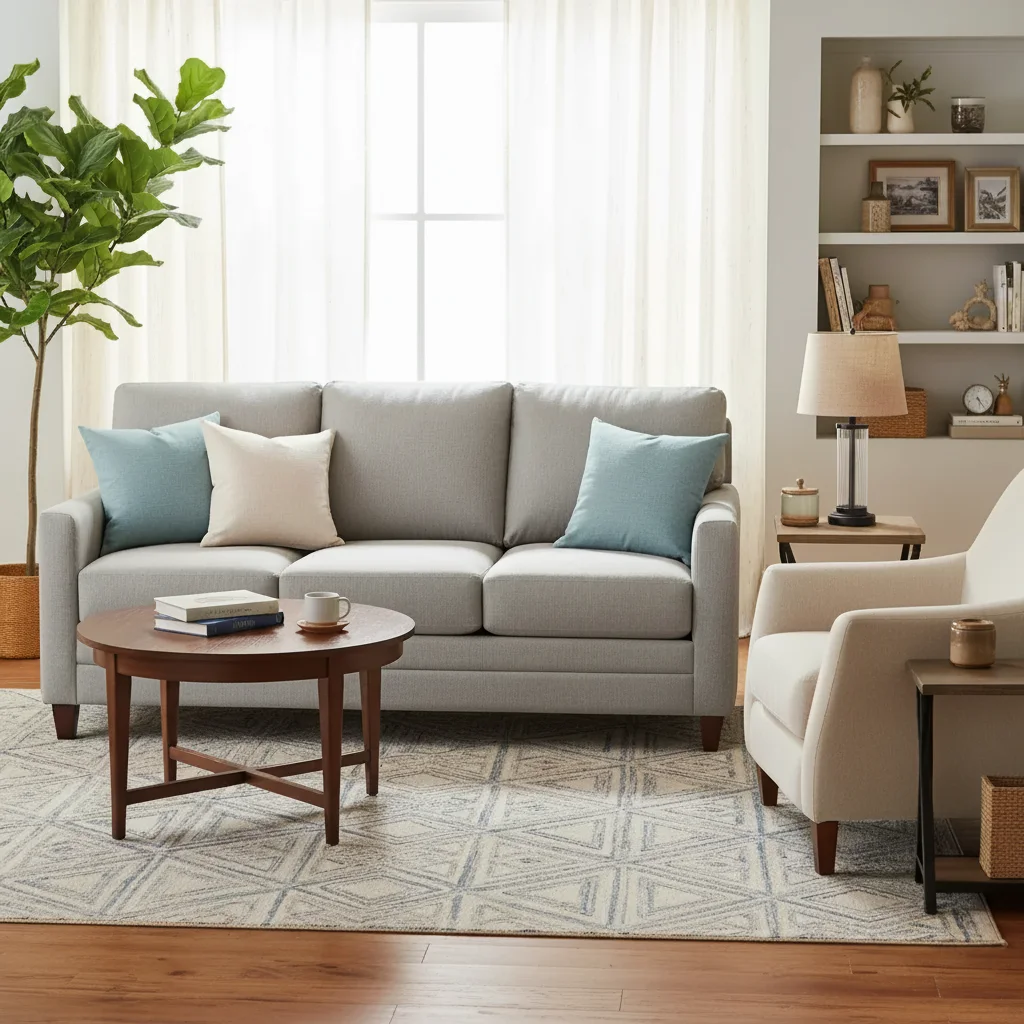
AI Flooring Visualizer — Example 2

Another example showing a different scenario for this editing task.

Prompt: install wide-plank natural white oak hardwood floors throughout the room, matte finish, quarter-sawn grain

Detailed Guides by Scenario

For Real Estate Agents

Common Scenarios

  • Stage empty listings to visualize flooring material changes with AI
  • Clean up property photos for MLS

Best Practices

  • Use natural lighting
  • Show rooms from corner angles

For Home Sellers

Common Scenarios

  • DIY listing photos to visualize flooring material changes with AI
  • Declutter room shots digitally

Best Practices

  • Photograph in daylight
  • Remove personal items digitally

For Interior Designers

Common Scenarios

  • Client presentations to visualize flooring material changes with AI
  • Visualize design changes before renovation

Best Practices

  • Show multiple style options
  • Maintain accurate proportions

If something looks off

New element looks pasted on

Why: The lighting or perspective doesn't match the room.

Try: Regenerate with: 'match the perspective and natural lighting of the room'

Tip: Photos taken straight-on work best for virtual staging and renovation previews.

Wrong room area was modified

Why: The AI couldn't tell which area from description alone.

Try: Tap a marker on the exact wall, floor, or fixture you want changed, then regenerate

Tip: Markers are especially helpful in busy rooms with multiple similar surfaces.

Material or color doesn't look realistic

Why: The AI needs more specific material guidance.

Try: Add material details: 'brushed oak hardwood with matte finish' instead of just 'wood floor'

Tip: Naming the exact material variant produces dramatically more realistic textures.

Proportions look off

Why: The AI estimated the size of the new element incorrectly.

Try: Specify dimensions or reference existing objects: 'standard-size refrigerator matching the cabinet height'

Tip: Referencing something already in the photo gives the AI a scale anchor.

Quick answers

Can I visualize new flooring before installing it?

Yes. Upload a room photo and describe the floor — 'light oak LVP,' 'herringbone hardwood,' or 'large-format gray tile.' EditThisPic AI shows how it looks in your actual room. Free, no signup.

What flooring types can the AI visualize?

Hardwood (oak, walnut, maple, pine), LVP/luxury vinyl plank, porcelain and ceramic tile, marble, carpet, concrete, slate, and travertine. Name the material and format for best results.

Can I compare multiple flooring options on the same room photo?

Yes. Run separate edits with different flooring on the same photo and download each version for side-by-side comparison.

Can I preview carpet in a room that currently has hardwood?

Yes. Try 'add plush light gray carpet over the hardwood floor.' The AI handles the material change in either direction.

Is this useful for real estate listing preparation?

Yes. Showing buyers what updated flooring would look like is one of the highest-ROI uses of AI photo editing for real estate. Flooring upgrades dramatically change a room's feel.

Can I see how the flooring looks with my existing furniture?

Yes, that's the key advantage — the AI changes only the floor while preserving your existing walls, furniture, and decor, so you can judge compatibility accurately.

Does it handle area rugs on top of hardwood?

Yes. Try 'add a large patterned area rug in the center of the hardwood living room floor.' The AI places area rugs naturally over the existing floor.

Is the flooring visualizer free?

Yes. One free visualization per week, no signup or watermark. Credit packs start at $1.99 for comparing multiple flooring types.

Ready to edit your photos?

Free to try. No signup required.

Try it free