Fix Dark Etsy Product Photos
Dark product photos get skipped in search. Brighten your listings in seconds.

Drop your photo here
or click to browse
Release to upload
Free • No signup
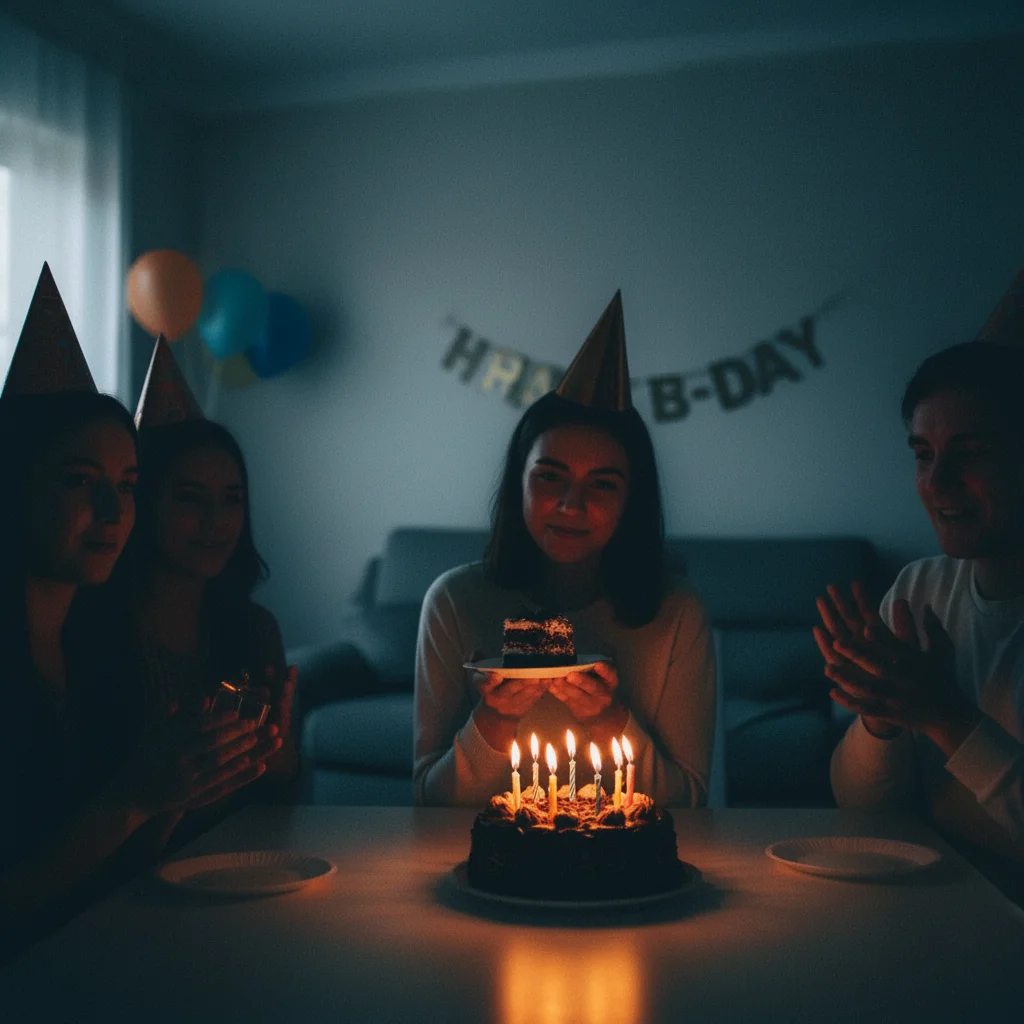
"I could only photograph in the afternoon when sunlight hit my desk. Now I can shoot anytime and fix the lighting with one click." @CozyKnitsByJess
Why Your Etsy Photos Are Too Dark
Dark photos are the silent killer of Etsy sales. Buyers scroll past listings they can't clearly see, and Etsy's search algorithm may rank well-lit photos higher. EditThisPic simulates professional studio lighting on any photo. Shoot whenever you finish crafting, upload, and brighten. No more waiting for the perfect light window.
Tools That Fix Dark Photos
Enhance Lighting
Add professional studio lighting to any dark product photo
Fix Underexposed Photo
Specifically designed to recover detail from dark, underexposed shots
Enhance Colors
Restore washed-out colors that darkness hides
Enhance Photo
All-in-one fix for dark, dull, and lifeless product photos
How to Fix Dark Etsy Product Photos
-
Upload your dark product photo
Drop your underexposed product photo into EditThisPic. JPG, PNG, and WebP up to 7MB. Even extremely dark photos can be recovered. The AI works with whatever light information exists in your image.
Brightness fixes: 15-20 seconds. Full lighting simulation: 20-30 seconds. -
Describe the lighting you want
Tell the AI how you want it lit: 'brighten to look like it was shot in a professional studio with soft, even lighting' or 'add natural window light from the left side, bright and airy.' Be specific about the type of light you want, not just 'make it brighter.'
'Soft studio lighting' gives the best results for product photos. Avoid 'make it brighter' alone since that can overexpose highlights. -
Check exposure and color accuracy
Review the brightened photo carefully. Make sure details in the highlights aren't blown out and the product colors look true to life. Dark photos sometimes hide color casts that become visible once brightened.
If you see a yellow or blue tint after brightening, add 'correct the white balance' to your prompt. -
Download and update your listing
Save your brightened photo and replace the dark one in your Etsy listing. Buyers will finally see your product clearly. Consider re-editing all your dark listings for a consistent, well-lit shop.
Update all your listings at once. A consistently well-lit shop looks more trustworthy than a mix of dark and bright photos.
Prompts for Fixing Dark Etsy Photos
brighten this underexposed product photo to look like it was shot in a professional photo studio with soft, even lighting and natural colors
'Professional photo studio' tells the AI you want even, flattering light, not just raw brightness cranked up
fix the dark exposure, remove the warm indoor light color cast, brighten to simulate natural daylight studio conditions with clean white balance
Indoor evening photos always have a warm color cast that looks orange once brightened. Fix both at once.
brighten the product to be clearly visible while keeping a warm, moody atmosphere, soft directional light from the side, product well-lit but background slightly darker
Some products look better with drama. This keeps a cozy feel while making the actual product visible.
recover all the detail hidden in the dark shadows, brighten evenly across the entire product, reveal textures and fine details that the darkness is hiding
Phone cameras capture more detail than you can see in a dark photo. The AI can pull out texture and detail you thought was lost.
Show 4 more prompts
remove the harsh flash lighting, replace with soft diffused studio lighting, eliminate the bright hotspot in the center and dark edges, even illumination
Flash creates the opposite problem from darkness: bright center, dark edges. This prompt evens out the entire frame.
brighten to look like it was photographed next to a large window on a sunny day, soft natural directional light from the left, bright and airy feel
Window light is the most flattering free light source. The AI can simulate it perfectly from any dark original.
even out the lighting across the entire product, the left side is too dark, make both sides equally well-lit with soft balanced lighting
Uneven lighting from a single window creates one bright side and one dark side. Specify which side needs fixing.
brighten the entire photo, make the background bright white while keeping the product naturally lit with soft studio lighting and accurate colors
If your dark photo has a dark background too, brighten everything but ask for white specifically on the background.
| Edit Type | Prompt | Time | |
|---|---|---|---|
| Studio bright | brighten with soft professional studio lighting, even illumination |
15s | Try This → |
| Window light | simulate bright window light from left, natural and airy |
15s | Try This → |
| Color + bright | brighten and correct white balance, remove indoor color cast |
20s | Try This → |
| Full fix | brighten product, white background, studio lighting, accurate colors |
25s | Try This → |
Dark to Bright Transformations
Evening craft session to studio quality
Product photographed under dim lamp light after an evening crafting session. AI brightened and color-corrected to look like a daytime studio shot.
brighten this underexposed product photo to look like it was shot in a professional photo studio with soft, even lighting and natural colors
Cloudy day window light fixed
Product shot by a window on an overcast day. Flat, gray, and uninspiring. Transformed to bright, warm studio quality.
fix the underexposure, brighten to simulate warm studio lighting, make colors vibrant and true to life


Basement workshop to professional listing
Product photographed in a basement workshop with fluorescent overhead lights. Dark corners and green cast fixed to clean, professional quality.
brighten the entire photo, remove the fluorescent green color cast, add clean professional studio lighting with soft shadows
Common Issues When Fixing Dark Photos
Photo looks bright but colors are wrong
Why: Brightening reveals color casts from indoor lighting that were hidden in the darkness. Yellow from tungsten, green from fluorescent, blue from LED.
brighten and correct the white balance, remove the [yellow/green/blue] color cast, make colors accurate and natural
Always mention white balance correction alongside brightening for indoor photos.
Brightened photo looks grainy or noisy
Why: Your phone camera shot at a high ISO in low light, creating digital noise. Brightening makes noise more visible.
brighten the photo and reduce the grain/noise while keeping product details sharp and clear
Take your photos as bright as possible at the time of shooting. Less noise to begin with means cleaner AI results.
Highlights are blown out (too bright in some spots)
Why: The AI brightened everything equally, overexposing areas that were already adequately lit.
brighten the dark areas while keeping the bright areas from overexposing, balanced and natural exposure across the whole product
Mention 'balanced exposure' or 'recover highlights' to prevent blow-out.
Product looks flat after brightening
Why: Even brightening removes the natural light direction that gives products dimension and depth.
brighten with directional studio light from upper left, creating soft shadows that show the product's shape and texture
Directional light creates depth. Always specify where you want the light to come from.
Dark background still visible after brightening
Why: If your original photo had a dark or cluttered background, brightening reveals it more clearly.
brighten the product and replace the dark background with a clean white studio backdrop with soft shadow
Combine brightening with a background swap for the cleanest result on photos taken in dark rooms.
Frequently Asked Questions
How dark can a photo be and still be fixed?
Very dark. As long as you can barely make out the product shape, the AI can recover it. Phone cameras actually capture more information in dark areas than you can see on screen. The AI pulls out that hidden detail and brightens it. Only completely black photos with zero detail are unrecoverable.
Is it better to brighten the photo or replace the background?
Both, ideally. Start by brightening the product itself, then replace the background with a clean white or styled surface. A dark photo usually has a dark background too, and just brightening reveals clutter. Combine both in one prompt: 'brighten the product and replace background with white studio backdrop.'
Can I fix photos taken at night with no natural light?
Yes. The AI simulates professional studio lighting regardless of your original light source. Photos taken under lamp light, overhead fixtures, or even in near-darkness can be transformed to look like daytime studio shots. The AI adds the light that wasn't there.
Will brightening change my product's colors?
It can reveal color casts that were hidden in darkness. Indoor lighting often adds yellow, green, or blue tints. Add 'maintain accurate product colors' or 'correct white balance' to your prompt to get true-to-life colors after brightening.
Should I still try to get good lighting when photographing?
Better original photos always give better results, but don't let bad lighting stop you from listing products. Photograph when you can, and let the AI fix the lighting afterward. If you can get near a window during the day, great. If not, don't wait. Fix it digitally and start selling.
Can I use flash and fix the results?
Yes. Flash creates a different problem than darkness: harsh center brightness with dark edges and strong shadows. The AI can fix flash photos too. Use 'remove harsh flash lighting, replace with soft even studio lighting' to get the best results from flash photos.
Stop waiting for perfect light
Photograph your products anytime. Fix the lighting with AI. Free to try.
Brighten Your Photos Now