Do I need to mark the subject before blurring the background?
No! Just describe what you want: 'blur background keeping person sharp' or 'add bokeh to background.' The AI automatically detects your main subject. Only use markers if you have a complex scene where the AI needs help identifying what to keep sharp.
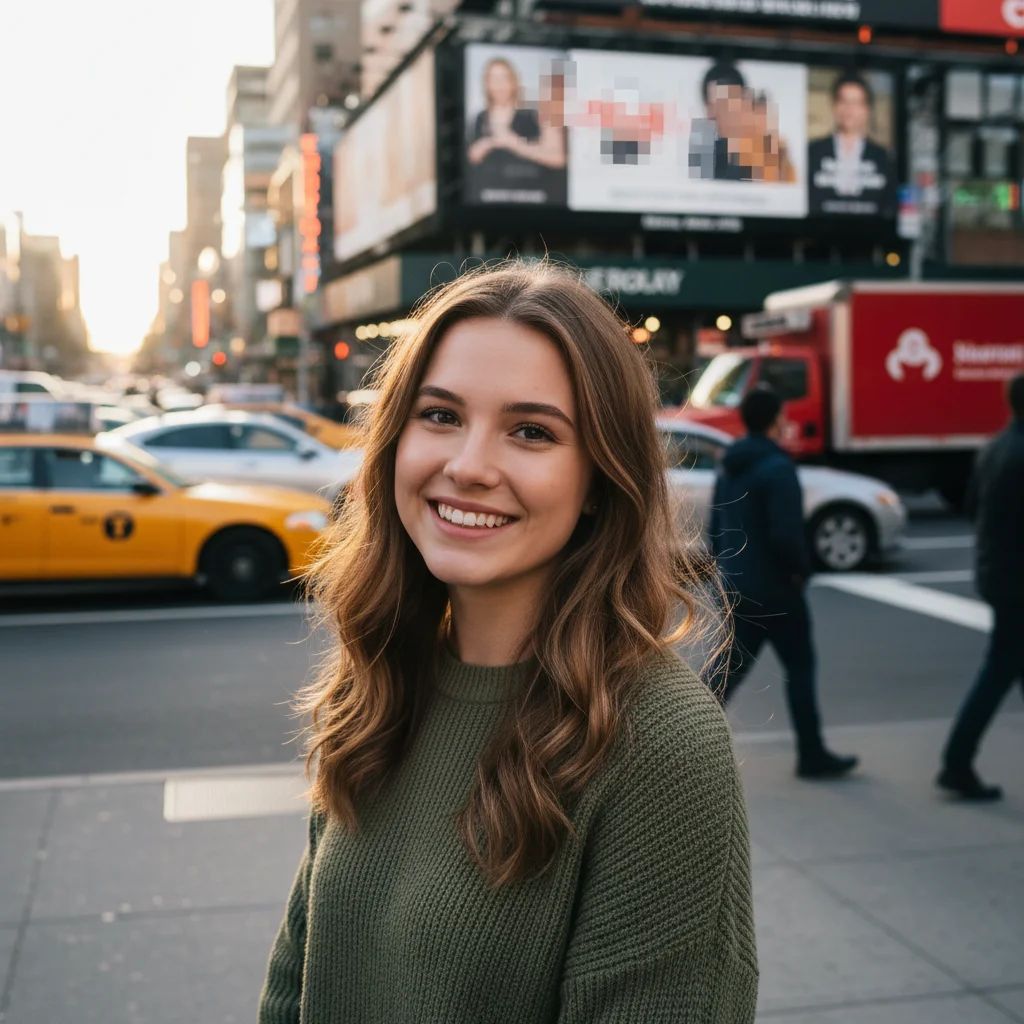
How do I blur a photo background for free?
Upload your photo to EditThisPic, type 'blur background keeping subject sharp', and click Generate. The AI handles subject detection and blur application automatically. No Photoshop or manual selection required. Free to try with no signup.
Will the blur look like a real camera or obviously fake?
When you request 'bokeh' or 'depth of field', the AI creates natural-looking blur that mimics expensive camera lenses. The key is good subject separation in your original photo. Photos with clear foreground/background distinction produce the most realistic results.
What's the best free tool to blur photo backgrounds?
EditThisPic offers free AI-powered background blur with no signup, no watermark, and no download required. Unlike manual blur tools that require selecting areas, EditThisPic understands natural language and automatically separates subjects from backgrounds. Perfect for portraits, product photography, and social media posts.
Is EditThisPic's AI background blur adder really free?
Yes — you get 1 free edit per week, no account needed. For unlimited edits, plans start at $3.99/month.
Can I add background blur on my phone?
Yes. EditThisPic works in any mobile browser — iPhone, Android, tablet. No app download needed.
What photo formats does the AI background blur adder support?
JPG, PNG, WebP, and HEIC. Upload any common photo format and EditThisPic handles the rest.
How long does it take to add background blur?
Usually 15-30 seconds. Upload your photo, describe what you want, and the AI delivers the result.