Free • No signup Create Sticker · Free

AI Sticker Maker

Describe the sticker style and AI converts your photo into a die-cut sticker in seconds.
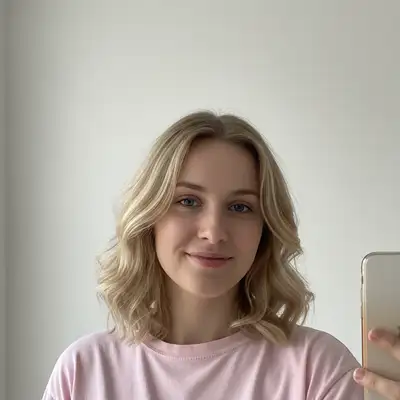
French bulldog with tilted head and red bow tie
Before
Same dog as a die-cut sticker with bold white outline and vibrant colors
After

AI Sticker Maker

Drop your photo here

or click to browse

Release to upload

Free • No signup

Advertisement
Popular use cases:
  • custom sticker printing
  • laptop stickers
  • messaging app stickers
  • product packaging
  • planner stickers
  • pet stickers
  • brand stickers
  • party favors

Cost
Free No signup required
Time
Instant results in 15-30 seconds
Works on
Any device - browser, phone, tablet, desktop
Powered by
AI-powered photo editing
Scenario Prompt Time
Classic die-cut sticker convert to die-cut sticker with white outline and vibrant colors 30s
Cute cartoon sticker turn into cartoon-style sticker with thick outline 35s
Kawaii sticker convert to kawaii-style sticker with chibi proportions 40s

How it works

  1. Upload your photo

    Drop your image into EditThisPic. JPG, PNG, WebP up to 7MB. Photos with clear subjects against simple backgrounds produce the cleanest sticker cutouts. Pet photos, headshots, and product photos all work great.

    Expect: Simple sticker conversion: 30-40 seconds. Complex subjects with intricate edges: 45-60 seconds.
  2. Describe the sticker style you want

    Type your instruction: 'convert this photo into a die-cut sticker with bold white outline, vibrant saturated colors, and clean cutout on white background' or 'make this into a cute cartoon sticker with thick black outline.' Specify the outline style, color treatment, and background. No marking needed—the AI handles the cutout automatically.

    Tip: Specify 'white outline border' for classic die-cut look or 'holographic effect' for trendy iridescent stickers.

    Copy one of these to get started:

    Classic die-cut sticker convert this photo into a die-cut sticker with bold white outline border, vibrant saturated colors, and clean cutout on white background
    Cute cartoon sticker turn this photo into a cute cartoon-style sticker with thick black outline, simplified features, and cheerful expression
    Kawaii sticker convert this photo into a kawaii-style sticker with adorable chibi proportions, sparkle effects, and pastel color outline
    Retro vinyl sticker make this into a retro vinyl sticker with faded vintage colors, distressed texture, and thick rounded outline
    3 more prompts
    Emoji-style sticker convert this face photo into an emoji-style sticker with simplified circular design, flat colors, and expressive features
    Glitter/holographic sticker turn this into a holographic sticker effect with rainbow shimmer, glitter accents, and iridescent outline
    Sticker pack collection convert this photo into a sticker with multiple expression variations arranged in a sticker sheet layout, each with die-cut outlines
  3. Review the sticker result

    Check that the cutout is clean with no jagged edges. Look for a bold, consistent outline, vibrant colors that pop, and proper sticker proportions. The result should look print-ready.

  4. Refine with markers if needed

    If the cutout missed part of the subject or the outline needs adjusting in certain areas, tap markers on those spots and regenerate. Most sticker conversions produce clean results on the first try.

    Tip: Markers are for precision refinement only. Try without them first—sticker cutouts are usually spot-on.
Try it free

AI Sticker Maker

Drop your photo here

or click to browse

Release to upload

Free • No signup

"Made stickers of my dog's funniest faces and ordered them from a print shop. They're on everyone's laptops at the office now. The cutouts are so clean." @StickerPupParent

See it in action

French bulldog with tilted head and red bow tie
Before
->
Same dog as a die-cut sticker with bold white outline and vibrant colors
After

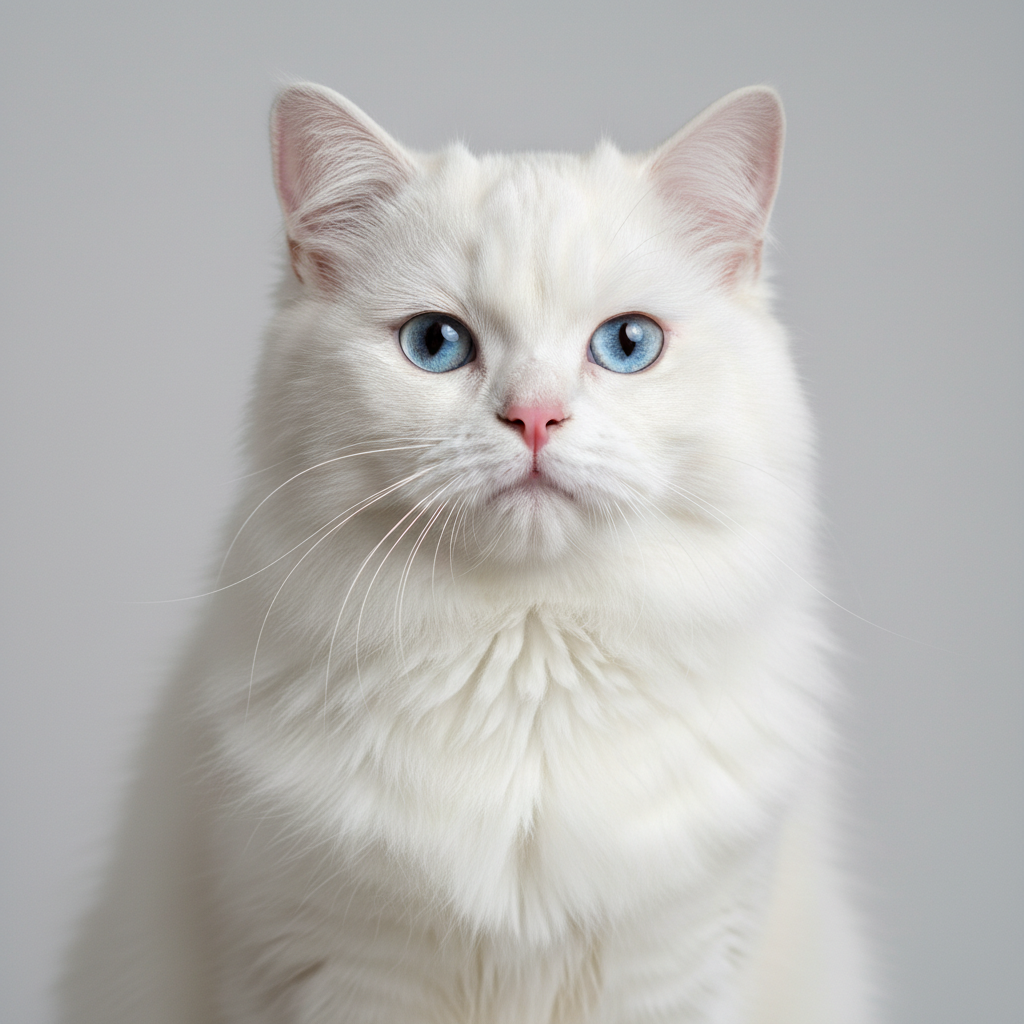
Pet photo to die-cut sticker

A pet photo transformed into a clean die-cut sticker with bold white outline and vibrant colors.

Prompt: convert this photo into a die-cut sticker with bold white outline border, vibrant saturated colors, and clean cutout on white background
Woman making peace sign with sunglasses and big smile
Before
->
Same woman as a cute cartoon sticker with thick black outline
After

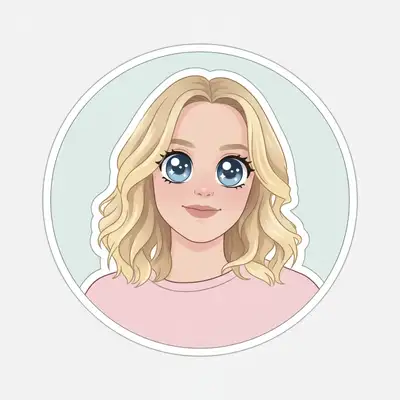
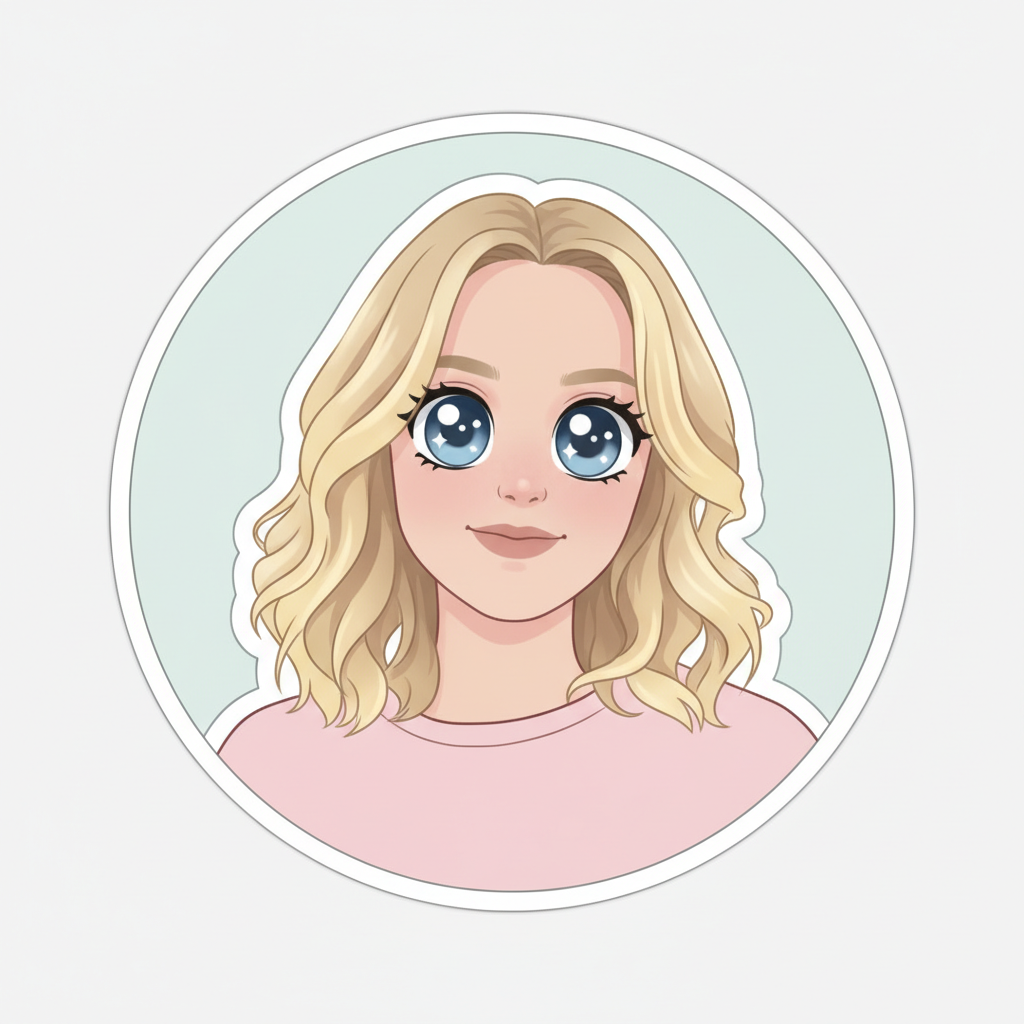
Selfie to cartoon sticker

A selfie converted into a cute cartoon-style sticker with thick outlines and simplified cheerful features.

Prompt: turn this photo into a cute cartoon-style sticker with thick black outline, simplified features, and cheerful expression
Advertisement

If something looks off

AI changed the wrong area or something I didn't want changed

Why: The AI couldn't determine which subject to make into a sticker from description alone.

Try: Tap a marker on the specific subject you want as a sticker, then regenerate with the same prompt

Tip: Markers tell the AI 'I mean THIS subject specifically.' Use them when multiple subjects are in the photo.

Cutout edges are jagged or messy

Why: Complex edges like hair, fur, or feathers are harder for the AI to cut out cleanly.

Try: create a die-cut sticker with very clean, smooth cutout edges and a thick white outline that covers any rough edge areas

Tip: A thicker outline border naturally covers edge imperfections—specify 'thick outline' for cleaner results.

Sticker doesn't look like a real sticker—just a cutout photo

Why: The AI removed the background but didn't apply the characteristic sticker styling.

Try: convert to sticker style with bold outline border, slightly simplified features, boosted color saturation, and that distinct sticker aesthetic

Tip: 'Sticker aesthetic' with 'simplified features' and 'boosted saturation' creates the real sticker look beyond just a cutout.

Outline is too thin or too thick

Why: The AI chose a default outline weight that doesn't match your preferred sticker style.

Try: create sticker with [thin/medium/thick] outline border around the subject, clean and even width all around

Tip: Specify exact outline thickness: 'thin delicate line' for elegant or 'thick bold border' for classic die-cut.

Part of the subject got cut off in the sticker

Why: The AI's cutout was too aggressive, clipping parts of the subject like ears, hair, or hands.

Try: create sticker that includes the complete subject with nothing cut off, generous outline border around all edges including extremities

Tip: 'Complete subject' and 'including extremities' tells the AI not to clip any body parts in the cutout.

Quick answers

Do I need to mark the subject before creating a sticker?

No! Just upload your photo and describe the sticker style: 'convert this into a die-cut sticker with white outline.' The AI identifies the subject and creates the sticker automatically. Only use markers if there are multiple subjects and you want to specify which one.

How do I make a sticker from a photo for free?

Upload your photo to EditThisPic and type 'convert this photo into a die-cut sticker with bold white outline and vibrant colors.' The AI generates a print-ready sticker in about 30 seconds. Free to use, no account needed, no watermark.

Is there a free AI sticker maker that doesn't require login?

Yes. EditThisPic creates stickers from photos with no signup required. Upload your image, describe the sticker style, and download. No watermarks, no account walls. Results are ready for printing or digital use.

What's the best free AI tool for making custom stickers from photos?

EditThisPic lets you describe the exact sticker style—die-cut, cartoon, kawaii, retro vinyl, or holographic. Unlike simple cutout tools, it applies sticker-specific styling. Free, no login, results in 30 seconds.

Ready to make stickers from your photos?

Free to try. No signup required.

Try it free