Free • No signup Sharpen Photo · Free

AI Photo Sharpener

Just describe what you want and AI sharpens it perfectly.

Soft portrait with blurry face
Before
Sharp portrait with crisp eye and facial detail
After

Sharpen Blurry Photos

Drop your photo here

or click to browse

Release to upload

Free • No signup

Advertisement
Popular use cases:
  • Portrait photography
  • Product photography
  • Real estate listings
  • Social media photos
  • Document scanning
  • Print preparation
  • Professional headshots
  • E-commerce photos

Cost
Free No signup required
Time
Instant results in 15-30 seconds
Works on
Any device - browser, phone, tablet, desktop
Powered by
AI-powered photo editing
Scenario Prompt Time
General sharpening sharpen the entire photo to improve clarity and detail 15s
Portrait face sharpening sharpen the face to make eyes and features crisp without over-processing 15s
Selective sharpening sharpen the subject in the foreground while leaving the background soft 20s
Sharpen without noise sharpen the photo while minimizing grain and noise amplification 20s

How it works

  1. Upload your photo

    Drop your blurry or soft image into EditThisPic. JPG, PNG, WebP up to 7MB. Works best with slight blur or softness—not extreme motion blur.

    Expect: Simple sharpening: 15-20 seconds. Complex multi-area sharpening: may need 2 refinements.
  2. Describe what you want sharpened

    Type your instruction: 'sharpen the entire photo' or 'increase sharpness and clarity on the face.' Be specific if only certain areas need sharpening. No marking needed for full-image sharpening—the AI applies it globally.

    Tip: Say 'sharpen without adding grain or noise' if your photo is already a bit noisy. The AI will enhance edges without amplifying texture artifacts.

    Copy one of these to get started:

    General photo sharpening sharpen the entire photo to improve clarity and detail
    Portrait face sharpening sharpen the face to make eyes and features crisp without over-processing
    Selective area sharpening sharpen the subject in the foreground while leaving the background soft
    Text document sharpening sharpen the text to make letters crisp and readable
    2 more prompts
    Fix soft focus sharpen the slightly out-of-focus photo to recover detail and clarity
    Sharpen without noise sharpen the photo while minimizing grain and noise amplification
  3. Generate and review

    AI enhances edges and recovers detail. Zoom to 100% and check critical areas like eyes, text, or fine details to verify sharpness looks natural, not over-processed.

Try it free

Sharpen Blurry Photos

Drop your photo here

or click to browse

Release to upload

Free • No signup

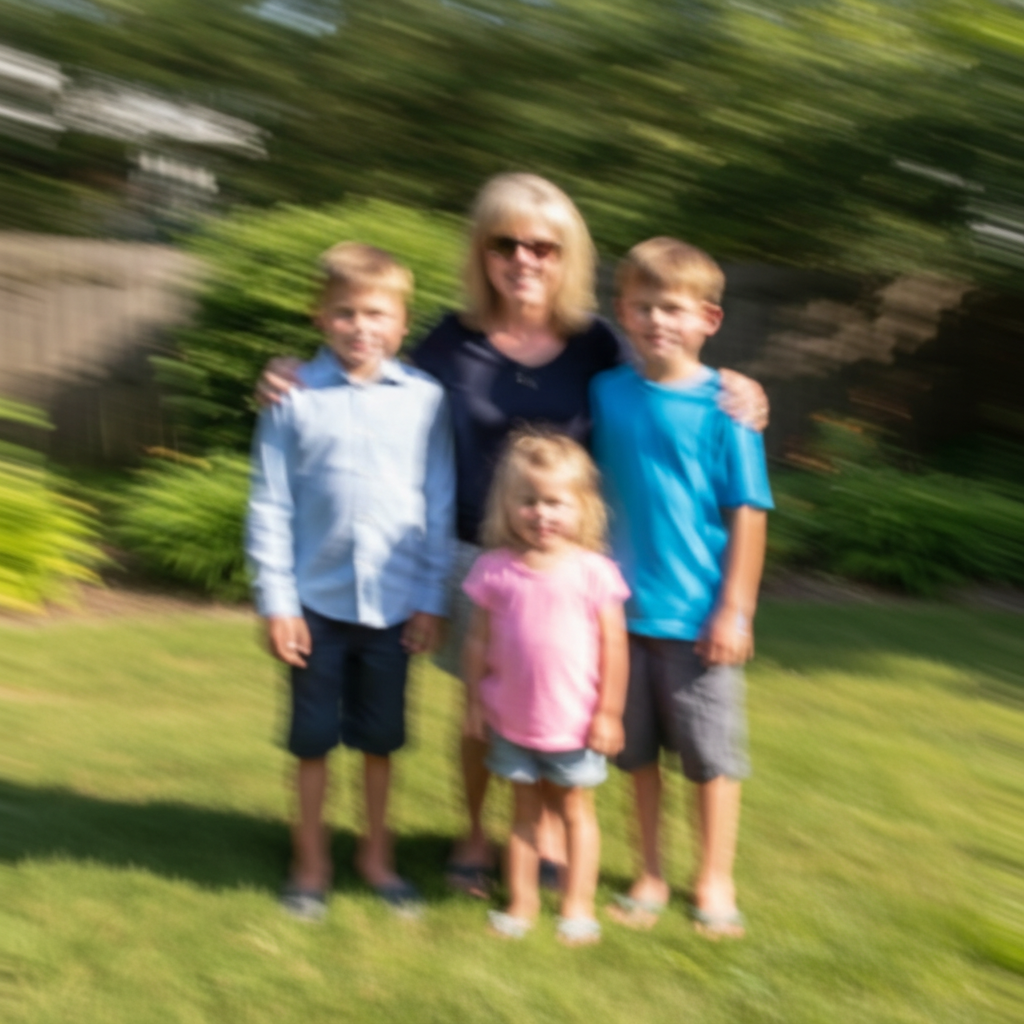
"Saved a slightly blurry family photo that I thought was ruined. Just typed 'sharpen' and it fixed it instantly." @happymom2024

See it in action

Soft portrait with blurry face
Before
->
Sharp portrait with crisp eye and facial detail
After

Soft portrait sharpened

Portrait was slightly soft from missed focus. Sharpening recovered detail in eyes and features while keeping skin natural.

Prompt: sharpen the face to make eyes and features crisp without over-processing
Soft product photo lacking edge definition
Before
->
Sharp product photo with crisp edges and texture
After

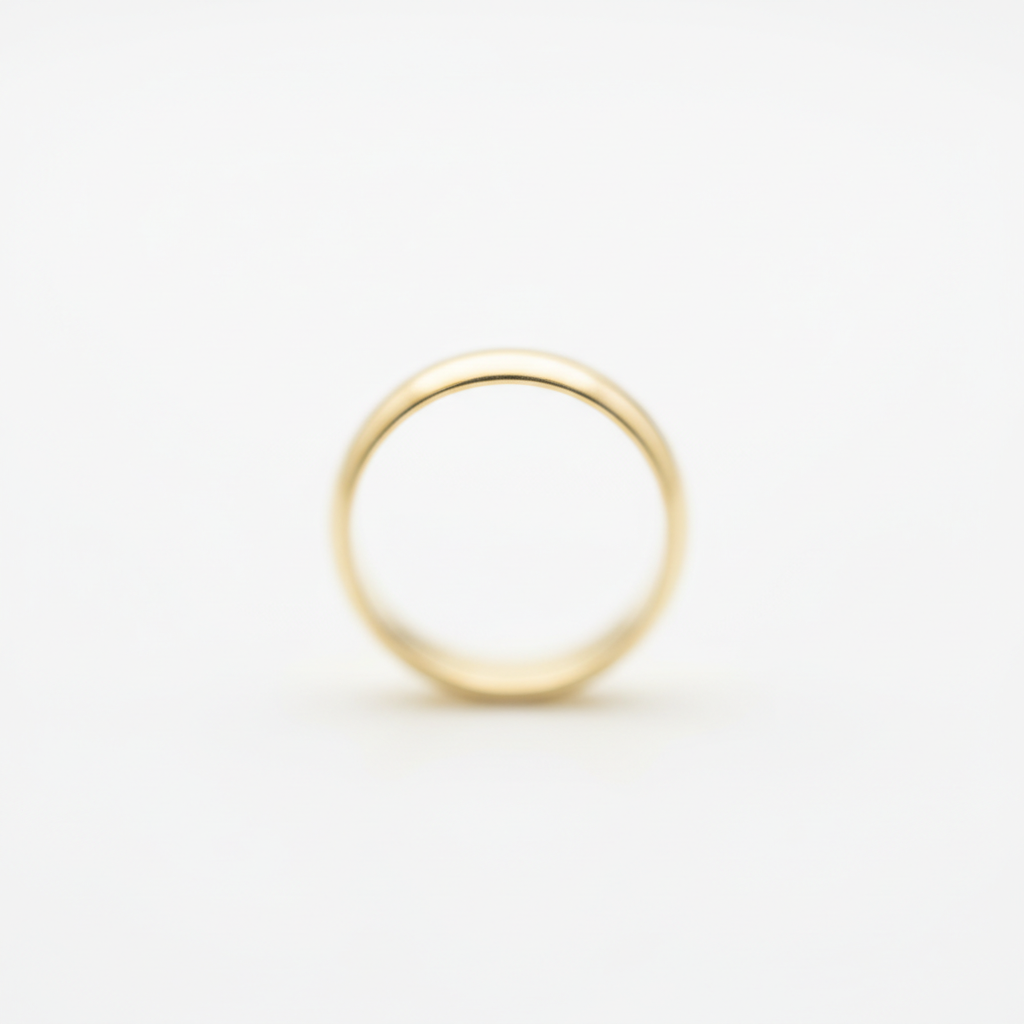
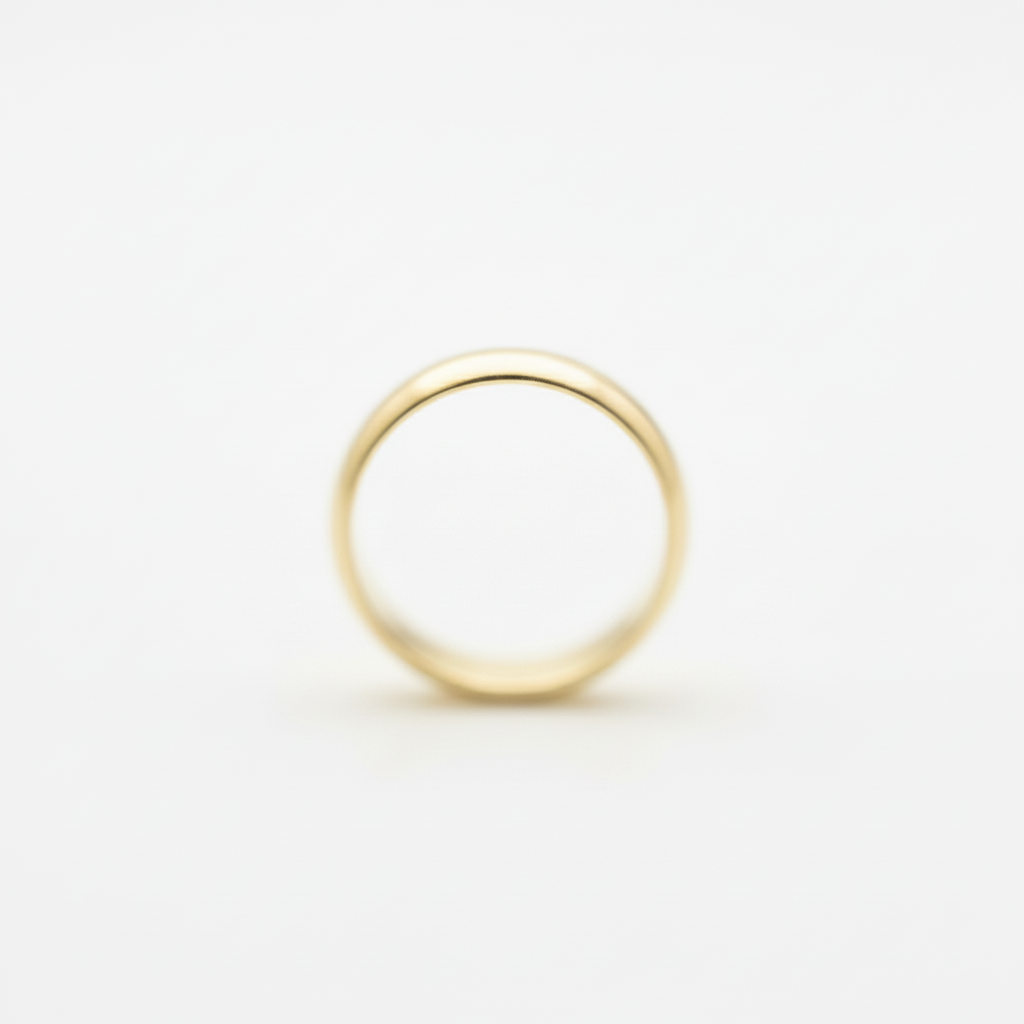
Product photo clarity improved

Product shot was soft from camera shake. Sharpening brought back crispness in edges and texture detail.

Prompt: sharpen the entire photo to improve clarity and detail
Advertisement

If something looks off

AI changed the wrong area or sharpened something I didn't want

Why: Sharpening applies globally by default. The AI couldn't tell from description alone that you wanted selective sharpening.

Try: Tap markers on the specific areas that need sharpening (like a face or subject), then regenerate with 'sharpen only the marked areas'

Tip: Use markers when you want selective sharpening—like making a subject crisp while keeping a soft background untouched.

Photo looks over-sharpened or has harsh edges

Why: The AI may have applied too much sharpening, especially if the photo was already fairly sharp or had visible noise.

Try: Try a gentler prompt: 'slightly increase sharpness' or 'subtle sharpening to enhance detail naturally'

Tip: Start with subtle sharpening. You can always regenerate with stronger sharpening if the first pass is too mild.

Noise or grain became more visible after sharpening

Why: Sharpening enhances all edges, including noise and grain. If your photo was noisy, sharpening amplified it.

Try: Use: 'sharpen the photo while minimizing grain and noise amplification' or 'smart sharpening that enhances detail without increasing noise'

Tip: For noisy photos, combine denoising with sharpening: 'reduce noise first, then apply subtle sharpening to important areas.'

Blurry areas still look blurry after sharpening

Why: AI sharpening can recover some detail from mild softness, but can't fully fix extreme blur or motion blur. If focus was way off or there's motion blur, sharpening has limits.

Try: Try: 'sharpen as much as possible while keeping it natural' but know that heavily blurred areas may not fully recover

Tip: Sharpening works best on slight softness or missed focus. It can't magically recover detail that wasn't captured in the first place.

Quick answers

Do I need to mark areas before describing sharpening?

No! For most edits, just describe what you want: 'sharpen the entire photo' or 'increase sharpness on the face.' The AI applies it automatically. Only use markers when you need selective sharpening—like sharpening a subject while leaving a soft background untouched.

How do I sharpen a blurry photo for free?

Upload your photo to EditThisPic and type 'sharpen the blurry photo' or 'increase sharpness and clarity.' The AI will enhance edges and recover detail in 15-20 seconds. Completely free to try, no signup required, no watermarks.

Can AI sharpening fix motion blur?

AI sharpening works best on slight softness or mild focus issues. It can improve perceived sharpness on slightly blurry photos, but can't fully recover detail from extreme motion blur or heavily out-of-focus shots. If the blur is severe, sharpening has limits.

Will sharpening make my photo look grainy?

Sharpening can amplify existing noise or grain. If your photo is already noisy, use the prompt 'sharpen while minimizing grain and noise amplification' to apply smart sharpening that enhances edges without making noise more visible.

Ready to sharpen your photos?

Free to try. No signup required.

Try it free