Free • No signup Add Furniture · Free

AI Room Photo Furniture Stager

← Browse all add & replace tools

Last updated

Add furniture to room photos using a reference image — stage any room type with specific pieces in seconds.
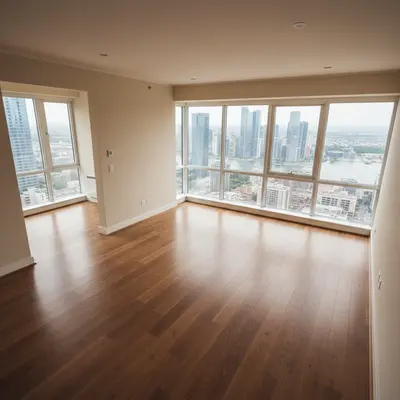
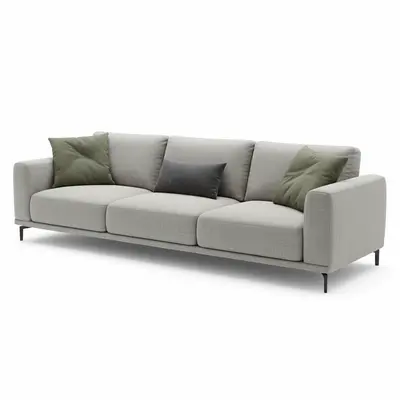
01Photo 1
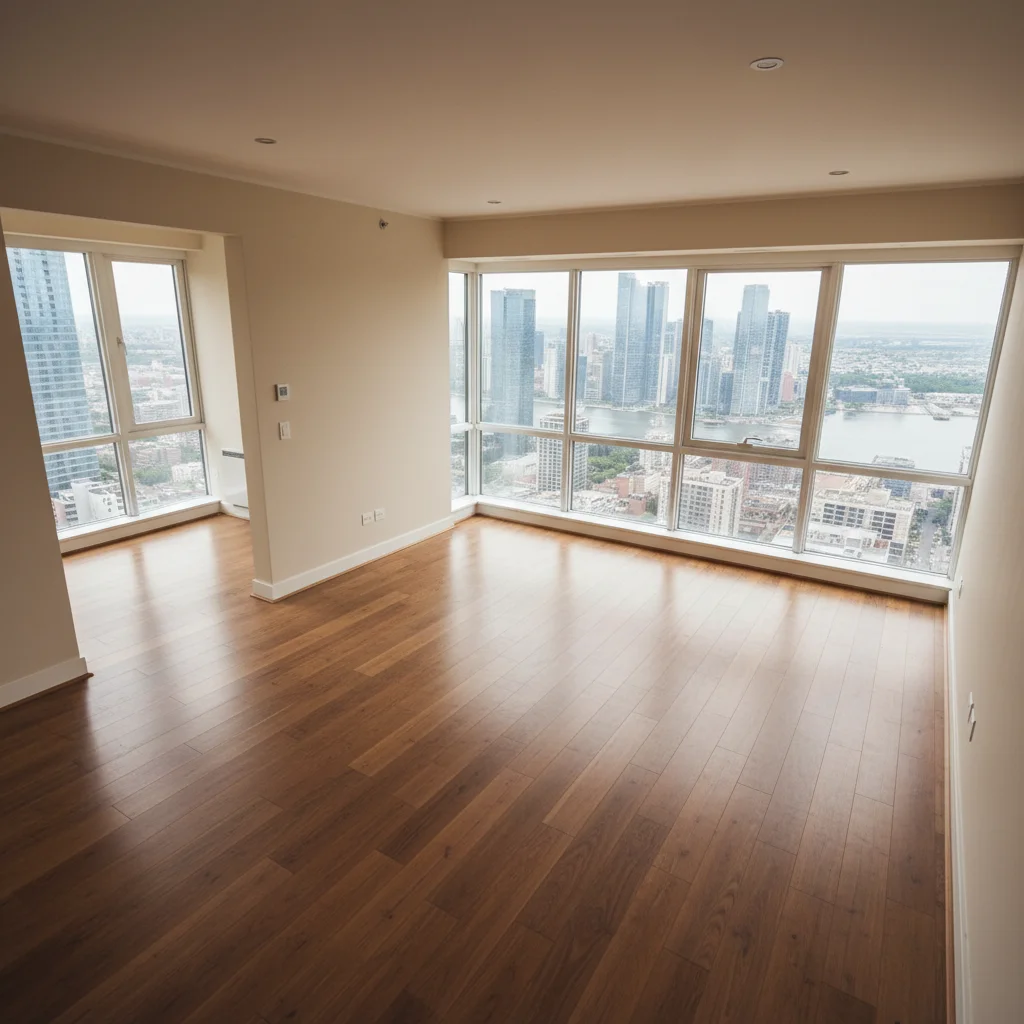
Empty living room photo with large windows and recessed lighting
02Photo 2
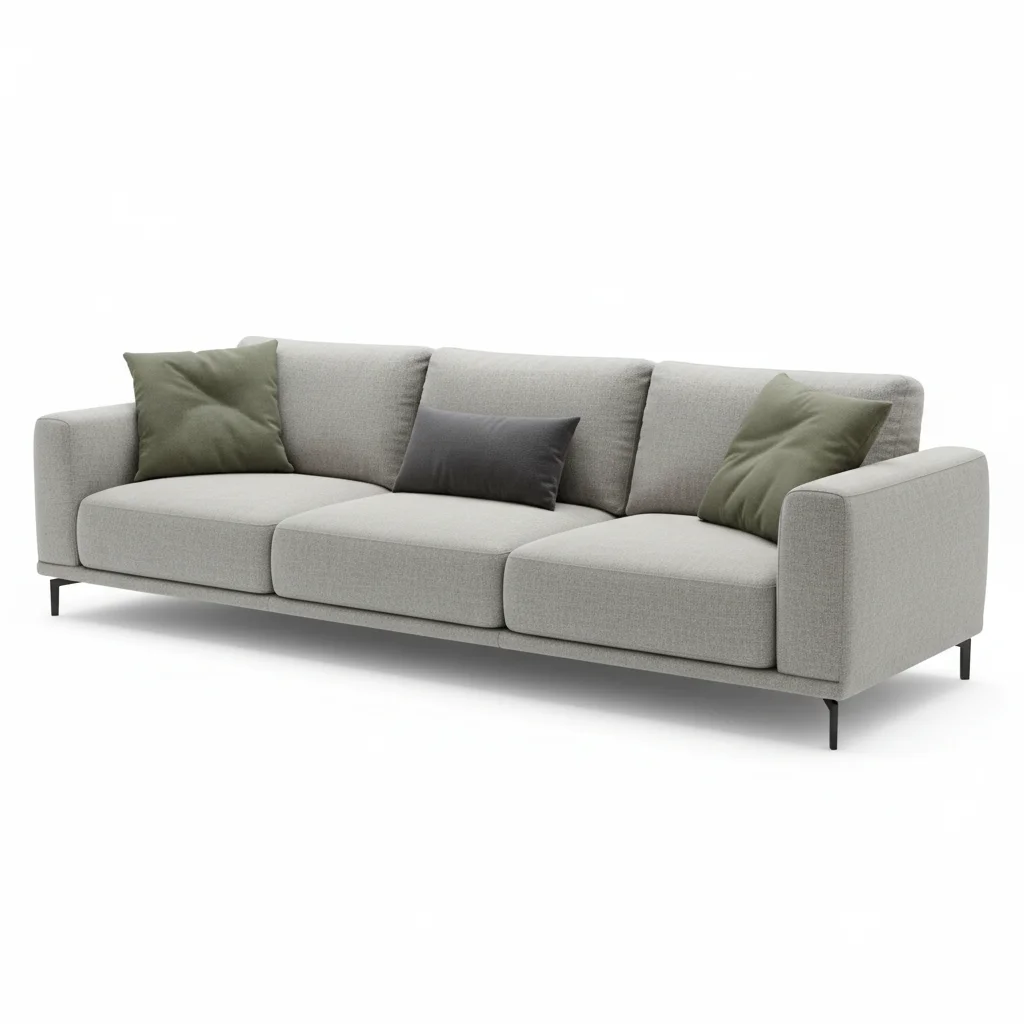
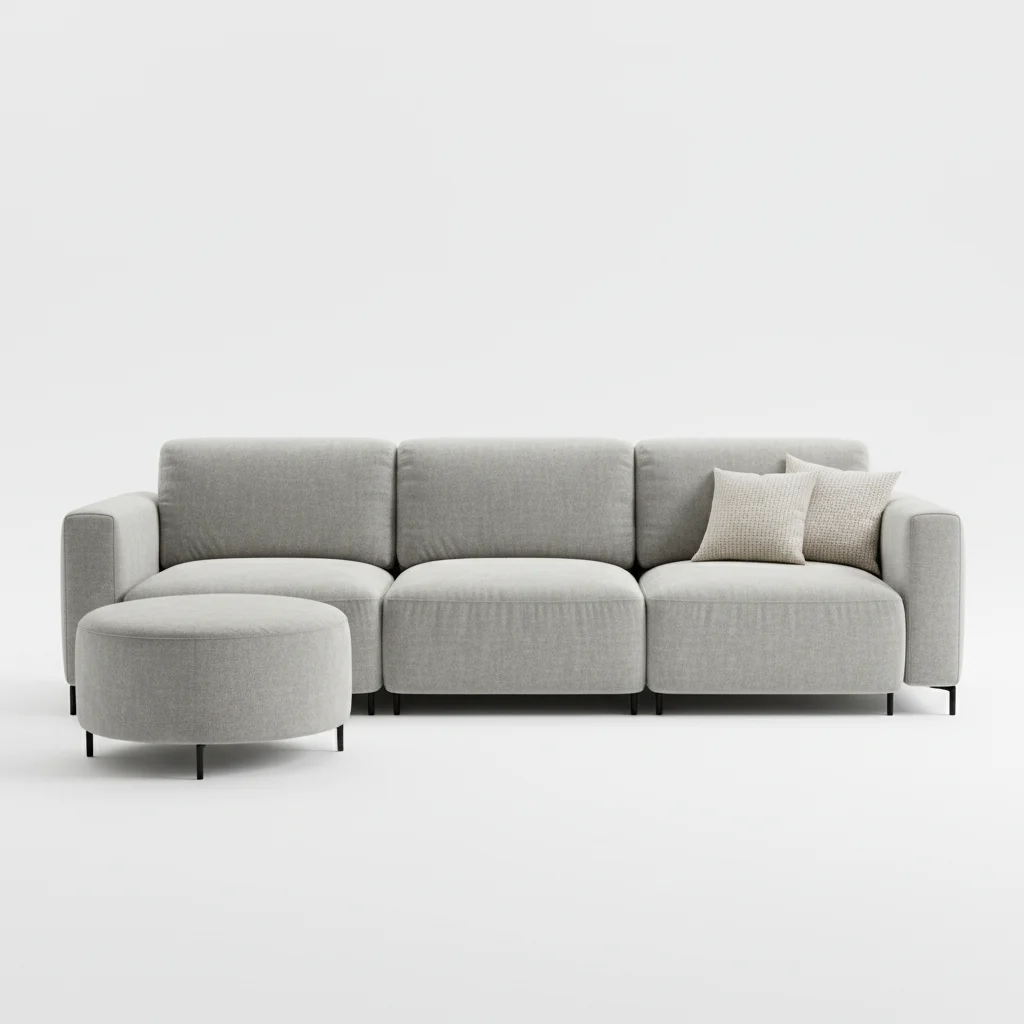
Charcoal sectional sofa with chaise on white background
03Result
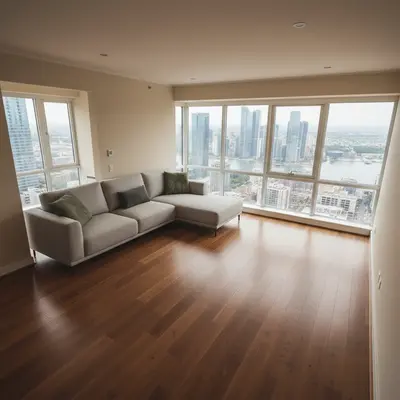
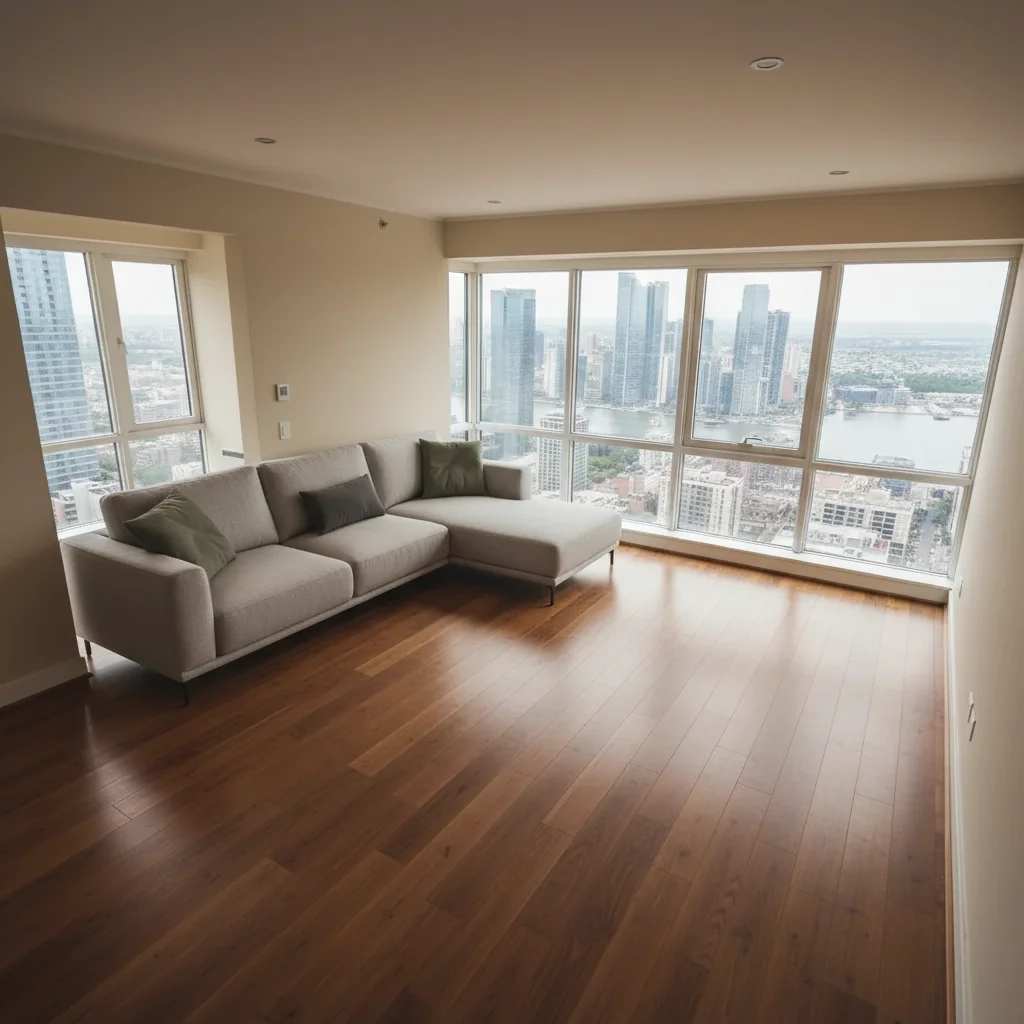
Living room photo staged with charcoal sectional by AI

Upload photo to add furniture

"add this bed from the reference photo to the bedroom area centered on the main wall with the headboard against it, nightstands on each side"

Release to upload

1 free edit·then from $4.99

Popular use cases:
  • virtual staging room photo
  • real estate room photo staging
  • interior design room visualization
  • furniture in room photo free
  • room photo staging AI
  • furniture reference room photo

Cost
Free No signup required
Time
Instant results in 15-30 seconds
Works on
Any device - browser, phone, tablet, desktop
Powered by
AI-powered photo editing

How it works

  1. Upload your two photos

    Start by uploading your empty room photo — living room, bedroom, dining room, or any space. Then click '+ Add reference photo' and upload the furniture photo. The tool requires both: your room photo establishes the space, and the reference furniture photo tells the AI what specific piece to place.

    Expect: Accepts JPG, PNG, WebP up to 7MB. Room photos with clear floor visibility give the most accurate furniture placement.
  2. Specify the room area and placement

    Describe where in the room the furniture should go: 'add this sofa to the living area, against the wall opposite the windows' or 'place this dining table in the center of the dining area.' Naming the room area and a spatial anchor (wall, window, fireplace) gives the AI clear context.

    Tip: For open-plan spaces, specifying the zone — 'living area,' 'dining zone,' 'study corner' — helps the AI place furniture in the right section of the room.

    Copy one of these to get started:

    Living room sofa placement add this sofa from the reference image to the living area against the main wall, facing toward the center of the room with a coffee table in front
    Bedroom furniture add this bed from the reference photo to the bedroom area centered on the main wall with the headboard against it, nightstands on each side
    Dining room set add this dining table and chairs from the reference image centered in the dining area directly below the pendant light
    Home office corner add this desk from the reference photo to the home office area, positioned in the corner to the left of the window so the seated view faces the room
    2 more prompts
    Open-plan living and dining add this sectional sofa from the reference to the living area of this open-plan room, with the sofa defining the boundary between the living and dining zones
    Nursery or kids room add this crib from the reference photo to the nursery room area, positioned against the wall away from the window to avoid direct light, with a side table for the baby monitor
  3. Review scale and lighting match

    Check that the furniture fills the room appropriately, shadows fall in the same direction as the room's natural light, and pieces sit flush on the floor. A well-staged room photo looks like it was photographed with the furniture already there.

See it in action

Empty living room photo with large windows and recessed lighting
Main Photo
Charcoal sectional sofa with chaise on white background
Reference
Living room photo staged with charcoal sectional by AI
Result

Living room photo staged with reference sectional

A vacant living room photo transformed with a specific sectional using the retailer's catalog image as the reference.

Prompt: add this charcoal sectional from the reference image to the living area, positioned against the left wall with the chaise facing toward the window
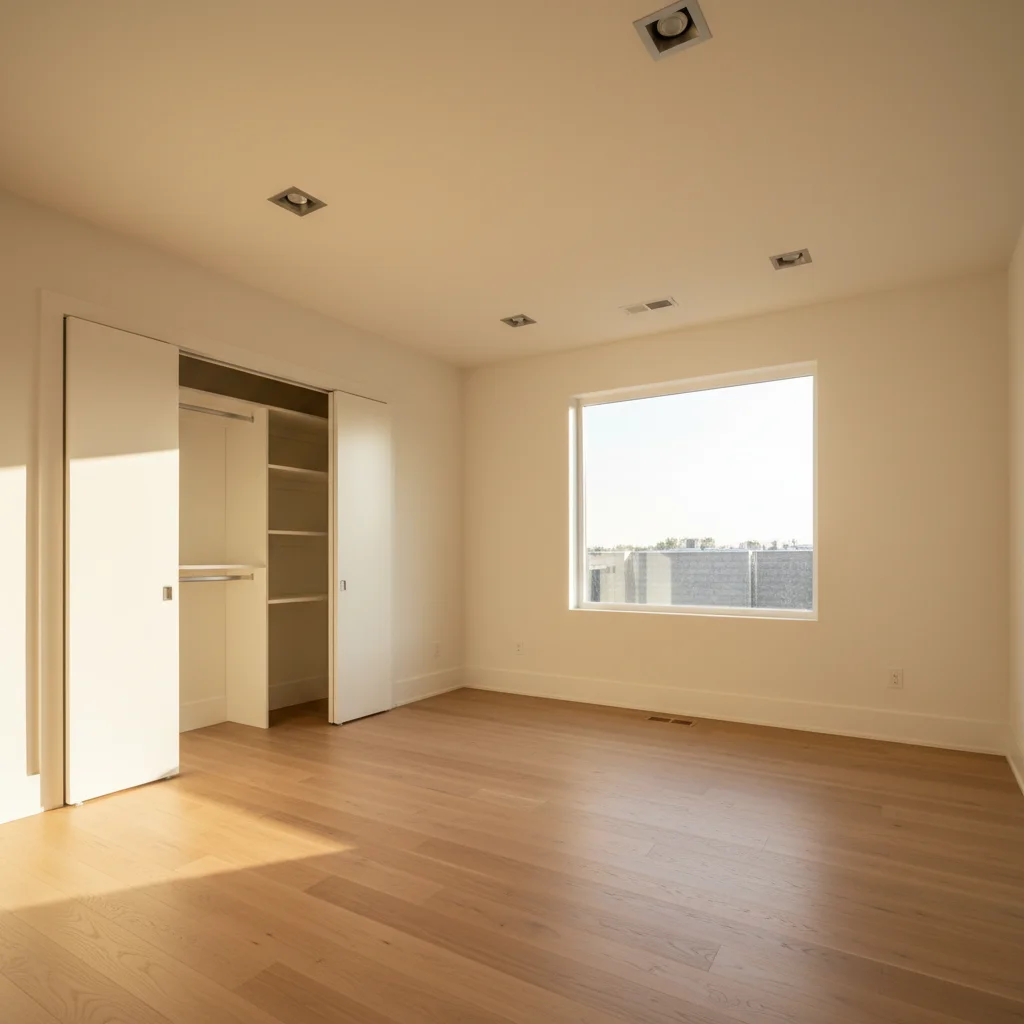
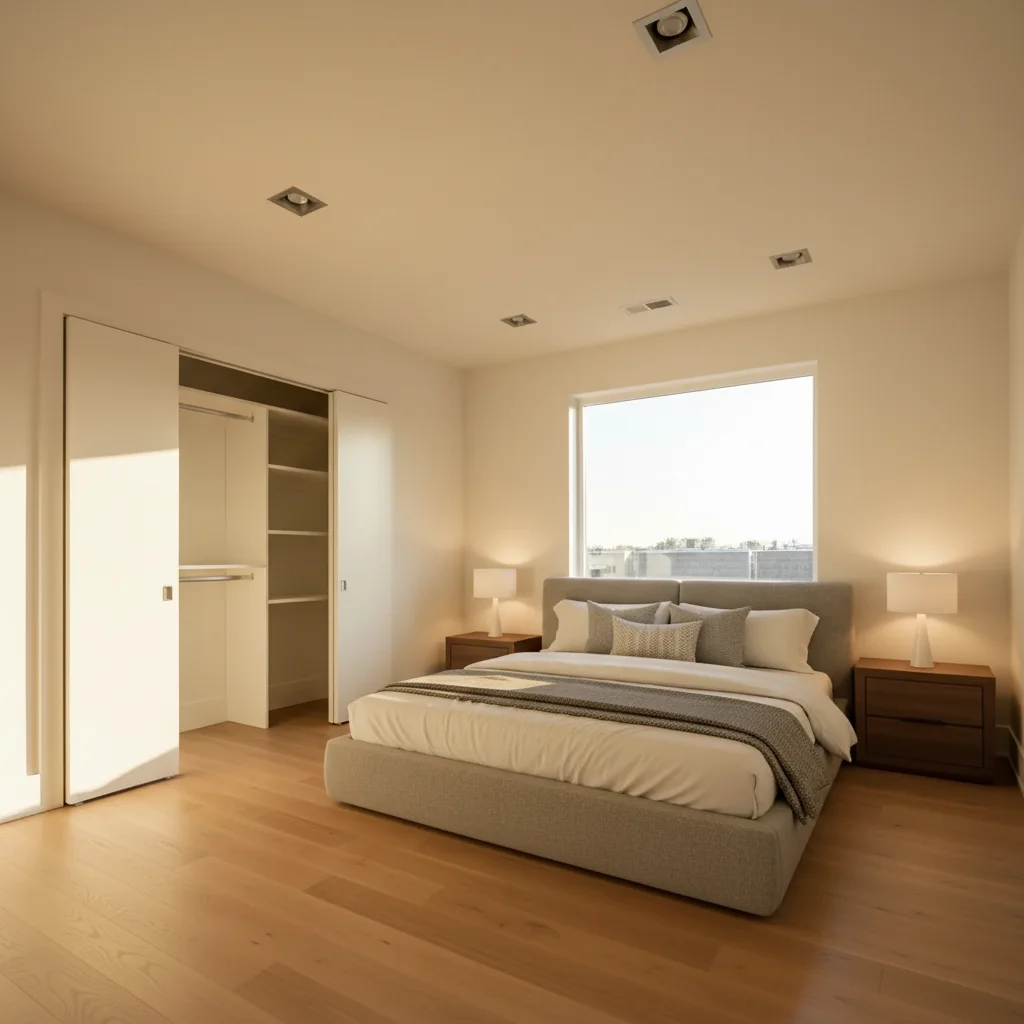
Empty master bedroom room photo with light floors and built-in closet
Main Photo
Upholstered king bed frame in charcoal fabric
Reference
Bedroom staged with upholstered king bed and dark wood nightstands
Result

Bedroom photo staged with reference bed set

A vacant master bedroom room photo staged with a specific upholstered bed set for a real estate listing.

Prompt: add this upholstered king bed from the reference photo centered on the main wall, styled with white and gray bedding, and place matching dark wood nightstands on each side
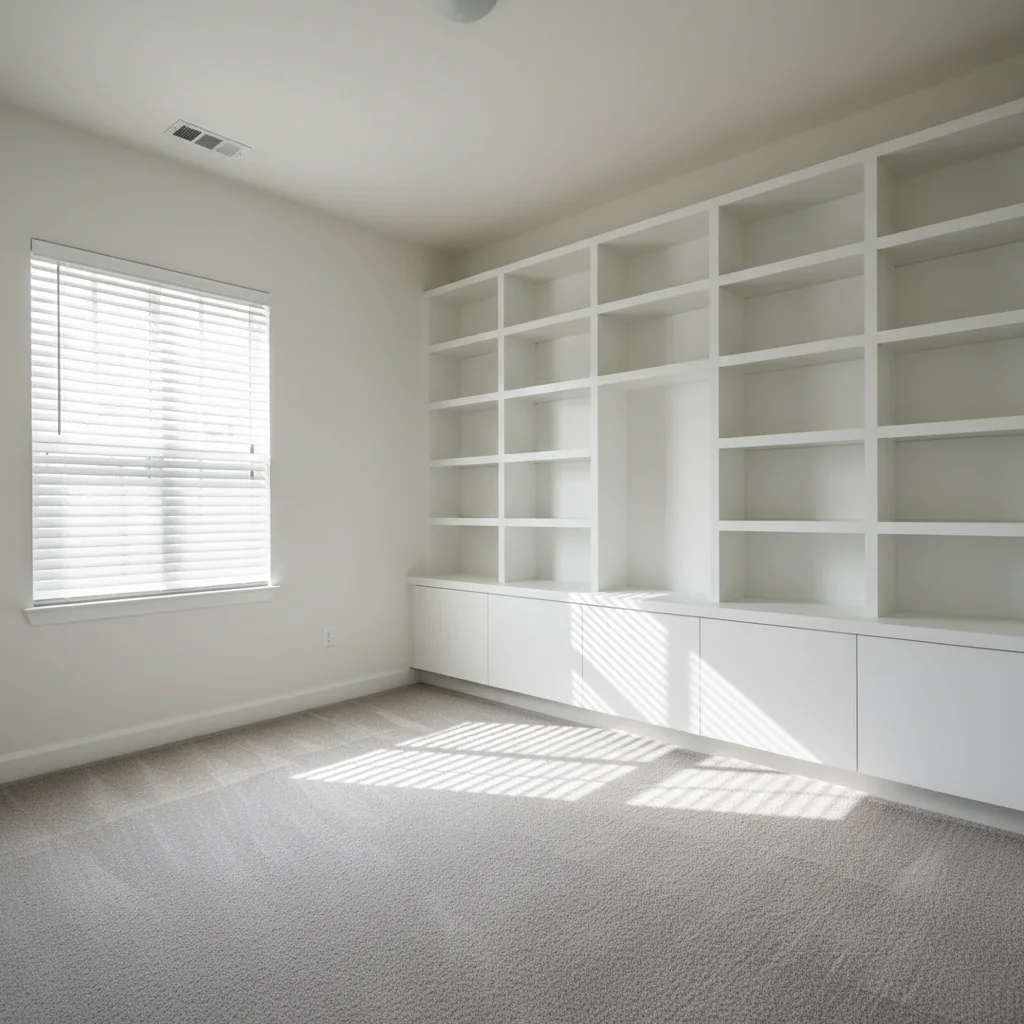
Empty home office room with built-in shelving and window
Main Photo
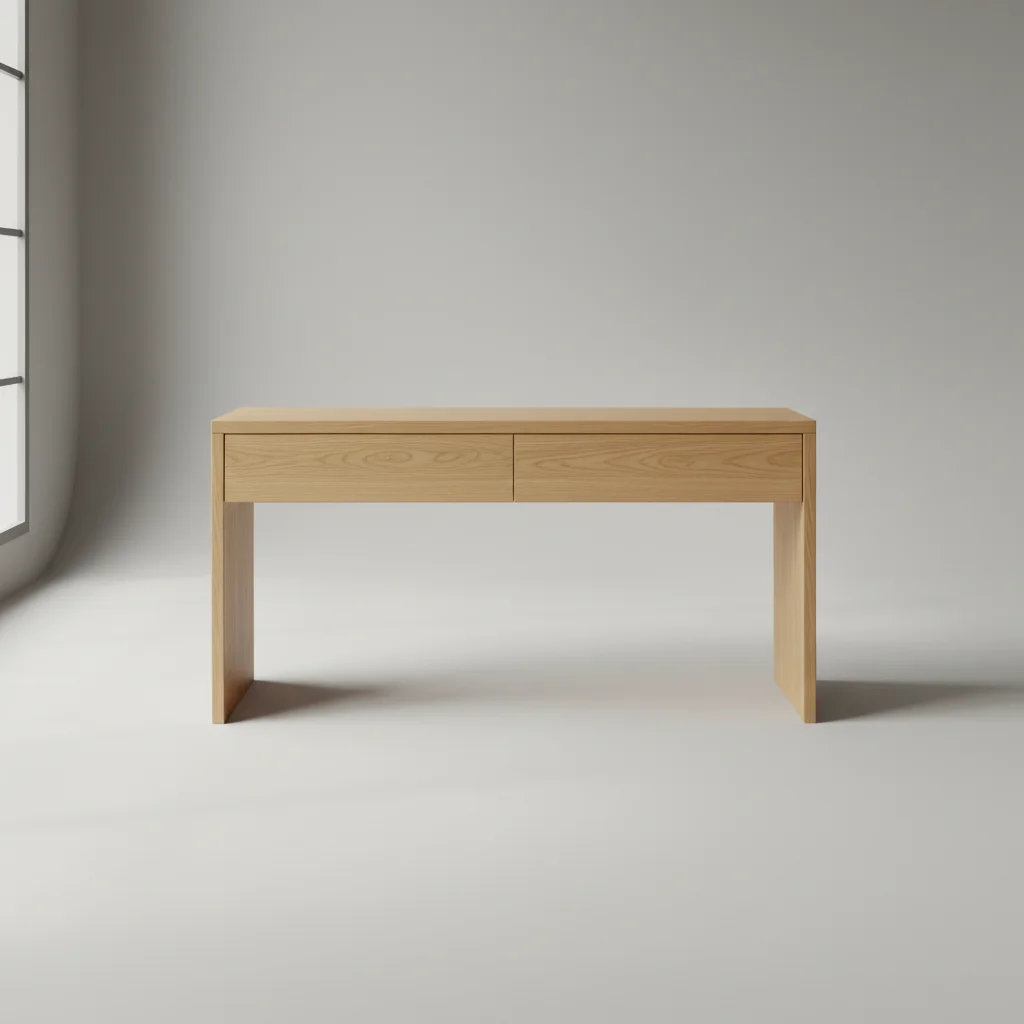
White adjustable standing desk on white background
Reference
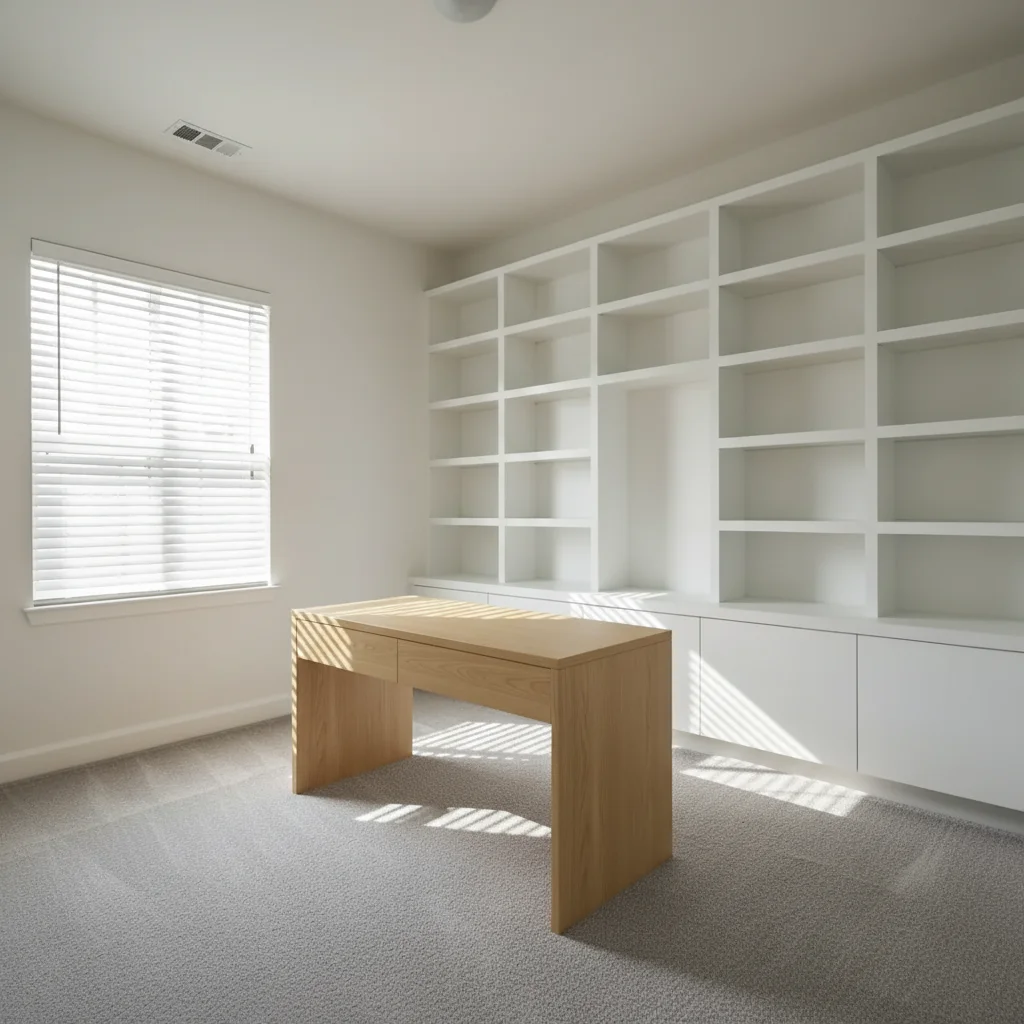
Home office room photo staged with standing desk by AI
Result

Home office room photo staged with reference desk

An interior designer showed a client how a specific standing desk would look in the home office room using the manufacturer's product photo as a reference.

Prompt: add this adjustable standing desk from the reference image to the home office area, positioned facing the wall with the window to the left for natural light while working

Detailed Guides by Scenario

📷

Real Estate Room Photo Staging

Transform vacant room photos into staged visuals for listings, buyer presentations, and marketing.

Common Scenarios

  • Staging vacant living room, bedroom, and dining room photos for MLS listings
  • Creating before/after staging photos to show sellers the value of virtual staging
  • Preparing consistent room-by-room staging for a property presentation

Best Practices

  • Stage rooms in order of buyer priority: living room, primary bedroom, kitchen/dining, secondary bedrooms
  • Use one consistent reference furniture set across all rooms for a cohesive listing presentation
  • Capture room photos at the same height (4-5 feet) and angle for uniform staging results
Add this sofa set from the reference to the living room area, creating an inviting conversational arrangement
Stage this bedroom with the bed from the reference centered on the main wall, hotel-style bedding
📷

Interior Design Visualization

Show clients and homeowners exactly how specific furniture pieces will look in a real room photo before finalizing any decisions.

Common Scenarios

  • Demonstrating three sofa options in a client's living room photo to help them choose
  • Showing a client how a bold accent piece would work in their existing room
  • Preparing concept presentations using room photos from the actual space

Best Practices

  • Use high-quality catalog images as reference photos for the most accurate furniture reproduction
  • Generate multiple options from the same room photo to compare furniture choices side by side
  • Describe both the piece and its relationship to other room elements for context-aware placement
Add this armchair from the reference to the reading corner of the room, angled toward the fireplace
Place this dining set from the reference in the dining area of this open-plan room under the pendant light
📷

Renovation and Move-In Planning

Visualize furniture placement in a new room or recently renovated space before moving anything in.

Common Scenarios

  • Planning furniture layout in a newly renovated room before the movers arrive
  • Testing whether existing furniture from one room will work in a new space
  • Figuring out how multiple pieces will coexist before committing to placement

Best Practices

  • Photograph the empty room from multiple angles and test placement in each for the best visual plan
  • Use your actual furniture photos as references to see if pieces will fit and match the new space
  • Describe approximate dimensions in prompts to help the AI judge proportional fit
Add my existing sectional from the reference photo to this newly renovated living room, against the brick wall
Test if this bookcase from the reference fits in the alcove to the right of the fireplace

If something looks off

Furniture looks too formal or too casual for the room's style

Why: The AI placed the reference piece as-is without adapting its finish or styling to match the room's aesthetic.

Try: add this furniture from the reference, styled to match the [modern/traditional/rustic/etc.] aesthetic of the room

Tip: Describe the room's design language in the prompt even when using a reference photo — it guides the AI to adapt finishes cohesively

Furniture scale looks wrong for the room size

Why: The AI estimated room dimensions from the photo perspective and got the scale wrong.

Try: add this furniture at a scale proportional to a standard [living room / bedroom / dining room] — medium-sized proportions

Tip: Include a size reference in the room photo (standard door, window) so the AI can calibrate scale

Reference furniture color changed significantly in the result

Why: The AI adapted the color to match the room's lighting conditions, shifting the original tone.

Try: add this furniture from the reference, preserving the exact [color name] color — do not shift the color tone

Tip: Explicitly naming the target color ('preserve the warm walnut brown') prevents unwanted color adaptation

Quick answers

Do I need TWO photos for this?

Yes. Adding specific furniture to a room photo requires two images: your empty room photo and a reference photo of the furniture piece you want placed. Upload the room photo first, then click '+ Add reference photo' to attach the furniture image. The AI needs both to place the exact piece in the correct room with proper scale and lighting.

How do I add furniture to a room photo for free?

Upload your empty room photo to EditThisPic, then click '+ Add reference photo' and attach the furniture image. Describe the room area and placement: 'add this sofa to the living area against the main wall.' The AI generates a staged room photo in 15-30 seconds. Free to try with no account required.

Which room types work best?

Living rooms, bedrooms, dining rooms, and home offices all work well. The key is a clear room photo showing the floor — the AI needs to see where furniture will sit. Wide-angle shots taken from doorways or corners with visible floor space give the most realistic results.

Can I stage multiple rooms in a property listing?

Yes. Upload each room photo separately and stage them individually. For cohesive listing staging, describe the same furniture style in each room — 'contemporary neutral staging' or 'mid-century modern throughout' — to give buyers a consistent visual narrative across all rooms.

Is this accurate enough for real estate listing photos?

Yes. EditThisPic generates staging that looks photographically realistic — correct perspective, natural shadows, proper floor contact. Results are suitable for MLS listings and marketing materials. Always disclose virtual staging in listing descriptions per your local real estate board's regulations.

What if the room photo has some existing furniture?

The AI works around existing pieces. Describe the new furniture in relation to what's already there: 'add this armchair to the left of the existing sofa' or 'place this coffee table in front of the couch.' The AI recognizes existing furniture and positions new pieces coherently around them.

How much does EditThisPic cost?

You get 1 free edit per week — no account needed. After that, credit packs start at $1.99 for 3 edits. Monthly plans start at $4.99/mo for 15 edits with unused credits rolling over. All edits are full resolution with no watermark.

Ready to stage your room photo?

Free to try. No signup required.

1 free edit included·Credit packs from $4.99