Add Gradient Background to Photo
Create stunning gradient backdrops for portraits and products in seconds.
Type 'add a smooth gradient background from navy blue at top to light gray at bottom' and EditThisPic's AI generates the perfect gradient behind your subject in 15-30 seconds. Works on portraits, headshots, and product photos. No selection tools needed. Just describe the colors and direction. Free to try, no account required.
How it works
Upload your photo
Drop your portrait or product photo into EditThisPic. Works with any background - the AI will replace it with your gradient. JPG, PNG, WebP up to 7MB.
Describe your gradient
Type your gradient instruction: 'add a gradient background from dark blue at top fading to white at bottom' or 'add a radial gradient from warm orange center to deep purple edges.' Specify colors and direction clearly. The AI understands gradient terminology.
Copy one of these to get started:
add a smooth gradient background from charcoal gray at top fading to light silver at bottom, studio style
add a gradient background from navy blue at top smoothly fading to soft white at bottom
add a subtle radial gradient background from pure white center fading to soft gray at edges
add a gradient background from warm sunset orange at bottom fading through pink to deep purple at top
2 more prompts
add a clean gradient background from soft beige fading smoothly to warm white
add a dramatic gradient background from electric blue on the left smoothly transitioning to vibrant magenta on the right
Generate and review
Check the gradient colors and transition smoothness. Verify edges around your subject blend naturally. The gradient should complement your subject without overpowering it.
Refine with markers if needed
If hair edges look rough or the gradient bleeds into your subject, tap markers on those spots and regenerate. Most gradient backgrounds work without markers.
"Needed pro headshot backgrounds fast. Just typed the gradient colors I wanted and got studio-quality results instantly." @SarahPortraits
See it in action
Corporate headshot upgrade
Office selfie transformed into polished LinkedIn headshot with professional gray gradient backdrop.
add a smooth gradient background from dark charcoal at top fading to light silver at bottom, professional studio lighting style
Product shot with focus gradient
Skincare product given premium look with radial gradient that draws attention to center.
add a radial gradient background from pure white in the center fading to soft medium gray at the edges, clean product photography style
Creative portrait with sunset gradient
Casual photo elevated to artistic portrait with warm multi-color gradient backdrop.
add a gradient background from warm golden orange at bottom fading through soft coral pink to dusty purple at top, dreamy portrait style
If something looks off
Gradient colors don't match what I described
Why: The AI interpreted your color names differently. Color terms can be ambiguous.
add gradient from [specific hex or detailed color like 'deep navy blue #1a365d'] to [specific color]
💡 Use descriptive modifiers: 'dusty pink' vs 'hot pink' or 'forest green' vs 'lime green'
Gradient transition is too harsh or banded
Why: The AI created distinct color steps instead of a smooth blend.
add a SMOOTH SEAMLESS gradient background from [color] GRADUALLY fading to [color]
💡 Words like 'smooth,' 'seamless,' and 'gradually' signal the AI to create softer transitions
Subject edges look rough against the gradient
Why: Fine details like hair didn't blend cleanly into the new gradient background.
Tap markers on rough edges and regenerate with 'blend subject edges naturally into gradient'
💡 Gradients with colors similar to hair color hide edge imperfections better
AI changed the wrong area or something I didn't want changed
Why: The AI couldn't determine exactly which area you meant from description alone.
Tap a marker on the specific area you want to change, then regenerate with the same prompt
💡 Markers tell the AI 'I mean THIS one specifically.' Use them when description alone is ambiguous.
Quick answers
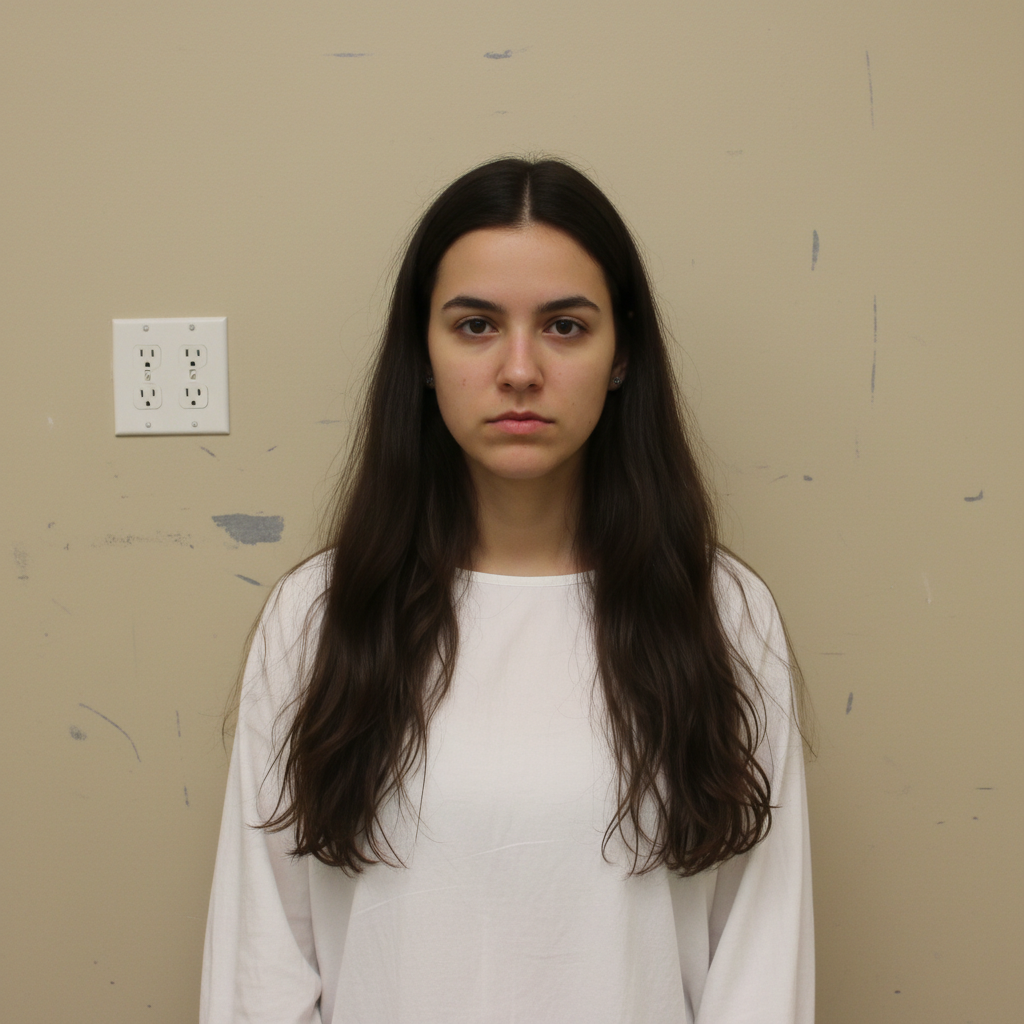
Do I need to mark the background before describing my gradient?
No! Just describe your gradient: 'add a gradient from blue to white.' The AI knows what 'background' means and generates the gradient behind your subject automatically. Only use markers if edges need refinement after the first result.
What gradient directions can I create?
Any direction works. Top-to-bottom ('from dark at top to light at bottom'), left-to-right ('from blue on left to purple on right'), radial ('from white center to gray edges'), or diagonal ('from corner to corner'). Just describe it naturally.
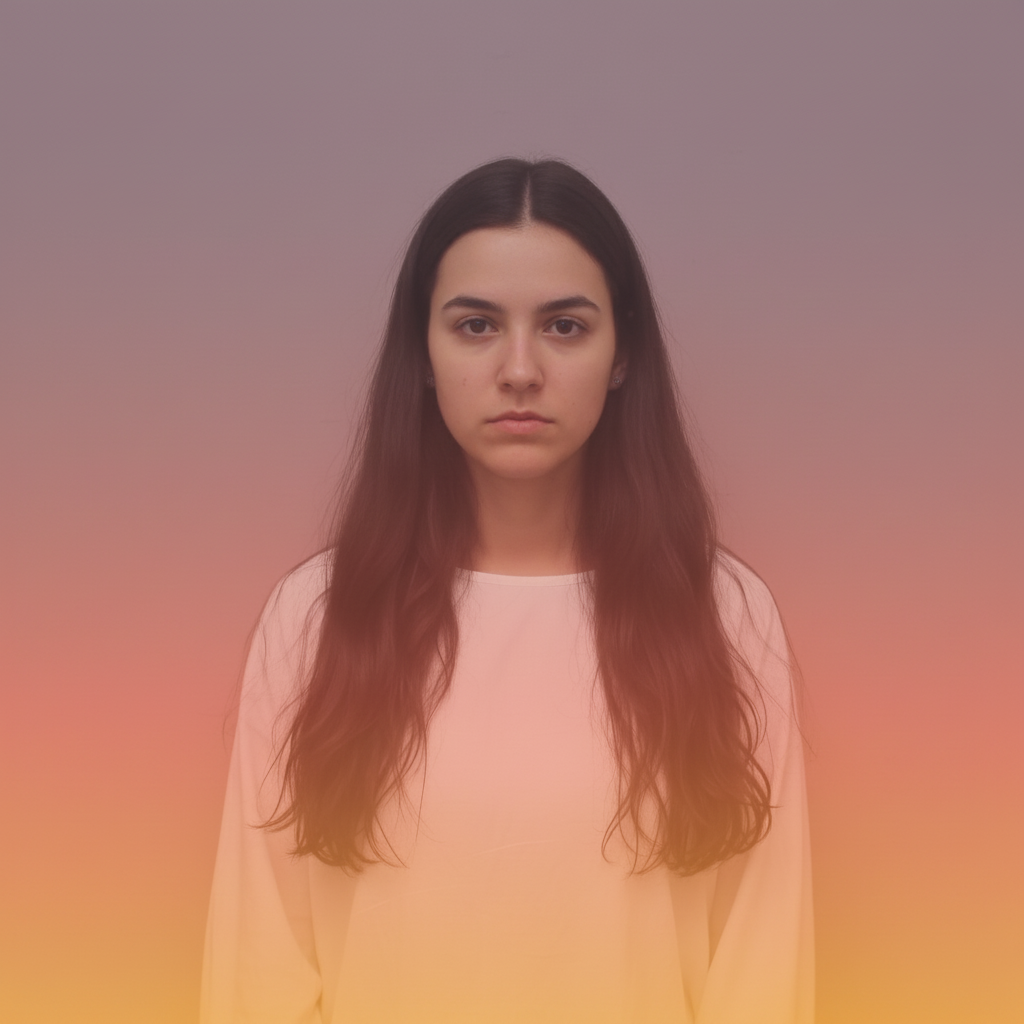
Can I use more than two colors in my gradient?
Yes! Describe your multi-stop gradient: 'from orange at bottom through pink in the middle to purple at top.' The AI handles smooth transitions between multiple colors.
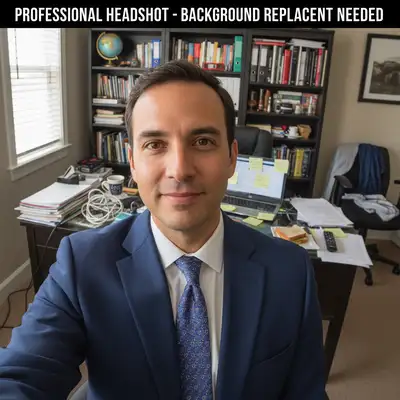
Which gradient colors work best for professional headshots?
Neutral gradients work universally: gray tones, blue-to-white, or subtle warm beiges. These complement any skin tone and clothing without distracting from the face.
Ready to add a gradient background?
Free to try. No signup required.