Free • No signup Enhance Listing photo · Free

AI Listing Photo Enhancer

Upload any listing photo and describe the improvement you want. AI enhances exposure, color, and overall appeal in seconds.

Flat dull kitchen photo taken with phone camera lacking contrast and depth
Before
Same kitchen enhanced to professional listing quality with balanced lighting and accurate colors
After

AI Listing Photo Enhancer

Drop your photo here

or click to browse

Release to upload

Free • No signup

Popular use cases:
  • listing photo enhancement
  • real estate photo improvement
  • property photo enhancement AI
  • real estate photo quality
  • listing photo upgrade tool
  • realtor photo editor
  • Zillow listing photo enhancer
  • MLS photo quality improvement

Cost
Free No signup required
Time
Instant results in 15-30 seconds
Works on
Any device - browser, phone, tablet, desktop
Powered by
AI-powered photo editing
Scenario Prompt Time
General enhancement enhance to look professionally shot — improve lighting and color 20s
Dark interior fix too dark and flat — brighten to naturally and professionally lit 25s
Exterior improvement sharpen, improve sky, make lawn greener, more visual appeal 25s

How it works

  1. Upload your listing photo

    Drop your property photo into EditThisPic — interior rooms, exterior shots, kitchens, bathrooms, or outdoor spaces. Any photo format works: JPG, PNG, WebP, HEIC up to 7MB. Phone photos and DSLR shots both enhance well.

    Expect: Basic enhancement (exposure, color, sharpness): 20-25 seconds. Complex improvements with multiple issues: 30-40 seconds and may benefit from a second pass.
  2. Describe the enhancement you need

    Type what you want improved: 'make this look professionally shot,' 'improve the lighting and color balance,' or 'enhance this exterior to look sharp and inviting.' The more specific you are, the better the result — mention the specific issue if you know it (dark, dull, flat, yellow, blurry).

    Tip: Describing the problem AND the goal works best: 'This photo is too dark and flat — enhance it to look bright, sharp, and professionally lit.' Problem + goal = precise results.

    Copy one of these to get started:

    General listing photo improvement enhance this listing photo to look professionally shot — improve lighting, color accuracy, and overall appeal without making it look over-processed
    Improve dark interior photo this interior is too dark and flat — brighten it to look naturally and professionally lit with accurate colors and clear detail throughout
    Enhance exterior curb appeal photo enhance this exterior listing photo — sharpen the image, improve the sky, make the lawn greener, and give the house more visual appeal while keeping it realistic
    Fix flat, dull phone photo this photo is flat and dull — increase contrast, boost color vibrancy, improve sharpness, and make it look like it was taken with a professional camera
    3 more prompts
    Enhance kitchen for MLS appeal enhance this kitchen listing photo — improve the lighting so counters and cabinets are clearly visible, correct any color cast, and make the space look clean and inviting
    Improve bathroom listing photo enhance this bathroom photo — improve lighting so tile and fixtures are clearly visible, correct white balance so whites look true white, and make the space feel clean and spa-like
    Professional-grade aerial or drone shot enhance this aerial property photo — improve the sky, make the lawn and landscaping vivid and green, sharpen the roof and architectural details
  3. Review the enhanced photo

    Compare the before and after using the slider. Check that colors look accurate, exposure is natural (not blown out), and the enhancement looks like a professional photo rather than over-processed. Download when satisfied.

  4. Refine specific areas with markers

    If one part of the photo needs additional work — a dark corner, a washed-out window, a specific surface — tap a marker on it and describe the targeted improvement. Markers are optional but useful for precise fixes.

    Tip: After a general enhancement, use markers to fine-tune specific areas — one dark corner, one overexposed window — rather than regenerating the whole photo.
Try it free

AI Listing Photo Enhancer

Drop your photo here

or click to browse

Release to upload

Free • No signup

"My iPhone photos looked amateur next to other listings. After enhancing them, my broker thought I'd hired a professional photographer." @AgentJessica_Denver

See it in action

Flat dull kitchen photo taken with phone camera lacking contrast and depth
Before
->
Same kitchen enhanced to professional listing quality with balanced lighting and accurate colors
After

Phone photo enhanced to professional standard

An iPhone kitchen photo transformed to look like a professional real estate shoot.

Prompt: enhance this listing photo to look professionally shot — improve lighting, color accuracy, and overall appeal without making it look over-processed
Dark flat living room photo barely showing furniture and room details
Before
->
Same room enhanced with natural bright lighting showing the full space clearly
After

Dark living room improved for Zillow

A dim living room photo corrected to stand out among competing listings.

Prompt: this interior is too dark and flat — brighten it to look naturally and professionally lit with accurate colors and clear detail throughout
Flat exterior listing photo with overcast sky and dull lawn color
Before
->
Same exterior enhanced with improved sky, vibrant lawn, and sharper house details
After

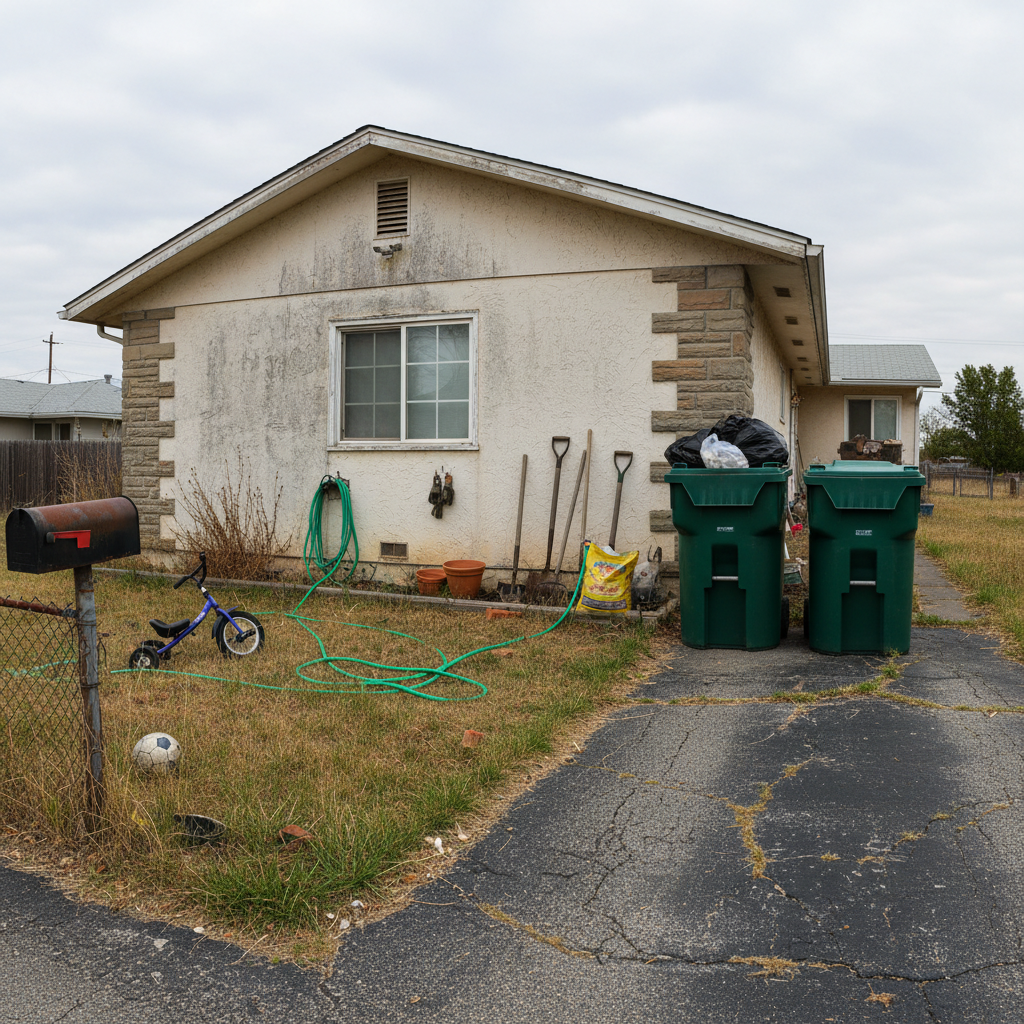
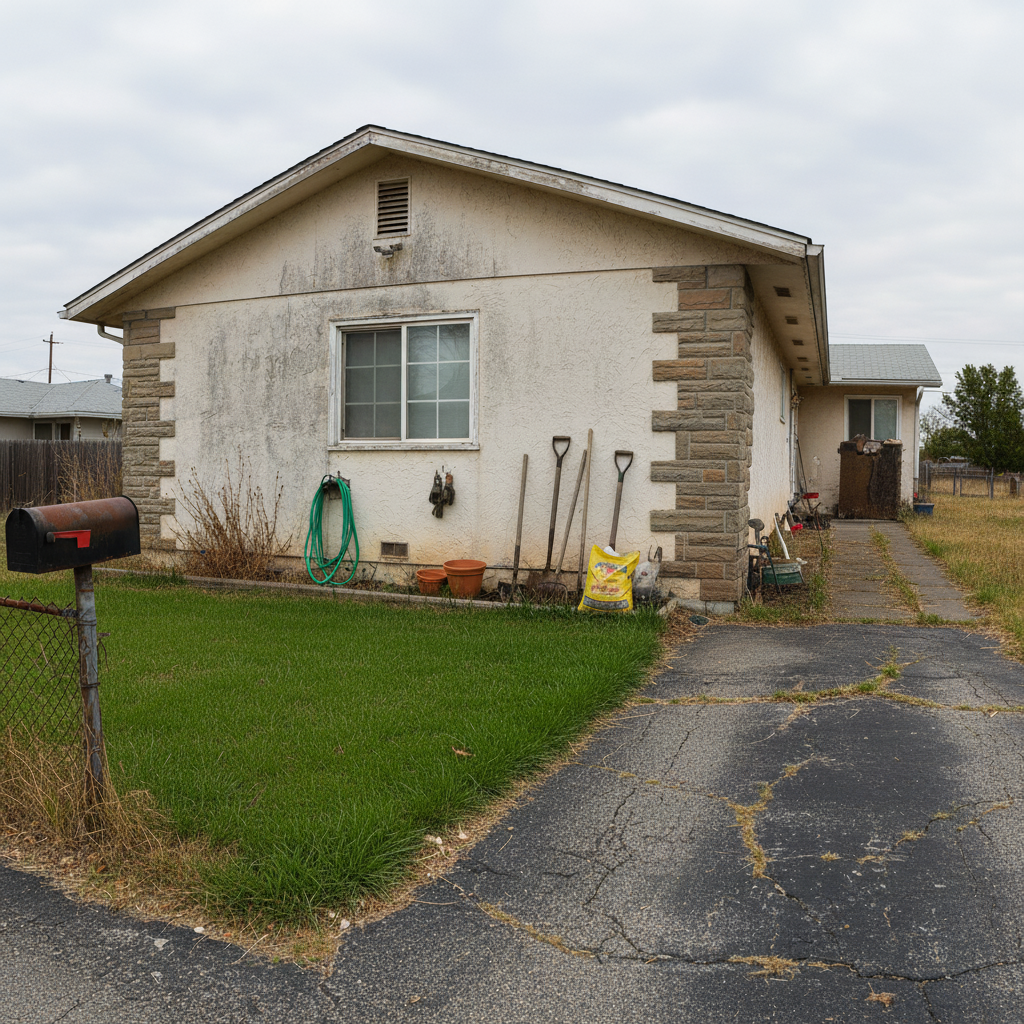
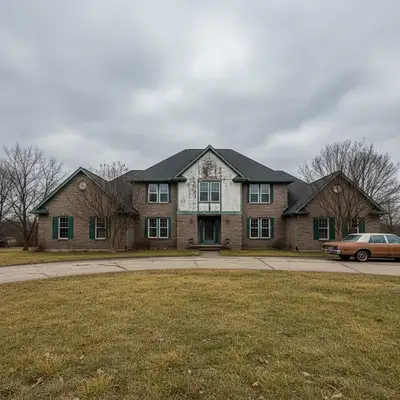
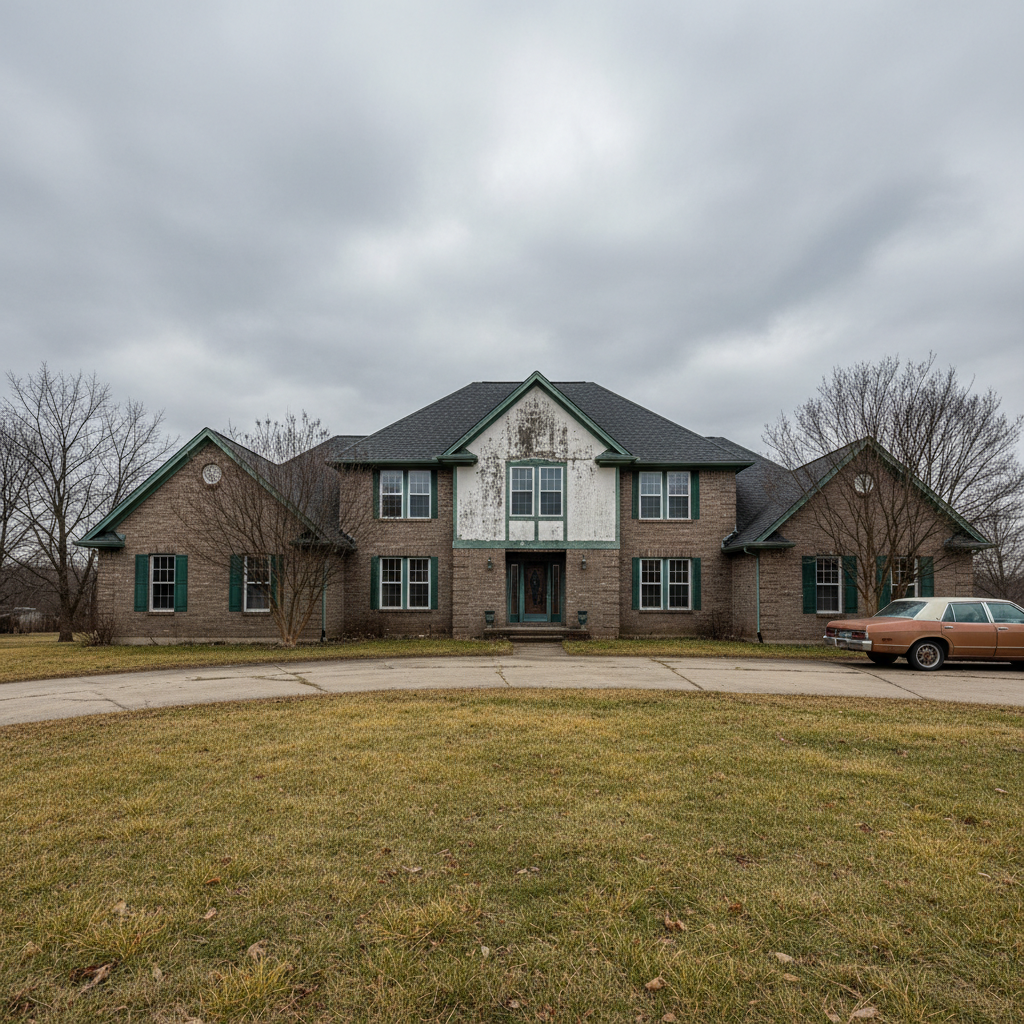
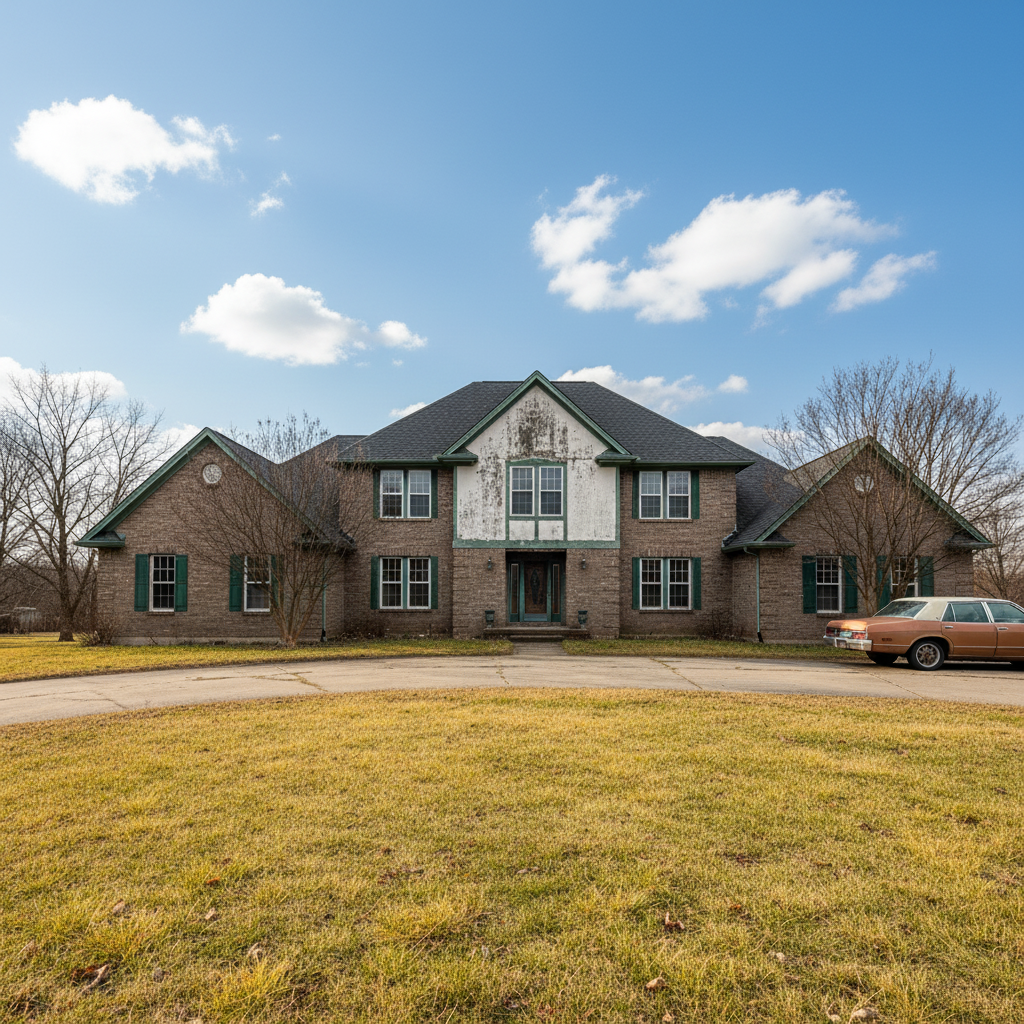
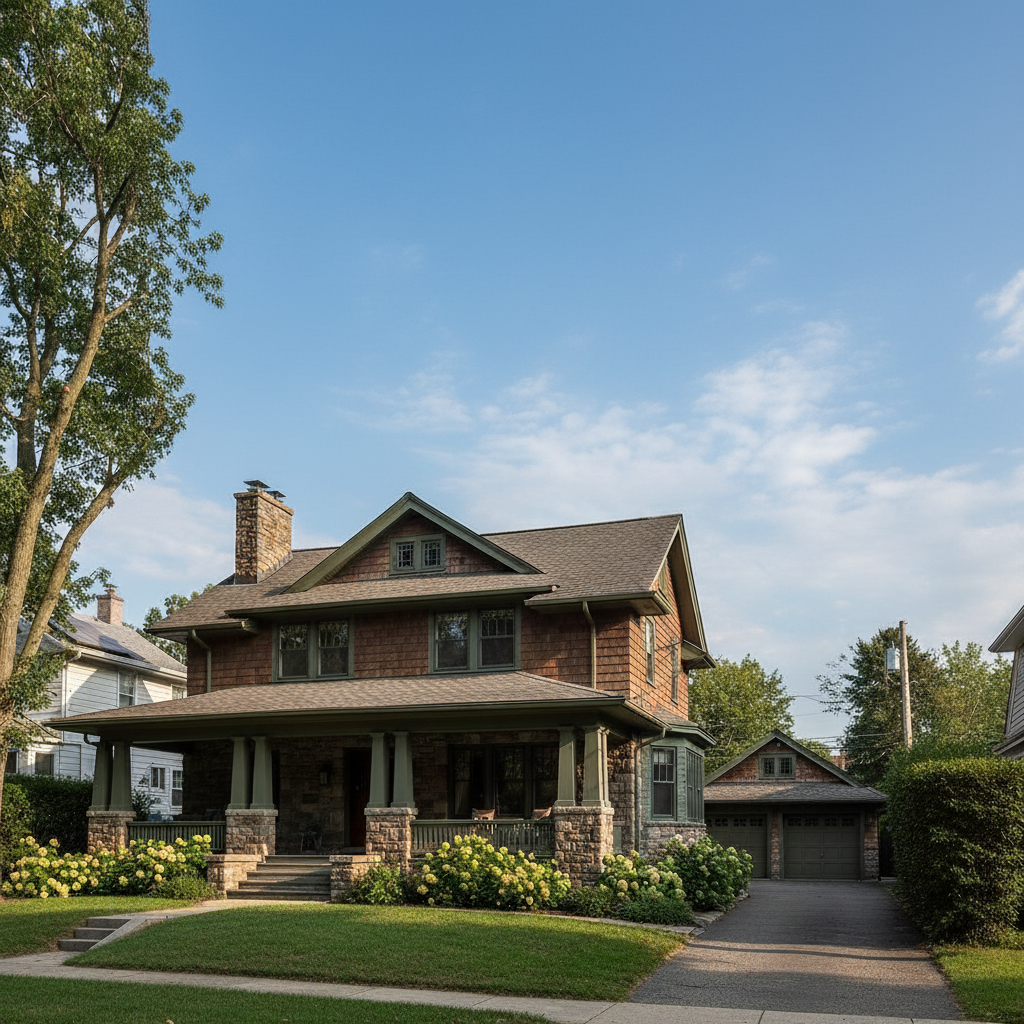
Exterior curb appeal photo enhanced

A flat exterior listing photo with a dull sky improved for maximum curb appeal impact.

Prompt: enhance this exterior listing photo — sharpen the image, improve the sky, make the lawn greener, and give the house more visual appeal while keeping it realistic

Detailed Guides by Scenario

📷

Agent Self-Photography Enhancement

Transform self-shot listing photos taken with a phone or basic camera into professional-looking images that compete with photographer-shot listings.

Common Scenarios

  • Enhancing iPhone or Android listing photos before posting to MLS
  • Improving photos taken without professional lighting equipment
  • Making budget listing photos competitive with professionally shot listings

Best Practices

  • Describe the specific problem: 'too dark,' 'flat and dull,' 'yellow cast' — the AI responds better to diagnosis than vague requests
  • For phone photos, always include 'reduce noise and grain' alongside any enhancement request
  • One enhancement pass usually handles 80% of issues — do a targeted second pass for remaining problems
📷

High-Volume Listing Photo Enhancement

Quickly improve all photos from a listing batch for consistent, professional presentation across the entire property gallery.

Common Scenarios

  • Enhancing all 20-30 photos from a listing shoot for consistent quality
  • Batch-improving photos from rental properties for Airbnb and VRBO listings
  • Standardizing photo quality across a multi-unit building for a single listing

Best Practices

  • Use the same base prompt for every photo to ensure consistent enhancement style across the gallery
  • Apply general enhancement first, then return for targeted fixes on problem photos
  • Work from exterior to interior for a natural listing gallery workflow
📷

Luxury and High-End Property Polish

Add the final touch of polish to professional-grade listing photos for luxury properties where photo quality directly impacts perceived value.

Common Scenarios

  • Enhancing professional photographer shots to eliminate remaining imperfections
  • Adding final polish to aerial drone photos for luxury estate listings
  • Improving high-end interior photos for consistency across a luxury listing

Best Practices

  • For already-good professional photos, request 'subtle enhancements only' to avoid over-processing
  • Focus on specific refinements: 'deepen the blue in the pool,' 'make the marble countertop more vivid'
  • Luxury buyers are more sensitive to over-processed photos — always err toward subtle and realistic

If something looks off

Enhancement looks over-processed or artificial

Why: The AI boosted all enhancement settings simultaneously, creating the HDR halo effect that looks obviously edited.

Try: enhance this listing photo subtly — modest improvements to lighting and color that look natural and realistic, not over-processed

Tip: Adding 'subtly' or 'natural and realistic' keeps the AI from over-enhancing. Subtle improvements often look more professional than dramatic ones.

Colors look wrong after enhancement

Why: The AI shifted the color balance while enhancing, making whites look blue or adding an unexpected color cast.

Try: enhance this photo with accurate, true-to-life colors — whites should look white, wood tones warm, and no artificial color shift

Tip: Specifying reference colors like 'white walls should look white' anchors the AI's color calibration to something concrete.

AI changed the wrong area or something I didn't want changed

Why: The AI applied enhancement broadly and modified something you wanted preserved — like changing the sky when you only wanted the interior brightened.

Try: Tap a marker on the specific area you want enhanced, then regenerate with the same prompt

Tip: Use markers when you want to enhance one part of the photo without touching other areas — like brightening a dark corner while preserving window exposure.

Enhancement made the photo too bright or blown out

Why: The AI over-corrected on a photo that had some good areas, lifting already-exposed zones into overexposure.

Try: enhance this photo by lifting only the dark areas — preserve existing highlights and don't overexpose any surfaces

Tip: 'Preserve existing highlights' is the key phrase for preventing blown-out windows and bright surfaces from washing out.

Sharpness improvement created noise or grain

Why: The AI applied sharpening to a low-resolution or high-ISO phone photo, making noise more visible alongside edges.

Try: sharpen this listing photo while reducing digital noise and grain — the result should be clean and crisp, not grainy

Tip: For phone photos specifically, always include 'reduce noise' alongside sharpening to get clean results.

Quick answers

Do I need to mark areas before enhancing listing photos?

No! Just describe the improvement you want: 'enhance this to look professionally shot' or 'improve the lighting and colors.' The AI analyzes the entire photo and applies enhancements where needed. Only use markers if you want to target one specific area — like brightening one dark corner without affecting the rest of the image.

Can this replace a professional real estate photographer?

For self-shot listing photos from a phone or entry-level camera, AI enhancement dramatically closes the gap with professionally shot photos. For high-end listings where first impressions command premium prices, professional photography combined with AI enhancement delivers the best results.

Is there a free listing photo enhancer without signup?

Yes. EditThisPic enhances listing photos with AI for free — no account, no login, no watermark. One free edit per week. For enhancing multiple listing photos, plans start at $3.99/month.

What kinds of listing photos does this enhance best?

Dark interiors and flat exteriors respond best — the improvement is most dramatic. Photos with specific issues (yellow lighting, dull sky, low contrast) also show strong results. Photos that are already well-shot show smaller improvements but still gain sharper colors and better punch.

Will enhanced listing photos look realistic enough for MLS?

Yes. The AI enhances photos to look naturally and professionally photographed, not artificially processed. Buyers and MLS reviewers can't distinguish well-enhanced AI photos from professional real estate photography. Avoid over-enhancement — request 'subtle, realistic improvements' for the most credible results.

Can I enhance listing photos on my phone?

Yes. EditThisPic works in any mobile browser — iPhone, Android, tablet. Upload photos directly from your camera roll and enhance them on the go before posting to Zillow, Realtor.com, or your MLS. No app download needed.

Ready to enhance your listing photos?

Free to try. No signup required.

Try it free