AI Screenshot Enhancer
← Browse all enhance toolsLast updated
Describe what to improve and AI enhances screenshot quality instantly. No marking needed.


Upload photo to enhance screenshot
"sharpen the blurry text to make it crisp and readable"
Release to upload
50,000+photos edited
<30stypical edit
1 freeedit weekly
How it works
See it in action
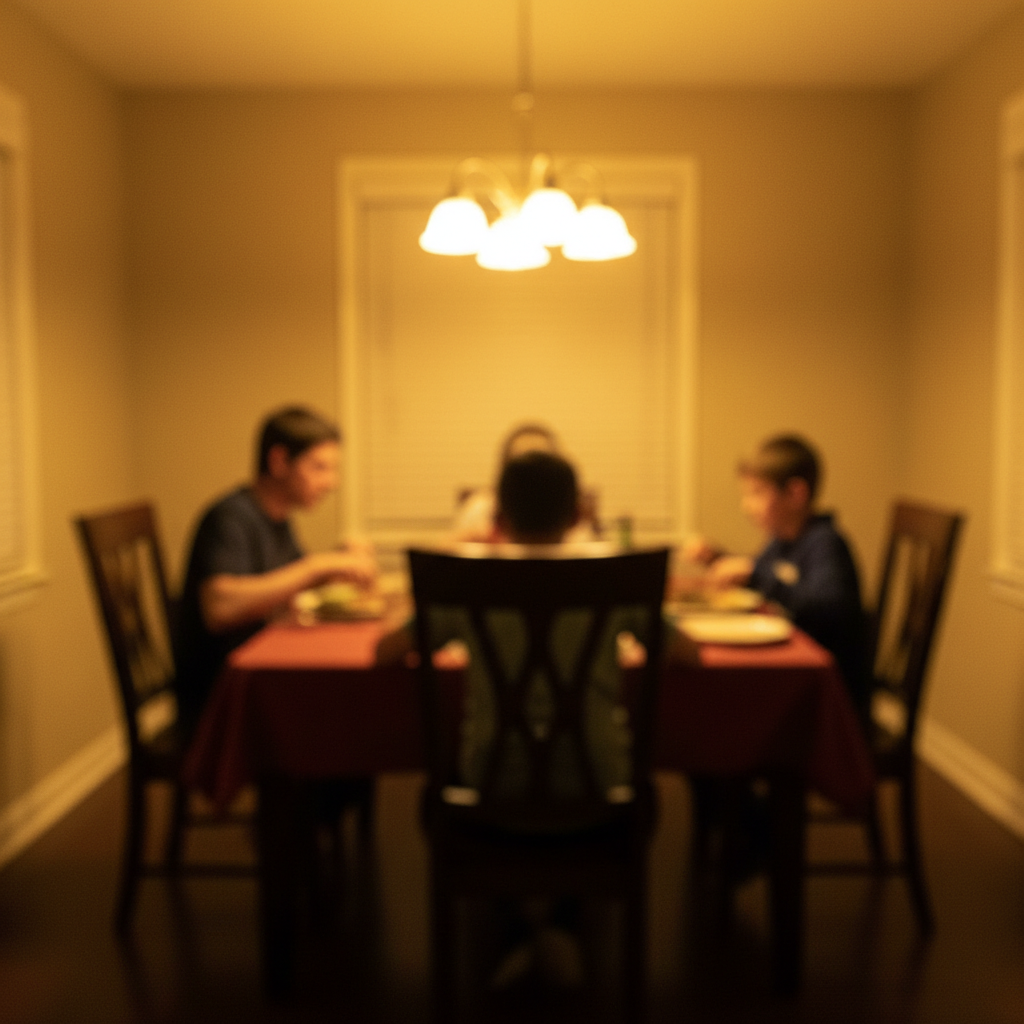

Soft garden image sharpened to clearer detail
A hazy flower garden photo with soft, indistinct edges — similar to what a compressed or low-quality screenshot looks like. Enhanced to bring out the fine petal and stem detail.

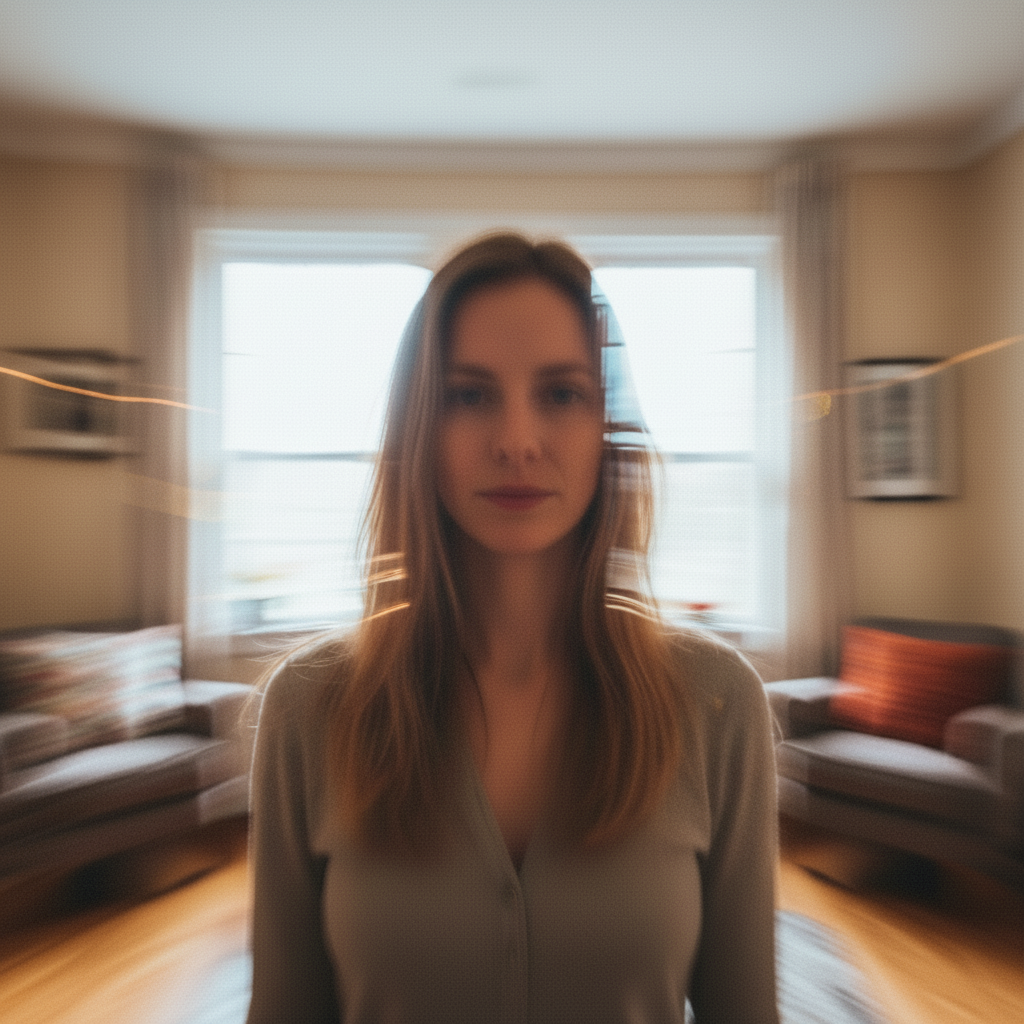
Blurry portrait sharpened the same way as a blurry screenshot
A blurry portrait from an indoor capture — motion blur making the face and background indistinct — was sharpened using the same AI enhancement technique used for blurry screenshots. Whether it is a camera photo or a screen capture, the AI recovers lost sharpness.
Prompt:
sharpen this blurry image — reduce the motion blur and recover the lost detail, same as enhancing a blurry screenshot
Quick answers
Popular use cases
Ready to enhance your screenshots?
Free to try. No signup required.