Free • No signup Edit Blog post thumbnail · Free

AI Thumbnail Editor for Blog Posts

← Browse all creative effects

Last updated

Clean up header images, remove distractions, swap backgrounds — describe what needs fixing and AI handles it.

Person at cluttered desk for blog thumbnail Same person with clean blurred background

Upload photo to edit blog post thumbnail

"remove the person on the right side of the image and fill naturally with the background"

Release to upload

1 free edit·then from $4.99

Popular use cases:
  • blog thumbnail editing AI
  • featured image editor blog
  • blog post header image cleanup
  • WordPress featured image editor
  • blog image fix free

Cost
Free No signup required
Time
Instant results in 15-30 seconds
Works on
Any device - browser, phone, tablet, desktop
Powered by
AI-powered photo editing
Scenario Prompt Time
Background swap replace the busy background with a clean neutral blurred background 20s
Object removal remove the [item] at the [position] and fill naturally 20s
Exposure fix brighten the photo and lift the shadows for a vibrant look 15s
Background blur add soft bokeh blur to the background, keep the subject sharp 15s

How it works

  1. Upload your blog image

    Drop the photo you want to use as a featured image or thumbnail. Works with photos from stock sites, your own photos, or screenshots. Best results when the main subject is clear and the element you want to change is identifiable.

    Expect: Blog image edits typically process in 15-25 seconds. Background replacements may take up to 35 seconds.
  2. Describe what to change

    Type exactly what you want: 'remove the cluttered background and replace with a clean white studio look', 'remove the person on the right', 'make the background blurred and bokeh to focus on the subject', 'replace the dull grey sky with a bright clear blue'. No selection tools, no layer masks — just describe it.

    Tip: For blog thumbnails, clean and uncluttered backgrounds help the image work at small sizes. Describe a simple, complementary background.

    Copy one of these to get started:

    Remove busy background replace the busy street background with a clean, slightly blurred neutral background that doesn't distract from the subject
    Remove unwanted person from stock photo remove the person on the right side of the image and fill naturally with the background
    Swap dull background for vibrant one replace the plain white background with a soft gradient from pale blue to white that feels light and airy
    Brighten a dark or underexposed photo brighten this photo, increase the overall exposure and lift the shadows to make it feel vibrant
    2 more prompts
    Remove distracting object from scene remove the bright red trash can at the bottom right of the frame and fill with the floor
    Add subtle background blur add a soft bokeh blur to the background to make the foreground subject stand out more
  3. Check it works at thumbnail size

    After editing, mentally preview the image at blog card size (typically 300-400px wide). A clean background and clear subject communicate faster at small sizes. Check that the main subject is still clear.

  4. Refine with markers if an area needs precision

    If the AI changed something you wanted to keep, or missed a specific element, tap a marker on the target area and re-describe.

    Tip: Markers help when the element to remove is close to the subject you want to keep sharp.

See it in action

Person at cluttered desk for blog thumbnail
Before
->
Same person with clean blurred background
After

Busy background replaced with clean backdrop

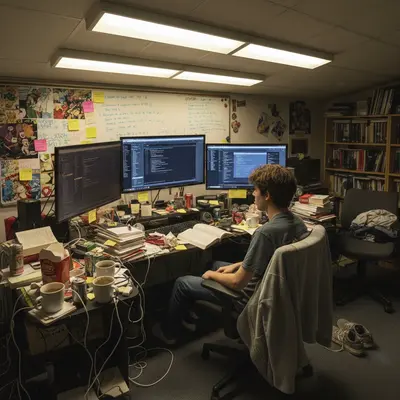
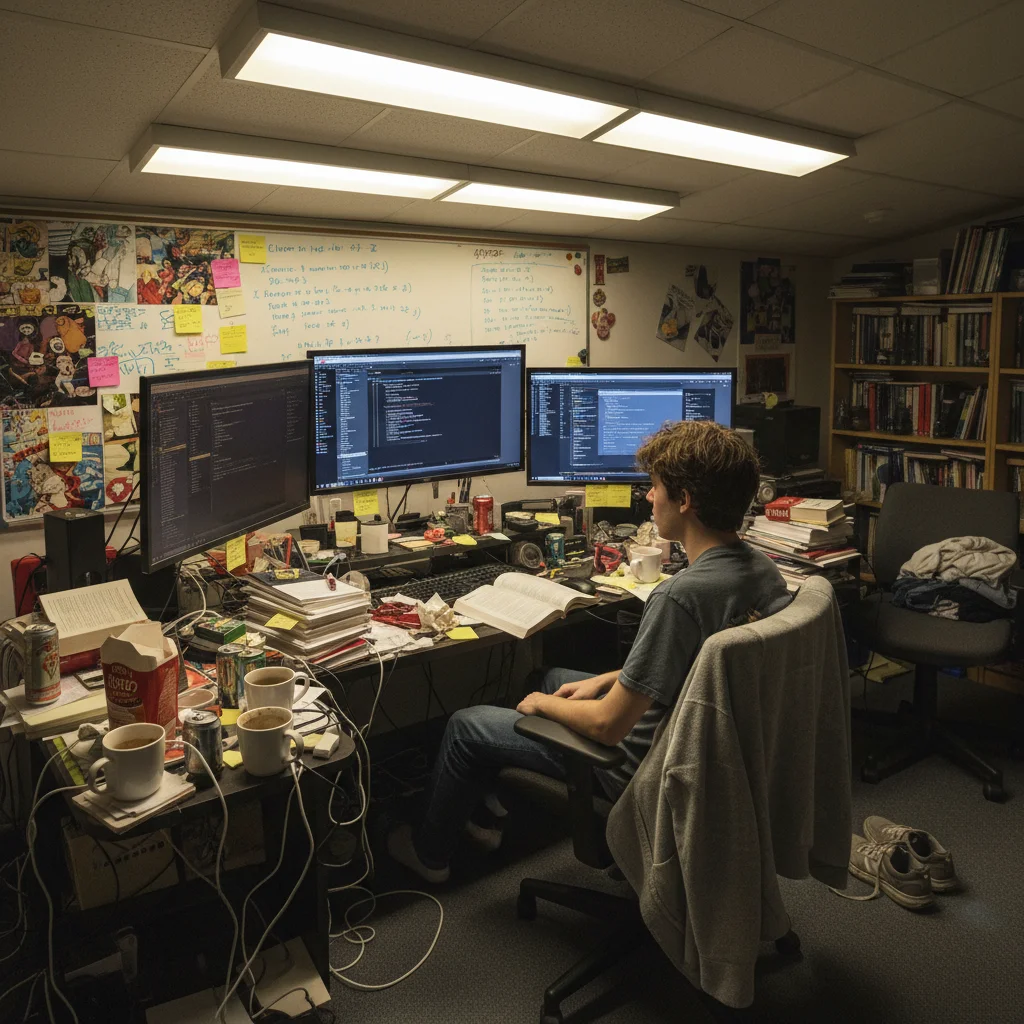
A photo taken in a cluttered space — fine for personal use, but not ideal as a blog featured image. Background replacement turns it into a clean, professional thumbnail.

Prompt: replace the busy cluttered office background with a soft blurred light grey background that focuses on the subject
Café scene with bright yellow bag at edge
Before
->
Clean café scene with bag removed
After

Unwanted object removed from stock photo

A stock photo was almost right except for an unwanted element. Removing it saves buying a different photo.

Prompt: remove the bright yellow bag at the left edge of the frame and fill with the natural scene background

If something looks off

AI changed the wrong area — the main subject was affected

Why: The AI interpreted the prompt too broadly.

Try: Tap a marker on the specific element to change, then re-run with the same description

Tip: For blog images where the subject must stay sharp, a marker on the background element removes ambiguity.

Background replacement looks artificial

Why: The generated background doesn't match the lighting or perspective of the original.

Try: Re-run with: 'replace the background with [description], match the lighting direction and warmth of the original photo'

Tip: Asking the AI to match the original lighting helps the replacement blend more naturally.

Image looks too bright after exposure fix

Why: The brightening was applied too aggressively.

Try: Follow up with: 'reduce the brightness slightly, it's a bit overexposed now'

Tip: Follow-up prompts that describe the current problem and desired direction work well for fine-tuning.

Quick answers

How specific should my prompt be to get a good AI Thumbnail Editor for Blog Posts result on the first try?

One sentence is usually enough: 'edit the blog post thumbnail.' If the first result is off, refine with details — color, position, lighting, or what to keep. Each pass takes 20-45 seconds and runs separately, so you can compare. Free first edit per week, no signup.

Is there a free AI blog thumbnail editor with no login?

EditThisPic is free to try with no account required. You get 1 free edit per week. Plans start at $4.99/month for 15 edits — sufficient for a week's worth of blog post thumbnails.

Does it work for WordPress, Medium, Substack featured images?

Yes — EditThisPic edits the photo itself. You then download and upload it to any platform. There's no platform integration needed — it's just a photo editor.

What size should my blog thumbnail be before editing?

Upload at the size you use for your blog. EditThisPic works at whatever resolution you provide — it doesn't resize images. For best results, use at least 800px wide for blog headers.

How much does EditThisPic cost?

You get 1 free edit per week — no account needed. After that, credit packs start at $1.99 for 3 edits. Monthly plans start at $4.99/mo for 15 edits with unused credits rolling over. All edits are full resolution with no watermark.

Edit Your Next Blog Featured Image

Clean backgrounds, remove distractions. Free to try, no signup.

1 free edit included·Credit packs from $4.99