Free • No signup Brighten Dark room · Free

Brighten Dark Room Photo

Fix dark, underexposed interior photos with natural-looking brightness — the #1 fix for listing photos shot without professional lighting.

Very dark living room with only window light creating harsh contrast
Before
Same living room with natural even brightness throughout
After

Brighten Dark Room Photo

Drop your photo here

or click to browse

Release to upload

Free • No signup

Popular use cases:
  • dark room photo fix
  • interior brightening
  • underexposed photo correction
  • real estate interior lighting
  • room exposure fix
  • dark interior enhancer

Cost
Free No signup required
Time
Instant results in 15-30 seconds
Works on
Any device - browser, phone, tablet, desktop
Powered by
AI-powered photo editing
Scenario Prompt Time
Dark living room brighten with natural daylight, lift all shadows 15s
Window backlight fix balance exposure between bright windows and dark interior 15s
Dark basement brighten with warm overhead lighting, no dark corners 15s

How it works

  1. Upload your photo

    Drop your dark interior photo into EditThisPic. Works on any room — living rooms, bedrooms, kitchens, basements, bathrooms. JPG, PNG, WebP up to 7MB.

    Expect: Simple brightness boost: 10-15 seconds. Severe underexposure with window backlighting: may need a second pass for balanced results.
  2. Describe what you want

    Type your instruction: 'brighten this room with natural-looking daylight' or 'make this room bright and well-lit as if there were more windows.' Be specific about the light quality — 'soft natural light,' 'warm afternoon glow,' or 'bright even lighting.' No marking needed — the AI brightens the entire interior.

    Tip: Add 'keep the window view unchanged' if your photo has windows — otherwise the AI may over-brighten them too.

    Copy one of these to get started:

    General dark room brightening brighten this dark room with natural-looking soft daylight, lift all shadows while keeping the room feeling realistic and not overexposed
    Fix underexposed bedroom make this bedroom bright and airy with even natural light throughout, as if the room had large windows on both sides letting in morning sun
    Balance window light with dark interior balance the exposure so the room interior is bright and visible while the window view stays natural, not blown out or too bright
    Brighten dark basement brighten this basement to look like a well-lit living space with warm overhead lighting and no dark corners, as if recessed lights were installed throughout
    3 more prompts
    Illuminate dark kitchen brighten this kitchen with clean white light from above as if under-cabinet and overhead lights were all on, countertops well-lit and no dark areas
    Natural light look for windowless room make this room look naturally bright as if it had large windows with sheer curtains letting in soft diffused daylight, warm and inviting
    Evening to daylight conversion convert this evening interior shot to look like it was taken in bright daylight, replace the warm artificial light with cool natural daylight throughout the room
  3. Generate and review

    Check that the brightness looks natural, not blown out. Verify that shadows still exist but are lifted — completely shadowless rooms look flat and artificial. Confirm furniture and decor colors look accurate under the new lighting.

  4. Refine with markers if needed

    If one corner is still too dark or a specific area got over-brightened, tap markers there and describe the adjustment. This is optional — most room brightening works perfectly on the first try.

    Tip: Markers are for precision refinement, not a required step. Try without them first.
Try it free

Brighten Dark Room Photo

Drop your photo here

or click to browse

Release to upload

Free • No signup

"Shot a listing with no staging lights and every interior came out dark. EditThisPic saved every photo — buyers thought we had pro lighting." @AgentKristina_FL

See it in action

Very dark living room with only window light creating harsh contrast
Before
->
Same living room with natural even brightness throughout
After

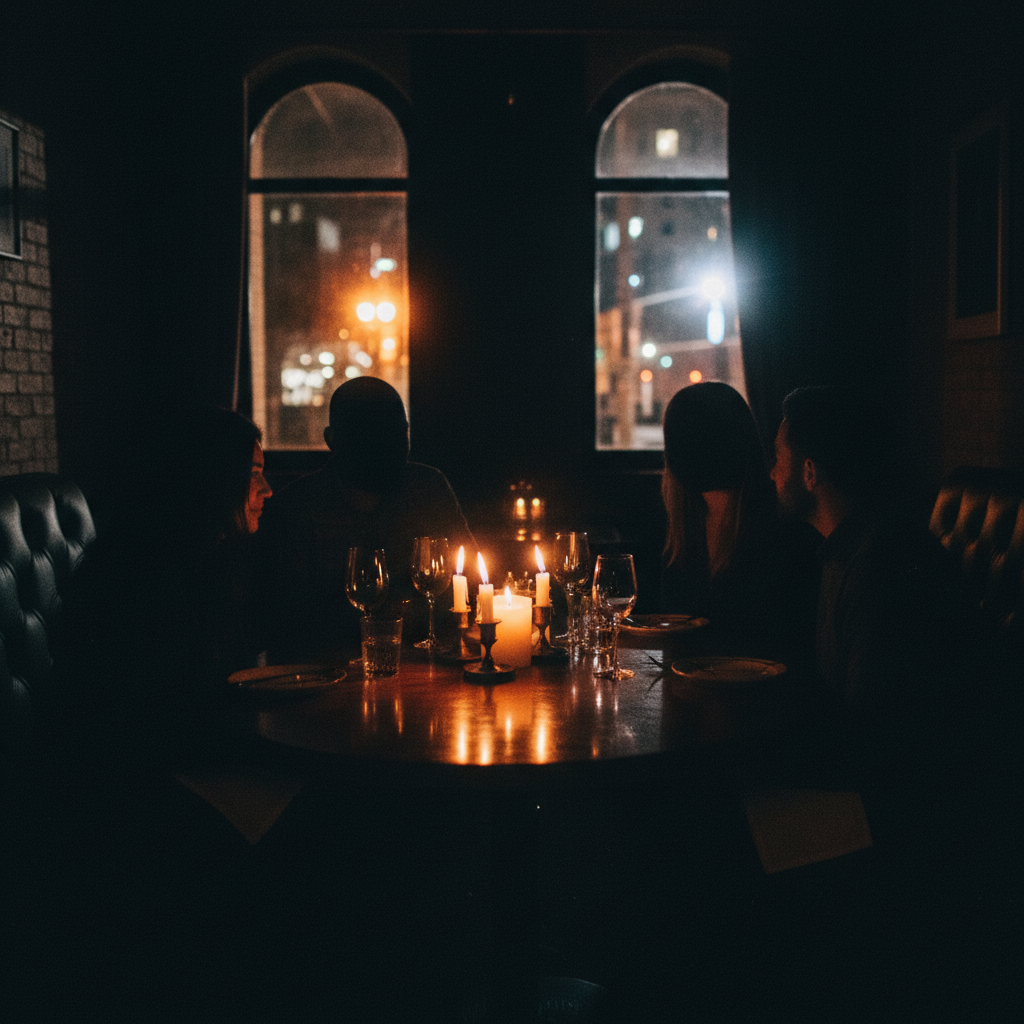
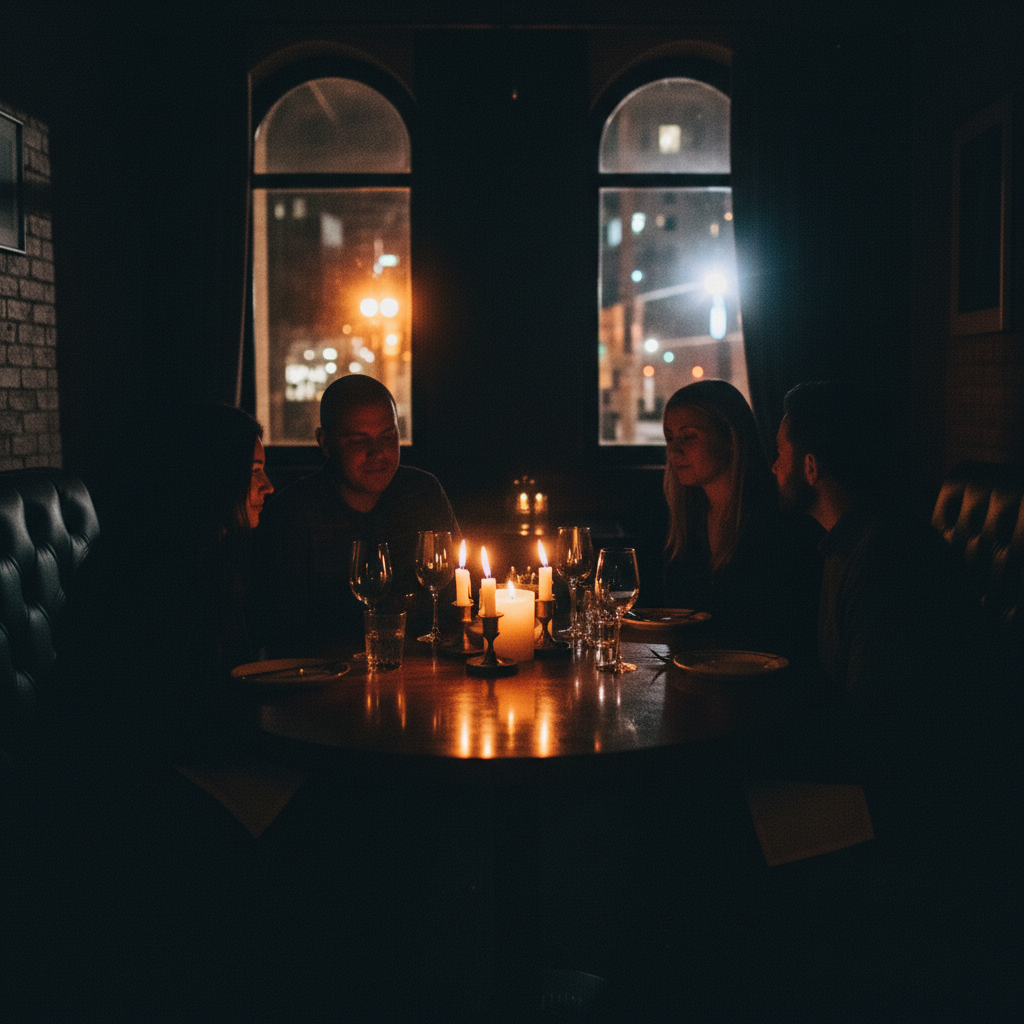
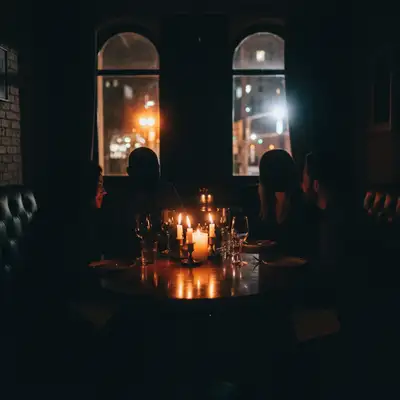
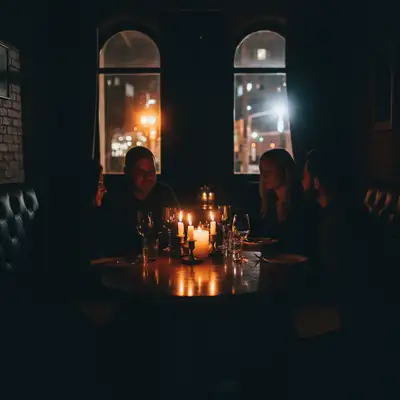
Dark living room brightened for listing

A living room shot without professional lighting — heavy shadows and dim appearance — transformed to bright and inviting.

Prompt: brighten this dark room with natural-looking soft daylight, lift all shadows while keeping the room feeling realistic
Dim bedroom lit only by small nightstand lamps
Before
->
Same bedroom brightened with natural daylight appearance
After

Underexposed bedroom made bright and airy

A bedroom photographed in the evening with warm dim lighting converted to look bright and naturally lit for daytime appeal.

Prompt: make this bedroom bright and airy with even natural light throughout, as if the room had large windows letting in morning sun
Very dark basement with minimal light from small window
Before
->
Same basement brightened to look like a well-lit living space
After

Dark basement converted to bright living space

A basement with minimal natural light transformed to look like a well-lit, usable living area for listing photos.

Prompt: brighten this basement to look like a well-lit living space with warm overhead lighting and no dark corners, as if recessed lights were installed throughout

Detailed Guides by Scenario

📷

Real Estate Interior Photos

Dark interiors are the #1 problem in real estate photography. Most agents shoot without professional lighting, resulting in photos that make rooms look small and uninviting.

Common Scenarios

  • Brightening interior listing photos shot without flash or studio lights
  • Fixing HDR failures where windows are bright but room is cave-dark
  • Making north-facing rooms look bright and sunny for the listing

Best Practices

  • Use 'natural daylight' rather than 'bright' to avoid an artificial look
  • Add 'keep window view unchanged' to prevent blown-out windows
  • Process all interior photos with consistent brightness for a cohesive listing gallery
📷

Personal Photography

Phone photos taken indoors are often too dark — especially in restaurants, event venues, and homes without great natural light.

Common Scenarios

  • Brightening phone photos from dimly lit restaurants and bars
  • Fixing indoor event photos where flash was off or insufficient
  • Improving indoor family photos taken during winter with low light

Best Practices

  • Request 'warm natural light' for home photos to maintain a cozy feel
  • For event photos, use 'even ambient lighting' to avoid harsh flash simulation
  • Keep some atmosphere — 'brighten while keeping the warm mood' for evening shots
📷

Commercial & Office Interiors

Commercial property photos and office interiors need to look bright, clean, and professional for leasing and marketing materials.

Common Scenarios

  • Brightening commercial space photos for lease listings
  • Making office interiors look inviting for recruitment marketing
  • Improving retail space photos for tenant prospecting

Best Practices

  • Use 'clean white overhead lighting' for commercial spaces
  • Request 'professional office lighting' for corporate interiors
  • Keep the style clinical and bright rather than warm for commercial spaces

If something looks off

The room looks washed out or overexposed after brightening

Why: The AI boosted brightness uniformly including areas that were already well-lit, blowing out highlights.

Try: brighten only the dark shadow areas while keeping already-bright areas like windows and light fixtures at their current exposure level

Tip: Asking to brighten 'shadow areas only' mimics professional HDR editing — lifting darks without blowing highlights

Colors look wrong or faded after brightening

Why: Aggressive brightness increase can desaturate colors, making warm rooms look cold and lifeless.

Try: brighten the room while maintaining rich, accurate colors — keep warm wood tones warm and preserve the natural color of furniture and walls

Tip: Mentioning specific materials like 'warm wood tones' anchors the AI to preserve color accuracy

AI changed the wrong area or something I didn't want changed

Why: The AI couldn't determine exactly which area you meant from description alone. This happens with ambiguous requests.

Try: Tap a marker on the specific area you want to change, then regenerate with the same prompt

Tip: Markers tell the AI 'I mean THIS one specifically.' Use them when description alone is ambiguous.

The room looks flat — no depth or dimension

Why: The AI removed all shadows, eliminating the light/dark contrast that gives rooms visual depth.

Try: brighten the room while keeping subtle natural shadows for depth — light should come from the window side, with gentle shadows on the opposite walls

Tip: Specifying a light direction like 'from the window side' maintains depth while still brightening the scene

Quick answers

Do I need to mark the dark areas before brightening?

No. Just type 'brighten this room' and the AI identifies and lifts all dark areas automatically. Markers are only useful if you want to brighten one specific corner or area while leaving the rest unchanged.

How do I brighten a dark room photo for free?

Upload your photo to EditThisPic and type 'brighten this room with natural-looking light.' The AI evenly brightens the interior while keeping highlights balanced — results in about 15 seconds. One free edit per week, no account needed.

Is there a free room brightening tool that doesn't require signup?

Yes. EditThisPic brightens dark rooms with AI — no account, no login, no watermark. One free edit per week. For unlimited edits, plans start at $3.99/month.

What is the best free AI tool for fixing dark interior photos?

EditThisPic brightens dark rooms in one prompt with AI-powered exposure correction. Unlike simple brightness sliders, it adds realistic-looking light while preserving colors and depth. Free to try, no Photoshop needed.

Ready to brighten your photos?

Free to try. No signup required.

Try it free