Do I need to trace over the scratches or damage before describing what to fix?
No! Just describe the damage: 'fix the scratches and fading' or 'repair the water stains.' The AI detects and repairs damage automatically. Only use markers if specific damage spots are missed on the first try—tap the remaining spots and regenerate.
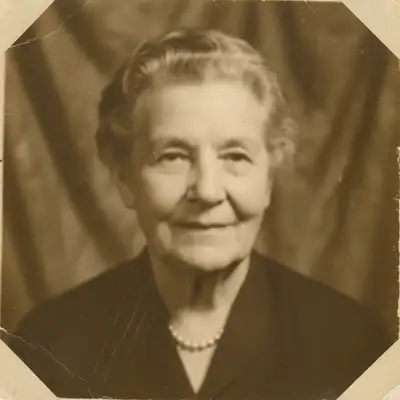
How do I restore an old photo for free?
Upload your old photo to EditThisPic and type 'restore this old photo, fix scratches and fading.' The AI repairs damage, corrects colors, and sharpens details in 30-45 seconds. Works on scanned prints, faded snapshots, and damaged photographs. Free to use, no account required.
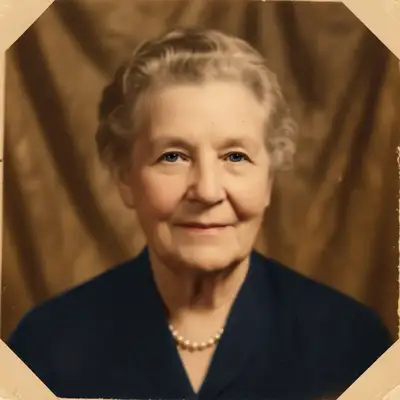
Is there a free AI photo restorer that doesn't require login?
Yes, EditThisPic restores photos for free with no account needed. Upload your damaged photo, describe the damage, and download the restored result. No watermarks on outputs. Handles scratches, tears, fading, water damage, and yellowing.
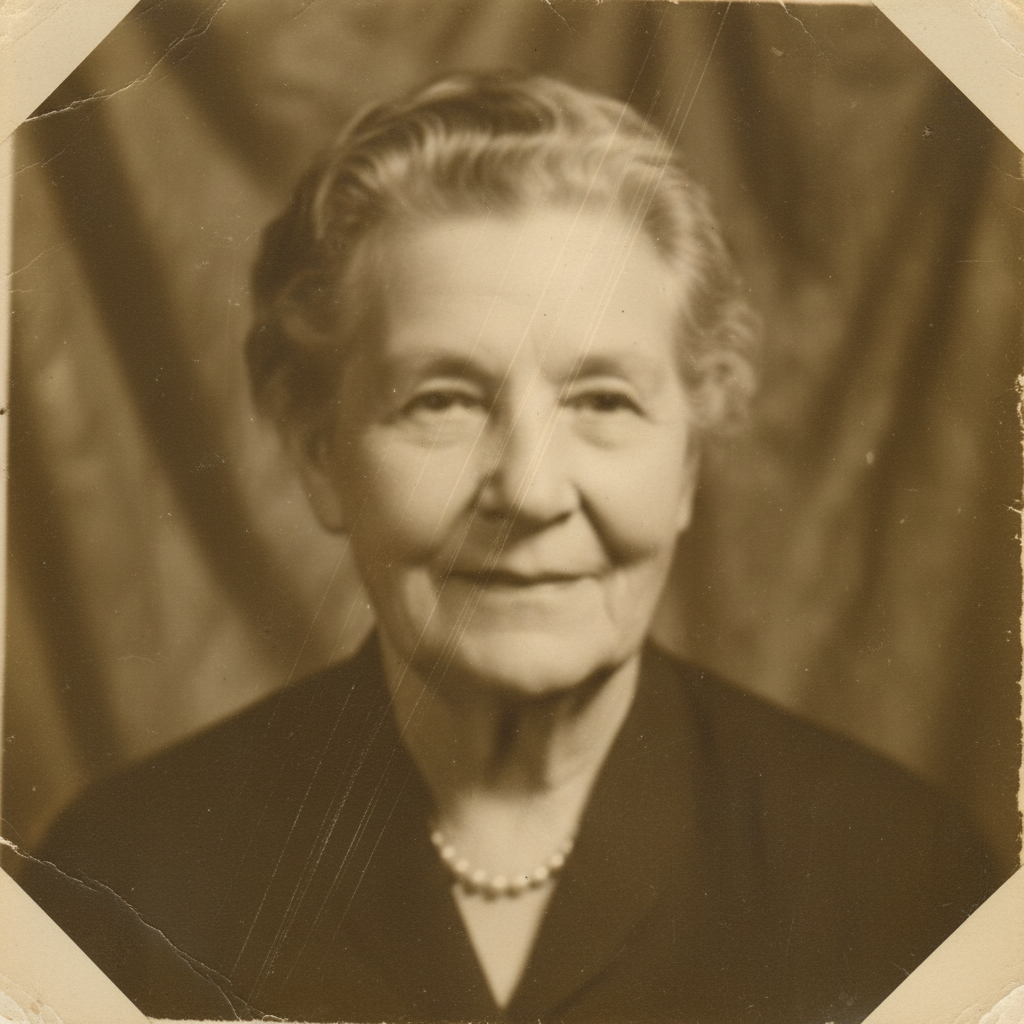
What is the best free AI tool for restoring old photos?
EditThisPic handles the full range of photo damage — scratches, tears, fading, water stains, yellowing, and mold spots — by description alone. Unlike Photoshop's manual clone stamp and healing brush, you just describe what needs fixing and the AI repairs it automatically. Free, no login, results in 30-45 seconds.
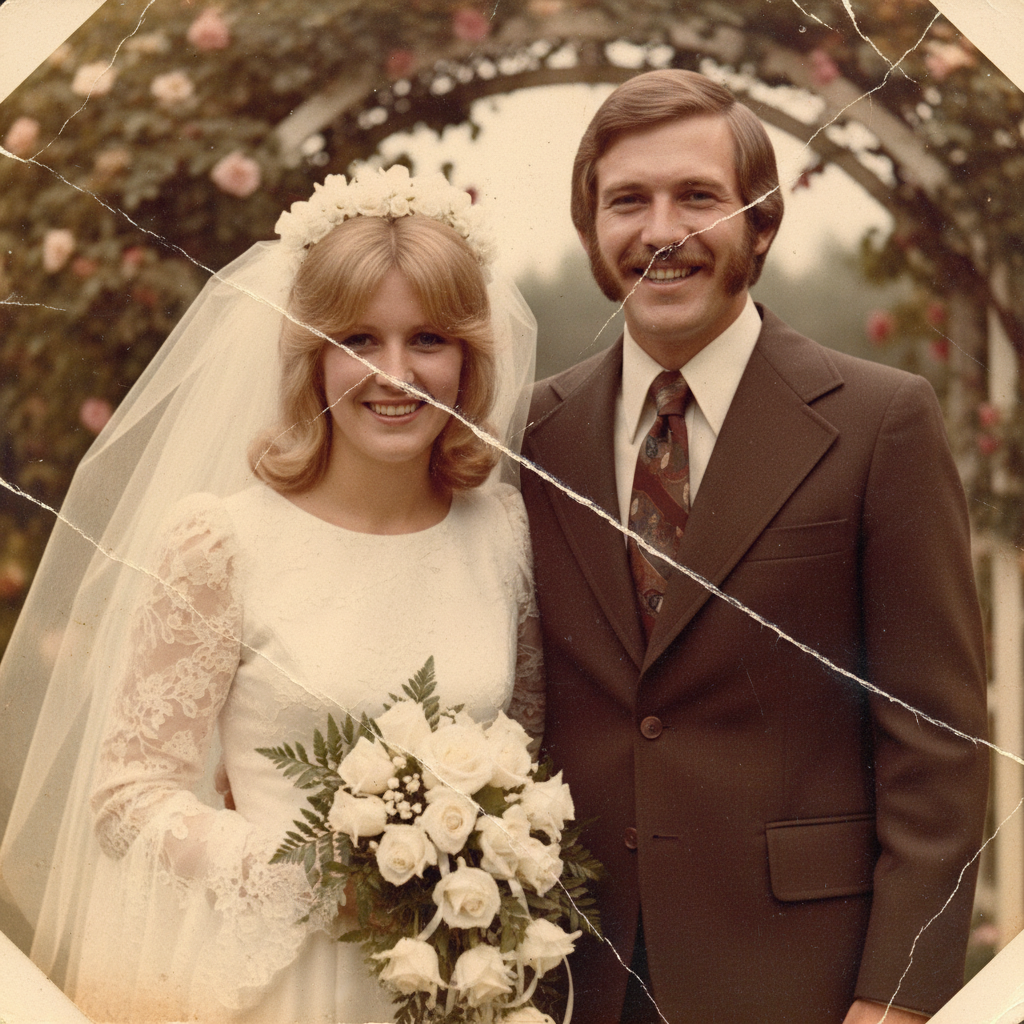
Can AI restore severely damaged photos with missing sections?
Yes, the AI can reconstruct missing areas based on surrounding context. For torn edges, holes, and missing sections, describe what's damaged and the AI fills in plausible detail. Very large missing sections may need 2-3 refinement passes for the best result.
Can I restore photo on my phone?
Yes. EditThisPic works in any mobile browser — iPhone, Android, tablet. No app download needed.
What photo formats does the AI photo restorer support?
JPG, PNG, WebP, and HEIC. Upload any common photo format and EditThisPic handles the rest.
How long does it take to restore photo?
Usually 15-30 seconds. Upload your photo, describe what you want, and the AI delivers the result.
Do I need to create an account to restore photo?
No. You can try your first edit without signing up. An account is only needed to save edits and manage a subscription.
How much does EditThisPic cost?
You get 1 free edit per week — no account needed. After that, credit packs start at $1.99 for 3 edits. Monthly plans start at $4.99/mo for 15 edits with unused credits rolling over. All edits are full resolution with no watermark.