Do I need to mark the dark circles?
Yes, paint over the darkened areas under your eyes using the brush tool. This guides the AI to brighten specifically those regions while preserving natural skin texture and surrounding areas.
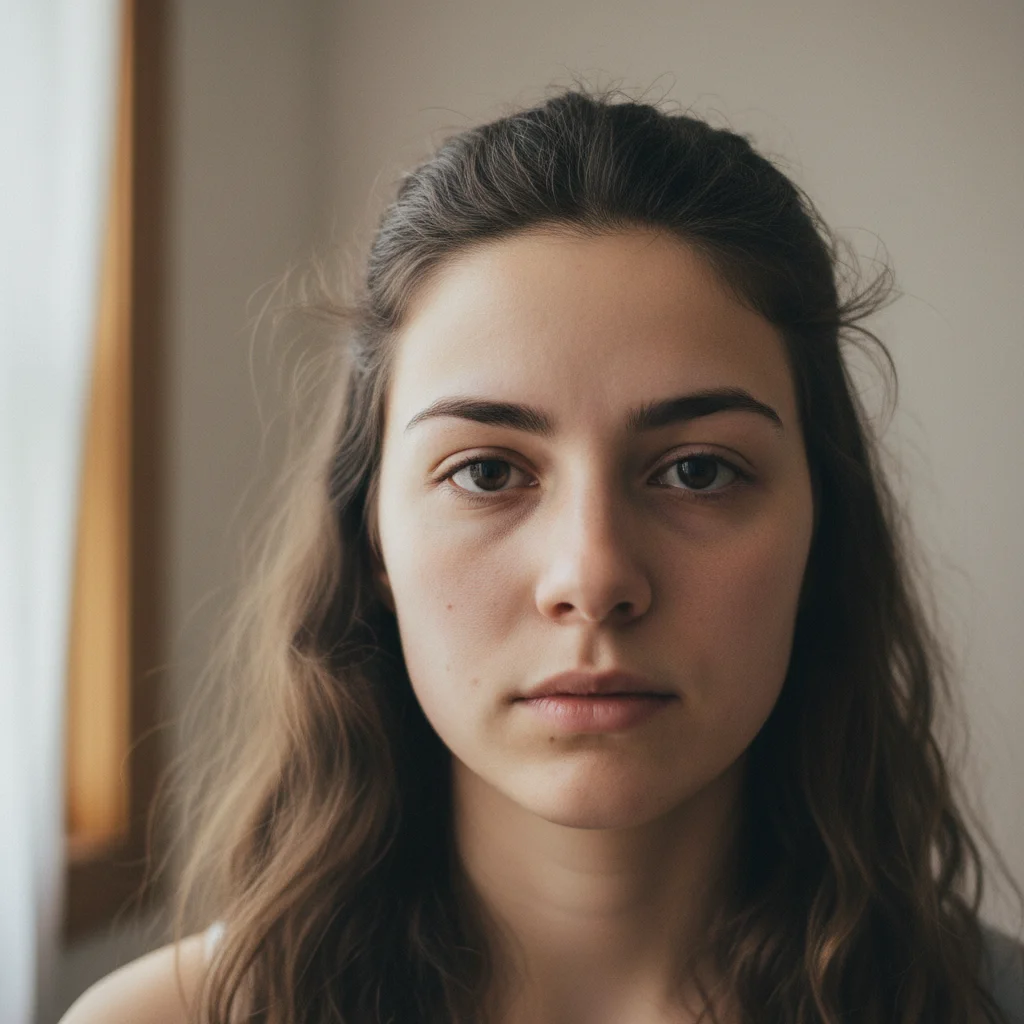
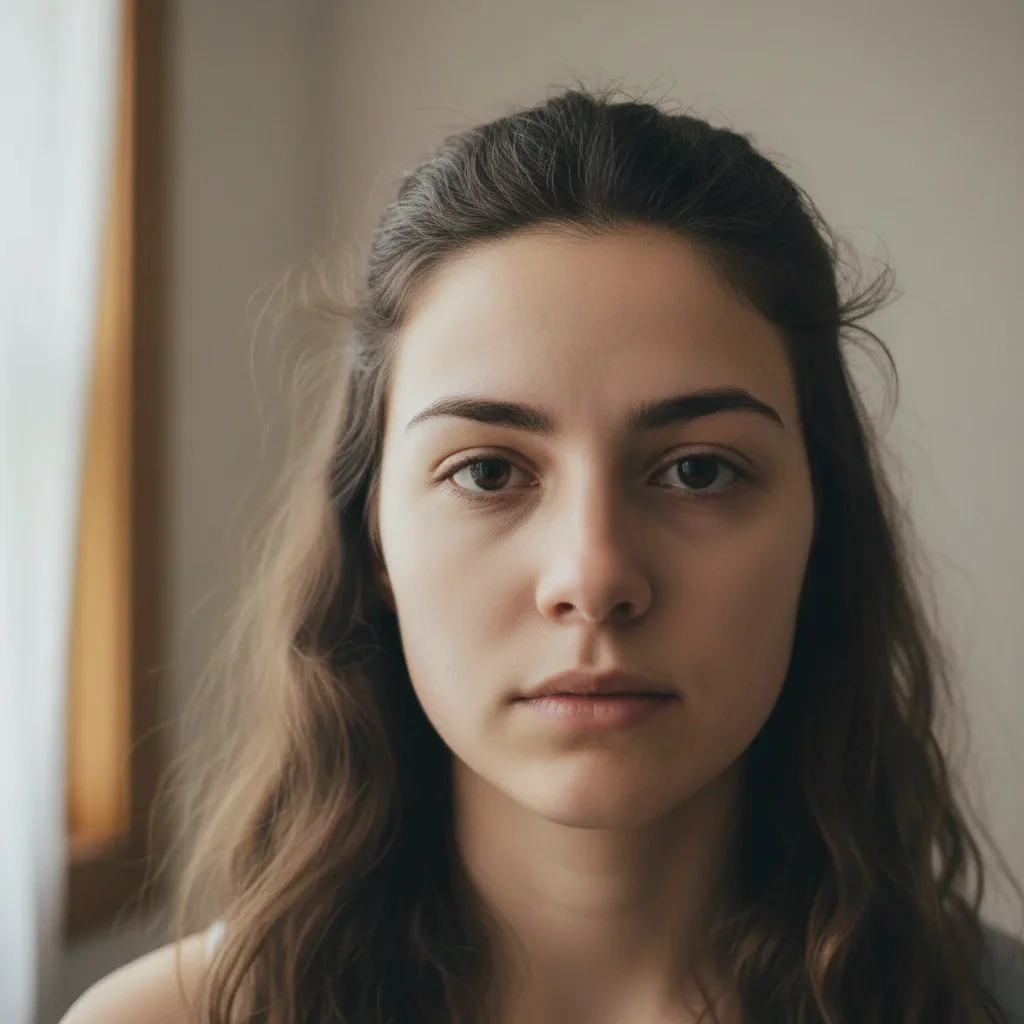
What's the difference between dark circles and eye bags?
Dark circles are discoloration or shadowing under the eyes, while eye bags are physical puffiness or swelling. This tool removes dark pigmentation and shadows. For puffy bags, use our AI Eye Bag Remover.
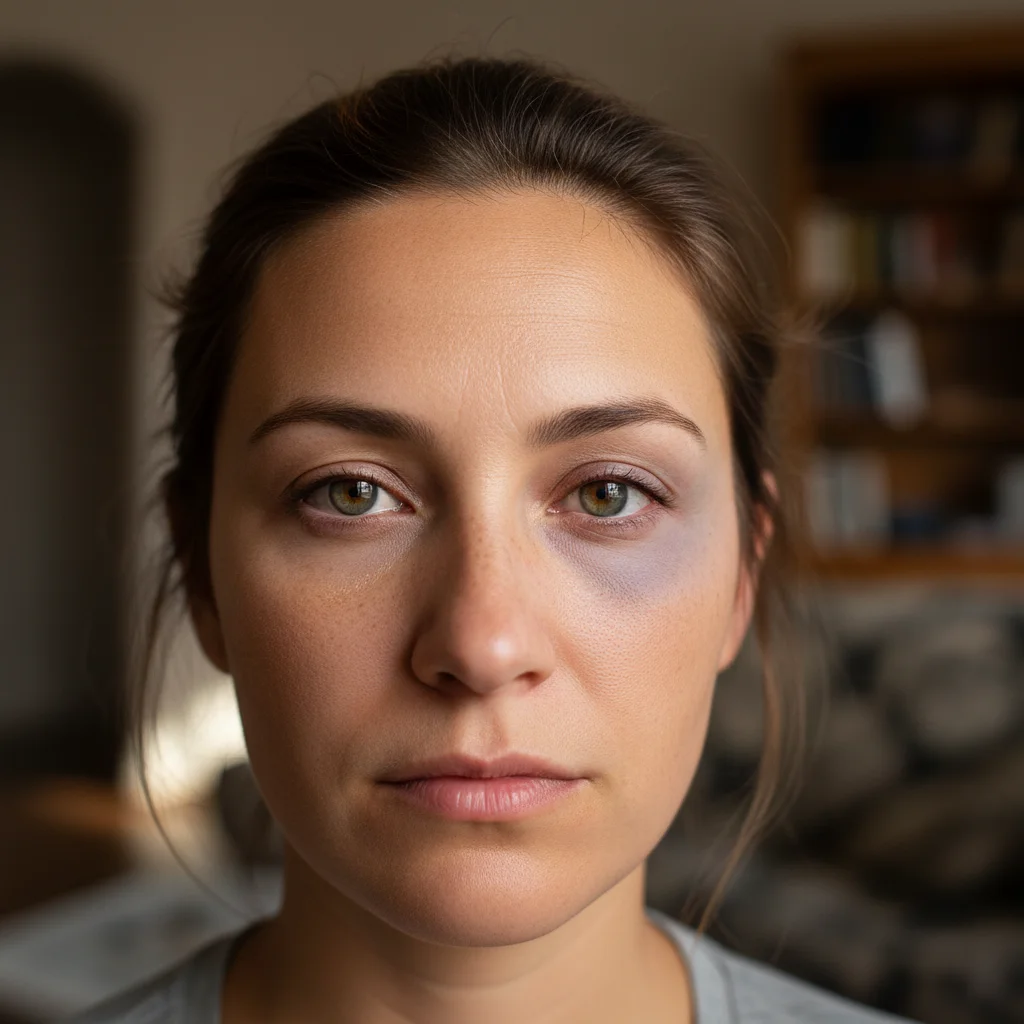
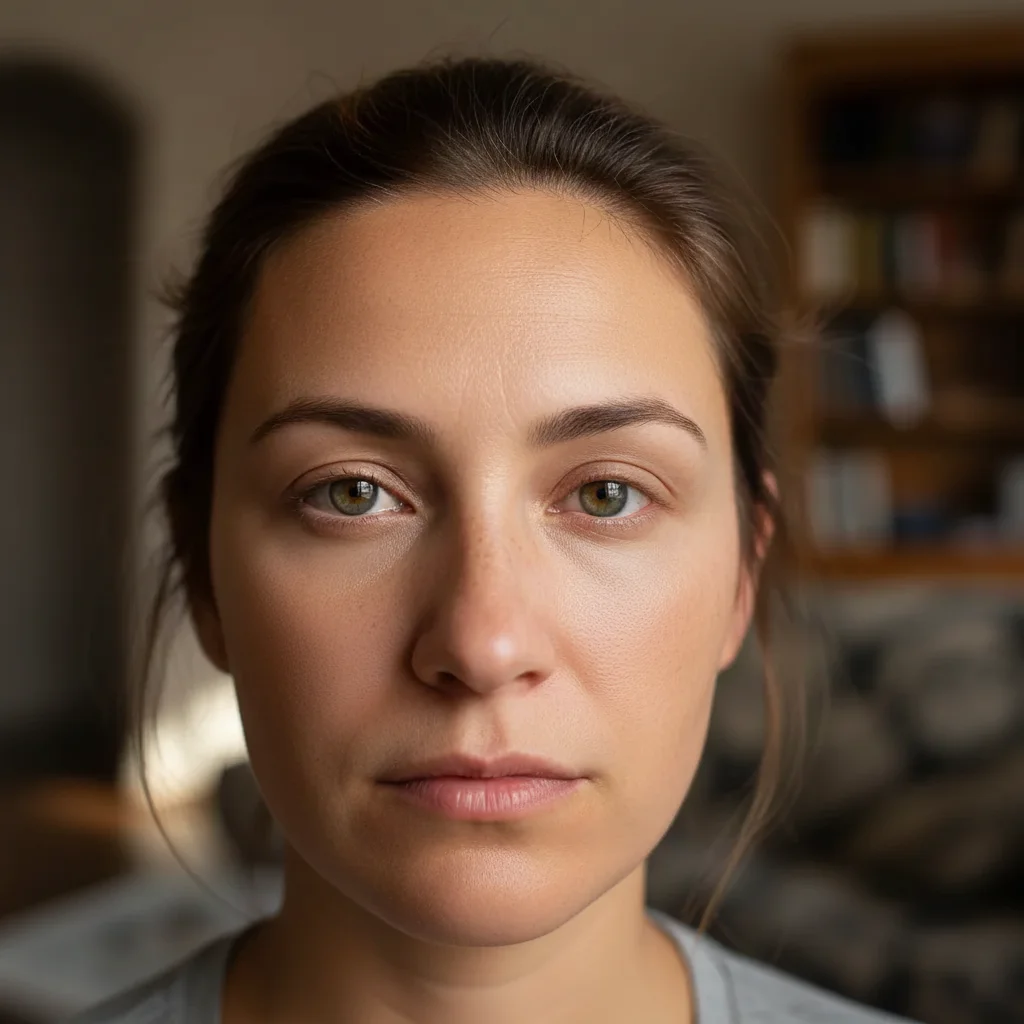
Will it work on all dark circle types and colors?
Yes, the AI handles purple, blue, brown, and black dark circles regardless of cause (genetics, aging, lack of sleep, allergies). It brightens and evens tone across all skin colors and circle types.
Can I remove dark circles from just one eye?
Yes, mark only the eye with dark circles if you have asymmetric discoloration. This is useful when one eye has more pronounced darkness than the other.
Is EditThisPic's AI dark circles remover really free?
Yes — you get 1 free edit per week, no account needed. For unlimited edits, plans start at $3.99/month.
What photo formats does the AI dark circles remover support?
JPG, PNG, WebP, and HEIC. Upload any common photo format and EditThisPic handles the rest.
How long does it take to remove dark circles?
Usually 15-30 seconds. Upload your photo, describe what you want, and the AI delivers the result.
Can I undo or adjust the AI edit if I don't like the result?
Yes. You can refine your prompt and re-edit as many times as you want. Each attempt uses one edit credit (or your free weekly edit).