Add a Bruise to a Photo
← Browse all add & replace toolsLast updated
Upload a selfie, describe the bruise you want, and the AI adds realistic swelling and discoloration in seconds. Then text your mom "rough night" and wait.
Upload photo to add bruise
"Add multiple bruises: a swollen purple bruise on the right cheekbone, a split lip with dried blood, and a small cut above the left eyebrow. Make it look like injuries from a fistfight, about 6 hours old."
Release to upload
- fake bruise photo
- black eye prank photo
- fake fight photo
- AI bruise photo editor
- realistic injury photo fake
- you should see the other guy prank
- fake injury text prank
- bruised face photo editor
- Cost
- Free No signup required
- Time
- Instant results in 15-30 seconds
- Works on
- Any device - browser, phone, tablet, desktop
- Powered by
- AI-powered photo editing
| Scenario | Prompt | Time |
|---|---|---|
| Fresh black eye | Deep purple fresh black eye, left eye socket, swollen eyelid, under 12 hours old |
15s |
| Fight injuries | Bruised cheekbone, split lip, cut above eyebrow — multiple injuries, 6 hours old |
30s |
| Healing bruise | Fading jaw bruise, yellow-green center, purple edges, clearly a few days old |
15s |
| Arm impact bruise | Large deep purple bruise on outer forearm, fist-sized, 1-2 days old with yellow edges |
15s |
How it works
See it in action


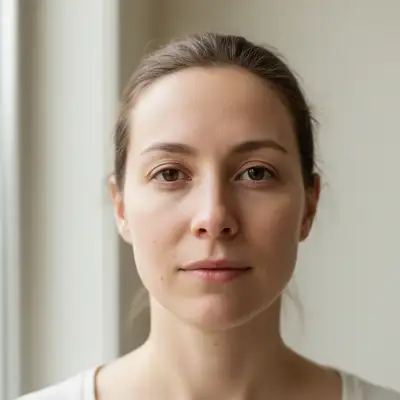
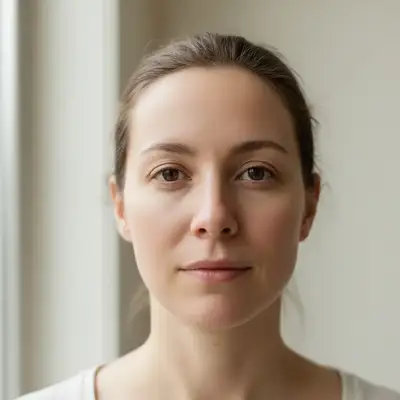
Close-up portrait with skin smoothed near window
A close-up portrait of a woman near a bright window had subtle skin texture refined for a clean, polished look — showing how face photos can be adjusted before adding any effects.
Smooth the skin texture naturally — reduce pores and even the tone while keeping the photo looking real


Headshot with dramatic bruising added
A clean headshot of a middle-aged man with gray hair and stubble on a white background had dramatic purple bruising added across one side of his face — useful for prank scenarios or film/TV mockups.
Add realistic-looking bruising across one side of the face — swollen purple discoloration, burst blood vessels, make it look painful but real
If something looks off
Quick answers
Popular use cases
Ready to add a bruise to your photo?
Free to try. No signup required.