Free • No signup Visualize Back tattoo · Free

Back Tattoo Visualizer

← Browse all creative effects

Last updated

Upload a back photo, describe the design, and AI renders the tattoo on your skin — from a small shoulder blade piece to a full back masterwork. Use prompts like 'draw a phoenix on the full back in Japanese style' for best results.

Bare back with no tattoos Full back with large Japanese phoenix tattoo in red and gold

Upload photo to visualize back tattoo

"add a fine-line spine tattoo of trailing wildflowers and stems running from the nape of the neck to the lower back, centered on the spine, black ink only"

Release to upload

1 free edit·then from $4.99

Popular use cases:
  • back tattoo preview
  • full back piece visualizer
  • spine tattoo preview
  • shoulder blade tattoo
  • upper back tattoo
  • lower back tattoo design
  • back tattoo consultation

Cost
Free No signup required
Time
Instant results in 15-30 seconds
Works on
Any device - browser, phone, tablet, desktop
Powered by
AI-powered photo editing
Scenario Prompt Time
Spine botanical tattoo add spine tattoo of trailing flowers from nape to lower back, centered, black ink 35s
Upper back mandala draw a geometric mandala between shoulder blades, blackwork, 8 inches 35s
Full back Japanese piece draw Japanese phoenix on full back, red and gold, bold outlines 55s

How it works

  1. Upload a back photo

    Take or upload a clear photo of your back — well-lit, skin visible, good framing from neck to lower back. A photo taken by someone else from directly behind gives the AI the best view of the full canvas. JPG, PNG, WebP up to 7MB.

    Expect: Small upper back or shoulder blade pieces: 25-35 seconds. Full back masterworks with fine detail: 45-60 seconds and may benefit from a second pass.
  2. Describe the back design

    Specify region and style: 'draw a large phoenix in Japanese irezumi style on the full back' or 'add a fine-line spine tattoo of trailing orchids running from the neck to the lower back.' The more you specify — upper vs full back, design elements, color vs black and grey — the more accurate the result.

    Tip: Specify scale: 'filling the full back' vs 'covering only the upper back between the shoulder blades.' Full back pieces need more space to render all details.

    Copy one of these to get started:

    Full back Japanese phoenix draw a large Japanese irezumi phoenix tattoo covering the full back, bold black outlines with red and gold feathers, traditional Japanese wave pattern at the base
    Spine botanical tattoo add a fine-line spine tattoo of trailing wildflowers and stems running from the nape of the neck to the lower back, centered on the spine, black ink only
    Shoulder blade angel wings draw realistic angel wing tattoos on both shoulder blades, detailed feather rendering, symmetrical, black and grey shading
    Upper back mandala add a large geometric mandala tattoo centered between the shoulder blades on the upper back, intricate blackwork pattern, about 8 inches in diameter
    2 more prompts
    Lower back tribal draw a symmetrical tribal tattoo on the lower back, bold black geometric patterns spreading outward from the spine, 6 inches wide
    Realism back landscape add a large black and grey realism mountain landscape tattoo across the full upper back, misty peaks with fine detail, spanning shoulder to shoulder
  3. Review composition and scale

    Check how the design fits the back canvas — a full back piece should fill shoulder to lower back with intentional empty space. Zoom in on shoulder blade placement, spine alignment, and whether the design respects the back's natural contours.

  4. Refine with markers if needed

    Place markers to anchor specific design elements — a marker at the top of the spine for a spine tattoo starting point, or one on each shoulder blade for a symmetrical back piece. Regenerate with your original description.

    Tip: For spine tattoos, place a marker at the midpoint of the spine and describe 'centered on the spine' to keep it perfectly aligned.

See it in action

Bare back with no tattoos
Before
->
Full back with large Japanese phoenix tattoo in red and gold
After

Japanese phoenix on full back

A large Japanese irezumi phoenix covering the full back — visualized to preview scale, placement, and composition before the first session.

Prompt: draw a large Japanese irezumi phoenix tattoo covering the full back, bold black outlines with red and gold feathers, traditional Japanese wave pattern at the base
Bare back with no tattoos
Before
->
Same back with fine-line spine tattoo of wildflowers running from neck to lower back
After

Fine-line spine botanical tattoo

A delicate spine tattoo of trailing wildflowers running from nape to lower back — visualized to check center alignment and overall length.

Prompt: add a fine-line spine tattoo of trailing wildflowers and stems running from the nape of the neck to the lower back, centered on the spine, black ink only

Detailed Guides by Scenario

📷

People Planning Multi-Session Back Pieces Before the First Appointment

Full back tattoos are multi-year commitments. Visualizing the complete design on your actual back before session one helps you walk in with the right vision and save hours of redraft time with your artist.

Common Scenarios

  • Choosing between a full back Japanese irezumi or a more modest upper back centerpiece
  • Testing whether a spine piece should extend to the lower back or stop between the shoulder blades
  • Comparing a realistic portrait piece against an abstract geometric composition on the full back

Best Practices

  • Upload a photo from directly behind with good lighting to capture the full back canvas accurately
  • Generate the design at two scales — 'upper back only' and 'full back' — to feel the difference in commitment
  • Screenshot results to share with your artist as a starting reference before the design consultation
draw a large Japanese tiger tattoo on the full back, bold black outlines with orange and black striping, traditional irezumi style
add a fine-line geometric tree of life tattoo centered on the full back, branches reaching the shoulders and roots to the lower back
📷

Tattoo Studios Conducting Back Piece Planning Consultations

Back piece clients invest significant time and money. Studios use AI previews to validate scale and placement concepts before committing to stencil drawings — reducing revisions and setting realistic expectations from the first conversation.

Common Scenarios

  • Client requesting a full back piece but unsure whether the design spans from neck to lower back or upper back only
  • Showing a client how different Japanese subjects (dragon, phoenix, koi) fill the back canvas differently
  • Checking whether a client's existing shoulder tattoo flows into or conflicts with a proposed back piece

Best Practices

  • Have clients photograph their bare back under good lighting before the consultation call
  • Generate 2-3 subject variations on the same client photo to show compositional options
  • Use the preview to establish where existing tattoos end and the new piece begins
draw a Japanese dragon tattoo on the full back, scales in dark green and black, breathing smoke upward toward the shoulders
add a symmetrical mandala back piece covering the upper two-thirds of the back, intricate blackwork pattern, white highlighting
📷

Content Creators Planning a Back Tattoo Reveal

Before and after content around a major back tattoo performs well on social platforms. Visualizing the finished piece ahead of the actual sessions helps plan the narrative — you know what you're working toward before the first needle drops.

Common Scenarios

  • TikTok creator planning a 6-month back piece transformation series with a clear end goal
  • Instagram lifestyle blogger wanting to preview how a full back piece looks with their aesthetic
  • Documenting the design decision process from concept to completed back tattoo

Best Practices

  • Generate a high-detail version with 'bold, high-contrast design readable at arm's length' for the clearest social preview
  • Compare multiple style aesthetics — fine-line vs bold traditional — to see which photographs best
  • Save the AI preview as a 'before commitment' reference for future content comparison posts
draw a watercolor back tattoo of a large blossoming cherry tree, pink and white blossoms, soft wash background, covering the full back
add a large black and grey realism portrait tattoo on the upper back, detailed photorealistic shading

If something looks off

Full back piece appears only on upper back

Why: Without specifying scale, the AI may default to a conservative upper back placement rather than filling the full canvas.

Try: draw the tattoo covering the entire back from shoulders to lower back, filling the full canvas

Tip: 'Full canvas from shoulders to lower back' eliminates the default upper-back bias.

Spine tattoo is off-center

Why: The AI didn't anchor the tattoo to the spine midline — it placed it slightly left or right.

Try: add the spine tattoo perfectly centered on the spine column, running straight down the middle of the back

Tip: Add a marker directly on the midpoint of the spine before regenerating to anchor center alignment.

Shoulder blade design doesn't sit symmetrically

Why: The AI treated each shoulder blade independently and introduced slight asymmetry.

Try: draw the tattoo symmetrically on both shoulder blades, mirroring the design exactly left and right

Tip: 'Mirroring exactly left and right' explicitly enforces bilateral symmetry.

Back tattoo detail is too fine to see at normal viewing distance

Why: Very detailed designs on a large back canvas can become hard to distinguish when the rendered image is viewed at normal size.

Try: use bold, high-contrast design elements that read clearly from 3 feet away — avoid extremely fine details

Tip: Zoom to 100% on the rendered image to see fine-line detail at its actual quality level.

Quick answers

How do I visualize a full back tattoo for free?

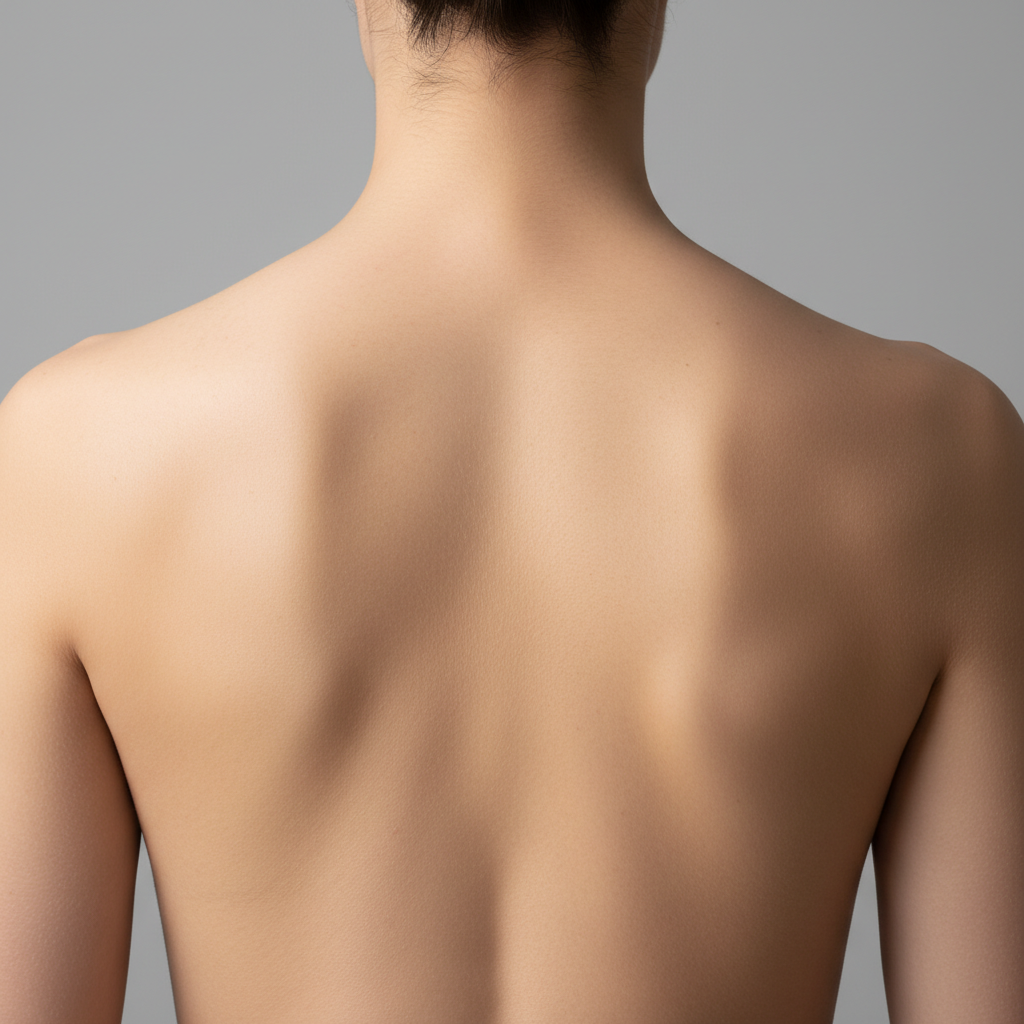
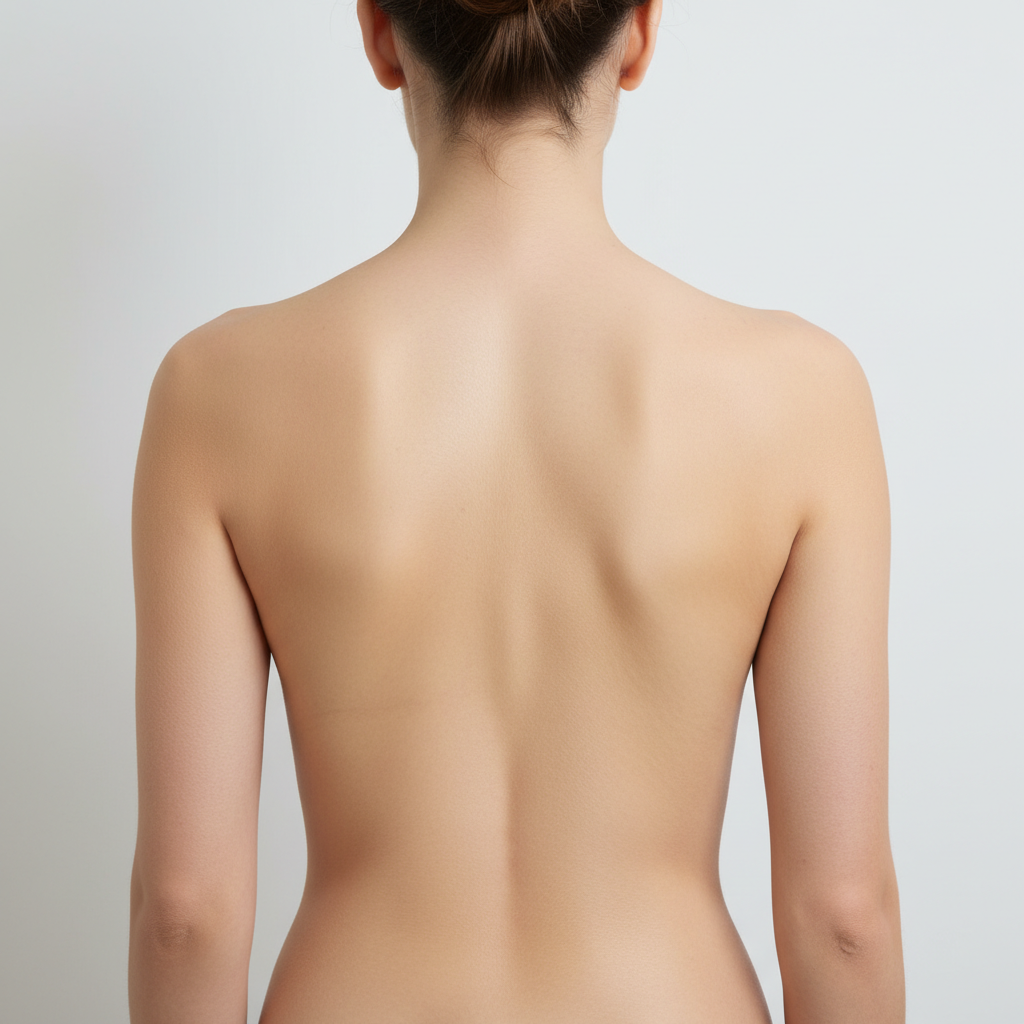
Upload a photo of your back to EditThisPic, type 'draw a [design] on the full back' specifying the design and style, and the AI renders it in 30-45 seconds. Free, no account needed, no watermark.

How long does a full back tattoo take in real life vs the preview?

The AI preview renders in 30-45 seconds. A real full back tattoo typically takes 15-40 hours of tattoo sessions across multiple appointments, depending on complexity, color, and your artist's pace. The preview helps you decide if the design is worth the multi-session commitment before any needle touches skin.

Can I preview a spine tattoo running from neck to lower back?

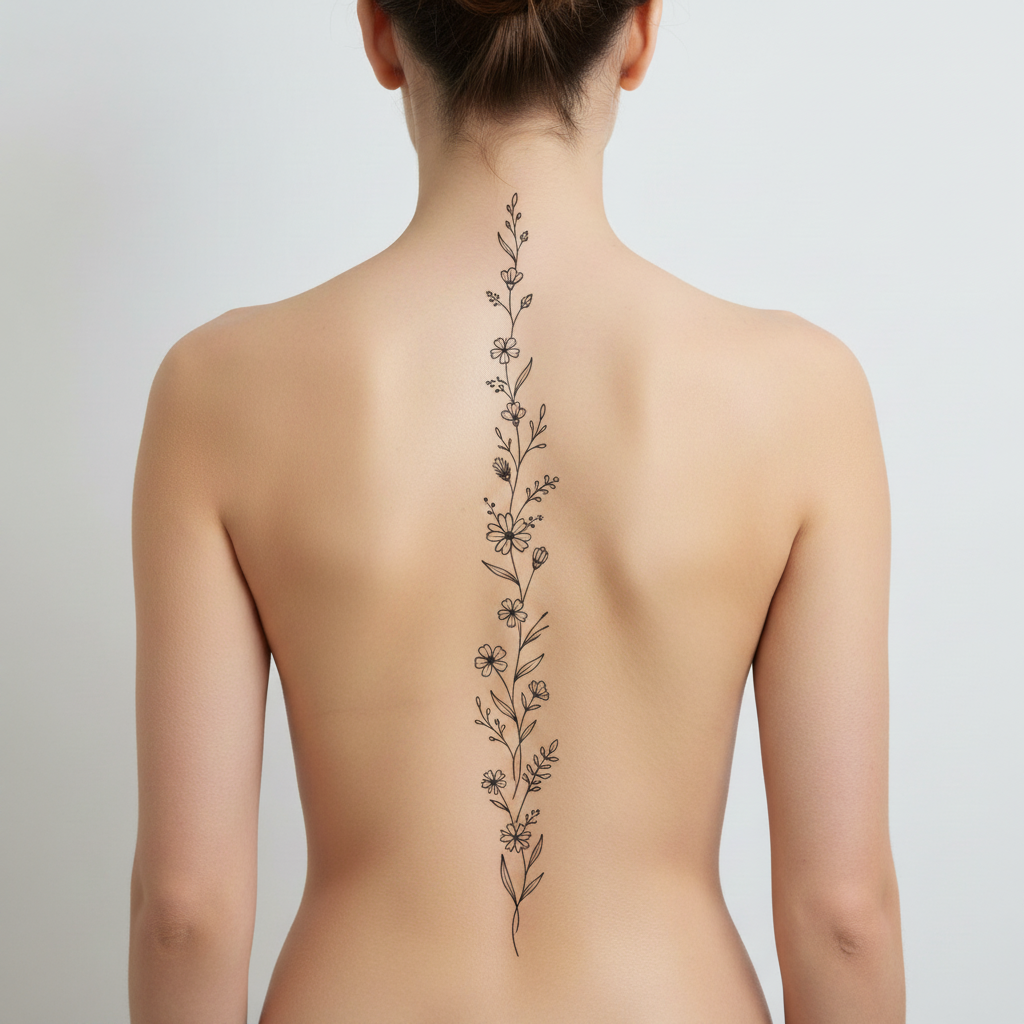
Yes. Type 'add a spine tattoo of [design] running from the nape of the neck to the lower back, centered on the spine.' The AI renders it vertically along the spine column. Use a marker on the spine midpoint for extra precision.

Will the back tattoo look proportional to my body size?

Yes — the AI renders on your actual back photo, so the design scales to your proportions. A design described as 'filling the upper back' will fill your specific upper back dimensions, not a generic template body.

Can I preview only an upper back or only a lower back piece?

Yes. Specify 'upper back between shoulder blades' or 'lower back spanning the hip line' in your prompt. The AI restricts the design to the specified region.

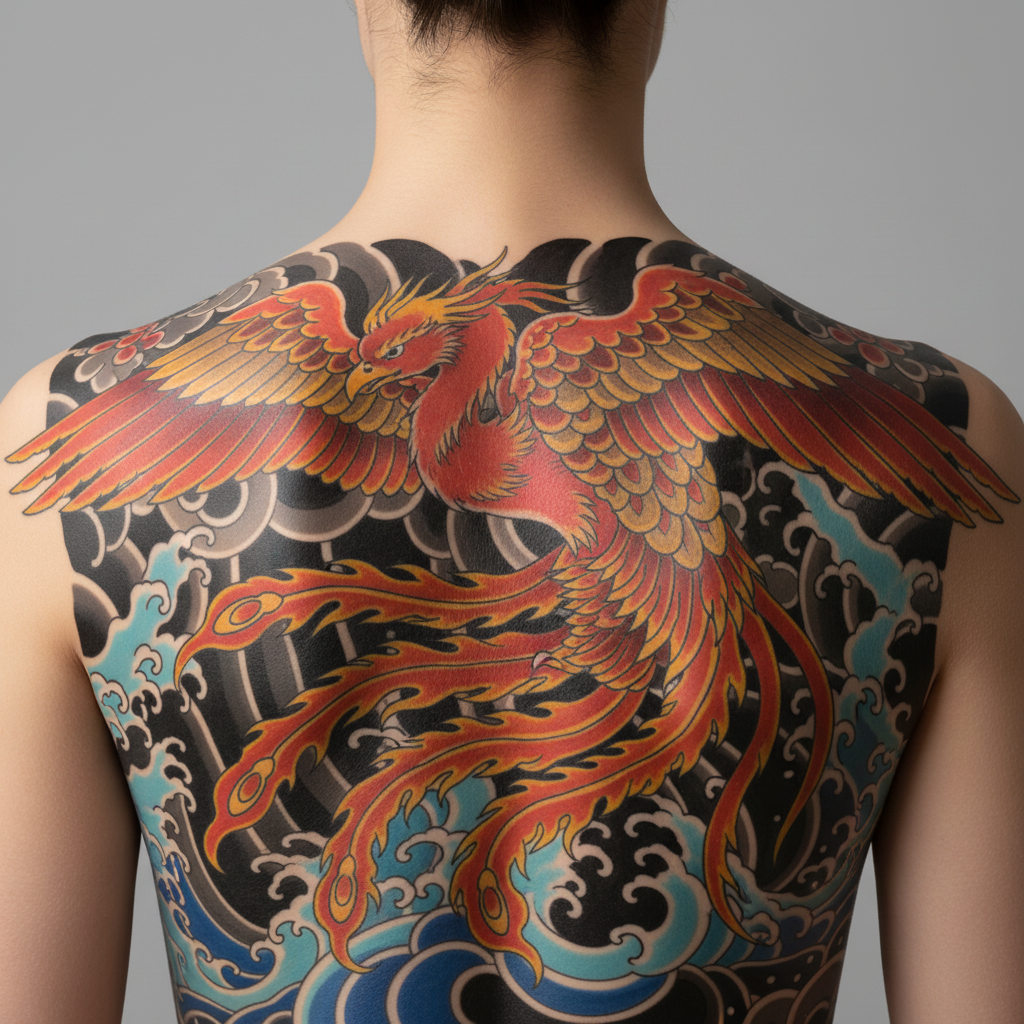
What back tattoo styles work best with the AI visualizer?

Japanese irezumi, blackwork, geometric, and realism all render well on large back canvases. Fine-line botanical spine pieces are particularly effective. Bold designs with strong outlines show the best detail at a glance. Watercolor styles work but may need a refinement pass to maintain color saturation.

Do I need a reference image of my tattoo design to use this?

No, text descriptions work well. But if you have a specific design, click '+ Add reference image,' upload it, and type 'apply the design from the reference image to my full back.' The AI adapts your specific artwork to your back.

Is the back tattoo visualizer free?

Yes — you get 1 free edit per week with no account needed. Plans start at $4.99/month for 15 edits.

How much does EditThisPic cost?

You get 1 free edit per week — no account needed. After that, credit packs start at $1.99 for 3 edits. Monthly plans start at $4.99/mo for 15 edits with unused credits rolling over. All edits are full resolution with no watermark.

Ready to preview your back tattoo?

Free to try. No signup required.

1 free edit included·Credit packs from $4.99